Introduction
Thank you for choosing the RAINPOINT 2-Outlet Water Timer. This digital sprinkler timer is designed to simplify your watering routine, offering precise control over your garden and lawn irrigation. With its dual-zone programming, rain delay, and manual watering options, you can ensure efficient and effective watering while conserving water.
This manual provides detailed instructions for installation, operation, maintenance, and troubleshooting to help you get the most out of your new water timer.
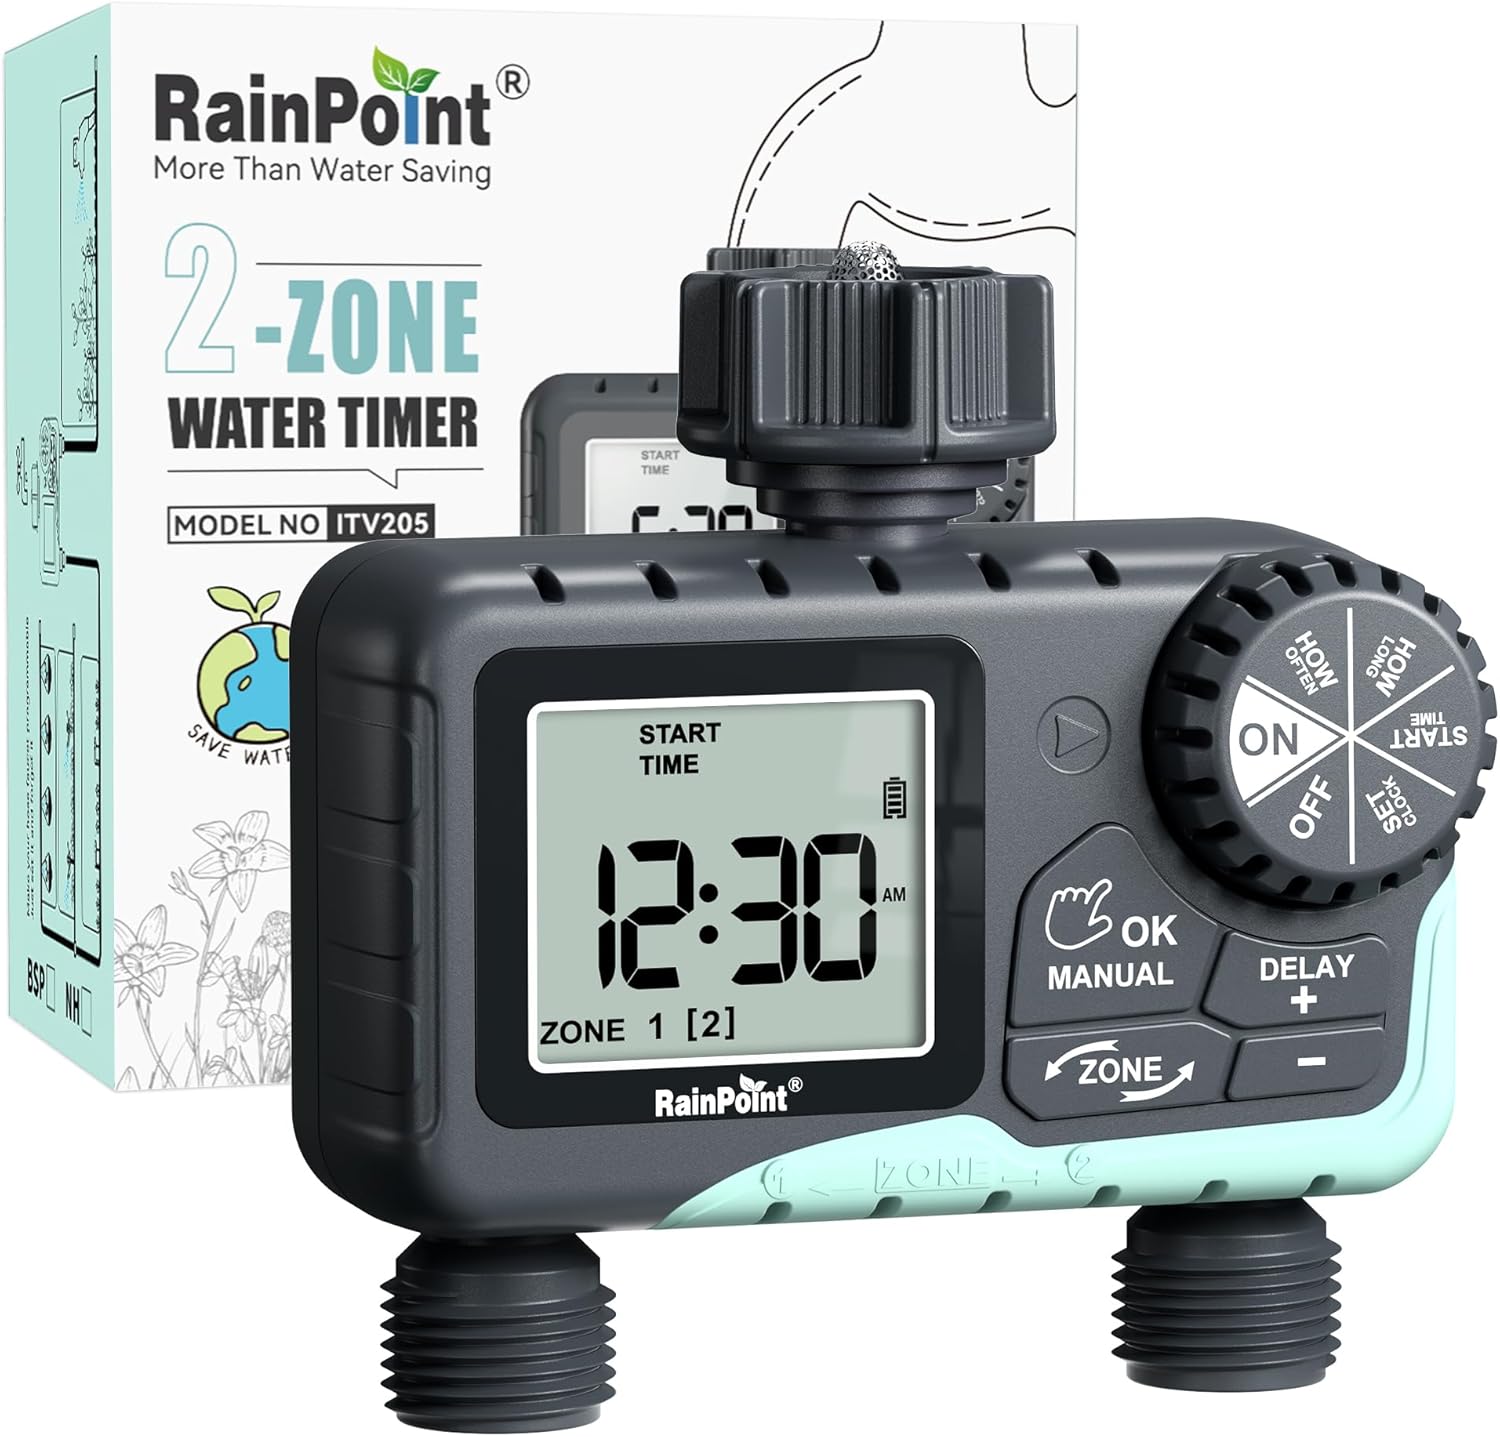
Image: The RAINPOINT 2-Outlet Water Timer, showing the device and its retail packaging. This timer features a digital display and intuitive controls for managing two separate watering zones.
Key Features
- Dual-Zone Control: Independently program two separate watering zones for customized irrigation.
- Flexible Programming: Set start times, watering duration (1 minute to 3 hours 59 minutes), and frequency (hourly to weekly).
- Manual Watering Mode: Instantly water for a specified duration (1 minute to 8 hours) for Zone 1, Zone 2, or both.
- Rain Delay Function: Skip watering for 24, 48, or 72 hours to conserve water during rainy periods.
- Large LCD Display: Easy-to-read 2.5-inch screen shows watering time, next irrigation plans, and power status.
- Low Power Auto Shutoff: Alerts when battery is below 5% and automatically closes the valve to prevent water wastage.
- Durable Construction: Made from IP54 high-impact plastic with a built-in metal filter and 2-generation valve diaphragm for longevity.
- 360° Rotatable Interface: Designed for easy installation and access.

Image: Illustration demonstrating the independent programming capabilities of Zone 1 and Zone 2, allowing for different start times and durations for each watering area.
Package Contents
Please check the package contents to ensure all items are present:
- 1 x RAINPOINT 2-Outlet Water Timer (Model: G-ITV205NH)
- 1 x User Manual
- (Batteries not included - requires 2 x AA batteries)
Setup Guide
1. Battery Installation
- Locate the battery compartment on the back of the timer.
- Slide the battery cover downwards to open.
- Insert two (2) new AA alkaline batteries, ensuring correct polarity (+/-).
- Close the battery cover securely. The added seal ring helps prevent water leaks.
Important: Replace batteries when the low battery indicator appears on the LCD screen. The valve will automatically close to prevent water wastage when power is critically low.

Image: The water timer display showing a low battery warning, indicating the need for battery replacement to ensure continuous operation.
2. Connecting to Faucet
- Ensure your outdoor faucet is turned off.
- Screw the timer's top connector (with the 3/4" internal thread and built-in filter) onto your standard outdoor faucet. Hand-tighten only. Do not overtighten.
- The 360° rotatable interface allows for easy positioning of the timer.
3. Connecting Hoses
- Attach your garden hoses to the two NH3/4" outlet fittings at the bottom of the timer.
- Ensure a tight connection to prevent leaks.

Image: The RAINPOINT 2-Outlet Water Timer installed on an outdoor faucet, with two hoses connected to its independent outlets, demonstrating its dual-zone capability.

Image: A detailed diagram labeling the various parts of the RAINPOINT water timer, including the 3/4" internal thread, 2.5" LCD screen, control dial, buttons, and outlet fittings.
Operating Instructions
The RAINPOINT water timer features a large dial for mode selection and several buttons for setting parameters. The dial has positions for ON, OFF, HOW OFTEN, HOW LONG, START TIME, and SET CLOCK.
1. Setting the Clock
- Turn the dial to SET CLOCK.
- Use the + and - buttons to adjust the current time.
- Press OK/MANUAL to confirm and move to the next setting (e.g., AM/PM).
- Once the time is set, turn the dial to ON to save and exit.
2. Programming Watering Schedules (Automatic Mode)
You can program independent schedules for Zone 1 and Zone 2. Use the ZONE button to switch between zones.
a. Set Start Time
- Turn the dial to START TIME.
- Press the ZONE button to select either Zone 1 or Zone 2.
- Use + and - to set the desired start time for the selected zone.
- Press OK/MANUAL to confirm.
b. Set How Long (Watering Duration)
- Turn the dial to HOW LONG.
- Press the ZONE button to select either Zone 1 or Zone 2.
- Use + and - to set the watering duration (from 1 minute to 3 hours 59 minutes).
- Press OK/MANUAL to confirm.
c. Set How Often (Watering Frequency)
- Turn the dial to HOW OFTEN.
- Press the ZONE button to select either Zone 1 or Zone 2.
- Use + and - to set the watering frequency (e.g., every 12 hours, every 2 days, etc.).
- Press OK/MANUAL to confirm.
Note: After setting all parameters, turn the dial to ON to activate the programmed schedule.

Image: The water timer display showing options for setting watering duration (1 min - 3h 59m) and frequency (1 hour - 7 days), illustrating the flexibility of automatic scheduling.
3. Manual Watering Mode
This mode allows for immediate, temporary watering without affecting your programmed schedule.
- Ensure the dial is in the ON position.
- Press the OK/MANUAL button. The display will show "MANUAL".
- Press the ZONE button to cycle through watering options: Zone 1, Zone 2, or BOTH ZONE.
- Use + and - to set the desired manual watering duration (from 1 minute to 8 hours).
- Press OK/MANUAL again to start watering. The timer will count down the duration.
- To stop manual watering early, press OK/MANUAL again or turn the dial to OFF and then back to ON.
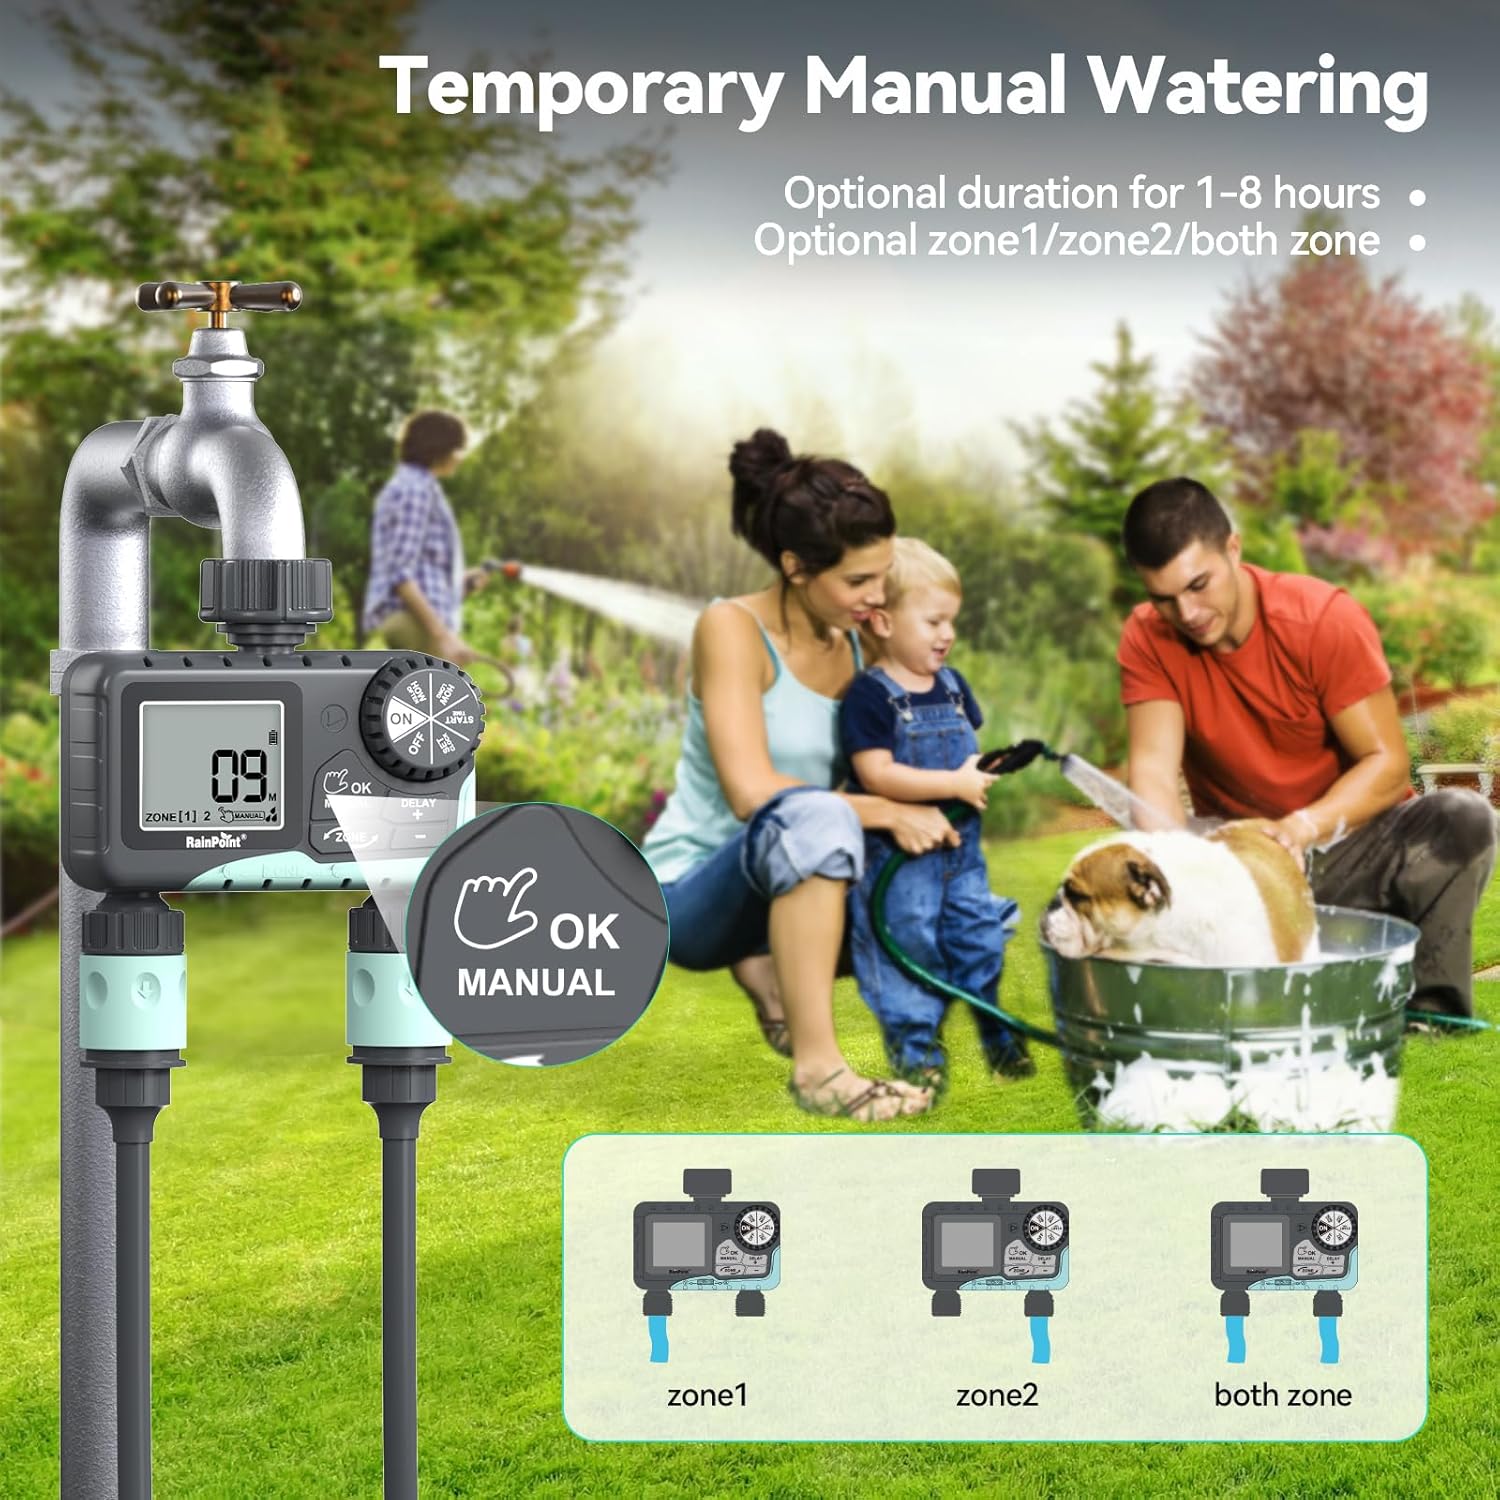
Image: The water timer display showing the manual watering mode, with options to select Zone 1, Zone 2, or both zones for immediate watering, and setting the duration.
4. Rain Delay Function
The rain delay function allows you to pause your watering schedule for a set period, preventing overwatering during rainfall.
- Ensure the dial is in the ON position.
- Press and hold the DELAY + button for approximately 3 seconds until "DELAY" appears on the screen.
- Use the + and - buttons to select the delay duration: 24 hours, 48 hours, or 72 hours.
- Press OK/MANUAL to confirm the rain delay. The timer will resume its schedule automatically after the delay period.
- To cancel the rain delay, press and hold the DELAY + button again for 3 seconds.
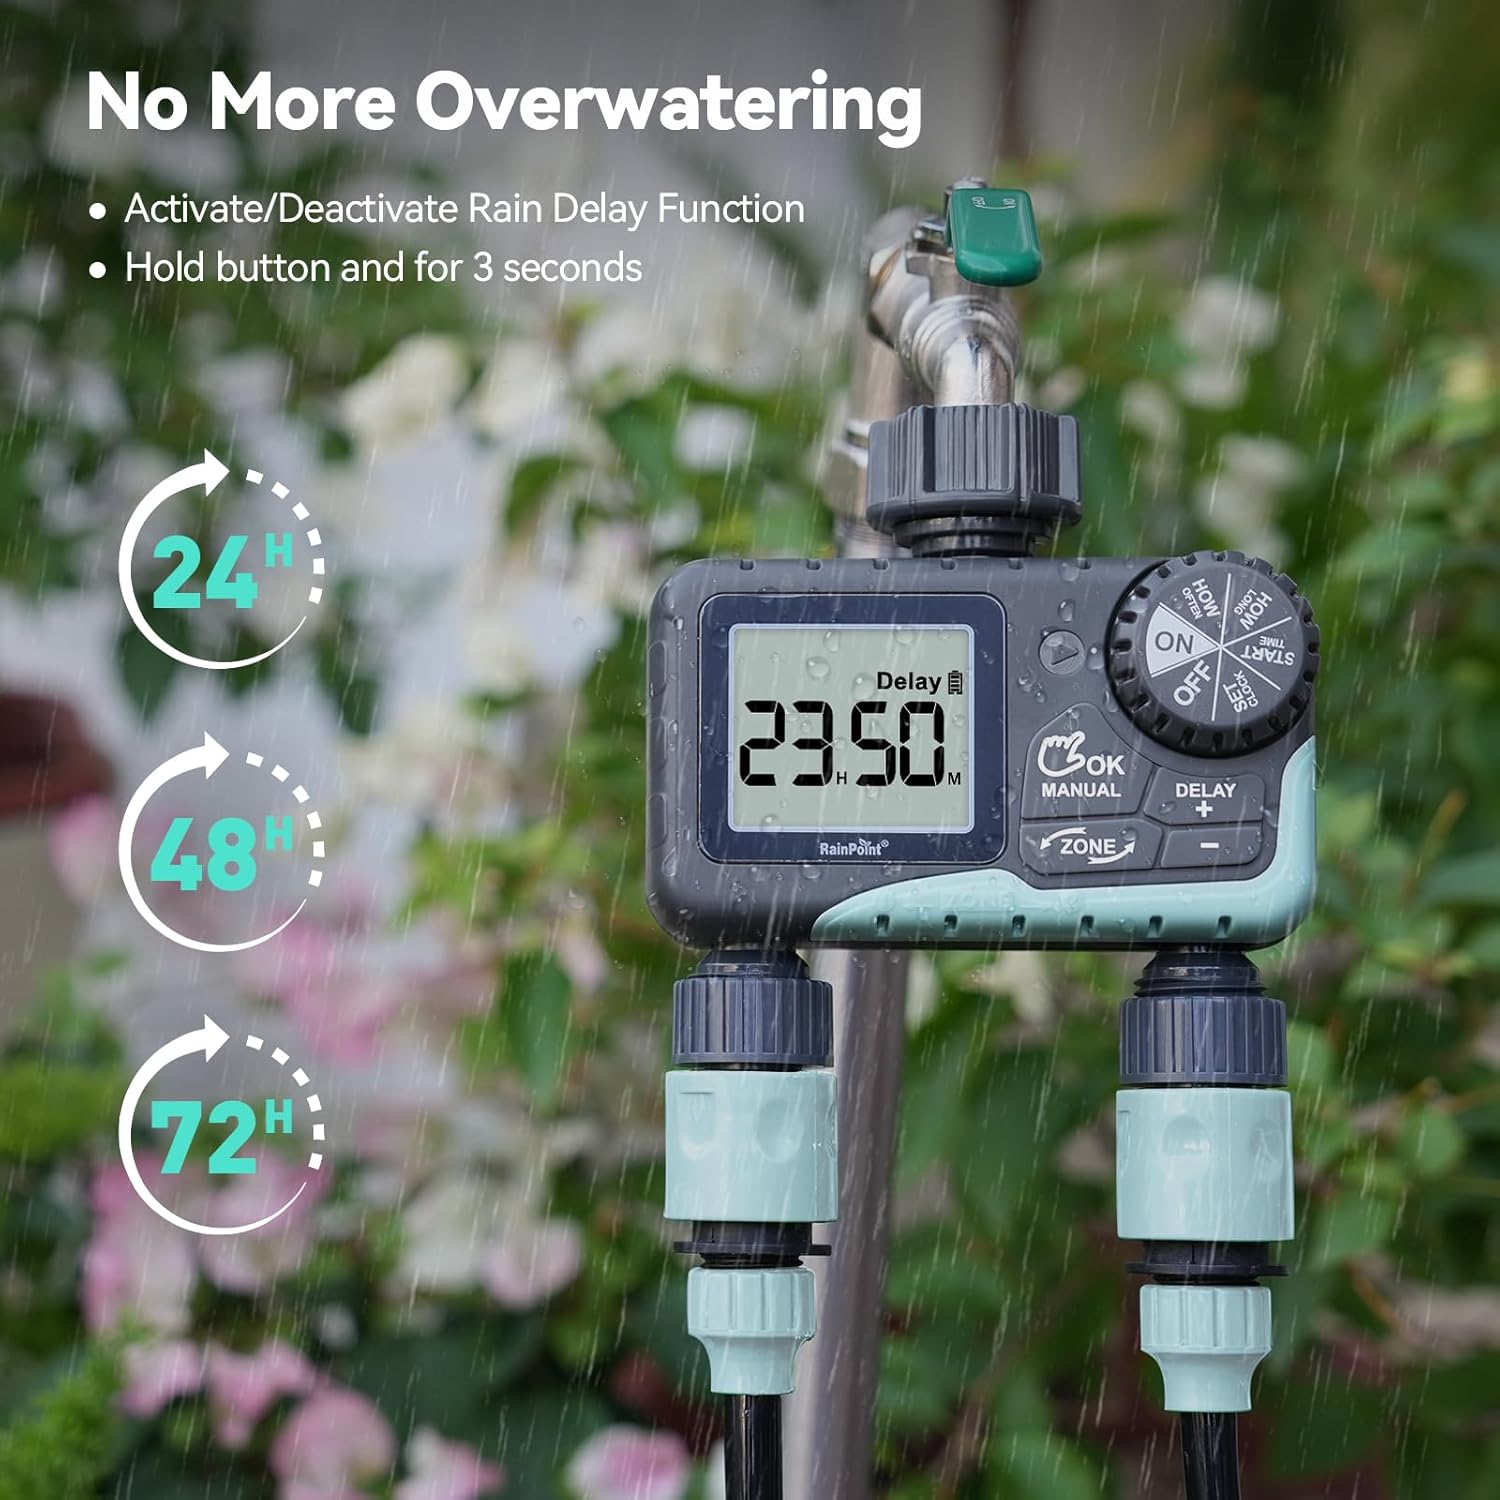
Image: The water timer display showing the rain delay function activated, with options for 24, 48, or 72-hour delays to prevent overwatering during rainy conditions.
5. Turning Off the Timer
To stop all watering and programming, turn the dial to OFF. All active programs will be paused.
Maintenance
1. Cleaning the Filter
The timer has a built-in metal filter to prevent debris from entering the unit. Periodically check and clean this filter to ensure optimal water flow and prevent blockages.
- Unscrew the timer from the faucet.
- Remove the filter screen from the top connector.
- Rinse the filter under running water to remove any accumulated debris.
- Reinsert the clean filter and reattach the timer to the faucet.
2. Battery Replacement
Replace batteries when the low battery indicator appears on the LCD screen. Always use new AA alkaline batteries.
- Turn the dial to OFF.
- Open the battery compartment.
- Remove old batteries and insert new ones, observing polarity.
- Close the battery compartment securely.
- The timer will retain your programming for a short period during battery replacement.
3. Winterization
To prevent damage from freezing temperatures, remove the water timer from the faucet before the first frost.
- Disconnect the timer from the faucet and hoses.
- Remove the batteries.
- Store the timer indoors in a dry, frost-free location.
Troubleshooting
| Problem | Possible Cause | Solution |
|---|---|---|
| Timer not turning on/display blank. | Dead or incorrectly installed batteries. | Replace batteries with new AA alkaline batteries, ensuring correct polarity. |
| No water flow. | Faucet is off; timer is in OFF mode; low battery; clogged filter; incorrect programming. | Turn on faucet; turn dial to ON; replace batteries; clean filter; check programming (start time, duration, frequency). |
| Water leaking from connections. | Loose connections; worn washers. | Ensure all connections are hand-tight; check and replace rubber washers if damaged. |
| Timer not watering at scheduled time. | Incorrect clock setting; incorrect program settings; rain delay active. | Verify current time; re-check start time, duration, and frequency for each zone; check if rain delay is active. |
| Display shows "LOW BATT". | Batteries are low. | Replace batteries immediately to prevent valve closure and program loss. |
Specifications
| Model Number | G-ITV205NH |
| Product Dimensions | 5.36"D x 5.92"W x 5.55"H |
| Material | High-impact Plastic, Metal |
| Color | Black and Blue |
| Power Source | 2 x AA Alkaline Batteries (not included) |
| Water Pressure Range | Up to 35 kg (approx. 500 PSI) |
| Flow Rate | 5-35 L/min |
| Watering Duration | 1 minute to 3 hours 59 minutes |
| Watering Frequency | Hourly (up to 12 hours) or Daily (up to 7 days) |
| Manual Watering Duration | 1 minute to 8 hours |
| Rain Delay Options | 24, 48, 72 hours |
| Waterproof Rating | IP54 |
Warranty and Support
RAINPOINT products are designed for durability and performance. For warranty information and customer support, please refer to the official RAINPOINT website or contact their customer service directly.
For further assistance, please visit: www.rainpointonline.com
Or contact customer support via email: support@rainpointonline.com


