1. Introduction
The TERRAMASTER F4-212 is a 4-bay Network Attached Storage (NAS) device designed for home and Small Office/Home Office (SOHO) users. It provides a centralized storage solution for data backup, file sharing, and multimedia management. This manual provides detailed instructions for the installation, operation, and maintenance of your F4-212 NAS.

Figure 1.1: Front view of the TERRAMASTER F4-212 4 Bay NAS unit.
2. Setup
2.1 Package Contents
Before proceeding with the installation, ensure all components are present in the package:
- TERRAMASTER F4-212 NAS Unit
- Power Adapter
- Ethernet Cable
- Quick Installation Guide
2.2 Hardware Installation
Follow these steps to install hard drives into your F4-212 NAS:
- Prepare Hard Drives: The F4-212 is compatible with 3.5" and 2.5" SATA HDDs and 2.5" SATA SSDs. Each bay supports drives up to 22TB. For stable performance, dedicated NAS drives are recommended.
- Install Hard Drives: The F4-212 features a tool-free installation design. Simply slide the hard drive into an empty bay until it clicks into place. The innovative push-lock design secures the drive upon insertion.

Figure 2.1: Illustration of the tool-free hard drive installation process.
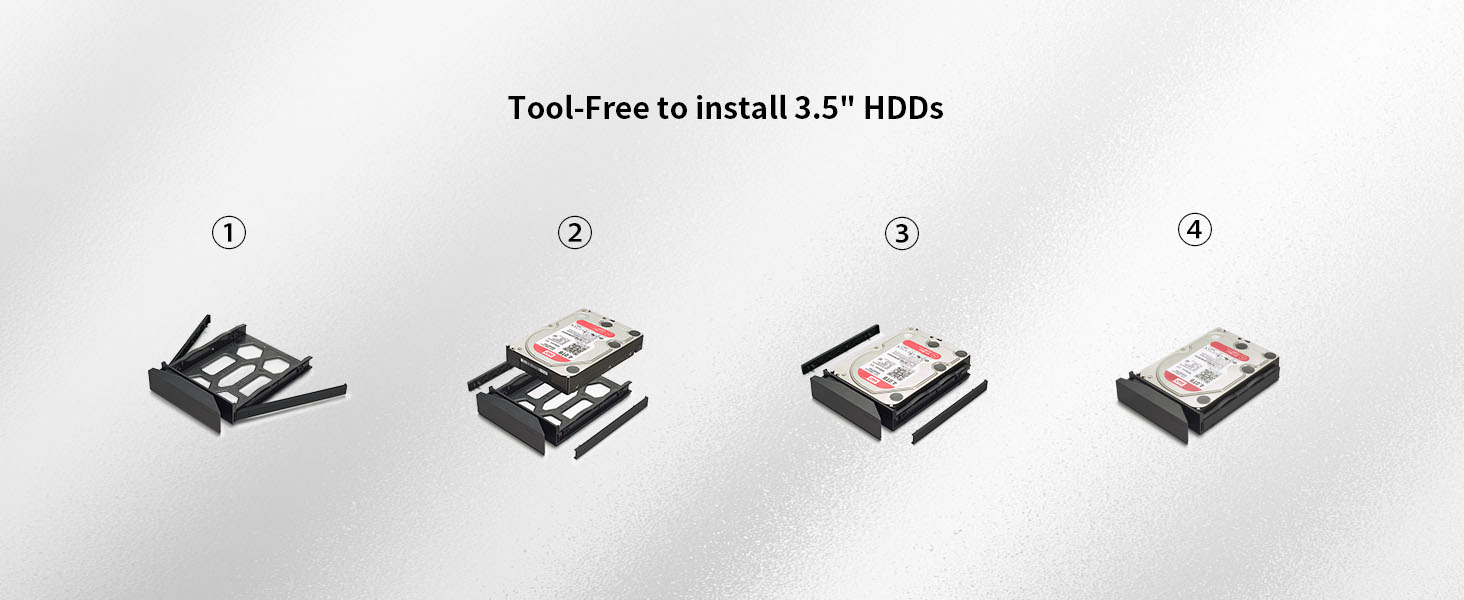
Figure 2.2: Detailed steps for installing 3.5-inch HDDs without tools.

Figure 2.3: The innovative push-lock design simplifies hard drive insertion and securing.
2.3 Connecting the NAS
Connect the NAS to your network and power source:
- Connect to Network: Use the provided Ethernet cable to connect the LAN port on the back of the NAS to your router or network switch.
- Connect Power: Plug the power adapter into the DC IN 12V port on the back of the NAS, then plug the adapter into a power outlet.
- Power On: Press the power button located on the rear panel of the NAS. The distinct rear power button helps prevent accidental operations.

Figure 2.4: Rear panel connections including power button, USB host, and LAN port.
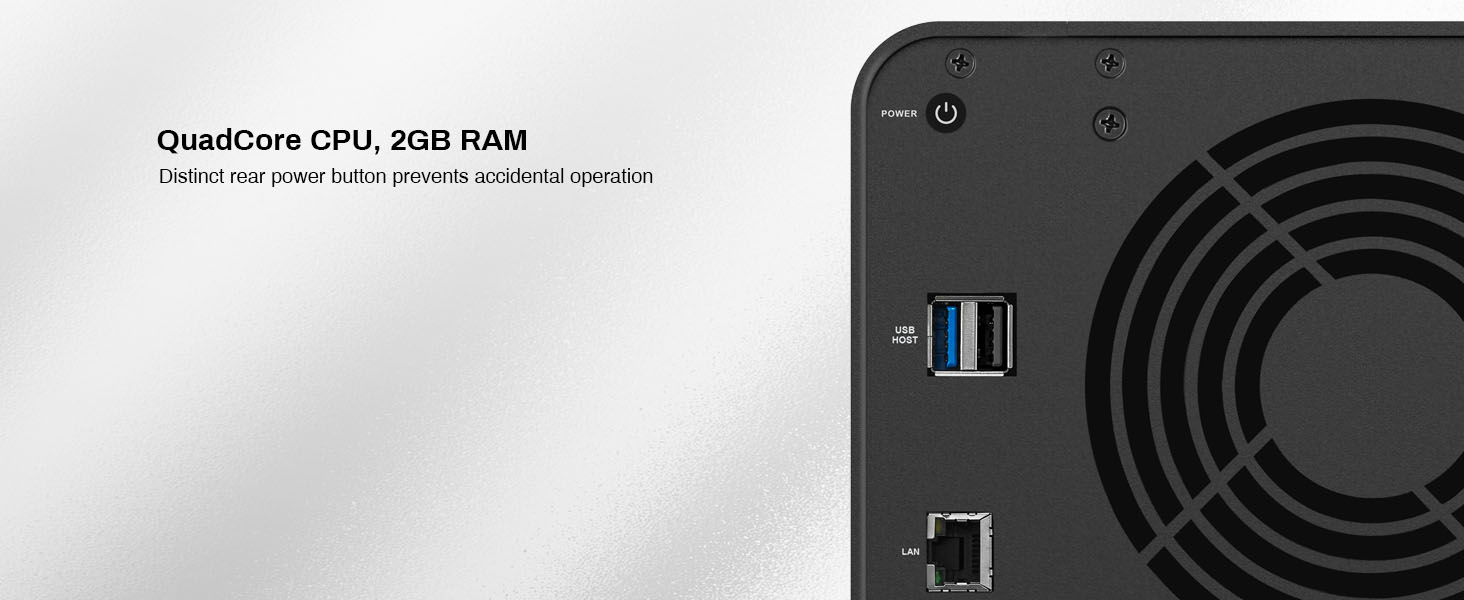
Figure 2.5: Detailed view of the rear panel, highlighting the power button and connectivity options.
2.4 Initial System Installation
After connecting the hardware, proceed with the software setup. TERRAMASTER provides online tutorials and videos to guide you through this process. A "Default mode" is available to set optimal configurations for home use, allowing initial setup to be completed quickly.
3. Operating Instructions
3.1 Operating System (TOS)
The F4-212 runs on the TOS 5.1 operating system, providing a user-friendly interface for managing your NAS.
3.2 File Services and Access
The F4-212 supports various mainstream file services for cross-platform compatibility:
- SMB (Server Message Block)
- NFS (Network File System)
- SFTP/FTP (SSH File Transfer Protocol/File Transfer Protocol)
- AFP (Apple Filing Protocol)
- iSCSI (Internet Small Computer Systems Interface)
- WebDAV (Web Distributed Authoring and Versioning)
Permission management for users, user groups, and folders is available to control access to your data.
3.3 Data Backup and Synchronization
The F4-212 offers comprehensive backup solutions to protect your valuable information:
- Duple Backup: For creating redundant backups.
- TSSS (TerraMaster Snapshot Service): For point-in-time data recovery.
- TFM Backup: TerraMaster File Manager backup.
- CloudSync: Synchronize data with various cloud storage services (e.g., Amazon S3, Dropbox, Google Drive, OneDrive, Yandex Disk, Box, OpenDrive).
- TimeMachine: Support for Apple Time Machine backups.
- Rsync: For remote data synchronization.
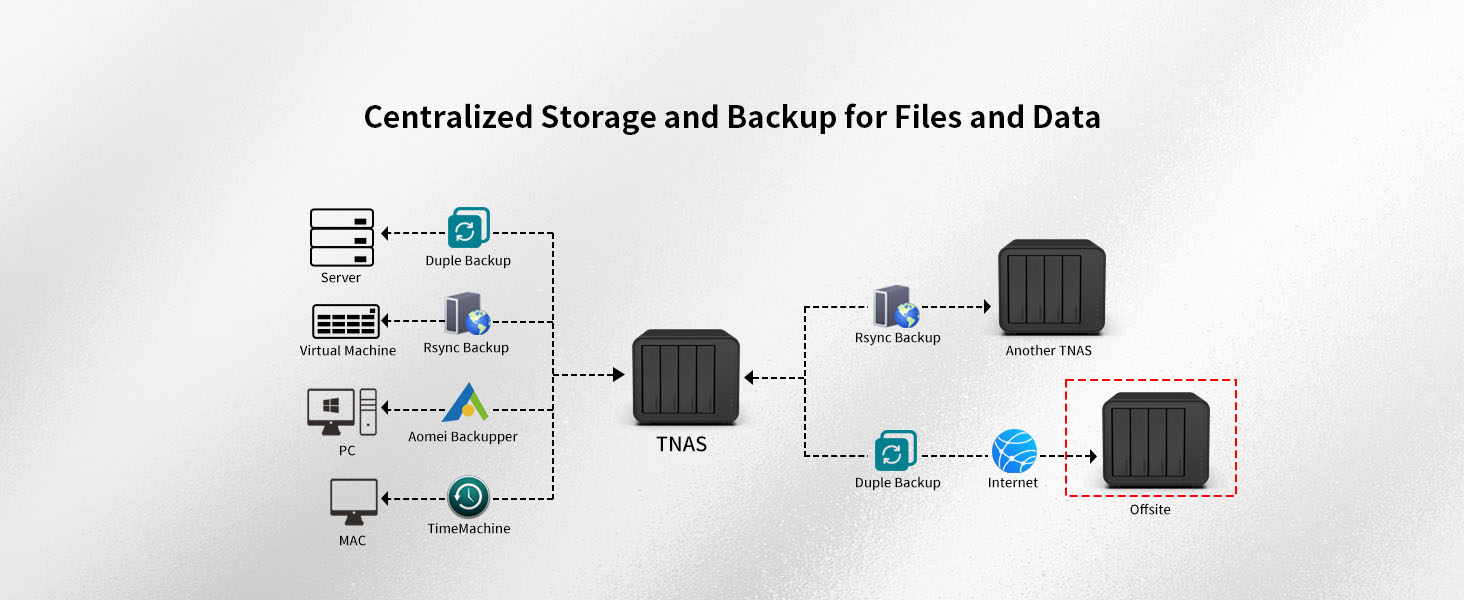
Figure 3.1: Overview of centralized storage and backup capabilities.
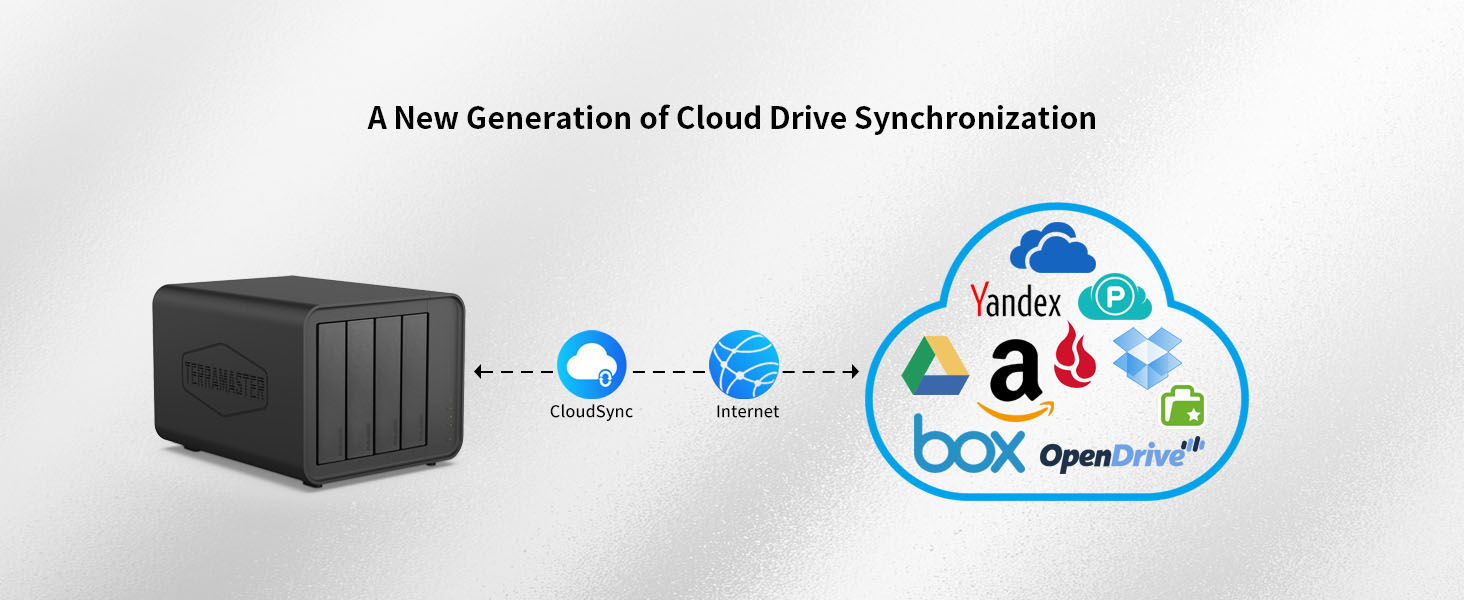
Figure 3.2: Cloud synchronization feature for various cloud platforms.

Figure 3.3: Automatic mobile photo backup functionality.
3.4 Multimedia Management
The F4-212 serves as a home multimedia center with powerful 4K video hardware decoding capability and compatibility with uPnP/DLNA protocols.
- Plex/Emby Server: Install and run Plex or Emby Media Server for organizing and streaming your media library.
- Terra Photos: A smart photo management tool to intelligently organize and share your photos.
- Music Management: Efficiently manage your music files.
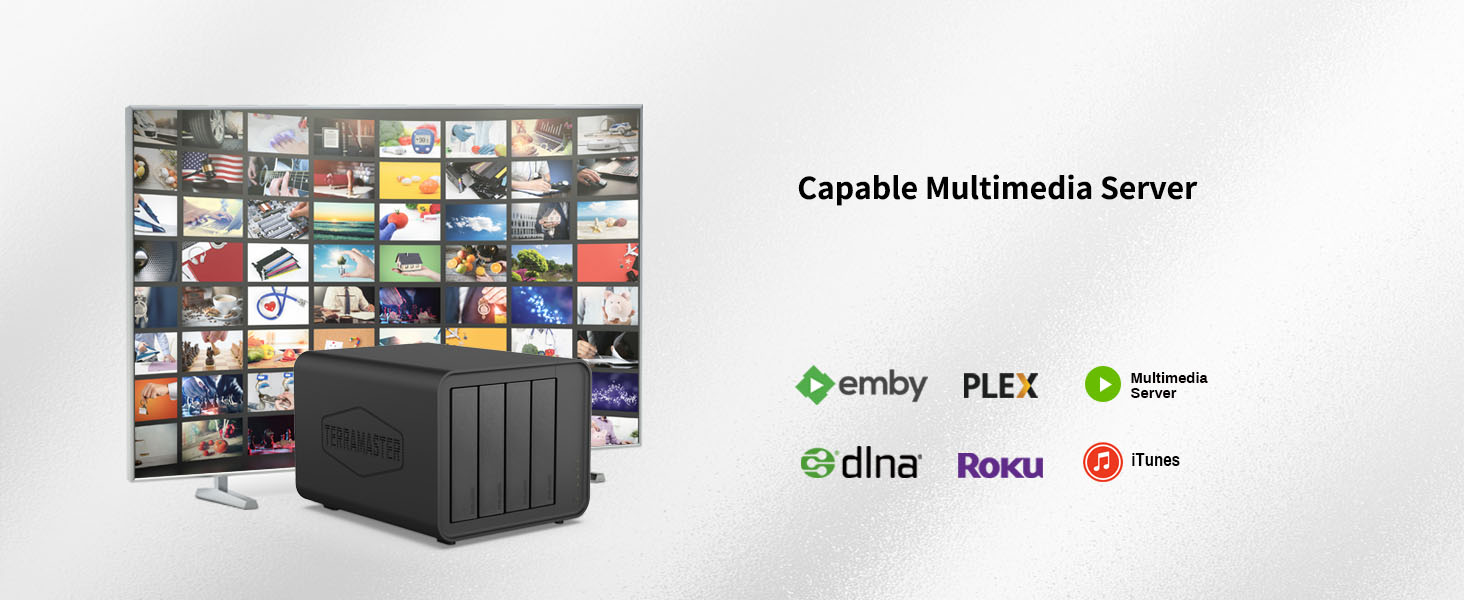
Figure 3.4: The F4-212 functions as a capable multimedia server.

Figure 3.5: The Terra Photos application for intelligent photo organization.

Figure 3.6: The NAS can intelligently manage your music files.
3.5 Advanced Storage Features
- TRAID (TerraMaster RAID): A flexible disk array technology for optimized storage space and data protection.
- BTRFS File System: Supports Snapshot functionality to prevent data damage and allow for easy recovery.
- Hyper-Lock WORM (Write Once Read Many): Ensures data integrity by preventing modification or deletion of files for a specified period.
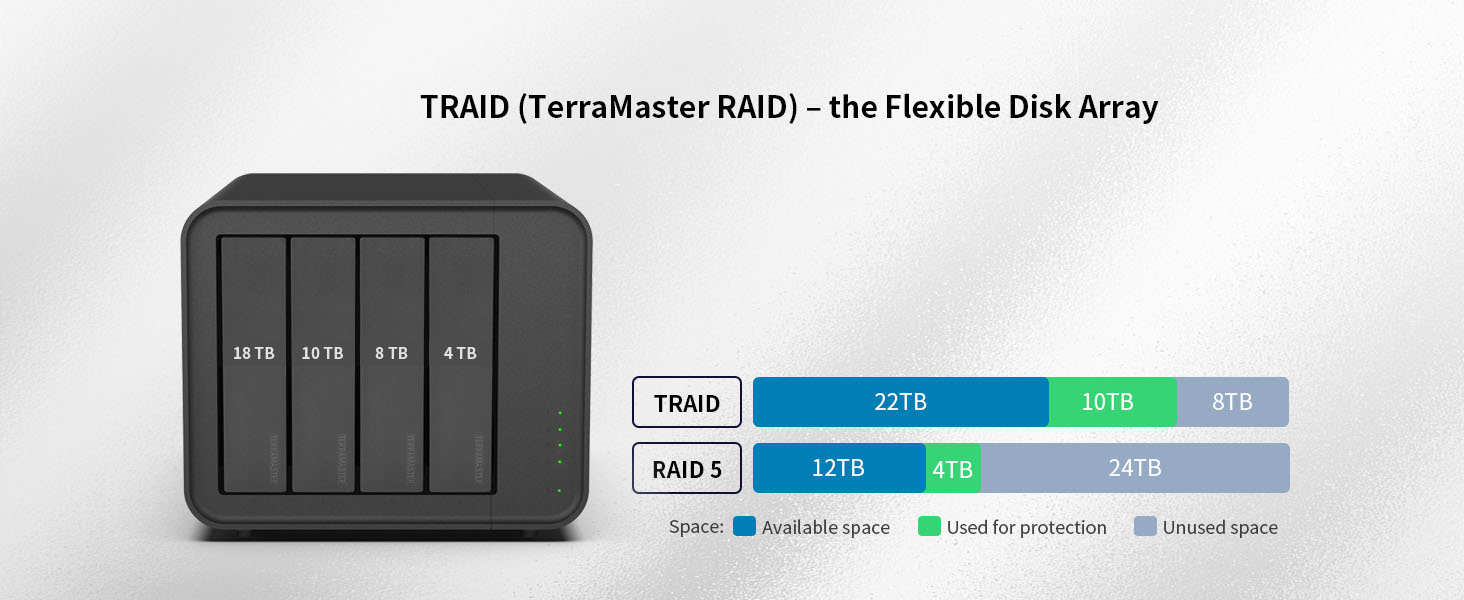
Figure 3.7: TRAID (TerraMaster RAID) offers flexible disk array management.
Figure 3.8: The BTRFS file system enables snapshot functionality for data protection.
Figure 3.9: Hyper-Lock WORM (Write Once Read Many) file system for long-term data integrity.
3.6 Security and Surveillance
- Security Isolation Mode: Provides enhanced reliability and data security.
- Surveillance Manager: Effortlessly connect cameras to your TNAS to manage and view real-time or historical video footage.
Figure 3.10: Security Isolation Mode enhances system reliability.
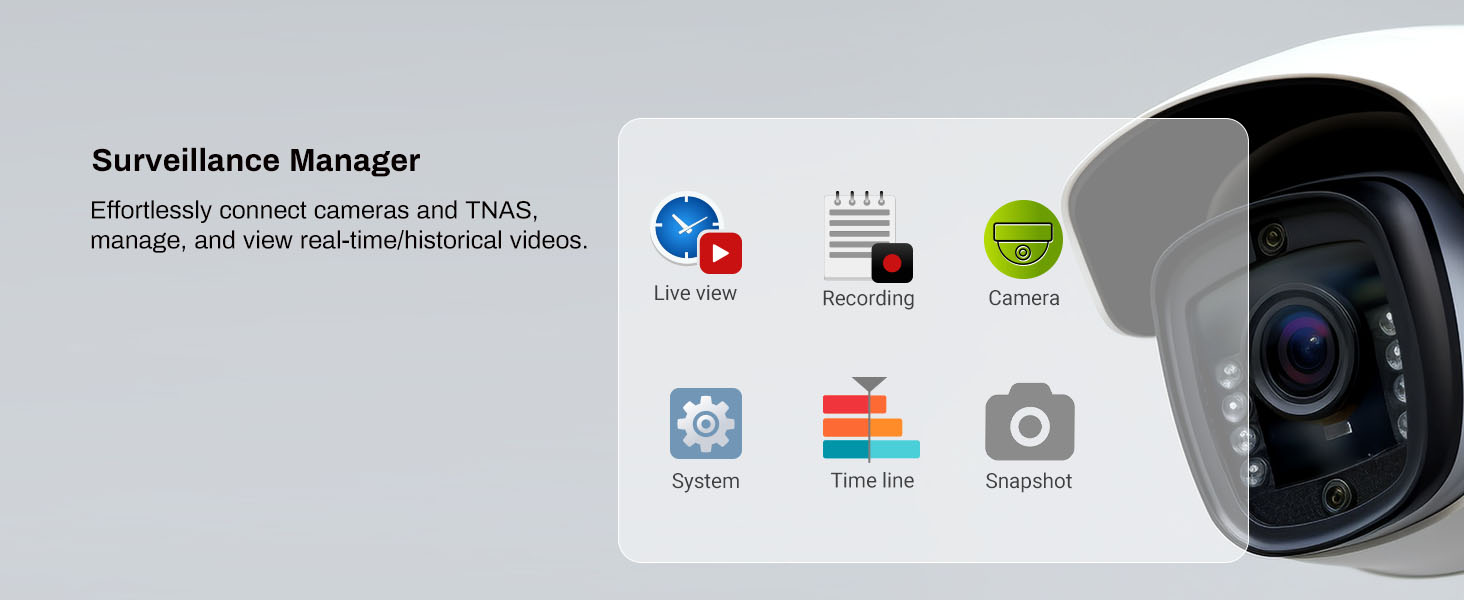
Figure 3.11: The Surveillance Manager application for camera integration.
4. Maintenance
4.1 Cleaning the Device
Regularly clean the exterior of the NAS with a soft, dry cloth. Avoid using liquid cleaners or aerosols directly on the device.
4.2 Ensuring Proper Ventilation
The F4-212 incorporates a smart fan and side/bottom vents for efficient heat dissipation, extending its lifespan. Ensure the NAS is placed in a location with adequate airflow and that the vents are not obstructed.

Figure 4.1: The rear cooling fan and vents contribute to reliable cooling.
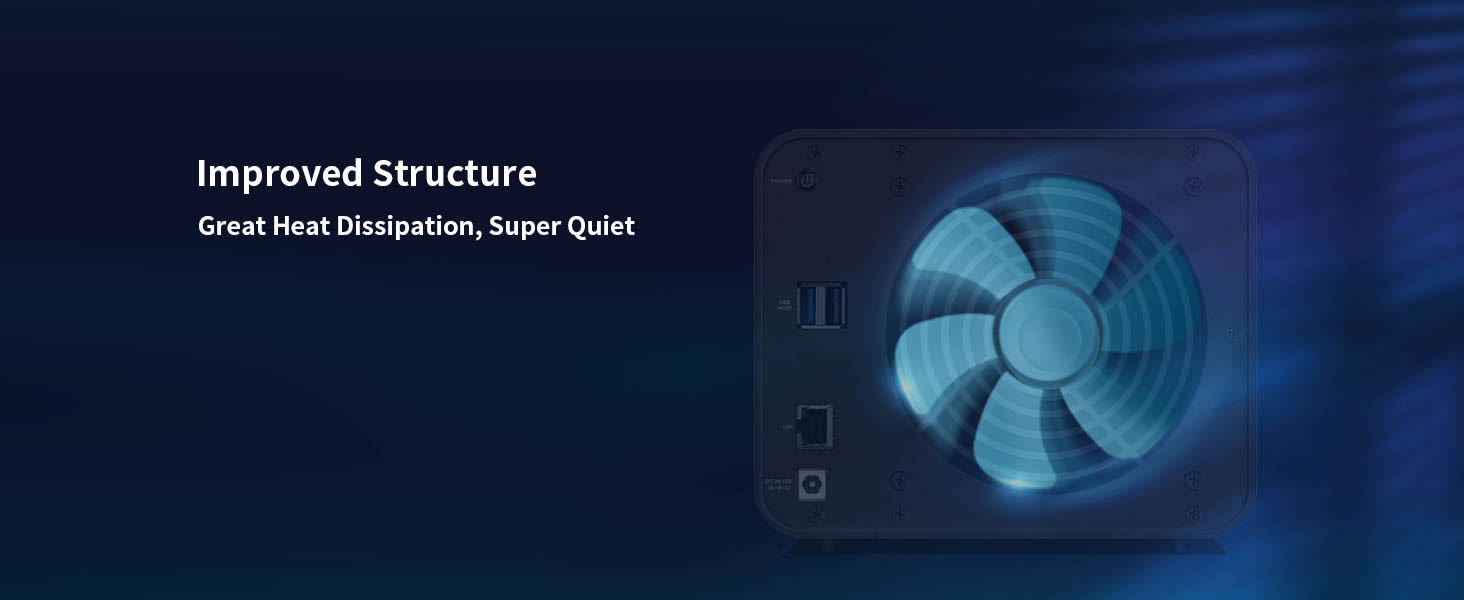
Figure 4.2: Internal structure designed for great heat dissipation and quiet operation.
4.3 Noise Reduction
The F4-212 is designed with special sound-absorbing panels and noise-reduction measures to minimize operational noise levels, making it suitable for home environments.

Figure 4.3: Internal sound-absorbing panels help reduce noise levels.

Figure 4.4: The F4-212 is designed for remarkably quiet operation.
5. Troubleshooting
This section provides solutions to common issues you might encounter with your TERRAMASTER F4-212 NAS.
5.1 General Troubleshooting Steps
- Check Connections: Ensure all cables (power, Ethernet) are securely connected to the NAS and the respective outlets/devices.
- Restart Device: A simple restart can often resolve minor software glitches. Power off the NAS, wait for 30 seconds, then power it back on.
- Verify Indicator Lights: Observe the micro-perforated indicator lights on the front panel. These lights provide visual cues about the system's work status. Refer to the online documentation for specific light patterns and their meanings.

Figure 5.1: Micro-perforated indicator lights display the NAS work status.
5.2 Seeking Further Assistance
If you encounter issues that cannot be resolved using the above steps, please refer to the official TERRAMASTER online tutorials and support resources. These resources often provide detailed guides and solutions for more complex problems.
6. Specifications
| Feature | Detail |
|---|---|
| Model Number | F4-212 (2GB) |
| CPU | ARM v8 Quad-Core 1.7GHz |
| RAM | 2GB DDR4 (Not upgradeable) |
| Drive Bays | 4 |
| Compatible Drive Types | 3.5" SATA HDD, 2.5" SATA HDD, 2.5" SATA SSD |
| Max Single Drive Capacity | 22TB |
| Max Total Capacity (RAID 0) | 88TB |
| Product Dimensions | 7.28 x 8.66 x 7.09 inches (18.5 x 22 x 18 cm) |
| Item Weight | 4.6 pounds (2.09 kg) |
| Material | Plastic |
| Compatible Operating Systems | Android, Linux, Mac, Windows, iOS |
| Video Decoding | 4K Hardware Decoding |
7. Support and Warranty
7.1 Online Resources
For additional support, including detailed guides, FAQs, and software downloads, please visit the official TERRAMASTER website. TERRAMASTER provides hands-on online tutorials and videos to assist users with various aspects of their NAS.
You can also visit the TERRAMASTER Store on Amazon for product information and updates.
7.2 Product Warranty
Information regarding the standard product warranty is typically provided with your purchase documentation. For details on extended protection plans, please refer to the options available at the point of purchase or contact your retailer.


