1. Product Overview
The WANLIPO M03 is a high-definition 4K dash camera designed for vehicle recording. It features a 3-inch IPS screen, built-in Wi-Fi for app control, G-Sensor for emergency recording, loop recording, and a 24-hour parking monitor function. This manual provides detailed instructions for installation, operation, and maintenance to ensure optimal performance.
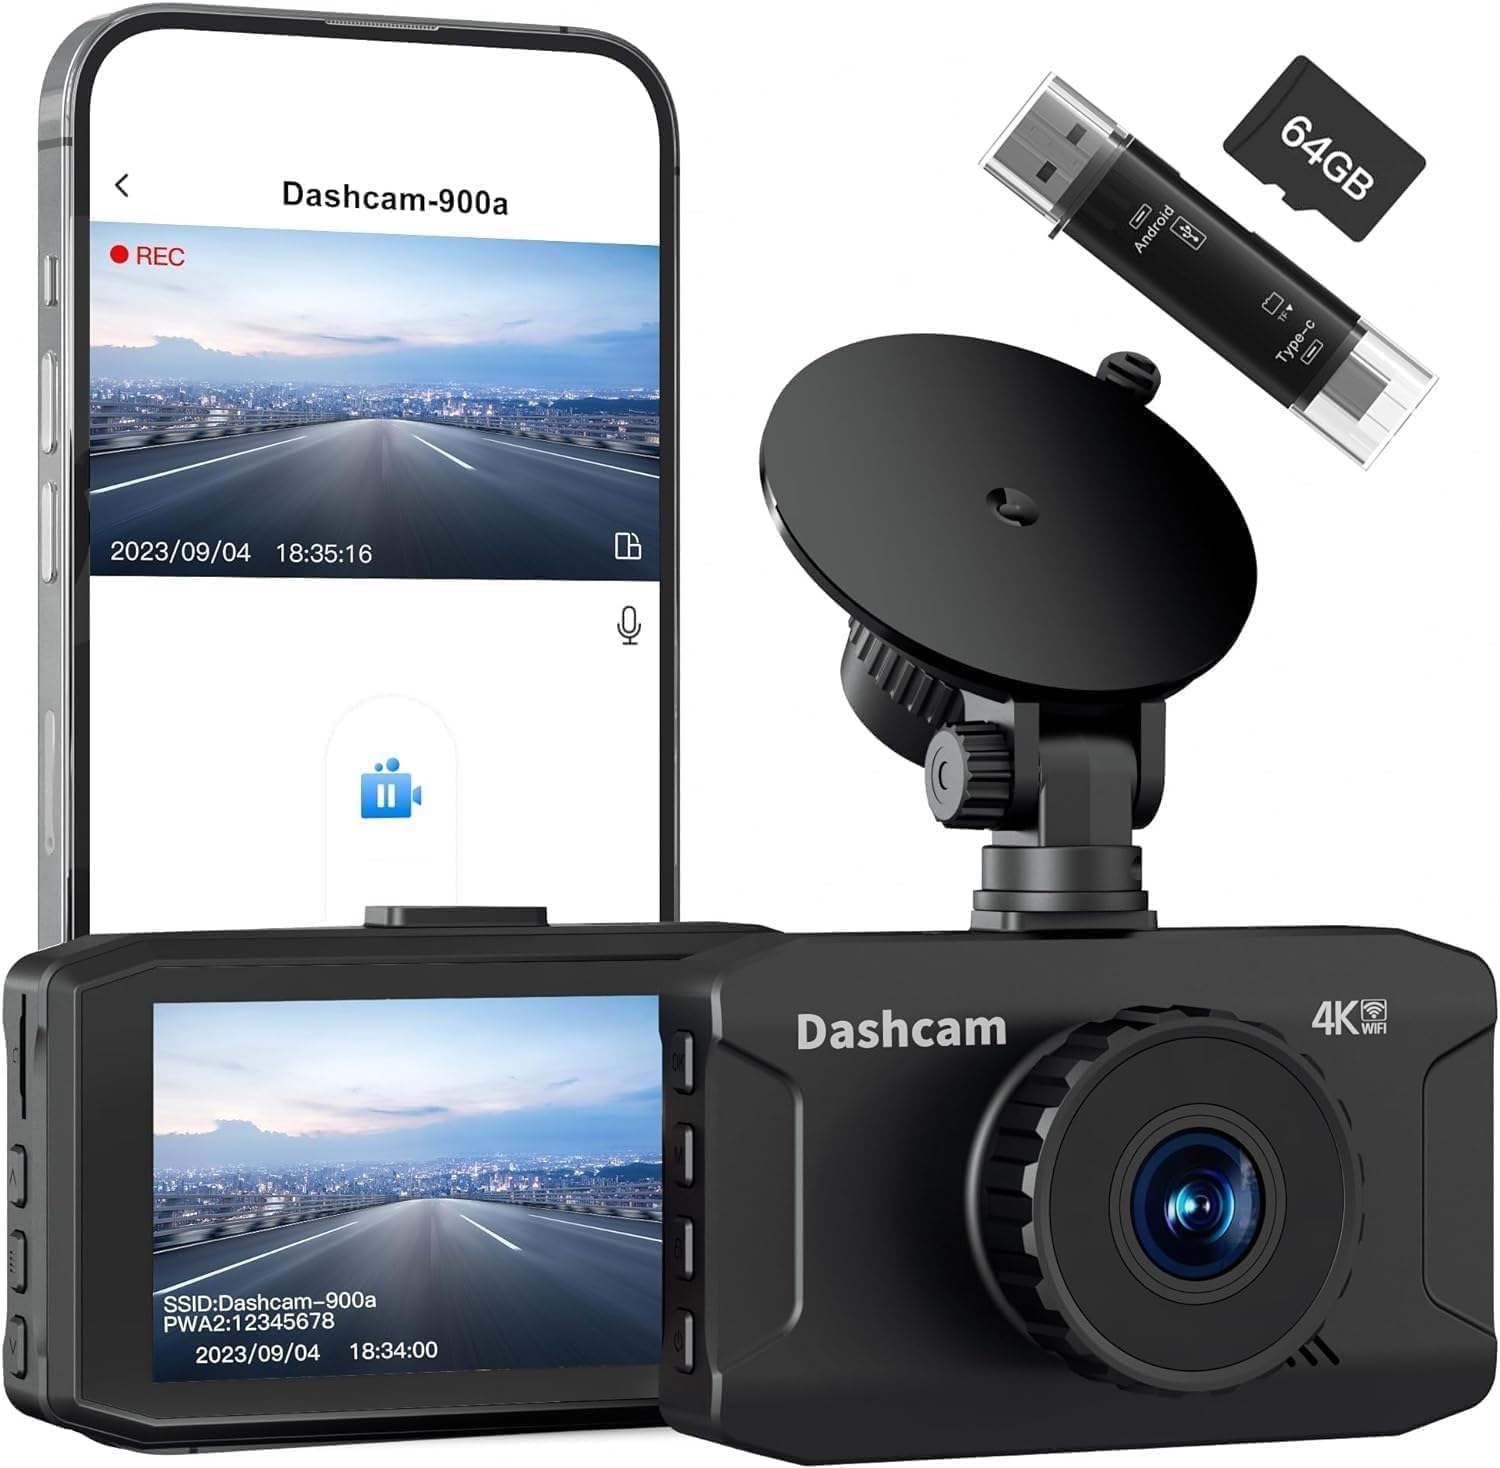
Image 1.1: WANLIPO M03 4K Dash Camera and accessories. This image displays the dash camera unit, a 64GB SD card, and a USB adapter, highlighting the main components included with the product.

Image 1.2: Detailed view of the WANLIPO M03 Dash Camera. This image illustrates the internal structure, highlighting the F/1.6 aperture 6-class lens, speaker, and manual lock button on the device.
2. What's in the Box
Please verify that all items are present upon unboxing:
- 1x M03 Front Dash Camera
- 1x Suction Cup Mount
- 1x Car Charger
- 1x Data Cable
- 1x 64GB SD Card (pre-installed in the dash cam)
- 4x Crowbar / 1x Cable Clamp (for cable management)
- 1x User Manual
3. Setup and Installation
3.1 SD Card Insertion
The 64GB SD card is typically pre-installed. If not, gently insert the SD card into the designated slot on the side of the dash camera until it clicks into place. Ensure the dash camera is powered off before inserting or removing the SD card.

Image 3.1: Dash camera with SD card slot. This image shows the side of the dash camera with an arrow pointing to the SD card slot, indicating where to insert the memory card.
3.2 Mounting the Dash Camera
- Clean the windshield area where you intend to mount the dash camera.
- Attach the suction cup mount to the dash camera.
- Press the suction cup firmly against the windshield and flip the lever to secure it. Position the camera to ensure a clear view of the road without obstructing your driving vision.
- Adjust the camera angle as needed. The mount allows for 360-degree rotation.

Image 3.2: Dash camera mounted on a car windshield. This image shows the dash camera securely attached to the windshield, providing a clear view of the road ahead.
3.3 Power Connection
- Connect the data cable to the dash camera's power input port.
- Plug the car charger into your vehicle's 12V power outlet (cigarette lighter socket).
- Route the power cable neatly along the windshield and dashboard using the provided cable clamps and crowbar to avoid obstructing your view or interfering with vehicle controls.

Image 3.3: Cable routing diagram. This diagram illustrates how to neatly route the power cable along the car's interior to conceal it and prevent interference.

Image 3.4: Car charger connection. This image shows the car charger securely plugged into the vehicle's 12V power outlet.
3.4 Initial Power-On
Once connected to power, the dash camera will automatically power on and begin recording when your vehicle starts. The screen will display the live view and recording status. A red indicator light typically signifies recording, while a blue light indicates charging.

Image 3.5: Dash camera display with indicators. This image shows the dash camera screen displaying the live view, with labels indicating the recording and charging status lights.
4. Operating Instructions
4.1 Basic Recording
The dash camera automatically starts recording when powered on. Video files are saved in segments to the SD card.
4.2 Loop Recording
The device utilizes loop recording, which continuously records video. When the SD card is full, the oldest unlocked video files are automatically overwritten to ensure uninterrupted recording. This feature prevents the recording from stopping due to a full memory card.

Image 4.1: Loop Recording. This graphic visually explains how loop recording works, showing older files being overwritten by new ones to maintain continuous recording.
4.3 G-Sensor (Emergency Recording)
The built-in G-Sensor detects sudden impacts or collisions. When triggered, it automatically locks the current video segment, preventing it from being overwritten by loop recording. These locked files are stored in a separate folder on the SD card.
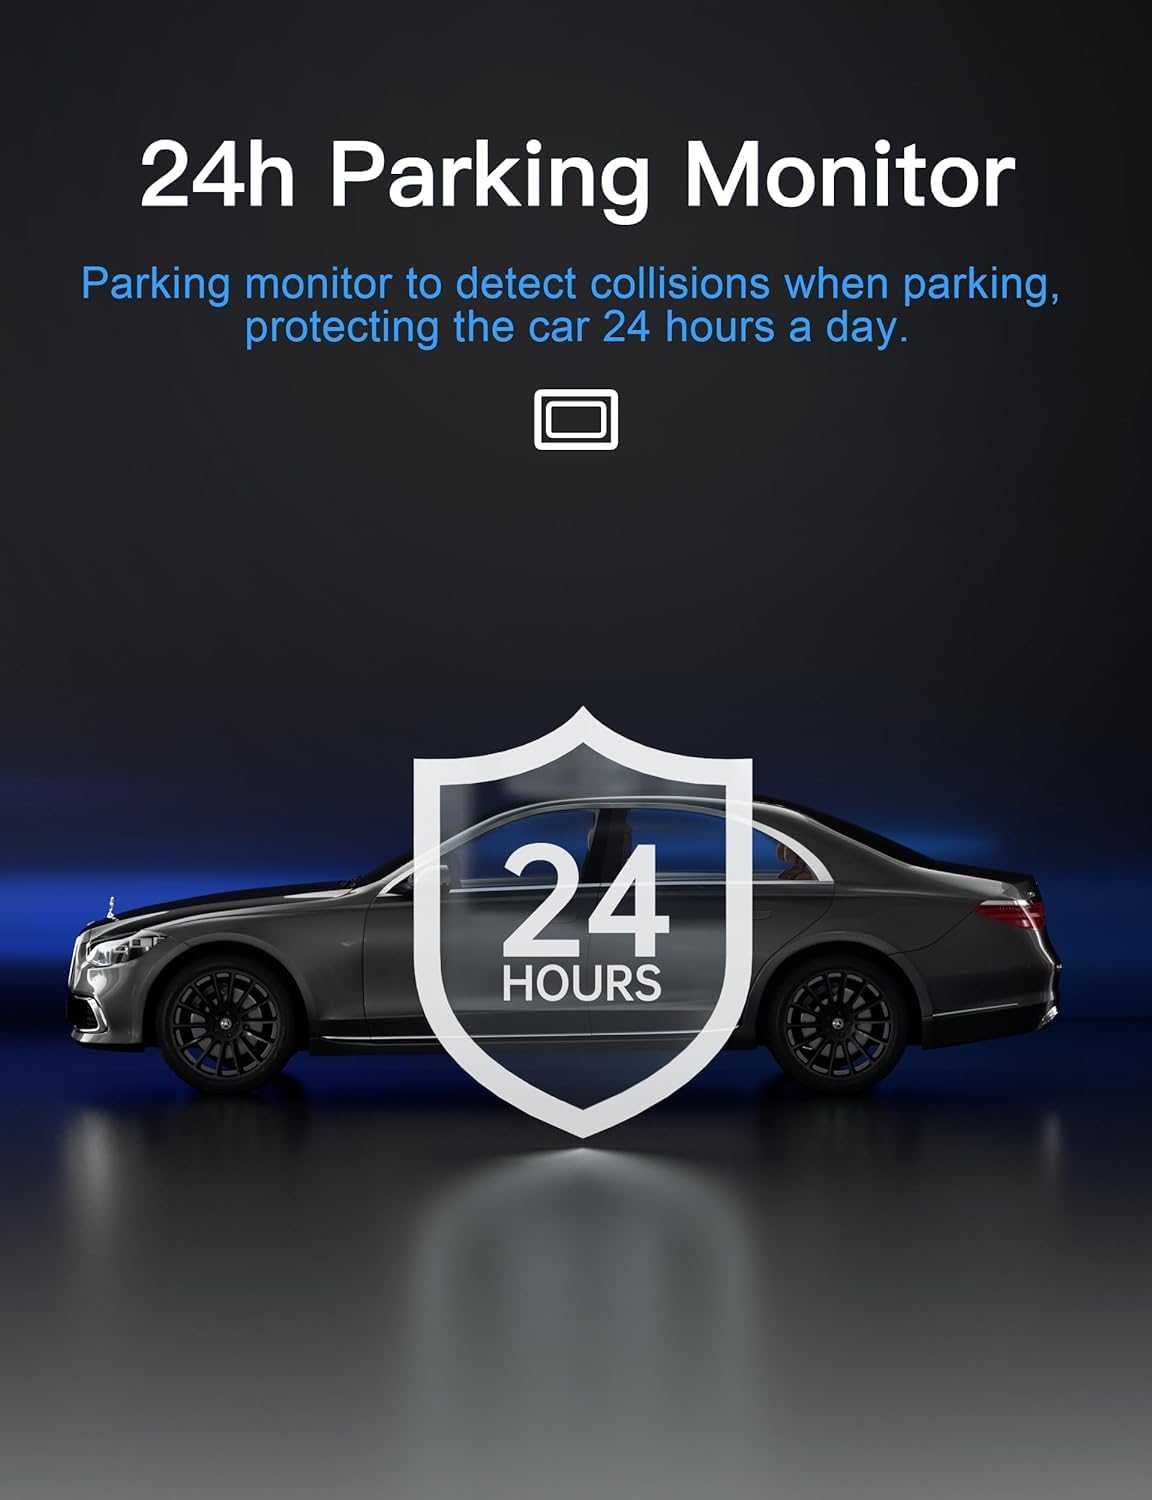
Image 4.2: G-Sensor in action. This image depicts a collision scenario, with a lock icon appearing to symbolize the G-Sensor automatically securing the video footage.
4.4 24-Hour Parking Monitor
When enabled, the parking monitor function allows the dash camera to detect impacts or motion while your vehicle is parked. If an event is detected, the camera will automatically record a short video clip. This feature requires a continuous power supply (e.g., hardwire kit, not included) to function for 24 hours.

Image 4.3: 24-hour Parking Monitor. This graphic shows a car with a shield icon and "24 HOURS" text, representing continuous vehicle protection through the parking monitor feature.
4.5 Wi-Fi and App Control
The WANLIPO M03 features built-in Wi-Fi, allowing you to connect your smartphone via a dedicated app (e.g., Viidure App). Through the app, you can:
- View live footage from the dash camera.
- Download recorded videos to your phone.
- Adjust camera settings.
Download the app from the App Store (iOS) or Google Play Store (Android).

Image 4.4: Wi-Fi and App Support. This image shows the dash camera wirelessly connected to a smartphone displaying the live feed, illustrating the app control functionality.
Video 4.1: Demonstration of 4K Dash Camera with Wi-Fi. This video showcases the WANLIPO 4K Dash Camera's features, including its 3-inch IPS screen, 6-glass lens, super image sensor, and built-in Wi-Fi for live preview via a smartphone app. It also demonstrates the 4K Ultra HD recording quality in various lighting conditions.
5. Maintenance
- Cleaning: Use a soft, dry cloth to clean the camera lens and screen. Avoid abrasive materials or chemical cleaners.
- SD Card: Periodically format the SD card (at least once a month) to maintain optimal performance and prevent data corruption. This can usually be done through the camera's settings menu or via the app.
- Firmware Updates: Check the manufacturer's website or app for any available firmware updates to ensure your dash camera has the latest features and bug fixes.
6. Troubleshooting
- Camera not powering on:
Ensure the car charger is securely plugged into both the dash camera and the vehicle's 12V power outlet. Check if the vehicle's power outlet is functioning. - Recording stops unexpectedly:
Format the SD card. Ensure the SD card is a high-speed (Class 10 or U3) card. A faulty or slow SD card can cause recording issues. - Video quality is poor:
Clean the camera lens. Ensure the protective film has been removed from the lens. Check video resolution settings in the camera or app. - Wi-Fi connection issues:
Ensure Wi-Fi is enabled on the dash camera and your smartphone. Restart both devices. Make sure you are within close proximity to the dash camera. - G-Sensor is too sensitive/not sensitive enough:
Adjust the G-Sensor sensitivity setting in the camera's menu or app.
7. Specifications
| Model | M03 |
| Video Resolution | 4K Ultra HD (3840*2160P) |
| Screen Size | 3 Inches IPS |
| Lens | F/1.6 aperture, 6-Class Lens, 170° Wide View |
| Connectivity | Wi-Fi |
| Special Features | Loop Recording, G-Sensor, Parking Monitor, WDR |
| Included SD Card | 64GB |
| Power Source | Car Charger (12V) |
| Product Dimensions | 7 x 14 x 11 inches (approximate packaging) |
| Item Weight | 11.3 ounces |
8. Warranty and Support
The WANLIPO M03 Dash Camera comes with a 12-month reliable warranty. For technical support, warranty claims, or any inquiries, please contact WANLIPO customer service at Wanlipo@hotmail.com.


