
1. Safety Information
This laser module is a Class 4 laser product. Improper use can result in serious injury, including eye damage, skin burns, and fire. Always adhere to the following safety guidelines:
- Eye Protection: Always wear appropriate laser safety goggles that filter 450nm blue light when operating or observing the laser module in operation. Never look directly into the laser beam.
- Skin Protection: Avoid direct exposure of skin to the laser beam.
- Work Area: Operate the laser in a well-ventilated area. Ensure the work surface is fire-resistant and clear of flammable materials.
- Supervision: Never leave the laser module operating unattended.
- Children and Pets: Keep children and pets away from the laser module and its operating area.
- Emergency Stop: Familiarize yourself with the emergency stop procedure for your laser engraving/cutting machine.
- Power: Ensure the power supply matches the module's requirements (DC 12V/24V 3.5A).
2. Setup and Installation
This section outlines the steps for installing your AENBUSLM laser module. Ensure all safety precautions are followed before beginning installation.
2.1 Package Contents
Verify that all components are present in your package:
- AENBUSLM Laser Module
- Air Pump
- Air Pump Tube
- External Power Cord
- First to Second Line + External Power Cord
- 3P Line (XH2.54-3P socket)
- Lens Replacement Tool + 1.5mm L Wrench
- Air Pump Power Cord
- Focus Fixing Plate
- Replaceable Protective Lens

Image 2.1: Included components for the AENBUSLM Laser Module. This includes the laser module itself, an air pump, various connection cables, tools for maintenance, and a focus fixing plate.
2.2 Module Connection
The laser module is compatible with both 12V and 24V devices. Connect the module to your laser engraving/cutting machine using the provided 3P line (XH2.54-3P socket).
- Power Input: DC 12V/24V 3.5A.
- Control Line: Simple pluggable installation method.

Image 2.2: Detailed wiring diagram illustrating different connection configurations for the laser module, including VIN, PWM, and GND connections.
2.3 Air Assist Installation
The air assist kit is included to enhance cutting performance and maintain cleaner edges.
- Connect the air pump tube to the air assist nozzle on the laser module.
- Connect the air pump to its power source using the provided air pump power cord.
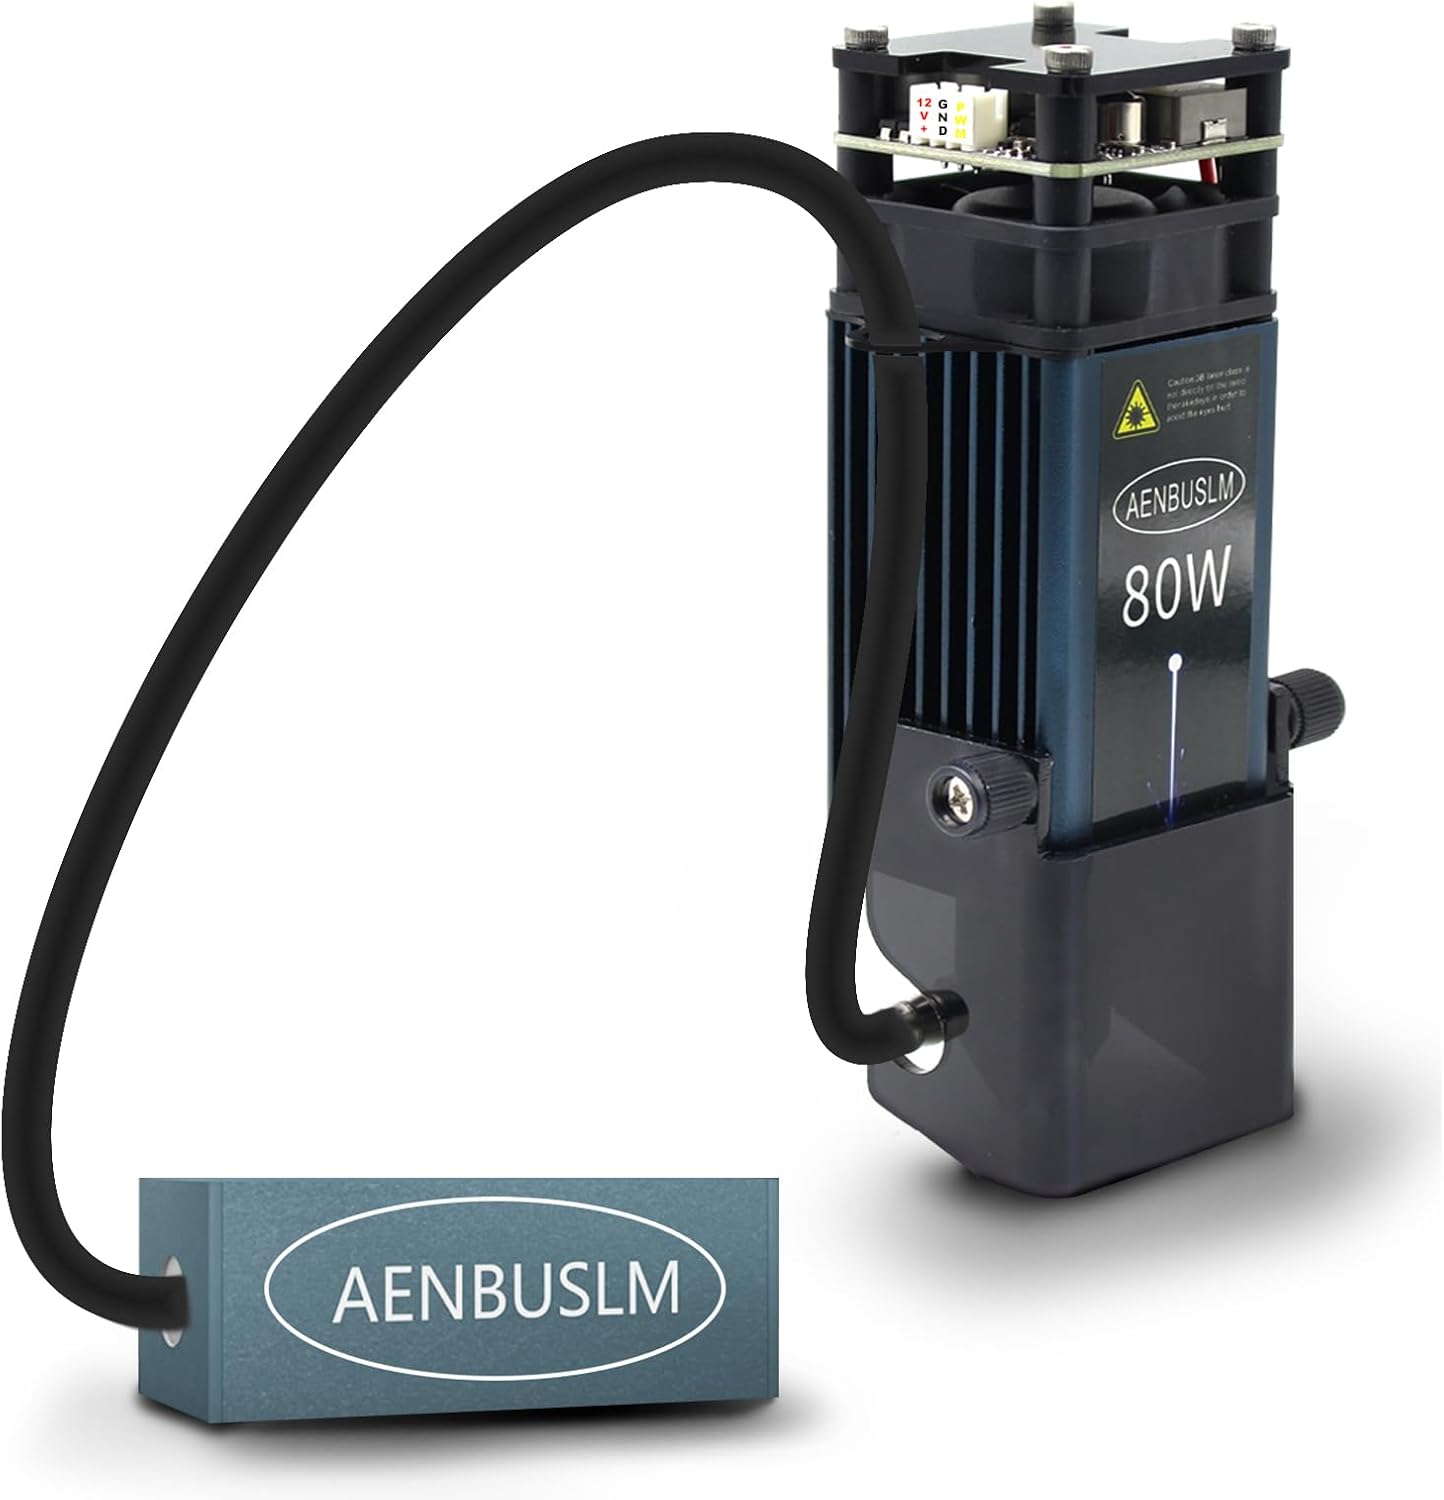
Image 2.3: The AENBUSLM laser module shown with the air assist hose connected to an external air pump, illustrating the setup for enhanced cutting.
2.4 Focus Adjustment
Proper focus is critical for optimal engraving and cutting results. Use the provided focus fixing plate to set the correct focal length.
- Place the focus fixing plate on your material.
- Lower the laser module until the nozzle touches the focus fixing plate.
- Secure the laser module in this position.
- Remove the focus fixing plate before operation.
3. Operating Instructions
The AENBUSLM laser module features 10W optical output power and 80W machine power, designed for precision engraving and cutting.
3.1 Key Features
- Output Power: 10W (10000mW) optical output.
- Beam Spot: Double ultra-fine compressed spot (0.06*0.06mm) due to built-in FAC technology.
- Wavelength: 450nm.
- Power Modulation: Supports 5V PWM modulation.
- Air Assist: Integrated air assist for cleaner cuts and deeper penetration.
- Eye Protection: Detachable eye protection cover filters blue light.

Image 3.1: An overview of the AENBUSLM laser module's main features, such as 10W output, eye protection, air assist, and a precise laser beam.
3.2 Engraving and Cutting Capabilities
The module offers versatile performance on various materials:
- Direct Engraving: Mirror stainless steel can be engraved directly without prior black coating.
- Engraving Speed: Up to 300mm/s on 304 stainless steel with a 45mm focal length.
- Cutting Ability: Cuts through 8mm thickness plywood in a single pass at 1.5mm/s with a 45mm focal length.
- Compatible Materials: Pine board, wood, stone, bamboo, basswood, black acrylic, plywood, coated glass, lacquered metal, plastic, leather, aluminum oxide, ceramics, and stainless steel.
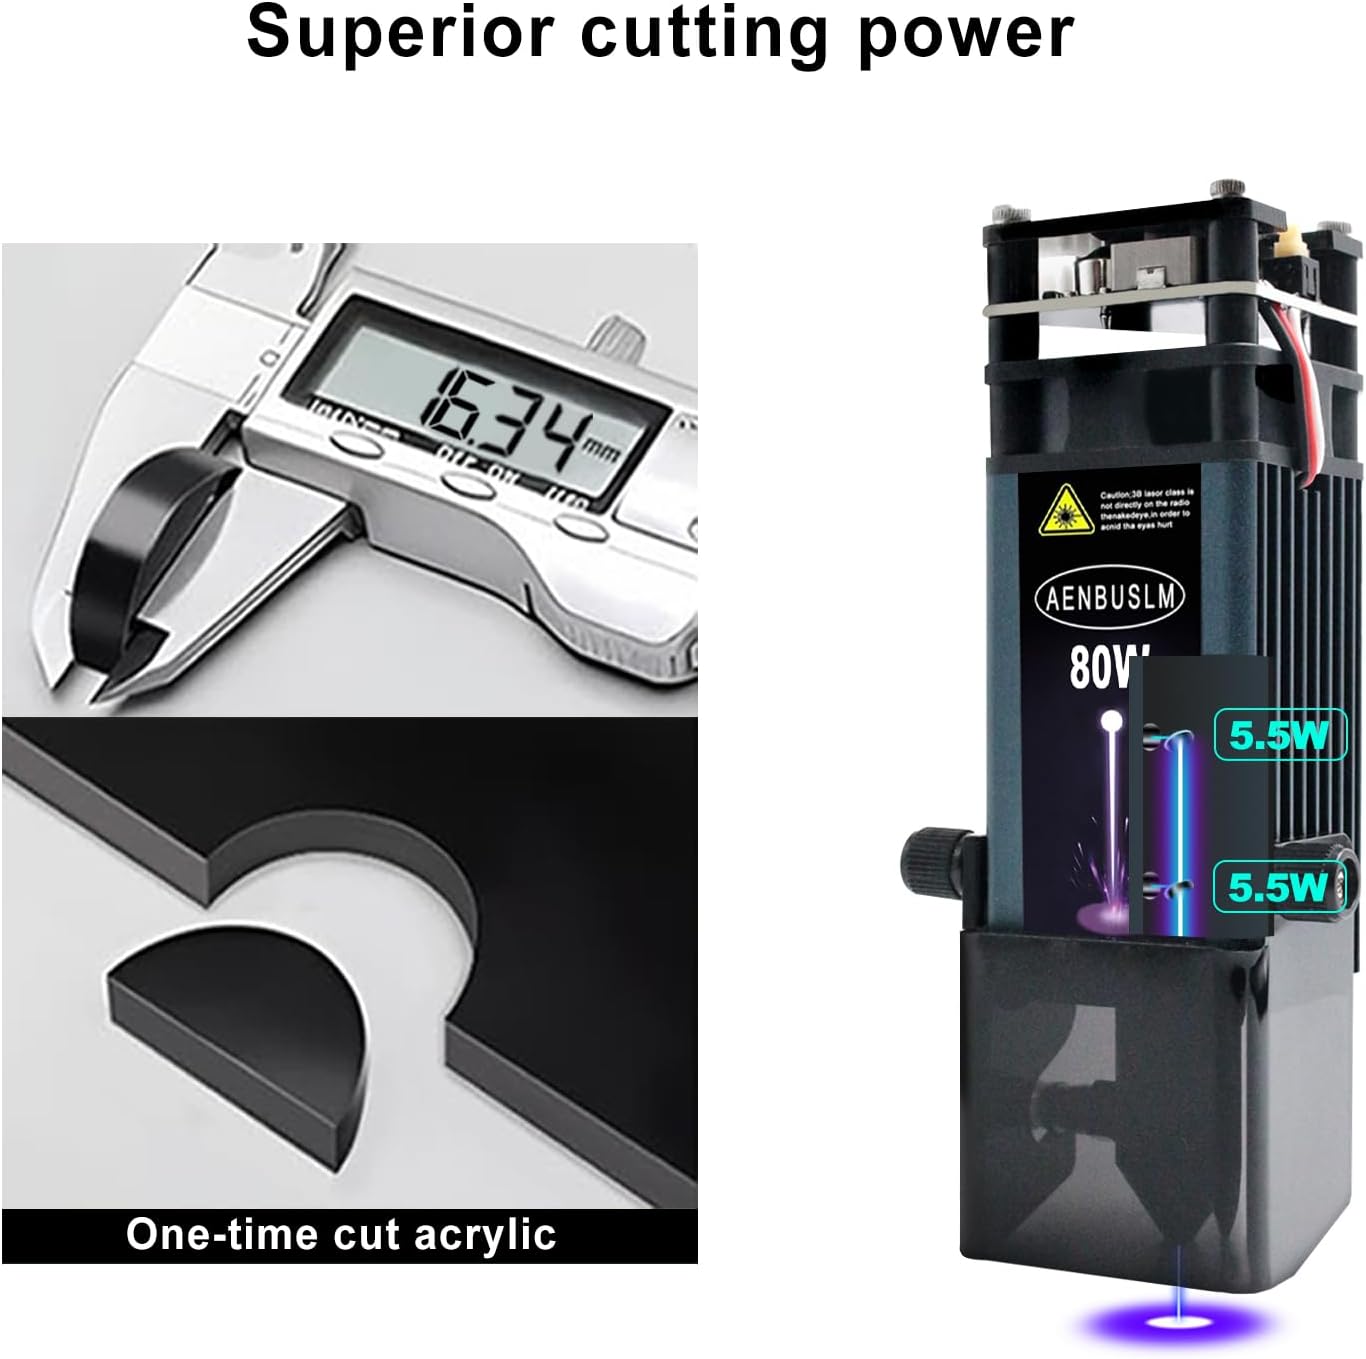
Image 3.2: A visual representation of the laser module's cutting capability, specifically demonstrating a clean, single-pass cut on acrylic material.
3.3 Benefits of Air Assist
Utilizing the air assist feature significantly improves results:
- Cleaner Edges: Reduces charring and discoloration during cutting.
- Deeper Cuts: Enhances the laser's ability to cut through thicker materials.
- Increased Efficiency: Saves time by achieving desired results in fewer passes.
- Smoke-free Environment: Helps clear smoke and debris from the work area.
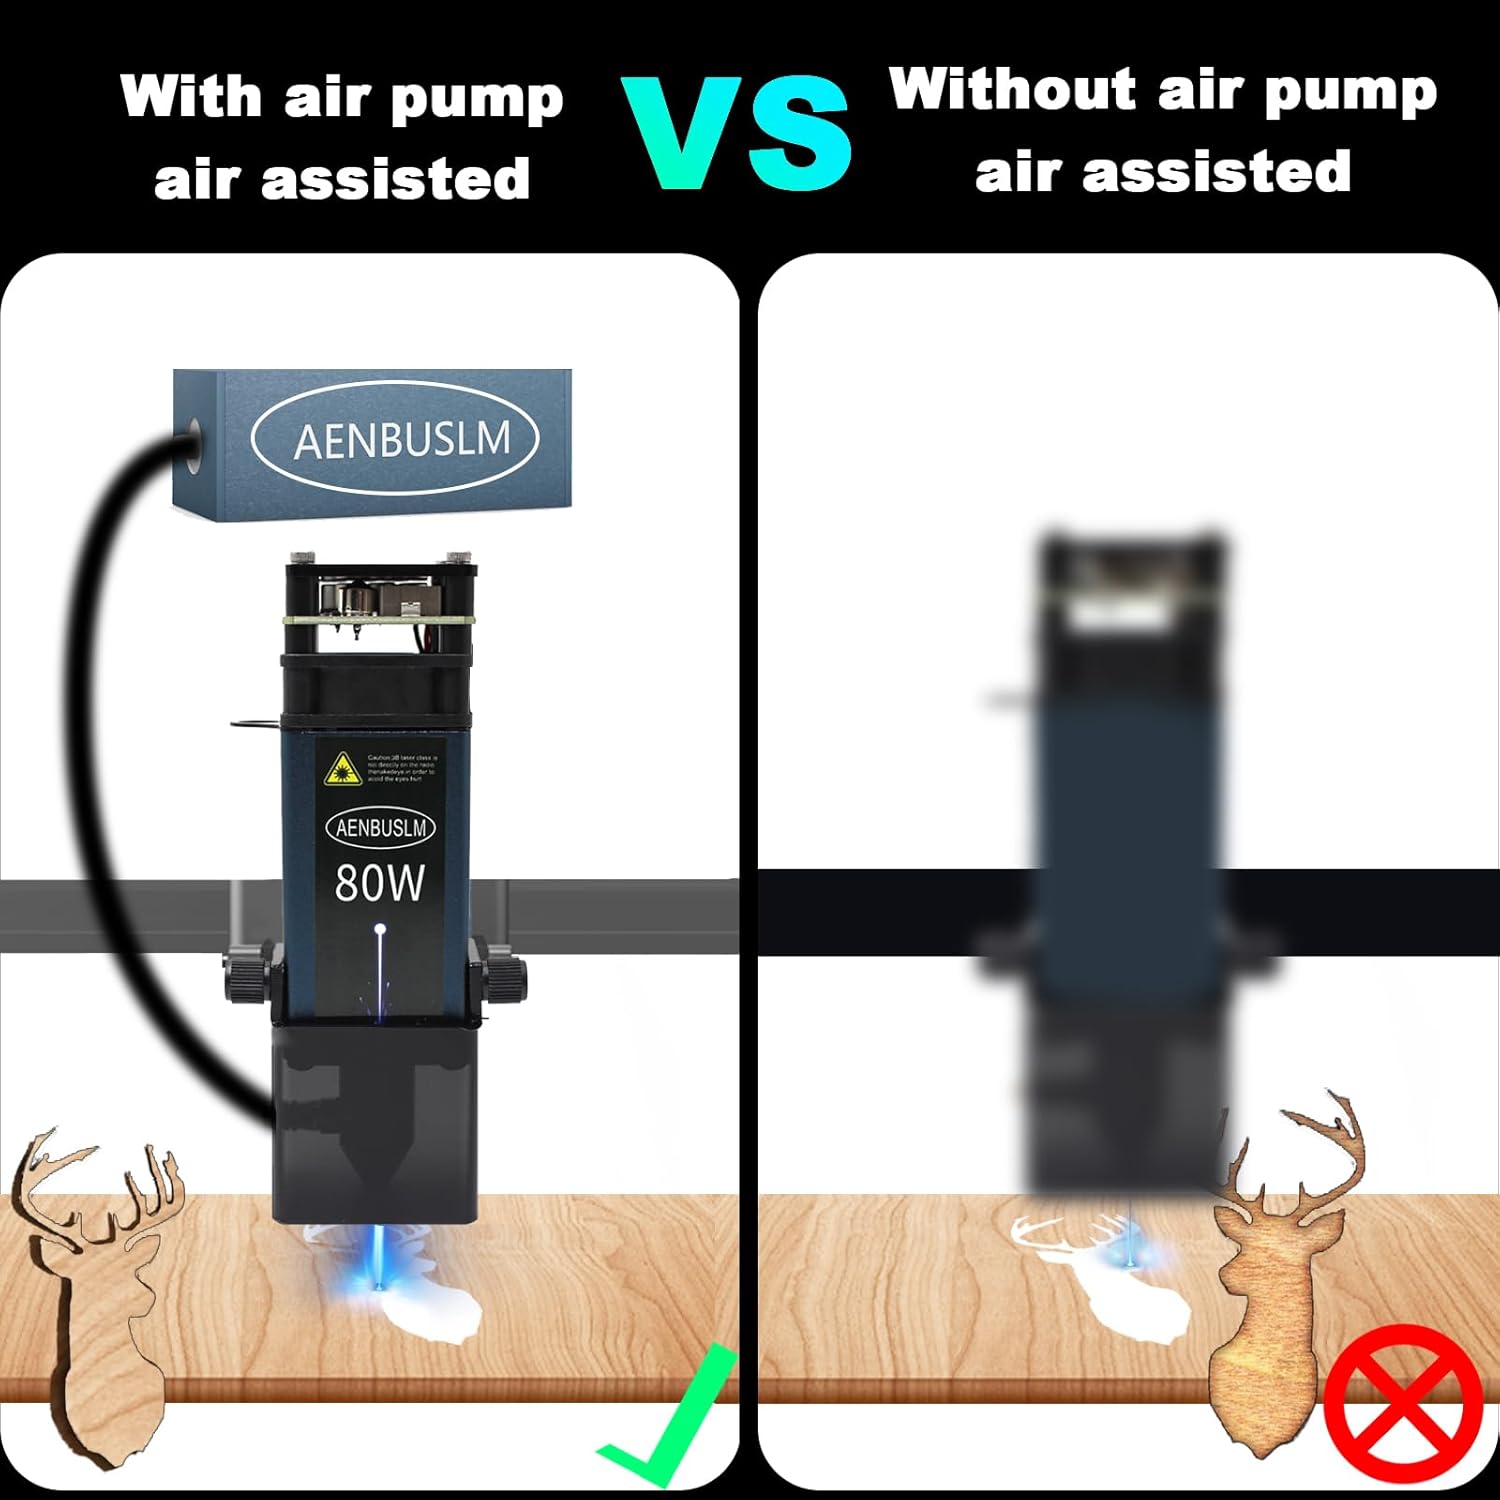
Image 3.3: A side-by-side comparison illustrating the improved quality of laser work when using air assist versus not using it, showing cleaner cuts and less charring.
3.4 Operation Demonstration
The following video demonstrates the AENBUSLM laser module's cutting capabilities on plywood.
Video 3.4: A demonstration of the AENBUSLM 80W laser module performing a cutting operation on a piece of wood, showcasing its precision and efficiency.
4. Maintenance
Regular maintenance ensures the longevity and optimal performance of your laser module.
4.1 Cleaning the Protective Lens
The protective lens can accumulate debris over time, affecting laser performance. Use the provided lens replacement tool and a soft, lint-free cloth with lens cleaning solution to gently clean the lens. Replace the lens if it is scratched or damaged.
4.2 Cooling System
The laser module features a built-in fan cooling system (fan speed 10000 rpm) to maintain stable performance. Ensure the fan vents are clear of obstructions to allow for proper airflow.
4.3 General Care
- Keep the module free from dust and moisture.
- Avoid dropping or subjecting the module to strong impacts.
- Store the module in a dry, cool environment when not in use.
5. Troubleshooting
If you encounter issues with your AENBUSLM laser module, refer to the following common problems and solutions:
| Problem | Possible Cause | Solution |
|---|---|---|
| Laser not emitting light | No power, loose connection, faulty control signal, module failure. | Check power supply and connections. Verify control signal from machine. Contact support if issue persists. |
| Weak laser output / Poor engraving/cutting | Incorrect focus, dirty lens, incorrect power settings, material incompatibility. | Adjust focus using the fixing plate. Clean the protective lens. Verify power and speed settings in software. Ensure material is compatible. |
| Air assist not working | Air pump not powered, tube kinked or disconnected, nozzle clogged. | Check air pump power and connections. Inspect air tube for obstructions. Clean the air assist nozzle. |
| Overheating | Blocked fan vents, prolonged high-power operation without adequate cooling. | Ensure fan vents are clear. Allow module to cool down. Operate within recommended parameters. |
If these steps do not resolve the issue, please contact AENBUSLM customer support.
6. Specifications
Detailed technical specifications for the AENBUSLM Laser Module (Model JG-10W-WZB).
| Feature | Specification |
|---|---|
| Model Number | JG-10W-WZB |
| Optical Output Power | 10W (10000mW) |
| Machine Power | 80W |
| Laser Wavelength | 450nm |
| Beam Spot Size | 0.06*0.06mm (FAC technology) |
| Input Voltage | DC 12V/24V |
| Input Current | 3.5A |
| Control Interface | XH2.54-3P socket (5V PWM modulation) |
| Fan Speed | 10000 rpm |
| Product Dimensions | 5.7 x 2 x 1.6 inches (143mm x 40mm x 40mm) |
| Item Weight | 1.1 pounds |
| Diode Lifetime | 20000 hours |
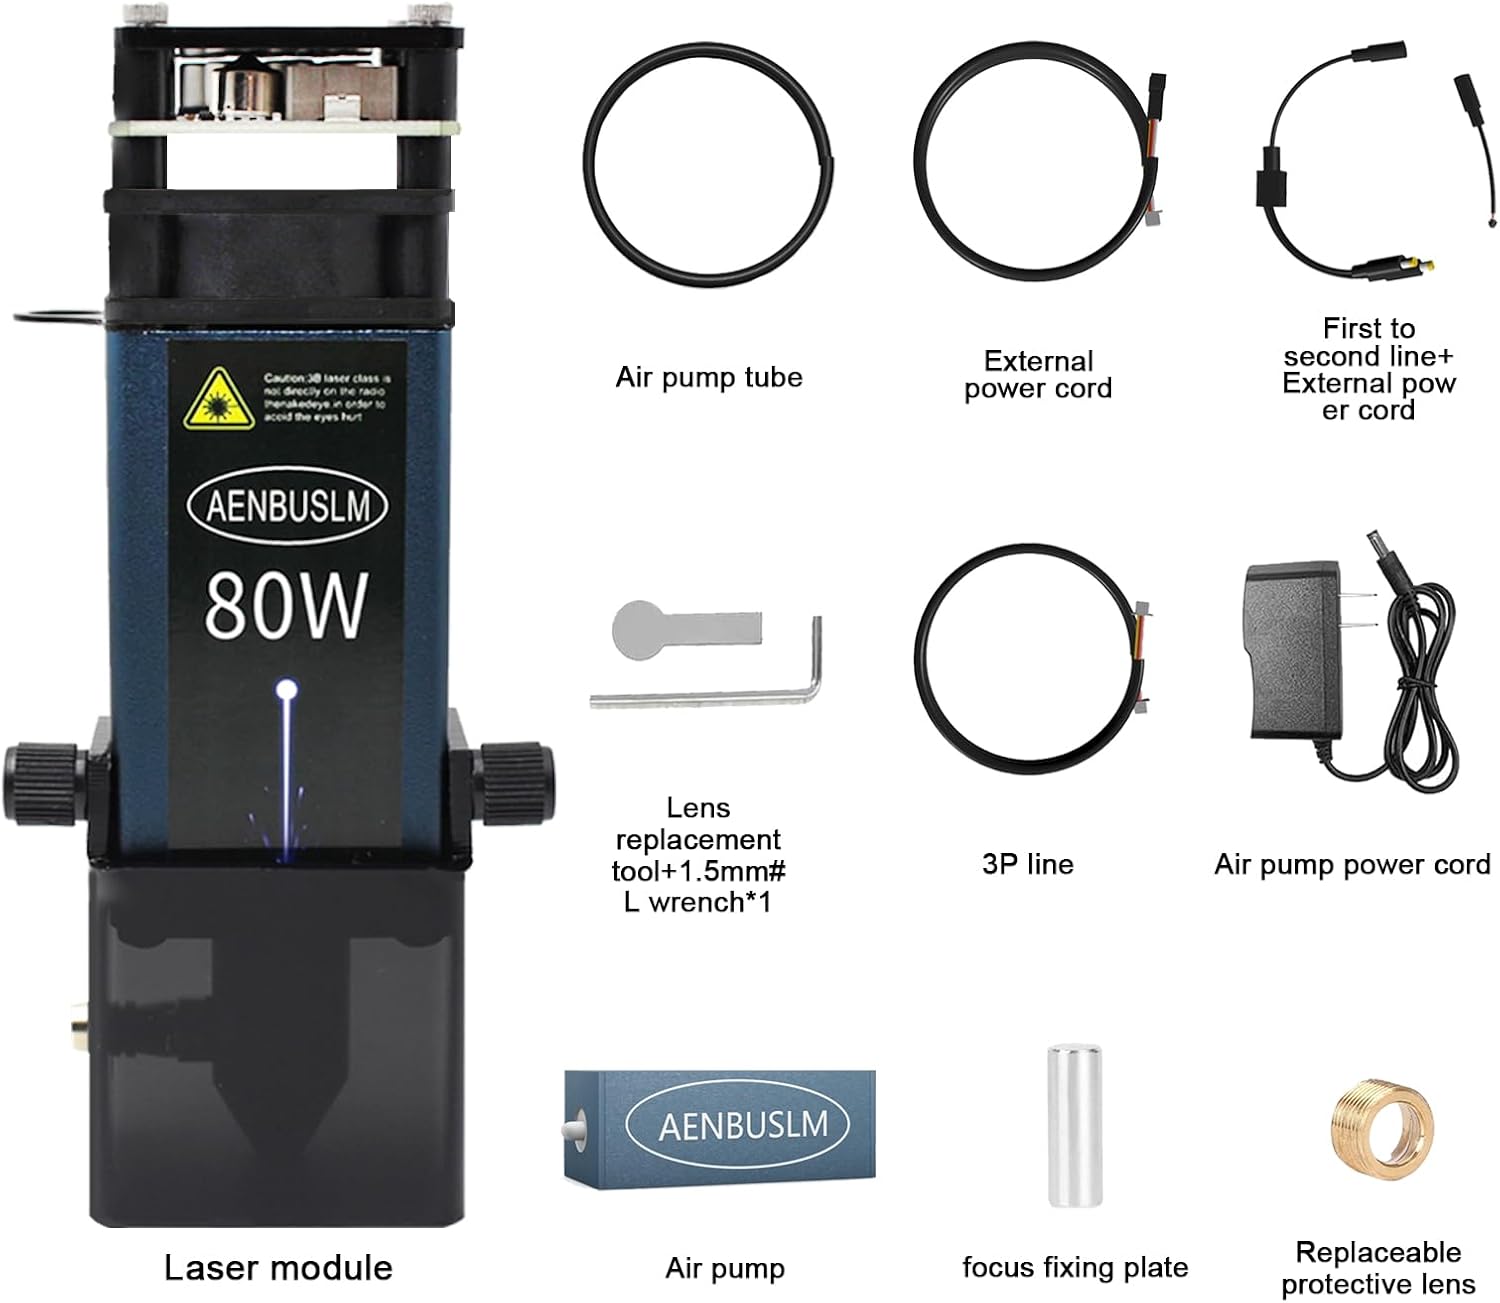
Image 6.1: Dimensional drawing of the AENBUSLM laser module and its accompanying air pump, indicating measurements in millimeters.
7. Warranty and Support
AENBUSLM is committed to providing high-quality after-sales service.
- Customer Support: If you encounter any problems while using this product, you can contact our after-sales service team at any time.
- Technical Assistance: Our professional technicians are available to provide solutions and assistance promptly.