1. Product Overview
The Tribesigns 9-Tier Shoe Storage Cabinet is designed to organize and display your footwear collection. Featuring nine spacious tiers and integrated LED lighting with multiple color options, this freestanding cabinet offers both functionality and aesthetic appeal. It is constructed from engineered wood with solid wooden legs, ensuring stability and durability. The design includes adjustable shelves to accommodate various shoe heights and an anti-tipping mechanism for safety.
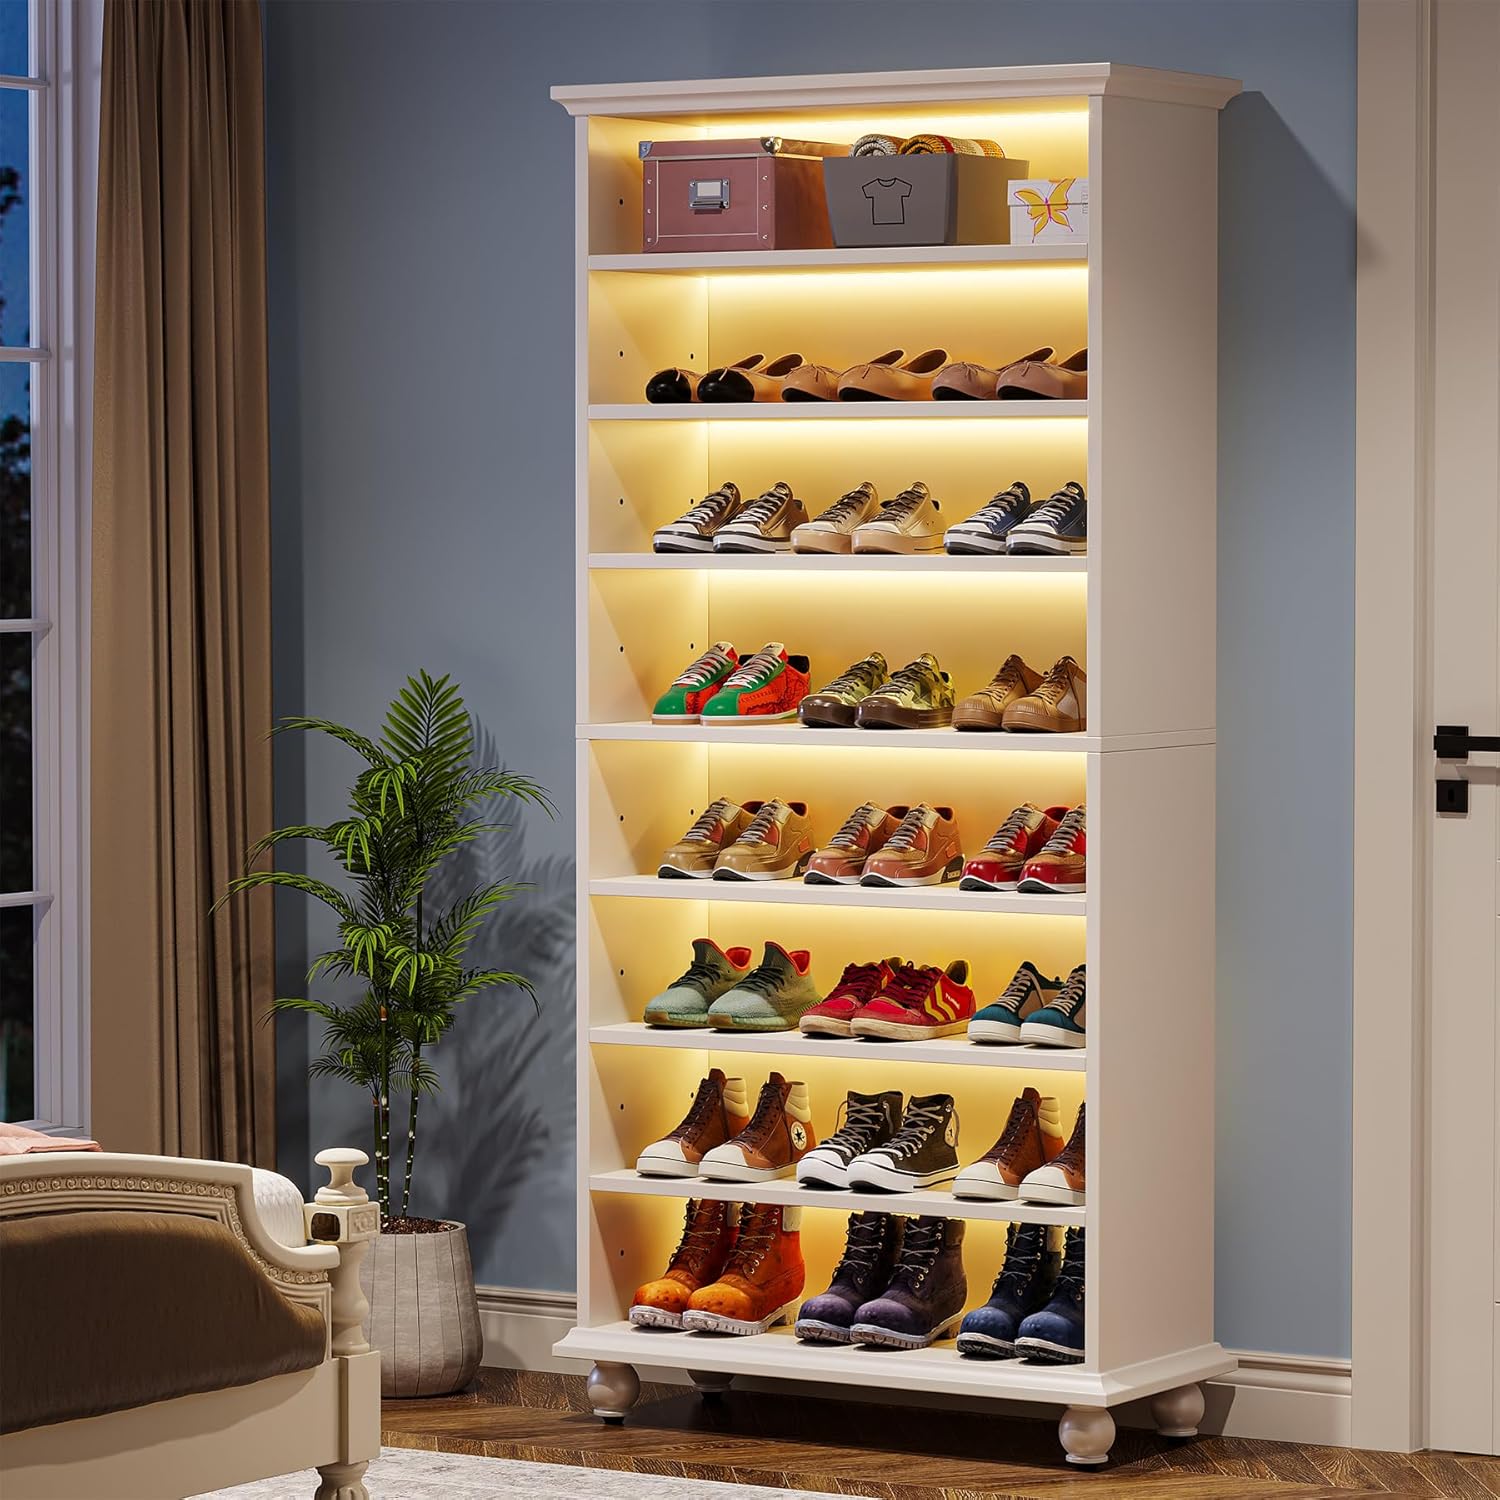
Figure 1: Assembled Tribesigns 9-Tier Shoe Storage Cabinet
2. Safety Information
Please read and understand all safety instructions before assembly and use. Failure to follow these instructions may result in injury or damage to the product.
- Anti-Tipping Device: Always install the included anti-tipping hardware to secure the cabinet to a wall. This prevents accidental tipping, especially in households with children or pets.
- Weight Limit: Do not exceed the maximum weight limit of 300 pounds for the entire cabinet. Distribute weight evenly across shelves.
- Assembly: Assemble the unit on a soft, clean surface to prevent scratches. It is recommended that two adults assemble this product.
- Placement: Place the cabinet on a level surface to ensure stability. Adjust the leveling feet as needed.
- Electrical Safety: Ensure the LED lighting system is connected to a suitable power source. Do not expose electrical components to water or excessive moisture.

Figure 2: Anti-Tipping Hardware Installation
3. Package Contents
Verify that all components are present before beginning assembly. If any parts are missing or damaged, contact customer support.
- Cabinet Panels (Top, Bottom, Side, Back, Shelves)
- Solid Wooden Legs
- Assembly Hardware (Screws, dowels, cam locks, etc.)
- LED Light Strips
- LED Remote Control
- Anti-Tipping Kit
- Assembly Guide (This document)
4. Assembly Instructions
Assembly typically requires two adults and basic tools (screwdriver, hammer). Follow the steps carefully.
4.1. Prepare for Assembly
- Clear a spacious area and lay out all components on a soft, protective surface.
- Identify all parts using the included parts list.
4.2. Assemble the Main Frame
- Attach the side panels to the bottom panel using the specified hardware.
- Insert the fixed middle shelf into the designated slots.
- Secure the top panel to the side panels.
4.3. Install Shelves
- Insert shelf pins into the desired holes on the side panels for the adjustable shelves.
- Place the adjustable shelves onto the pins. Note that one middle shelf is fixed for structural integrity.

Figure 3: Adjustable Shelf Mechanism
4.4. Attach Back Panel and Legs
- Carefully attach the back panel to the assembled frame using small nails or screws.
- Attach the solid wooden legs to the bottom of the cabinet.
- Adjust the leveling feet on the bottom of the legs to ensure the cabinet is stable and level on your floor.

Figure 4: Adjustable Leveling Feet
4.5. Install LED Lighting
- Carefully adhere the LED light strips to the underside of each shelf, following the guide in your package.
- Connect the LED strips to the power adapter and controller.
- Plug the power adapter into a suitable electrical outlet.
4.6. Secure with Anti-Tipping Kit
- Position the cabinet in its final location.
- Attach the anti-tipping hardware to the top rear of the cabinet and securely fasten it to a wall stud or using appropriate wall anchors.
5. Operating Instructions
5.1. LED Lighting Operation
The LED lights are controlled by the included remote control.
- Power On/Off: Press the power button on the remote to turn the lights on or off.
- Color Selection: Use the color buttons to select from 64 different colors.
- Brightness Adjustment: Use the brightness up/down buttons to adjust the intensity of the light.
- Mode Selection: Cycle through various dynamic lighting modes (e.g., flash, strobe, fade, smooth) using the mode buttons.

Figure 5: LED Remote Control

Figure 6: Cabinet with Blue LED Lighting
5.2. Adjustable Shelves
The shelves (excluding the fixed middle shelf) can be adjusted to different heights to accommodate various shoe types, such as boots, heels, or sneakers.
- To adjust a shelf, carefully remove all items from the shelf.
- Lift the shelf to remove it from the pins.
- Relocate the shelf pins to the desired height holes on the side panels.
- Place the shelf back onto the pins, ensuring it is level and secure.
6. Maintenance and Care
- Cleaning: Wipe the cabinet surfaces with a soft, damp cloth. Avoid harsh chemicals or abrasive cleaners that may damage the finish.
- Dusting: Regularly dust the shelves and cabinet to maintain its appearance.
- Stability Check: Periodically check all screws and connections to ensure they remain tight. Re-tighten if necessary.
- LED Care: If LED strips become dirty, gently wipe them with a dry cloth. Do not attempt to disassemble the LED components.
7. Troubleshooting
| Problem | Possible Cause | Solution |
|---|---|---|
| LED lights do not turn on. | Power adapter unplugged; remote battery dead; loose connection. | Ensure power adapter is securely plugged in. Check remote battery and replace if needed. Verify all LED strip connections are firm. |
| Cabinet is wobbly. | Uneven floor; loose assembly hardware. | Adjust the leveling feet at the base of the cabinet. Tighten all assembly screws. Ensure anti-tipping device is properly installed. |
| Shelves are not level. | Shelf pins not inserted correctly. | Remove the shelf and re-insert the shelf pins, ensuring they are fully seated in corresponding holes on both sides. |
8. Specifications

Figure 7: Product Dimensions
- Brand: Tribesigns
- Model Name: Tall Shoe Cabinet
- Model Number: AMZJ0216
- Color: White
- Product Dimensions: 11.81"D x 28.35"W x 68.9"H
- Number of Tiers/Shelves: 9
- Material: Engineered Wood (Top, Back), Solid Wood (Legs)
- Mounting Type: Floor Mount (Freestanding)
- Special Feature: Scratch Resistant, LED Lighting
- Weight Limit: 300 Pounds
- Assembly Required: Yes
9. Warranty and Support
For warranty information, missing parts, or technical support, please refer to the contact information provided with your purchase or visit the official Tribesigns website. Keep your purchase receipt for warranty claims.


