
1. Introduction
The GYPNS Roof Rack System Fit Kits are designed to expand the storage capacity of your vehicle, providing a secure and reliable platform for carrying luggage, sports equipment, and other items on your vehicle's roof. These vehicle-specific fit kits are compatible with cars featuring naked roofs, fixed points, flush rails, or mounting tracks. This manual provides essential information for proper installation, operation, and maintenance of your roof rack system.
2. Product Overview
2.1 Components
The GYPNS Roof Rack System Fit Kits include the following components:
- Brackets (4 pieces)
- Rubber bases (4 pieces)
- Mounting hardware

Figure 2.1: Overview of the GYPNS Roof Rack System Fit Kits components. The image displays four black brackets and four corresponding bases, which are essential parts of the roof rack system.
2.2 Features
- Vehicle-Specific Fit: Designed for cars with naked roofs, fixed points, flush rails, or mounting tracks.
- Durable Construction: Made of durable aluminized steel for long-term durability.
- Reliable Loading: Provides a secure and reliable platform for carrying various items.
- Perfect Match: Specifically designed for TOYOTA Prius 5-dr Hatchback models for fixing bare rooftop luggage carrier crossbars.
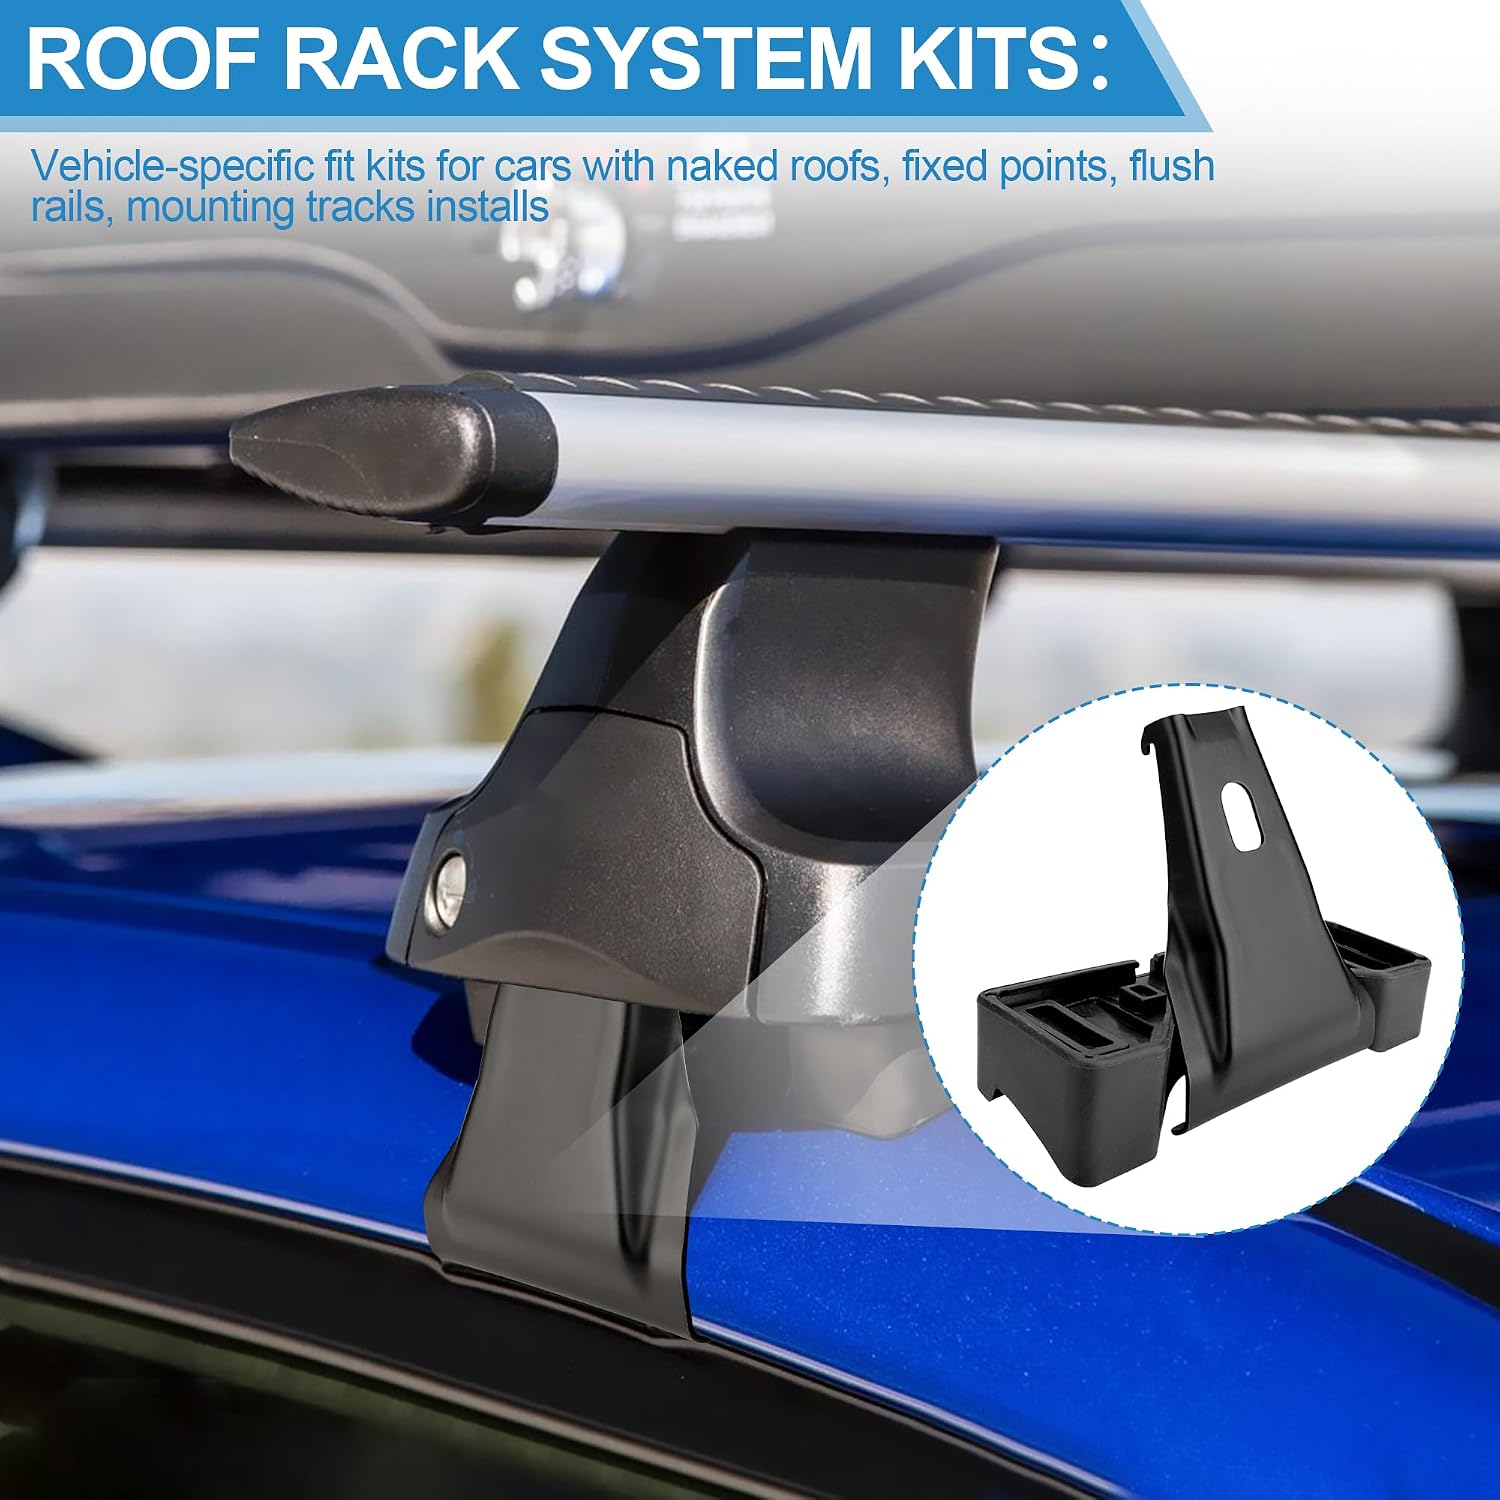
Figure 2.2: The roof rack system installed on a vehicle, highlighting its vehicle-specific fit and robust design. A separate bracket and base are shown for reference.
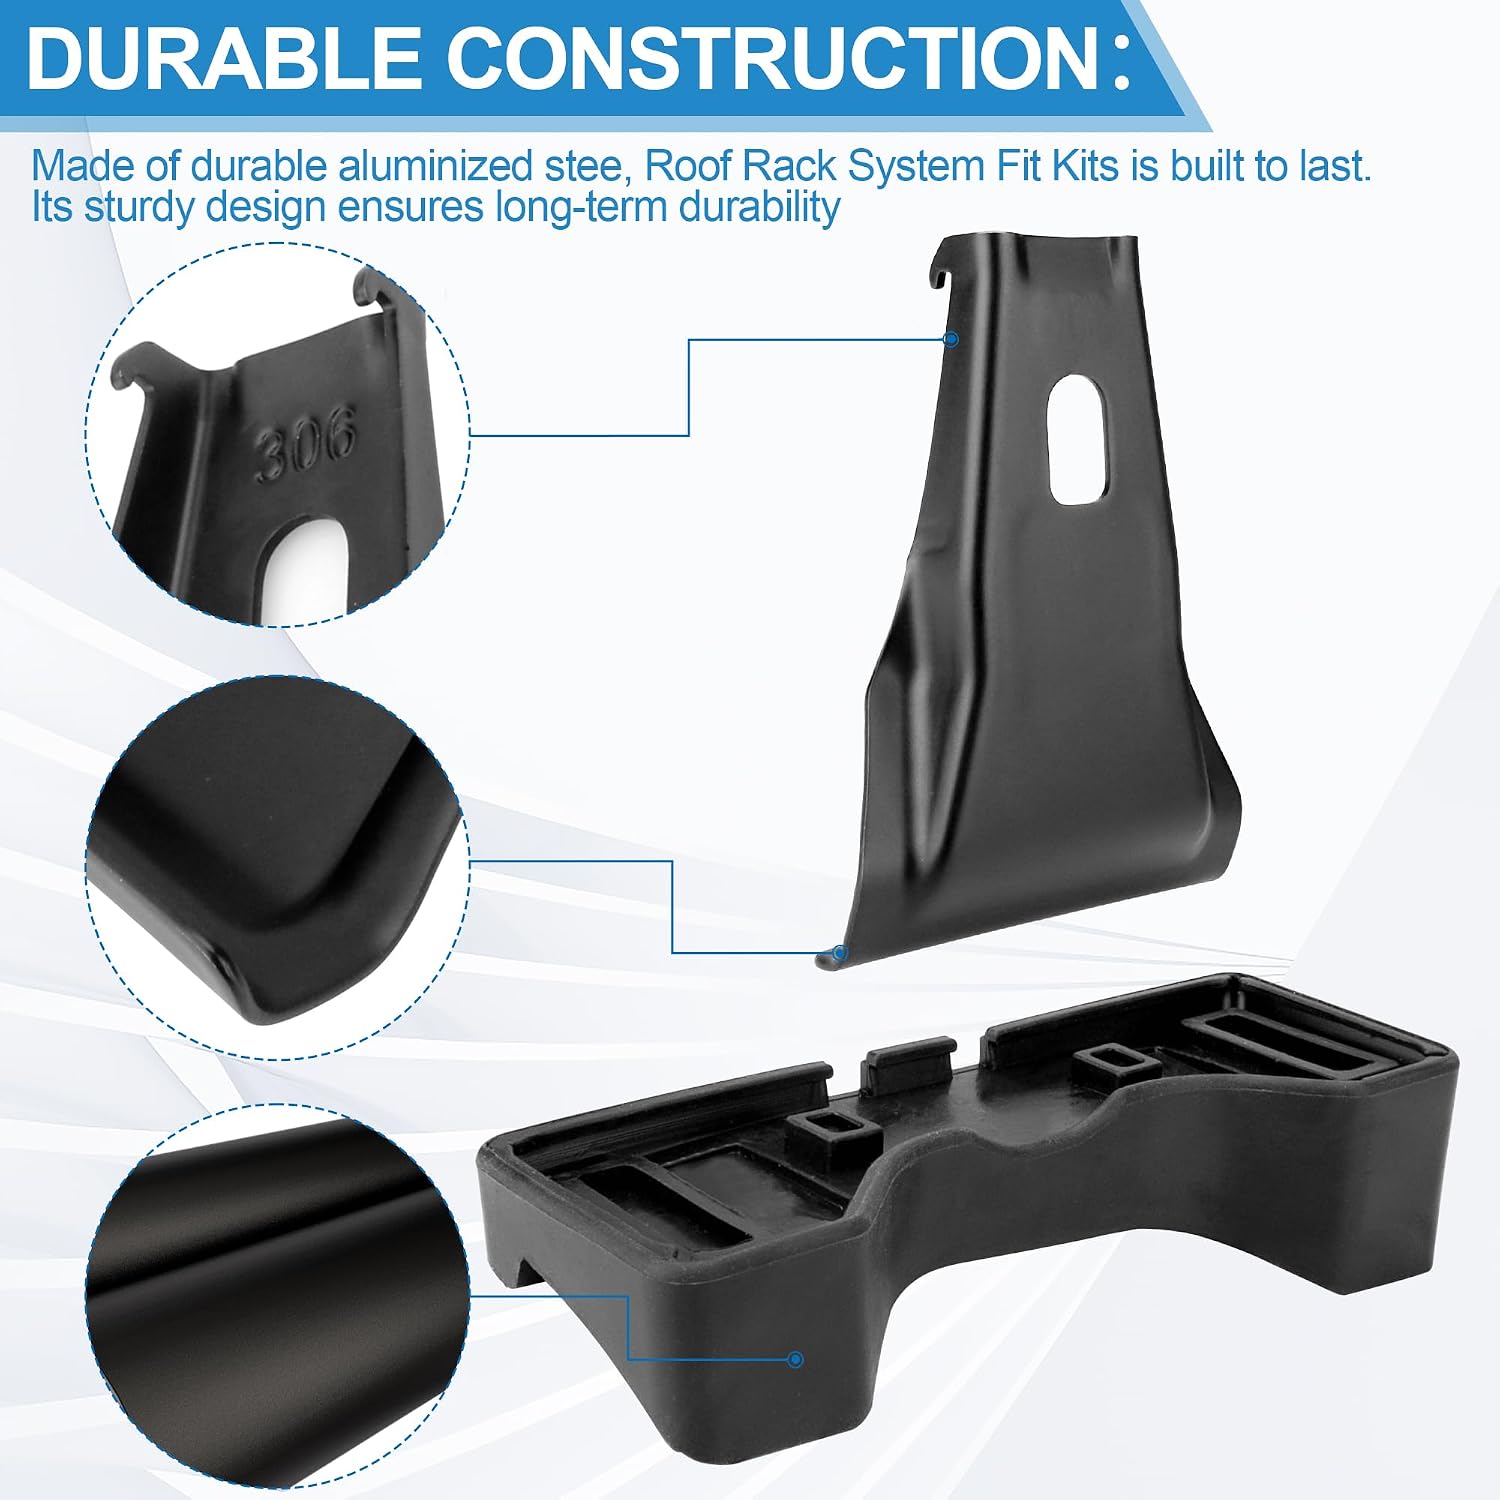
Figure 2.3: Detailed view of the durable aluminized steel construction of the roof rack fit kit components, emphasizing their robust build quality.
2.3 Product Dimensions

Figure 2.4: Product dimensions for the fit kit components, including length, width, and height measurements in inches for accurate fitment.
3. Setup and Installation
Proper installation is crucial for the safe and effective use of your roof rack system. Follow these steps carefully:
- Prepare the Roof Rack Foot Pack: Ensure your existing roof rack foot pack (e.g., Thule) is ready for the fit kit. The fit kit components are designed to integrate with the foot pack.
- Attach the Rubber Base: Place the vehicle-specific rubber base onto the bottom of the foot pack. This base provides a protective layer and ensures a snug fit against your vehicle's roof.
- Insert the Bracket: Slide the metal bracket into the designated slot on the foot pack. The bracket should align with the internal mechanism of the foot pack.
- Secure the Bracket: Ensure the bracket is fully seated and locked into place within the foot pack. Some foot packs may require a key or tool to secure the bracket.
- Repeat for All Foot Packs: Follow the same procedure for all four foot packs.
- Install on Vehicle: Once all fit kits are assembled with the foot packs, carefully place the entire crossbar assembly onto your vehicle's roof, aligning the rubber bases with the appropriate mounting points (naked roof, fixed points, flush rails, or mounting tracks).
- Tighten and Secure: Use the provided tools to tighten the foot pack clamps, ensuring a firm and secure attachment to your vehicle's roof. Verify that all components are tightly fastened before use.

Figure 3.1: Installation Legend. This diagram shows the sequence of attaching the rubber base and bracket to the roof rack foot pack, and the final appearance on the vehicle.

Figure 3.2: Visual representation of how the fit kit components integrate with a Thule roof rack foot pack, providing a clear understanding of the assembly.
4. Operating Instructions
Once installed, the GYPNS Roof Rack System Fit Kits provide the foundation for your roof rack. The operation primarily involves ensuring proper load distribution and security of items carried on the crossbars.
- Load Capacity: Always adhere to the maximum load capacity specified by your vehicle manufacturer and the roof rack crossbar manufacturer. Do not exceed these limits.
- Secure Loads: Ensure all items placed on the roof rack are securely fastened using appropriate straps, nets, or cargo boxes. Loose items can shift during transit and pose a safety hazard.
- Weight Distribution: Distribute weight evenly across the crossbars to maintain vehicle stability.
- Regular Checks: Periodically check the tightness of all mounting hardware, especially after driving on rough roads or after the first few uses.
- Driving Considerations: Be aware of increased vehicle height and potential wind resistance when driving with a loaded roof rack. Adjust driving speed and style accordingly.
5. Maintenance
To ensure the longevity and continued performance of your GYPNS Roof Rack System Fit Kits, follow these maintenance guidelines:
- Cleaning: Clean the fit kit components regularly with mild soap and water. Avoid harsh chemicals or abrasive cleaners that could damage the finish.
- Inspection: Periodically inspect the brackets and rubber bases for any signs of wear, damage, or corrosion. Replace any damaged components immediately.
- Hardware Check: Regularly check and re-tighten all bolts and fasteners to ensure they remain secure.
- Storage: If removing the roof rack system for extended periods, store the components in a dry, clean place away from direct sunlight and extreme temperatures.
6. Troubleshooting
If you encounter issues with your GYPNS Roof Rack System Fit Kits, consider the following common problems and solutions:
6.1 Fit Kit Does Not Seem to Fit
- Verify Compatibility: Double-check that the fit kit model (145181) is specifically designed for your vehicle's make, model, and year (e.g., TOYOTA Prius 5-dr Hatchback). Refer to the product listing or manufacturer's compatibility guide.
- Correct Orientation: Ensure the rubber bases and brackets are oriented correctly according to the installation instructions and diagrams. They are often vehicle-specific and may only fit one way.
- Foot Pack Compatibility: Confirm that your existing roof rack foot packs are compatible with this specific fit kit. While designed for Thule-style systems, variations may exist.
- Obstructions: Check for any debris or obstructions on your vehicle's roof or within the foot pack that might prevent proper seating.
6.2 Loose or Rattling Components
- Tighten Fasteners: Re-tighten all mounting bolts and clamps on the foot packs and crossbars. Ensure they are torqued to the manufacturer's specifications (if available).
- Inspect Rubber Bases: Check if the rubber bases are properly seated and not worn out, which could lead to movement.
- Load Security: Ensure that the items being carried on the roof rack are securely fastened and not causing the rattling.
6.3 Water Leaks
- Proper Sealing: For fixed point or flush rail installations, ensure that any factory-installed seals or gaskets are intact and that the fit kit components are not interfering with them.
- Drainage: Verify that water drainage channels on your vehicle's roof are not blocked by the roof rack installation.
7. Specifications
| Attribute | Detail |
|---|---|
| Brand | GYPNS |
| Model | Kit 5181 |
| Item Model Number | 145181 |
| Item Weight | 1.53 pounds |
| Product Dimensions (L x W x H) | 0.1 x 0.1 x 0.1 inches |
| Color | Black |
| Mounting Type | Power Click (referring to the foot pack system it integrates with) |
| Country of Origin | China |
| UPC | 768592408412 |
8. Warranty and Support
For any questions, concerns, or support regarding your GYPNS Roof Rack System Fit Kits, please contact the manufacturer directly. The manufacturer aims to provide a satisfactory answer within 24 hours for any inquiries.
Please note that any brand name or model name mentioned for this product is for proof of compatibility only. Always confirm the model and size before purchasing.
While extended protection plans may be available from third-party providers, direct warranty information from GYPNS should be sought by contacting them.