
1. Introduction
Thank you for choosing the Walfront Solar Security Camera. This manual provides essential information for the proper installation, operation, and maintenance of your security camera. Please read this manual thoroughly before use and retain it for future reference.
2. Safety Information
- Ensure the camera is installed in a location where it is protected from direct physical impact.
- Do not attempt to disassemble or modify the camera. This may void the warranty and cause damage.
- Use only the provided accessories or those recommended by Walfront.
- Keep the camera and solar panel clean to ensure optimal performance.
- Dispose of batteries and electronic components according to local regulations.
3. Package Contents
Verify that all items are present in your package:
- 1 x Walfront Security Camera
- 1 x Support Bracket
- 1 x Solar Panel
- 8 x Screws
- 2 x Bolts
- 4 x Green Expansion Tubes
- 4 x White Expansion Tubes
- 1 x USB Cable
- 1 x User Manual
4. Product Overview and Features
The Walfront Solar Security Camera is designed for outdoor surveillance, offering advanced features for home security.
Key Features:
- PIR Human Detection: Intelligent recognition of human figures to reduce false alarms from environmental factors. Detection sensitivity is adjustable from level 1 to 10.
- Color Night Vision: Provides full-color images at night when the sound and light warning function is active or in full-color night vision mode.
- Solar Powered: Equipped with a solar panel for continuous charging, requiring only a few hours of sunlight daily. Features a 10800mAh battery for extended operation without sunlight (up to 6 days).
- Weatherproof Design: IP66 rated for outdoor use, operating in temperatures from -20℃ to 60℃, resistant to sun, rain, and snow. Includes an anti-flicker feature for stable video under fluorescent lighting.
- 360-Degree Monitoring: Offers comprehensive surveillance without blind spots, day or night.
- High Resolution: 3MP (1920 x 1080) video capture resolution.
- Wireless Connectivity: Supports Wi-Fi for remote monitoring via smartphone.
5. Setup and Installation
5.1 Charging the Camera
Before initial use, ensure the camera's built-in battery is sufficiently charged. Connect the solar panel to the camera, or use the provided USB cable to charge the camera via a standard USB power adapter (not included).

Figure 5.1: Solar panel providing intelligent charging during the day and supporting night operation.

Figure 5.2: The solar panel connected to the camera, providing power.
5.2 Mounting the Camera
The camera is designed for wall mounting. Choose a location that provides the desired surveillance coverage and receives adequate sunlight for the solar panel.
- Mark the drilling points on the wall using the support bracket as a template.
- Drill holes and insert the appropriate expansion tubes (green or white, depending on wall material).
- Secure the support bracket to the wall using the screws.
- Attach the camera and solar panel to the support bracket, ensuring the solar panel is positioned to maximize sun exposure.
5.3 App Installation and Connection
To access and control your camera, download the dedicated mobile application on your smartphone. The app is compatible with both Android and iOS devices.
- Scan the QR code provided in the manual or on the product packaging, or search for the app name (refer to the quick start guide for the specific app name) in your device's app store.
- Install the app and create an account.
- Follow the in-app instructions to add your camera. This typically involves powering on the camera, resetting it if necessary, and connecting it to your Wi-Fi network (2.4GHz only).
6. Operation
6.1 Real-time Monitoring and Remote Control
Once connected, you can view live video feeds, control camera pan/tilt (if applicable), and access various settings through the mobile app.
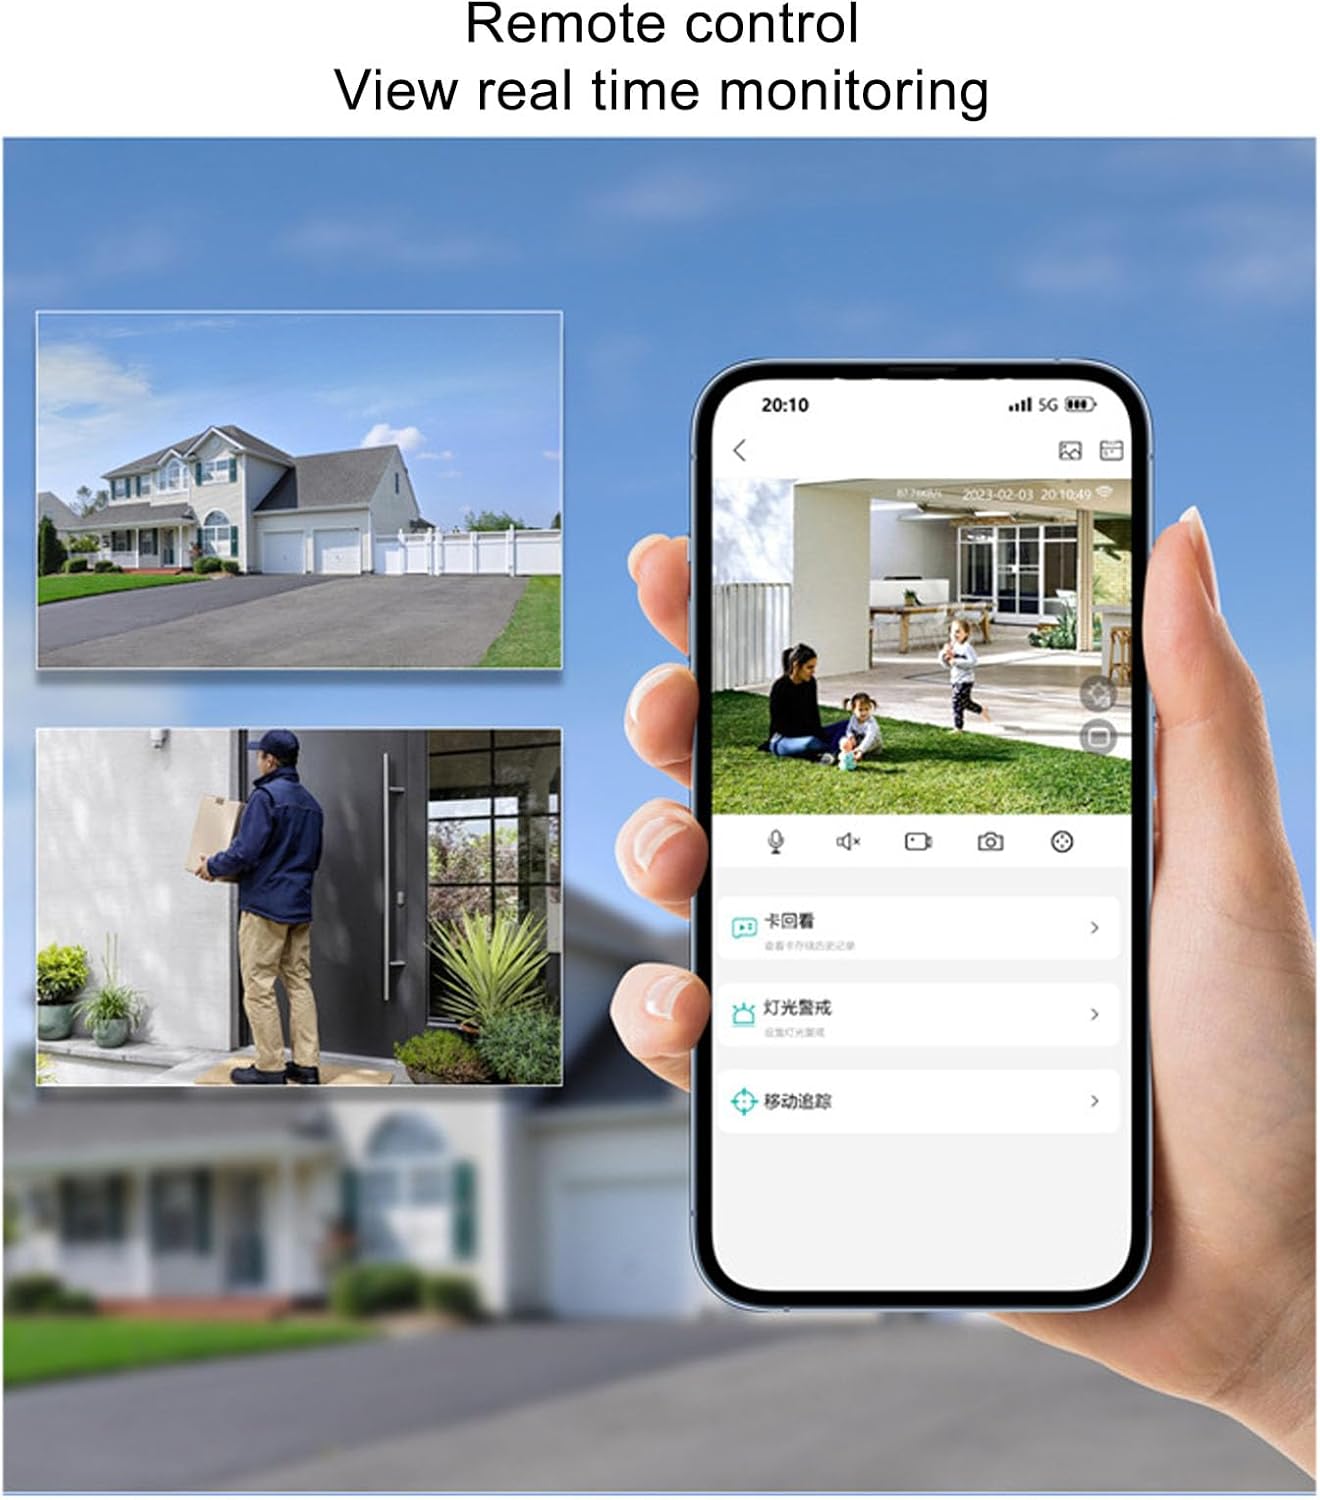
Figure 6.1: Remote control and real-time monitoring via the mobile application.
6.2 Motion Detection and Alerts (PIR)
The camera features PIR (Passive Infrared) human detection to minimize false alarms. When motion is detected, the camera can trigger an alarm and send notifications to your smartphone.
- Setting Detection Sensitivity: Adjust the PIR detection sensitivity from level 1 to 10 within the app settings.
- Scheduling: You can set specific times and areas for motion detection to be active.

Figure 6.2: PIR human sensing automatically detects human forms and triggers an alarm.

Figure 6.3: Video playback, real-time alarm push, motion detection, and audible alarm features.
6.3 Night Vision Modes
The camera offers both infrared and full-color night vision capabilities.
- Infrared Night Vision: The default mode, providing clear black and white images in low light.
- Full Color Night Vision: Activate this mode in the app settings. When enabled, the camera's spotlights will turn on upon detection, providing full-color video. If set to full-color night vision mode, the spotlights will remain on throughout the night.

Figure 6.4: Ultra-clear pixels providing fine and delicate image quality during both day and night.

Figure 6.5: Infrared night vision (default) versus full-color night vision, configurable in the app.
6.4 Video Saving and Playback
The camera supports video saving to a memory card (16GB to 128GB, not included). You can access recorded footage and playback events through the mobile app.
7. Maintenance
- Cleaning: Regularly wipe the camera lens and solar panel with a soft, damp cloth to remove dust and debris. Avoid abrasive cleaners.
- Solar Panel Efficiency: Ensure the solar panel is free from obstructions (e.g., leaves, snow) to maintain optimal charging efficiency.
- Firmware Updates: Check the mobile app periodically for firmware updates to ensure your camera has the latest features and security enhancements.
8. Troubleshooting
| Problem | Possible Cause | Solution |
|---|---|---|
| Camera not powering on. | Low battery; faulty connection. | Charge the camera via USB or ensure solar panel receives adequate sunlight. Check all cable connections. |
| Cannot connect to Wi-Fi. | Incorrect Wi-Fi password; camera too far from router; 5GHz Wi-Fi network. | Verify Wi-Fi password. Move camera closer to router. Ensure you are connecting to a 2.4GHz Wi-Fi network. Reset camera and try again. |
| Frequent false alarms. | High PIR sensitivity; environmental factors (e.g., moving branches, insects). | Reduce PIR detection sensitivity in the app. Adjust detection zones or schedule detection times. |
| Poor night vision quality. | Dirty lens; insufficient ambient light for color night vision. | Clean the camera lens. Ensure spotlights are not obstructed for color night vision. Switch to infrared mode if full color is not clear. |
| Solar panel not charging. | Insufficient sunlight; dirty panel; faulty connection. | Relocate the solar panel to an area with more direct sunlight. Clean the solar panel surface. Check the connection cable. |
9. Specifications
| Feature | Detail |
|---|---|
| Model Name | WALFRONTxtnqohguwr |
| Video Capture Resolution | 1080p, 3 MP (1920 x 1080) |
| Battery Capacity | 10800mAh (1800mAh x 6) |
| Connectivity Protocol | Wi-Fi (2.4GHz) |
| International Protection Rating | IP66 |
| Operating Temperature | -20℃ to 60℃ (-4°F to 140°F) |
| Mounting Type | Wall Mount |
| Alert Type | Motion Only (PIR Human Detection) |
| Video Saving | Memory card (supports 16GB to 128GB, not included) |
| Item Weight | 3.32 pounds (approx. 1.5 kg) |
| Package Dimensions | 10.04 x 8.11 x 6.77 inches |
10. Warranty and Support
Walfront products are designed for reliability and performance. For warranty information, technical support, or customer service inquiries, please refer to the contact information provided on the Walfront official website or your purchase documentation.
Please retain your proof of purchase for warranty claims.