
1. Introduction
Thank you for choosing the Ejoyous MIC-1000 Microphone Amplifier. This compact and powerful preamplifier is designed to enhance your audio experience by providing high gain and automatic level control for various applications, including podcasting, live streaming, and mobile recording. Please read this manual carefully to ensure proper setup, operation, and maintenance of your device.

The MIC-1000 Microphone Amplifier is designed to enhance audio input, providing high gain for clear sound capture, suitable for various applications including live podcasting.
2. Safety Information
- Do not expose the device to water or excessive moisture.
- Avoid extreme temperatures and direct sunlight.
- Do not attempt to disassemble or modify the device. This will void the warranty.
- Use only the specified 5V DC power supply.
- Keep out of reach of children.
3. Package Contents
Please check the box for the following items:
- 1 x MIC-1000 Microphone Amplifier
- 1 x Power Cable (USB)
- 1 x Headphone Cable (3.5mm)
4. Product Overview
The Ejoyous MIC-1000 is a high-sensitivity microphone preamplifier featuring automatic level control (ALC) and up to 1000x gain. Its durable aluminum alloy casing ensures reliability and portability.
4.1 Front Panel

This image displays the front panel of the MIC-1000 amplifier, featuring the 3.5mm microphone input jack, a power and battery indicator light, and the combined power switch and volume adjustment knob.
- MIC Input: 3.5mm jack for connecting your microphone. Suitable for condenser microphones.
- Power/Battery Indicator: LED light indicating power status and battery level. Four consecutive flashes represent 4 grids of power, 3 flashes for 3 grids, and so on. The light remains on when fully charged.
- Volume Knob/Power Switch: Rotate to adjust output volume. Press and hold to power the device on or off.
4.2 Rear Panel

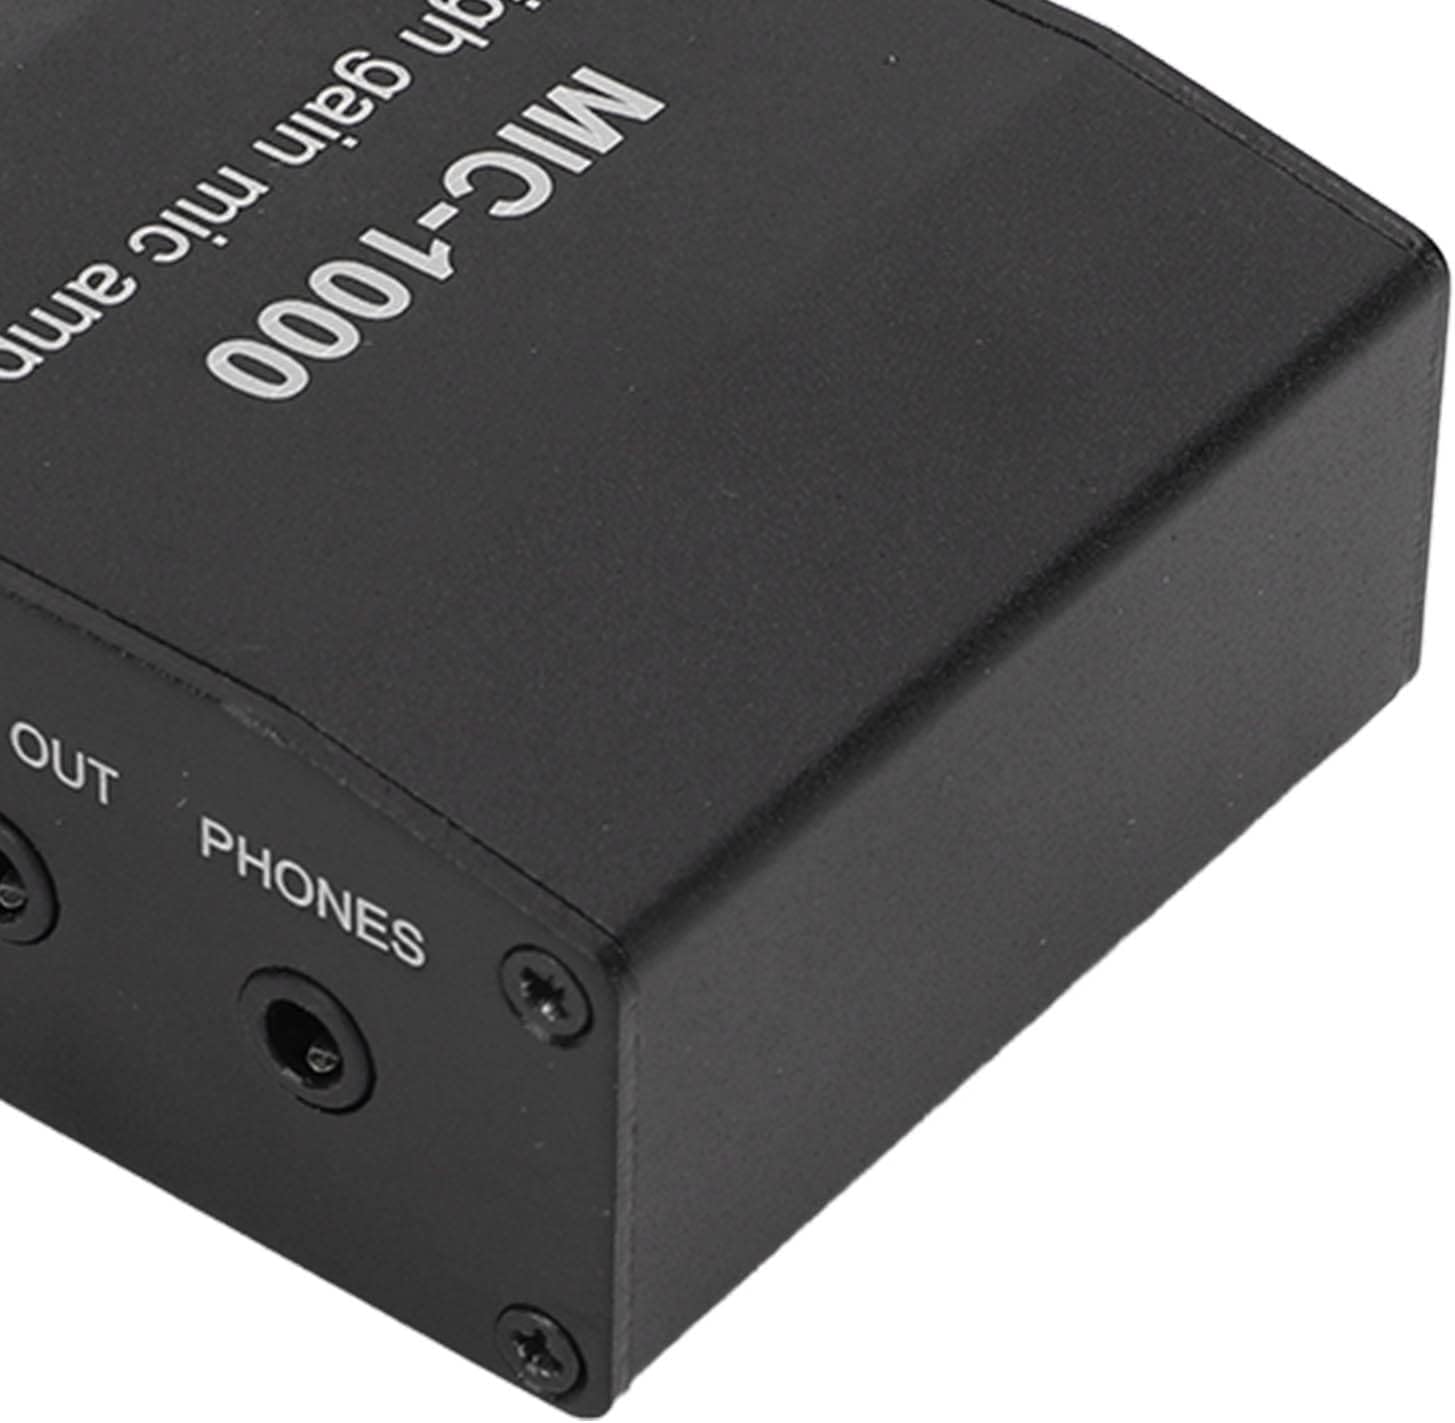
The rear panel of the MIC-1000 amplifier includes the DC 5V charging port, a gain switch (40dB/60dB, corresponding to 100x/1000x amplification), a mobile phone recording interface (REC OUT), and a headphone monitoring port (PHONES).
- DC 5V Charging Port: Connect the provided USB power cable for charging the internal battery.
- Gain Switch (40/60dB): Toggle this switch to select the amplification level. Up position provides 40dB gain (100x), down position provides 60dB gain (1000x).
- REC OUT (Mobile Phone Interface): 3.5mm output for connecting to a mobile phone or other recording devices.
- PHONES (Headphone Port): 3.5mm output for direct headphone monitoring.
4.3 Dimensions
This image illustrates the compact dimensions of the MIC-1000 amplifier, approximately 6.3 x 5.2 x 2.2 cm (2.48 x 2.05 x 0.87 inches), highlighting its portability.
5. Setup
Follow these steps for initial setup:
- Charge the Device: Connect the provided USB power cable to the DC 5V charging port on the rear panel and plug the other end into a 5V USB power source (e.g., computer USB port, USB wall adapter). The power/battery indicator will show charging status.
- Connect Microphone: Insert your 3.5mm microphone into the "MIC" input jack on the front panel.
- Connect Output (Optional):
- For headphone monitoring, connect your headphones to the "PHONES" port on the rear panel.
- For recording to a mobile phone or other device, connect the provided 3.5mm headphone cable from the "REC OUT" port on the rear panel to your recording device's audio input.
- Power On: Press and hold the Volume knob on the front panel to power on the amplifier.
6. Operating Instructions
Once set up, operate your MIC-1000 amplifier as follows:
- Adjust Gain: Use the Gain Switch on the rear panel to select the desired amplification level. The up position provides 40dB gain (100x amplification), suitable for most standard use. The down position provides 60dB gain (1000x amplification) for capturing very weak sounds or for microphones with low output.
- Monitor Audio: If headphones are connected to the "PHONES" port, you can directly monitor the amplified audio.
- Record Audio: If connected to a recording device via the "REC OUT" port, begin recording on your external device. The amplifier will provide a clear, boosted signal.
- Adjust Volume: Rotate the Volume knob on the front panel to control the output volume to your headphones or recording device.
- Automatic Level Control (ALC): The amplifier features ALC to automatically adjust the input level, preventing distortion and ensuring consistent audio output, especially useful for dynamic sound sources.
- Power Off: Press and hold the Volume knob to power off the amplifier when not in use.
7. Maintenance
- Clean the device with a soft, dry cloth. Do not use liquid cleaners or aerosols.
- Store the amplifier in a cool, dry place away from direct sunlight and extreme temperatures.
- Ensure all cables are disconnected when storing for extended periods.
8. Troubleshooting
- No Sound Output:
- Ensure the amplifier is powered on and fully charged.
- Check all cable connections (microphone, headphones, recording device).
- Increase the volume using the Volume knob.
- Verify the microphone is working correctly.
- Distorted Sound:
- Reduce the volume.
- Try switching the Gain to the lower (40dB) setting if the input signal is too strong.
- Ensure the microphone is not too close to the sound source.
- Low Volume:
- Increase the volume using the Volume knob.
- Try switching the Gain to the higher (60dB) setting.
- Ensure the microphone is properly positioned and capturing sound effectively.
- Device Not Charging:
- Ensure the USB power cable is securely connected to both the amplifier and the power source.
- Try a different USB power source or cable.
9. Specifications
| Item Type | Microphone Amplifier |
| Model Number | Ejoyouswzo7r3tkhf |
| Material | ABS, Aluminum Alloy |
| Power Supply | DC 5V |
| Interface | 3.5mm Jack |
| Gain | 40dB (100x) / 60dB (1000x) selectable |
| Battery | Built-in 502030 250mAh Lithium Battery |
| Dimensions (Approx.) | 6.3 x 5.2 x 2.2 cm / 2.48 x 2.05 x 0.87 inches |
| Item Weight | 116 grams |
| Manufacturer | Ejoyous |
| Country of Origin | China |
10. Warranty Information
Ejoyous products are manufactured to the highest quality standards. This product comes with a standard manufacturer's warranty against defects in materials and workmanship. Please retain your proof of purchase for warranty claims. The warranty does not cover damage caused by misuse, accident, unauthorized modification, or normal wear and tear.
11. Support
If you have any questions or require assistance with your Ejoyous MIC-1000 Microphone Amplifier, please contact our customer support team through the retailer where you purchased the product. Please have your model number and purchase details ready.