1. Introduction
Thank you for choosing the VIOFO A229 Pro Dash Camera. This manual provides detailed instructions on how to set up, operate, and maintain your device. Please read this manual carefully before using the product to ensure proper operation and to prevent damage.
Key Features:
- 4K Resolution: Enables high-quality video recordings with a 4K front camera.
- HDR (High Dynamic Range): The HDR feature helps achieve clearer and more vibrant images by increasing contrast, especially in situations with variable daylight.
- Sony Starvis 2 Sensors: The camera aims to capture clear and high-quality images even in low-light conditions using Sony Starvis 2 sensors, featuring an IMX678 8MP sensor for the front camera.
- GPS Module: With the built-in GPS module, you can record your vehicle's location and speed.
- Wi-Fi Connectivity: The device can connect to your smartphone via Wi-Fi, allowing live viewing and access to recordings through the application.
- Parking Mode: A feature that automatically starts recording when motion is detected while the vehicle is parked.
- G-sensor: Includes a G-sensor to automatically protect recordings in the event of an unexpected collision.
- Smart Voice Control and Notification: Provides ease of use and enhances driving safety with smart voice control and notifications (supported in certain languages only).
- Wide Angles: The 140° wide-angle front camera covers every direction of your road.
- Memory Card Support: Supports a maximum of 512GB memory card.
2. Package Contents
Please check the contents of your package upon unboxing. If any items are missing or damaged, please contact your retailer.
- VIOFO A229 Pro Dash Camera
- Car Charger
- USB Cable
- Mounting Bracket
- User Manual (this document)
- Other accessories as specified on the product packaging.
3. Product Overview
Familiarize yourself with the various parts of your VIOFO A229 Pro dash camera.
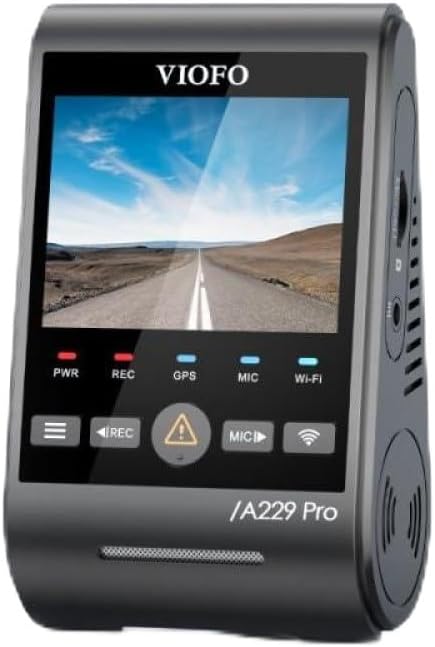
Figure 3.1: Front view of the VIOFO A229 Pro Dash Camera, showing the display screen and control buttons.

Figure 3.2: Side view of the VIOFO A229 Pro Dash Camera, highlighting the rear camera connection port.

Figure 3.3: Side view of the VIOFO A229 Pro Dash Camera, showing the MicroSD card slot.
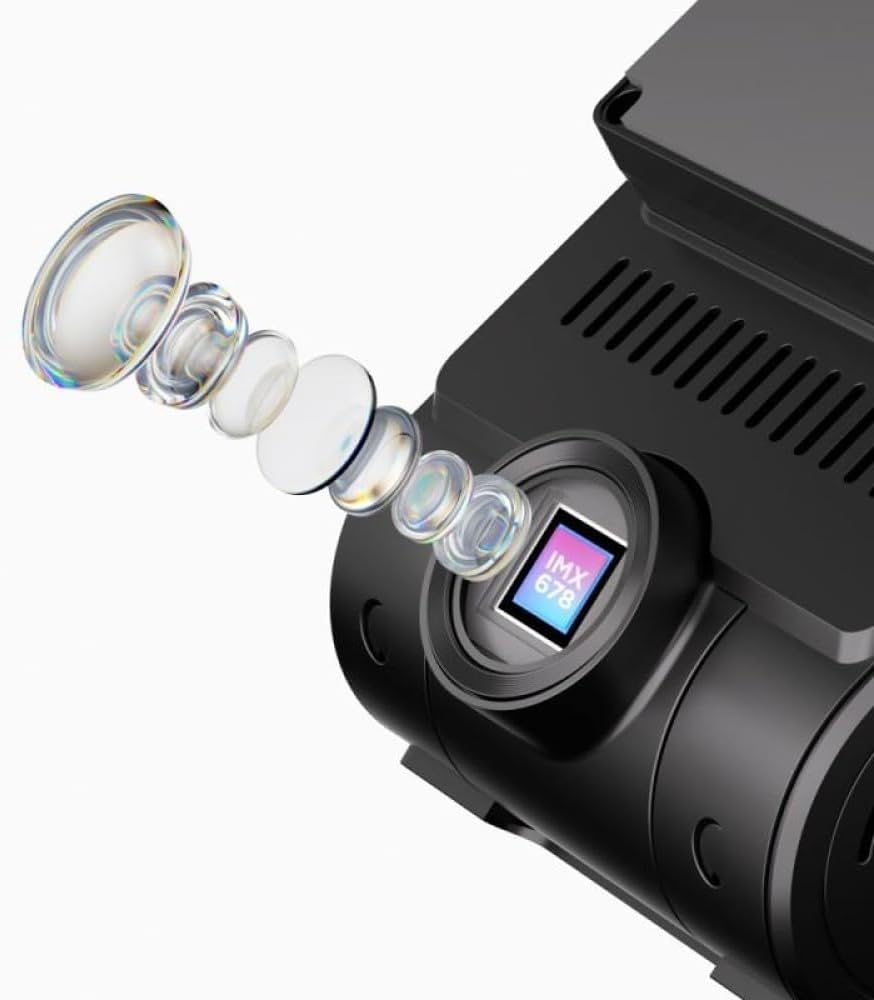
Figure 3.4: Close-up illustration of the Sony Starvis 2 IMX678 sensor, indicating its advanced imaging capabilities.

Figure 3.5: Diagram illustrating the product dimensions of the VIOFO A229 Pro Dash Camera (approximately 3.9 inches height, 2.3 inches width, 1.8 inches depth).
4. Setup
4.1. Inserting the Memory Card
- Ensure the dash camera is powered off.
- Locate the MicroSD card slot on the side of the camera (refer to Figure 3.3).
- Insert a high-speed MicroSD card (Class 10 or higher, up to 512GB) into the slot until it clicks into place.
- To remove, gently push the card in until it springs out.
Note: It is recommended to format the memory card regularly to ensure optimal performance and prevent data corruption. Refer to the Maintenance section for instructions.
4.2. Mounting the Dash Camera
- Clean the windshield area where you intend to mount the camera.
- Attach the mounting bracket to the dash camera.
- Remove the protective film from the adhesive pad on the mounting bracket.
- Firmly press the bracket onto the windshield, ensuring a clear view of the road and avoiding obstruction of the driver's vision.
- Adjust the camera lens angle to capture the desired field of view.
4.3. Power Connection
- Connect the car charger to the camera's power input port.
- Plug the other end of the car charger into your vehicle's 12V power outlet (cigarette lighter socket).
- The camera will automatically power on and begin recording when the vehicle's ignition is turned on.
5. Operating Instructions
5.1. Basic Recording
Once powered on, the camera will automatically start continuous loop recording. Video files are saved in segments to the MicroSD card. When the card is full, the oldest files will be overwritten by new ones, unless they are locked.
- Manual Recording: Press the REC button to manually start/stop recording.
- Emergency Recording: In case of a sudden impact or collision, the G-sensor will automatically trigger emergency recording, locking the current video file to prevent it from being overwritten.
5.2. Wi-Fi Connectivity
The VIOFO A229 Pro features built-in Wi-Fi for connecting to your smartphone via the VIOFO app.
- Download the VIOFO app from your smartphone's app store.
- On the dash camera, enable Wi-Fi through the settings menu or by pressing the dedicated Wi-Fi button (if available).
- On your smartphone, connect to the camera's Wi-Fi network (SSID and password will be displayed on the camera screen).
- Open the VIOFO app to view live footage, access recorded videos, change settings, and download files.
5.3. GPS Functionality
The integrated GPS module records your vehicle's speed and location data, which can be viewed during playback using compatible software.
- Ensure the GPS module is enabled in the camera settings.
- GPS signal acquisition may take a few minutes, especially in areas with limited sky visibility.
5.4. Parking Mode
Parking Mode provides surveillance when your vehicle is parked. It automatically starts recording when motion or impact is detected.
- To use Parking Mode, the camera typically requires a continuous power supply (e.g., via a hardwire kit, sold separately).
- Configure Parking Mode settings (e.g., motion detection sensitivity, buffered recording) in the camera menu.
5.5. Voice Control
The A229 Pro supports smart voice control for certain functions, enhancing driving safety by allowing hands-free operation. (Supported in specific languages only).
- Refer to the camera's on-screen prompts or the VIOFO app for a list of supported voice commands.
- Ensure the voice control feature is enabled in the settings.
6. Maintenance
6.1. Formatting the Memory Card
Regularly formatting your MicroSD card helps maintain its performance and prevents potential recording issues. It is recommended to format the card at least once a month.
- Power on the dash camera.
- Navigate to the 'System Settings' or 'Format' option in the camera's menu.
- Select 'Format SD Card' and confirm the action. All data on the card will be erased.
6.2. Cleaning the Camera
- Use a soft, dry cloth to clean the camera body.
- For the lens, use a lens cleaning cloth and specialized lens cleaning solution to avoid scratches.
- Do not use harsh chemicals or abrasive cleaners.
7. Troubleshooting
If you encounter any issues with your VIOFO A229 Pro, refer to the following common problems and solutions:
| Problem | Possible Solution |
|---|---|
| Camera does not power on. | Check the power connection. Ensure the car charger is properly plugged into both the camera and the vehicle's 12V outlet. Test the 12V outlet with another device. |
| Camera stops recording or freezes. | Format the MicroSD card. Ensure you are using a high-speed (Class 10 or higher) and genuine MicroSD card. Try a different MicroSD card. Update the camera firmware. |
| Video footage is blurry or unclear. | Clean the camera lens and your windshield. Ensure the protective film has been removed from the lens. Check if the lens is properly focused (if adjustable). |
| GPS signal is not acquired. | Ensure the camera has a clear view of the sky. Move the camera away from any metallic objects or tinted areas on the windshield that might block the signal. Wait a few minutes for signal acquisition. |
| Wi-Fi connection issues. | Ensure Wi-Fi is enabled on the camera and your smartphone. Restart both the camera and your phone. Re-enter the Wi-Fi password. |
If the problem persists, please contact VIOFO customer support for further assistance.
8. Specifications
| Feature | Detail |
|---|---|
| Brand | VIOFO |
| Model Name | A229 Pro |
| Vehicle Service Type | Car |
| Connectivity Technology | Wi-Fi |
| Special Feature | Memory Card (up to 512GB) |
| Front Camera Sensor | Sony Starvis 2 IMX678 8MP |
| Video Resolution | 4K |
| Field of View | 140° (Front Camera) |
| Additional Features | HDR, GPS, Parking Mode, G-sensor, Smart Voice Control |
9. Warranty and Support
VIOFO products are designed for reliability and performance. This product comes with a standard manufacturer's warranty. Please refer to the warranty card included in your package or visit the official VIOFO website for detailed warranty terms and conditions.
For technical support, firmware updates, or any inquiries regarding your VIOFO A229 Pro Dash Camera, please visit the official VIOFO support page or contact their customer service directly. Contact information can typically be found on the VIOFO website or in your product packaging.
Website: www.viofo.com


