
1. Introduction
This manual provides instructions for the safe and effective use of the Preciva Hexagonal Ferrule Crimping Tool. This tool is designed for crimping insulated and non-insulated wire ferrules onto stranded wires, ensuring secure and reliable electrical connections. It is suitable for a wide range of applications in workshops, automotive electrical systems, machinery, and household electrical maintenance.

2. Product Features
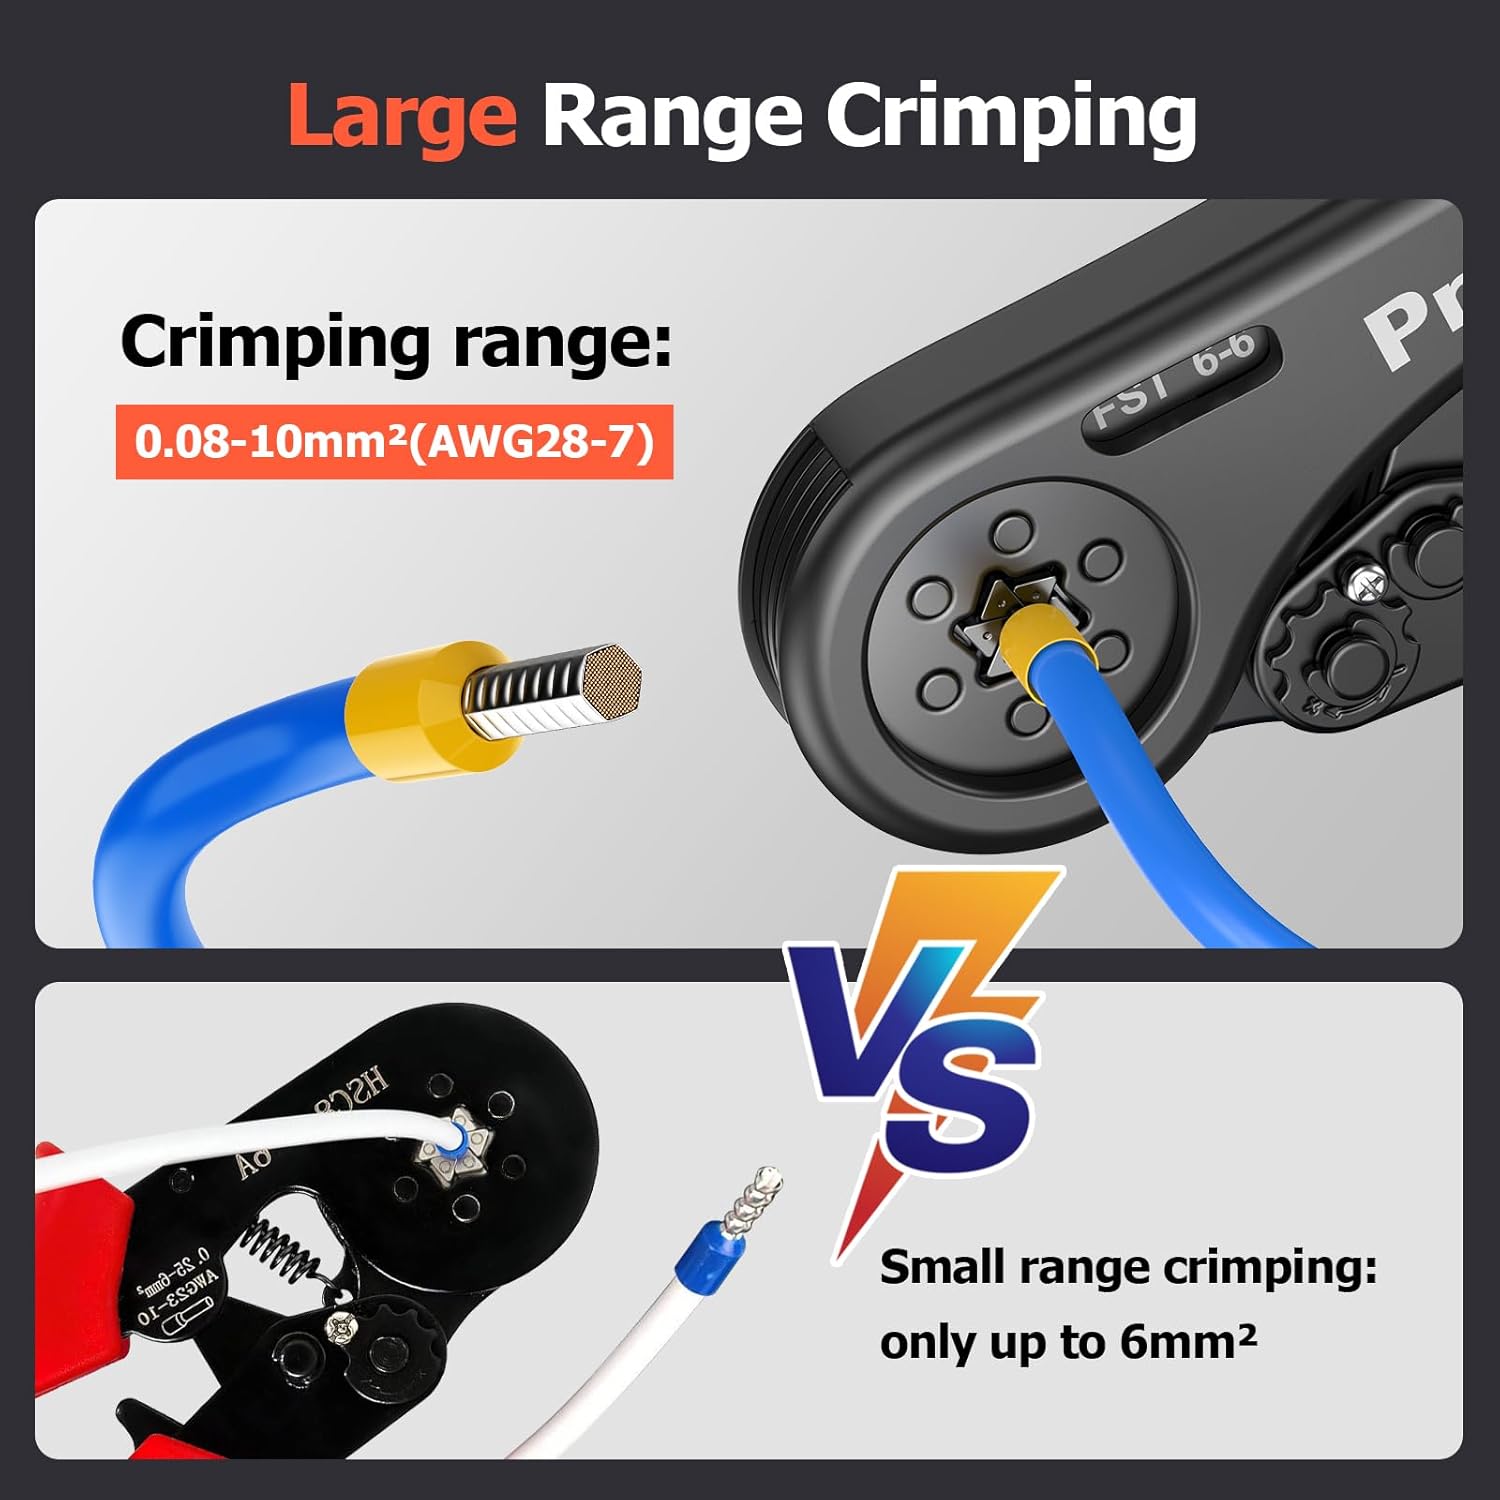
- Wide Crimping Range: Suitable for AWG 28-7 wires, with a crimping range of 0.08-10mm². Compatible with both insulated and non-insulated wire ferrules.
- Hexagonal Crimping Style: Features a unique six-mandrel crimping style for hexagonal crimps, providing a secure and aesthetically pleasing connection.
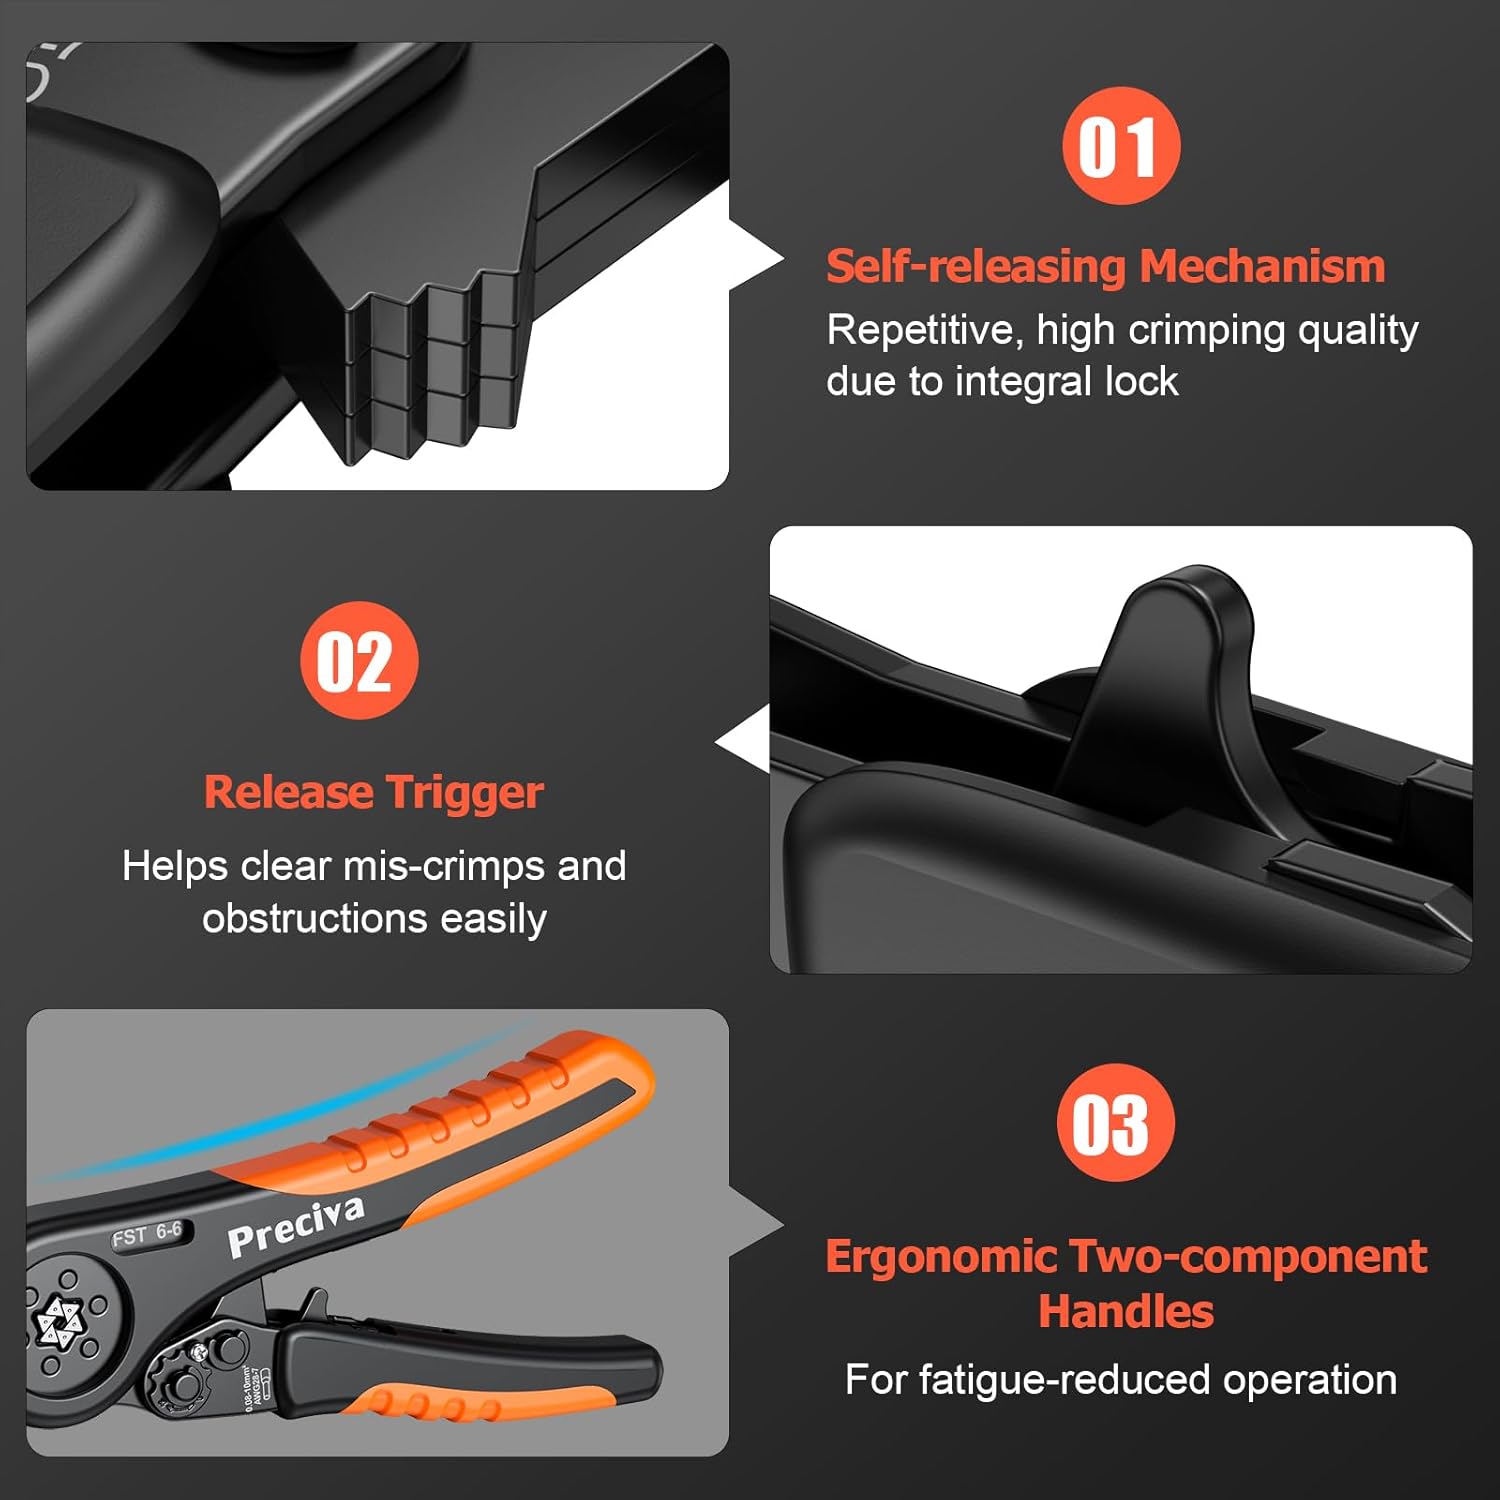
- Ratcheting & Labor Saving Design: The ratcheting mechanism reduces fatigue and ensures consistent, high-quality crimps.
- Adjustable Ratchet: Allows for adjustment of crimping pressure to suit different terminal sizes and ensure optimal crimping effects. Adjust the "-" direction for larger terminals, and the "+" direction for smaller terminals.
- Self-Releasing Mechanism: An integral lock ensures repetitive, high crimping quality. A release trigger helps clear mis-crimps and obstructions easily.
- Ergonomic Handles: Non-slip nylon handles with a lever principle are designed for comfortable, fatigue-reduced operation.



3. Safety Information
Always observe the following safety precautions when using the Preciva Hexagonal Ferrule Crimping Tool:
- Wear appropriate personal protective equipment (PPE), including safety glasses, to protect against flying debris.
- Ensure the power is disconnected from any electrical circuits before working on them.
- Use the correct size ferrule for the wire gauge to ensure a secure crimp and prevent electrical hazards.
- Inspect the tool before each use for any damage or wear. Do not use a damaged tool.
- Keep hands and fingers clear of the crimping jaws during operation.
- Store the tool in a dry, safe place away from children.
4. Setup and Getting Started
Before using the crimping tool, ensure you have the correct wire ferrules for your application.
- Prepare the Wire: Carefully strip the insulation from the end of the stranded wire, exposing the copper strands. The length of the stripped wire should match the metal sleeve length of the ferrule.
- Insert Wire into Ferrule: Twist the exposed wire strands lightly to keep them together. Insert the twisted strands completely into the metal sleeve of the appropriate ferrule. Ensure no stray strands are outside the ferrule.
- Adjust Crimping Pressure (if necessary): The tool features an adjustable ratchet. If you find the crimp is too loose or too tight, use a screwdriver to adjust the small dial near the pivot point. Turn towards "+" for tighter crimps (smaller terminals) and "-" for looser crimps (larger terminals).
5. Operating Instructions
Follow these steps to achieve a perfect hexagonal crimp:
- Position the Ferrule: Open the crimping tool jaws. Insert the ferrule (with the wire already inside) into the hexagonal crimping die. Ensure the metal sleeve of the ferrule is fully seated within the die.
- Perform the Crimp: Squeeze the handles of the tool firmly and steadily until the ratchet mechanism releases automatically. This ensures a complete and consistent crimp.
- Inspect the Crimp: Remove the crimped ferrule from the tool. Visually inspect the crimp to ensure it is hexagonal, uniform, and securely holds the wire. The copper wire should fill at least 70% of the terminal for optimal connection.
- Test the Connection: Gently tug on the wire to confirm the ferrule is securely attached and does not pull out.

Video Demonstration: Basic Crimping Process
Video 1: This video demonstrates the basic steps of using the Preciva Ferrule Crimping Tool, including inserting the wire and ferrule, and achieving a precise hexagonal crimp. It also shows the portability of the kit.
Video Demonstration: Dual Wire Crimping
Video 2: This video illustrates how to use the crimping tool for simultaneously joining two wires into a single ferrule, showcasing the resulting secure hexagonal crimp.
6. Maintenance
Proper maintenance ensures the longevity and optimal performance of your crimping tool:
- Cleaning: After each use, wipe the tool clean with a dry cloth to remove any dust, debris, or wire fragments.
- Lubrication: Periodically apply a light machine oil to the pivot points and moving parts to ensure smooth operation.
- Storage: Store the tool in its original case or a clean, dry environment to prevent rust and damage.
- Inspection: Regularly check the crimping dies for wear or damage. Worn dies can lead to poor crimps.
7. Troubleshooting
If you encounter issues while using the crimping tool, refer to the following common problems and solutions:
- Poor Crimp Quality (Loose or Deformed):
- Ensure you are using the correct size ferrule for the wire gauge.
- Check if the wire is fully inserted into the ferrule.
- Adjust the crimping pressure using the dial on the tool (see Section 4).
- Inspect the crimping dies for wear or damage.
- Tool Jams or Does Not Release:
- This can occur if the wrong size ferrule is used or if debris is caught in the mechanism.
- Use the release trigger to disengage the ratchet and free the jaws.
- Clean the tool thoroughly and lubricate moving parts.
- Wire Pulls Out of Ferrule After Crimping:
- The ferrule size may be too large for the wire, or the crimping pressure is insufficient.
- Ensure the wire strands completely fill the ferrule.
- Adjust the crimping pressure to a tighter setting.
8. Specifications
| Specification | Detail |
|---|---|
| Brand | Preciva |
| Model Number | CP40001 |
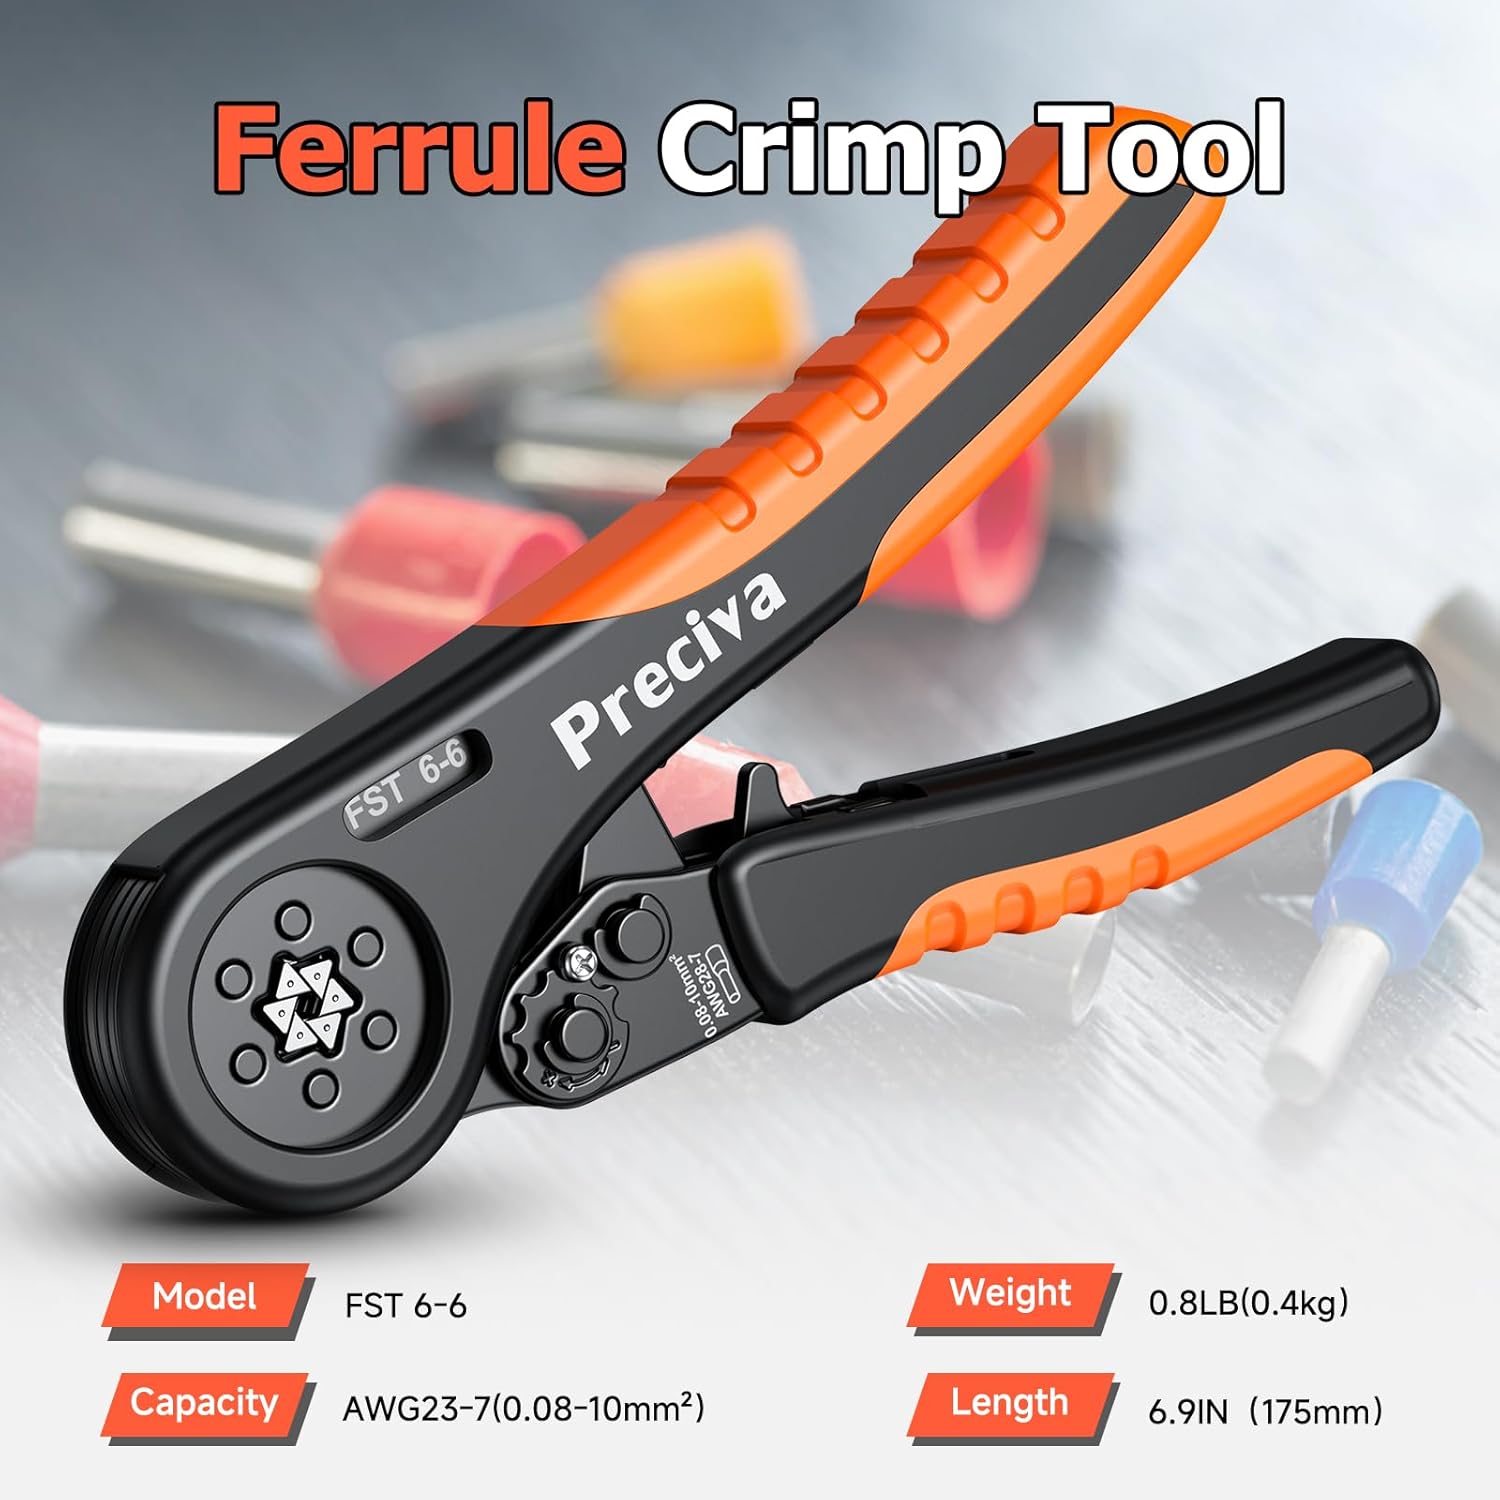
| Crimping Range | 0.08-10mm² (AWG 28-7) |
| Crimping Style | Hexagonal |
| Handle Material | Nylon |
| Grip Type | Ergonomic |
| Item Weight | 400 Grams |
9. Warranty and Support
Preciva products are manufactured to high-quality standards. For warranty information, technical support, or service inquiries, please refer to the contact details provided with your product packaging or visit the official Preciva website. Please retain your proof of purchase for any warranty claims.