
1. Introduction
This manual provides essential instructions for the safe and effective use of your Yoidesu AM Transmitter. Please read this guide thoroughly before operating the device to ensure proper functionality and to prevent damage.
2. Safety Information
- Keep the device away from water and moisture.
- Do not expose the device to extreme temperatures or direct sunlight.
- Use only the specified power sources (2 x AA batteries or 5-12V DC external power).
- Avoid dropping or subjecting the device to strong impacts.
- Do not attempt to disassemble or modify the device. Refer all servicing to qualified personnel.
3. Package Contents
Verify that all items are present in your package:
- 1 x Yoidesu AM Transmitter Unit
4. Product Overview
The Yoidesu AM Transmitter is a compact and portable device designed for radio testing, audio experiments, and creating a personal AM broadcasting station. It features a wide modulation range and flexible audio input options.

Figure 4.1: Assembled Yoidesu AM Transmitter circuit board.

Figure 4.2: Close-up view of the inductor coil and other electronic components.

Figure 4.3: Detail of the 3.5mm audio input and DC power jack.
5. Setup
5.1 Power Supply
The AM Transmitter can be powered by two methods:
- Battery Power: Insert 2 x AA lithium batteries (not included) into the designated battery holder. Ensure correct polarity.
- External DC Power: Connect a 5-12V DC power adapter (not included) to the DC jack on the unit.
5.2 Audio Input
Connect your audio source (e.g., smartphone, MP3 player, computer) to the 3.5mm headphone interface on the transmitter using an appropriate audio cable.

Figure 5.1: Diagram illustrating power and audio connections, and transmission to a radio.
6. Operating Instructions
Follow these steps to operate your Yoidesu AM Transmitter:
- Ensure the transmitter is powered on. The LED indicator should light up.
- Connect your audio source to the 3.5mm audio input.
- Play audio from your connected source.
- Adjust the frequency knob on the transmitter to select your desired transmission frequency within the 600KHz-1500KHz range.
- Tune an AM radio to the same frequency as your transmitter to receive the audio signal.
- Adjust the volume on your audio source and the radio for optimal sound.
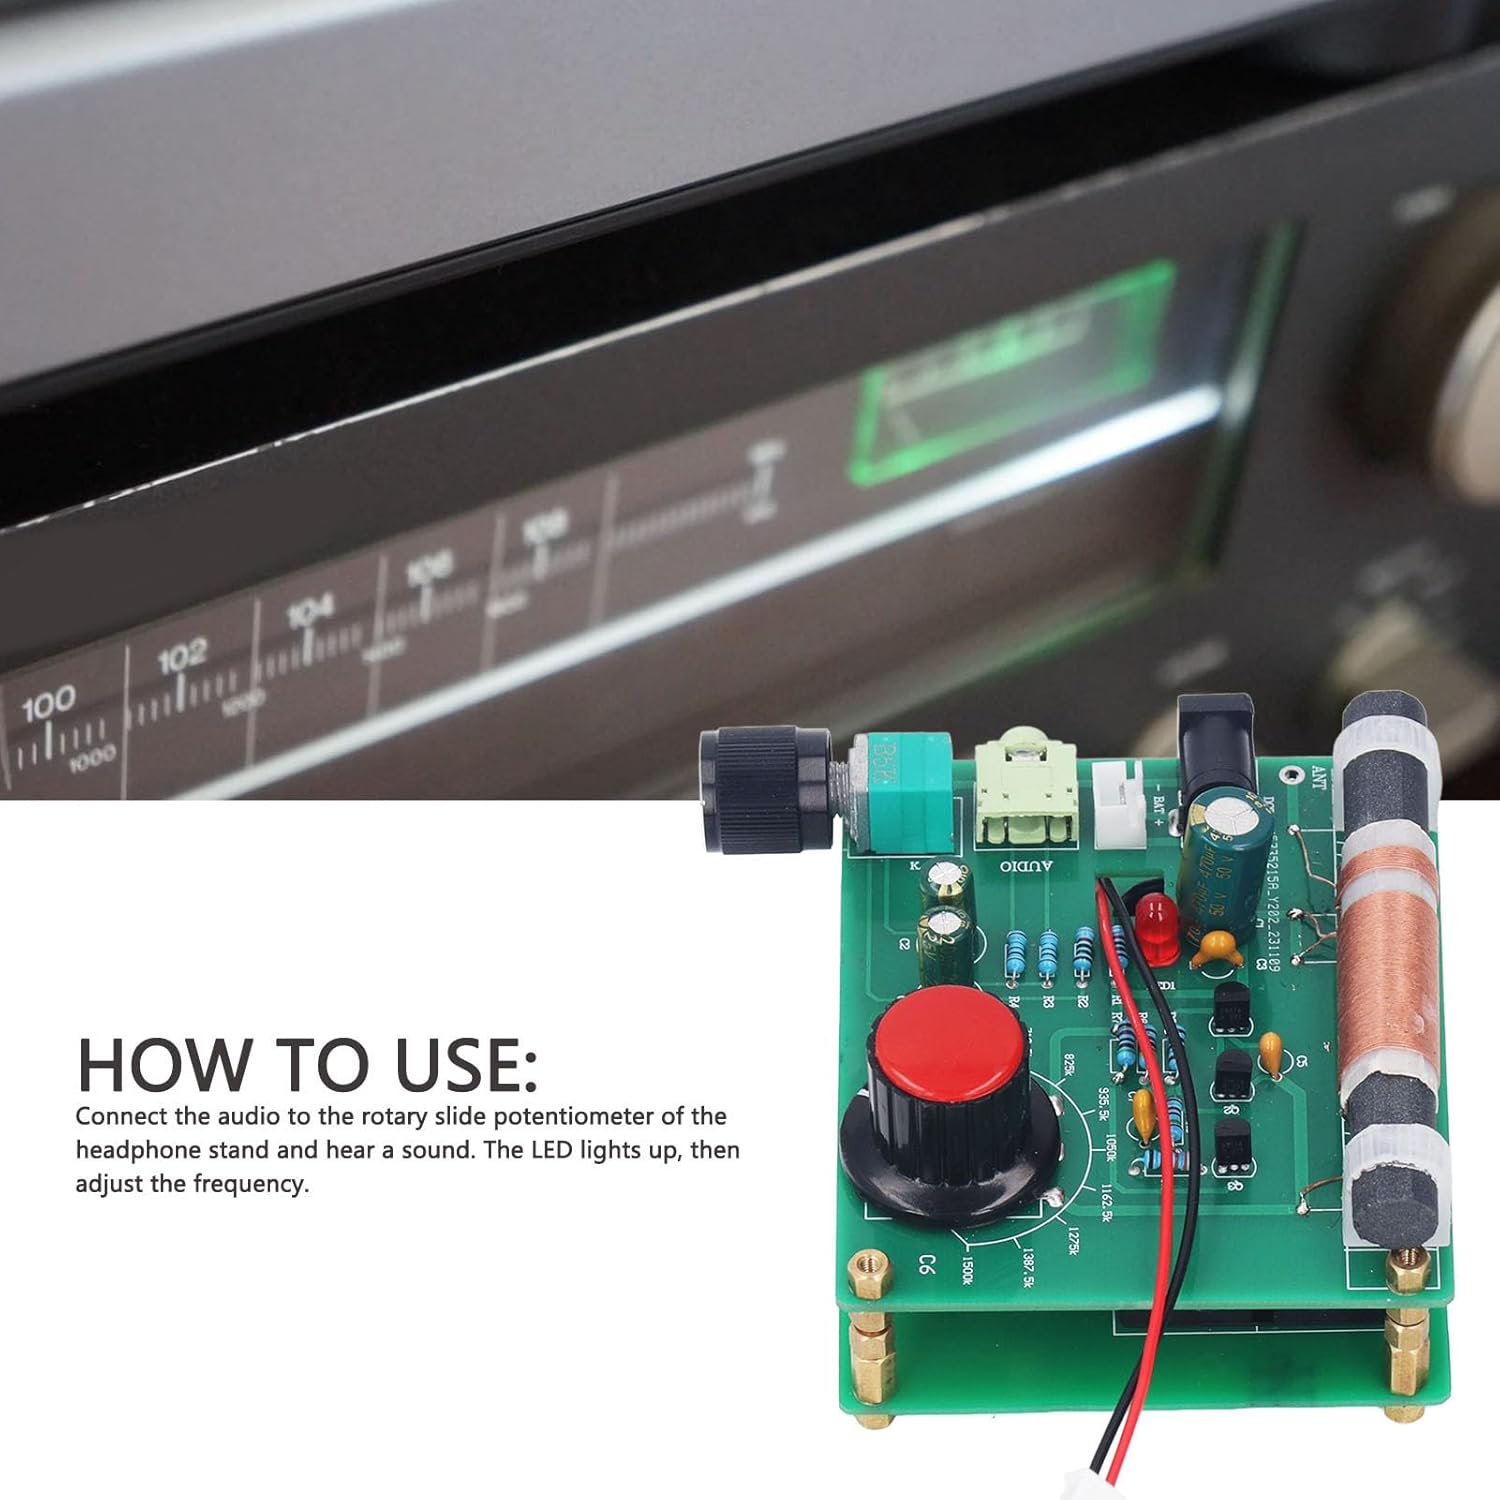
Figure 6.1: Visual guide for connecting and operating the AM transmitter.

Figure 6.2: The AM transmitter transmitting to a radio.
7. Maintenance
- Clean the device with a soft, dry cloth. Do not use liquid cleaners or aerosols.
- When not in use for extended periods, remove the batteries to prevent leakage.
- Store the transmitter in a cool, dry place, away from direct sunlight and extreme temperatures.
8. Troubleshooting
| Problem | Possible Cause | Solution |
|---|---|---|
| No power / LED not lighting up | Batteries are dead or incorrectly inserted; external power not connected or faulty. | Replace batteries or check external power connection. Ensure correct battery polarity. |
| No audio signal on radio | Audio cable not connected; radio not tuned to correct frequency; audio source volume too low. | Ensure audio cable is securely connected. Tune radio to the transmitter's frequency. Increase volume on audio source. |
| Poor audio quality / Static | Interference; transmitter too far from radio; frequency not precisely tuned. | Reduce distance between transmitter and radio (effective distance < 0.5m for direct play, < 1m for superheterodyne radio). Adjust frequency slightly. Move away from other electronic devices. |
9. Specifications
| Feature | Detail |
|---|---|
| Model | Yoidesufhmr7p4q5z |
| Amplitude Modulation Frequency Range | 600KHz - 1500KHz |
| Headphone Interface | 3.5mm |
| Power Supply Voltage | 5-12V DC |
| Battery Type | 2 x AA lithium batteries (not included) |
| Product Dimensions | 5.51 x 5.12 x 1.97 inches (14 x 13 x 5 cm) |
| Item Weight | 6.2 ounces (176 grams) |
| Manufacturer | Yoidesu |
10. Warranty and Support
This Yoidesu product is covered by a standard manufacturer's warranty. For specific warranty details, please refer to the documentation provided at the time of purchase or contact your retailer.
For technical support, troubleshooting assistance, or inquiries about replacement parts, please contact Yoidesu customer service through the retailer's platform or the official Yoidesu website.