
1. Introduction
The LAUNCH X431 Elite V2.0 is a professional automotive diagnostic tool designed specifically for VW, Skoda, and Seat vehicles. It offers comprehensive system diagnostics, advanced bi-directional control, ECU coding capabilities, and a wide range of maintenance services. This manual provides detailed instructions for setting up, operating, maintaining, and troubleshooting your device to ensure optimal performance and longevity.
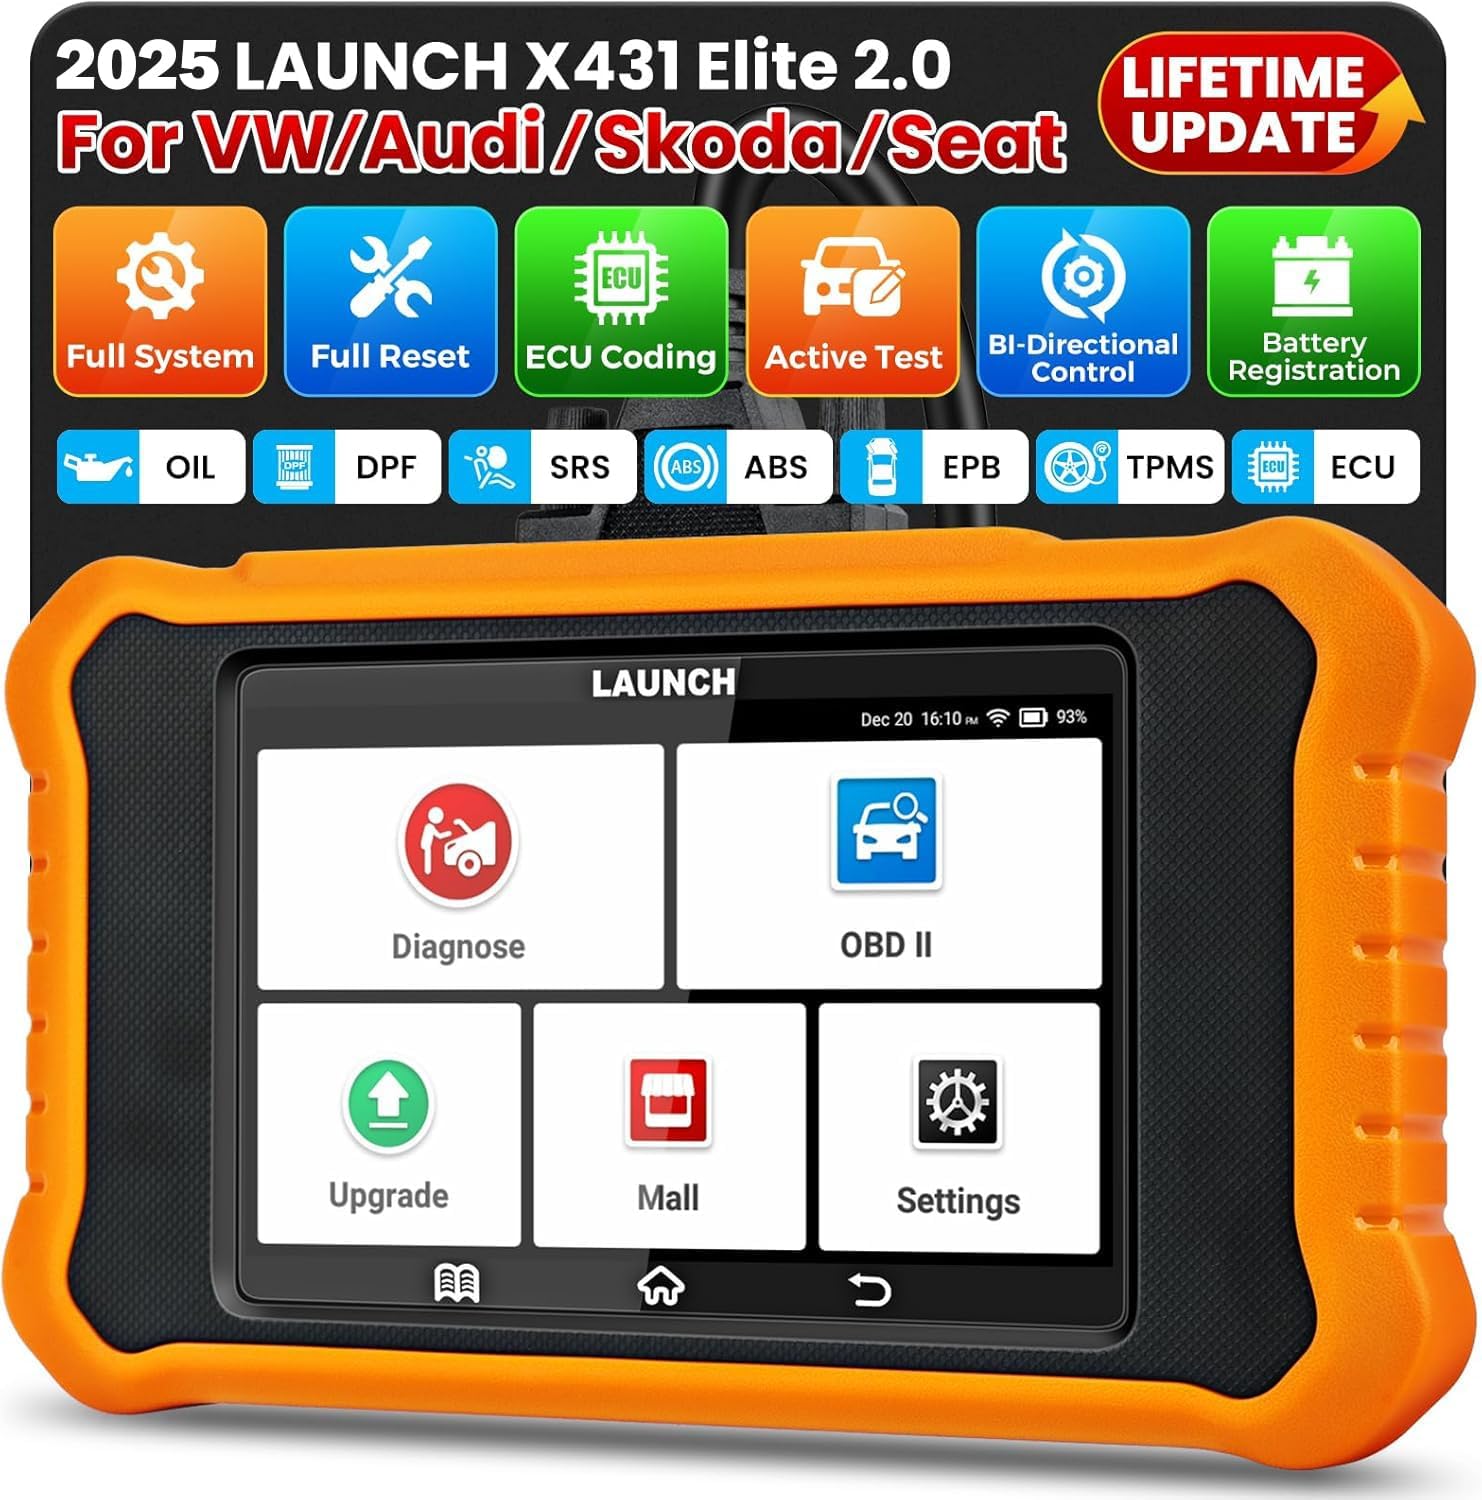
Image: The LAUNCH X431 Elite V2.0 diagnostic tool, showing its main interface with Diagnose, OBD II, Upgrade, Mall, and Settings options.
2. Setup
Follow these steps to set up your LAUNCH X431 Elite V2.0 device for first-time use.
- Unboxing: Carefully remove all components from the packaging. Verify that all items listed in the packing list are present.
- Charging the Device: Connect the device to a power source using the provided USB cable. Ensure the device is fully charged before initial use. The battery indicator on the screen will show charging status.
- Power On: Press and hold the power button until the LAUNCH logo appears on the screen.
- Language Selection: Upon first boot, you will be prompted to select your preferred language. The device supports 11 languages including English, French, Spanish, German, and Italian.
- Wi-Fi Connection: Navigate to the 'Settings' menu and connect to a stable Wi-Fi network. This is crucial for software updates and online features.
- Software Update: After connecting to Wi-Fi, go to the 'Upgrade' section to download and install the latest software updates. This ensures you have the most current vehicle coverage and functions. The device offers lifetime free Wi-Fi updates.
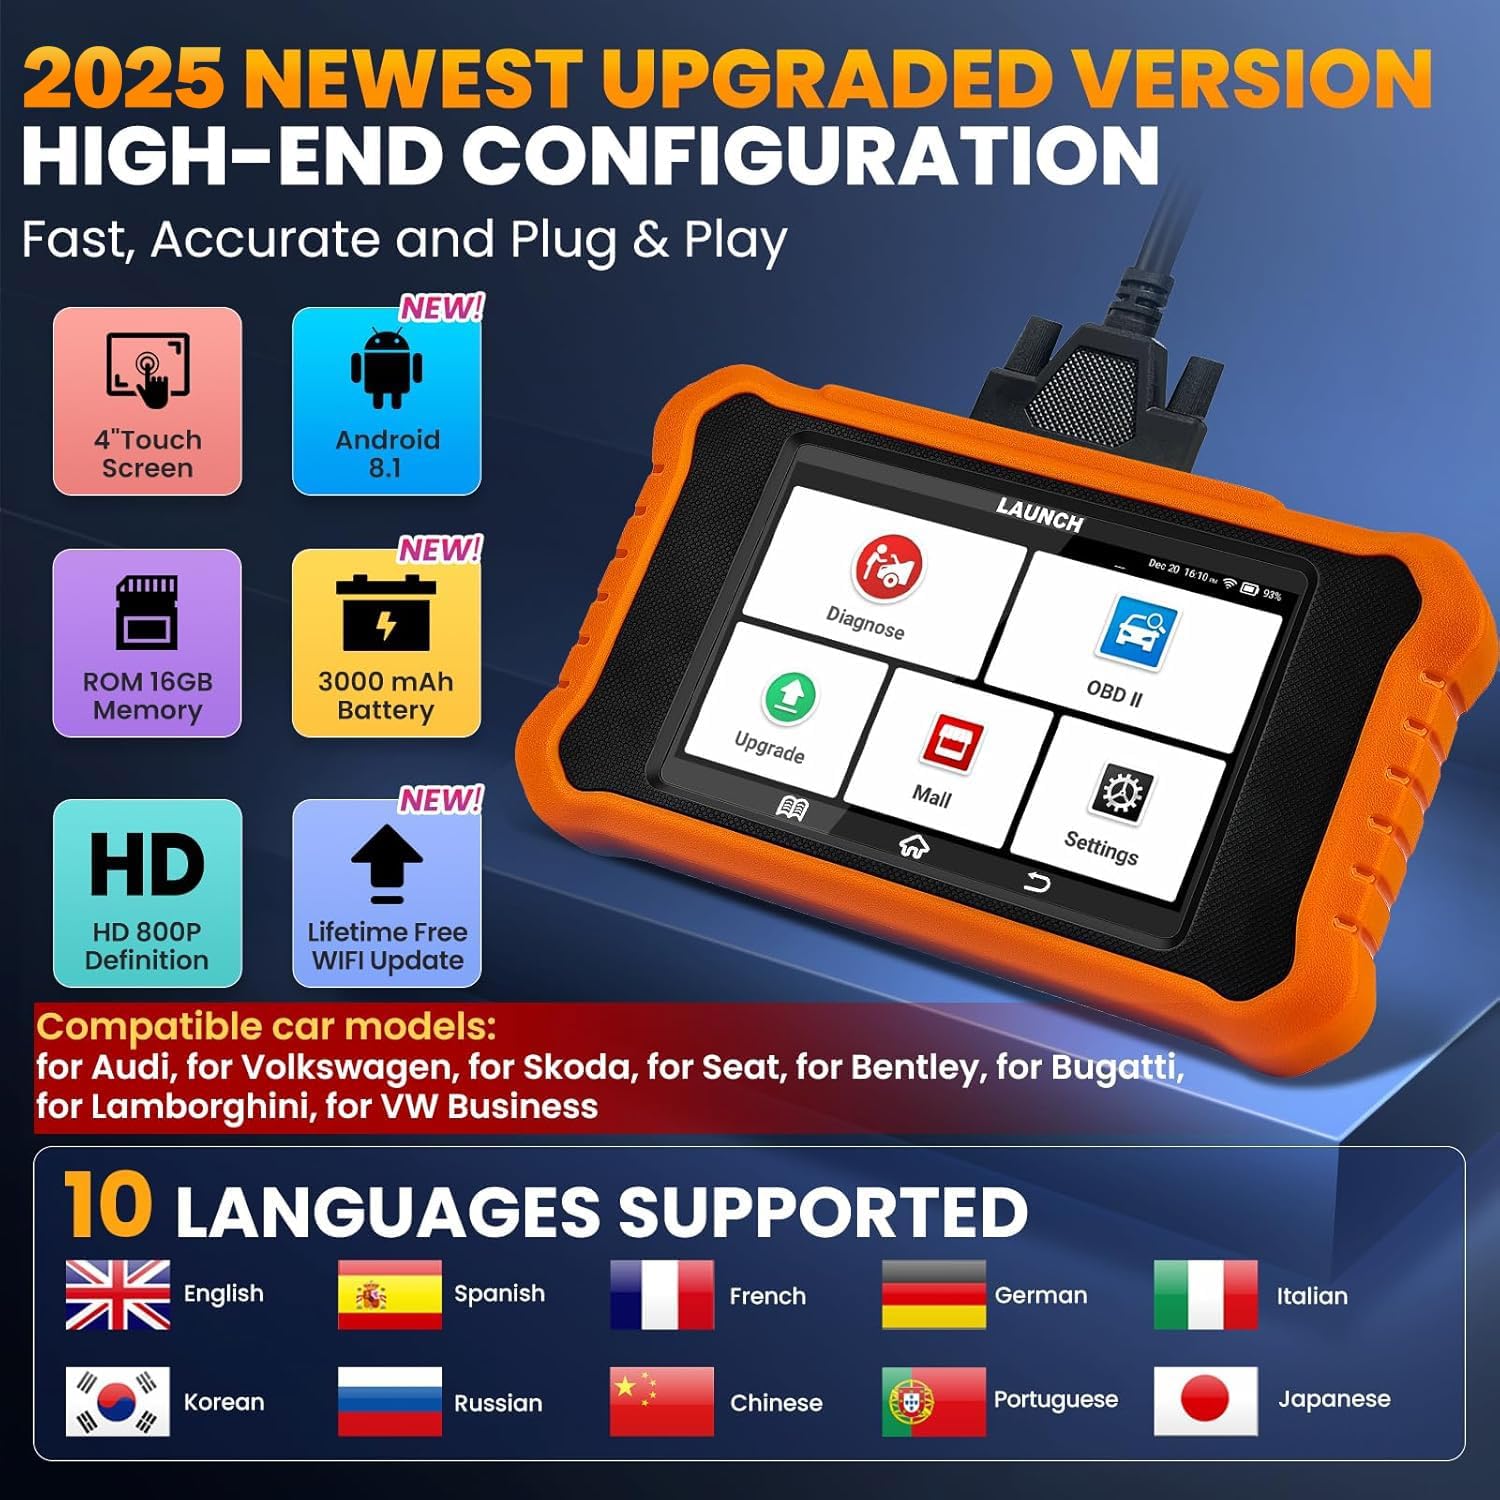
Image: The LAUNCH X431 Elite V2.0 device highlighting its high-end configuration including a 4-inch touch screen, Android 8.1, 16GB ROM, 3000mAh battery, HD 800P display, lifetime free Wi-Fi updates, and support for 10 languages.
3. Operating Instructions
The LAUNCH X431 Elite V2.0 offers a range of powerful diagnostic and service functions. Below are instructions for key operations.
3.1. Full System Diagnosis
This function allows you to scan all available electronic control modules (ECUs) in the vehicle, including Engine, Transmission, ABS, SRS, TPMS, EPB, Battery, ESP, and Fuel Systems, to read and clear diagnostic trouble codes (DTCs).
- Connect to Vehicle: Locate the vehicle's OBD-II port (usually under the dashboard) and connect the diagnostic tool using the OBD-II cable.
- Turn Ignition On: Turn the vehicle's ignition to the ON position (engine off).
- Select 'Diagnose': On the tool's main menu, select the 'Diagnose' icon.
- Auto VIN Scan: The device supports Auto VIN, which automatically identifies the vehicle's make, model, and year. Confirm the detected vehicle information.
- System Scan: Select 'Full System Scan' or choose specific systems to diagnose. The tool will communicate with the vehicle's ECUs and display any detected DTCs.
- View/Clear DTCs: Review the displayed DTCs. You can select 'Clear DTCs' to erase them after addressing the underlying issue.
- Generate Report: The tool can generate a diagnostic report, which can be shared or printed via email.
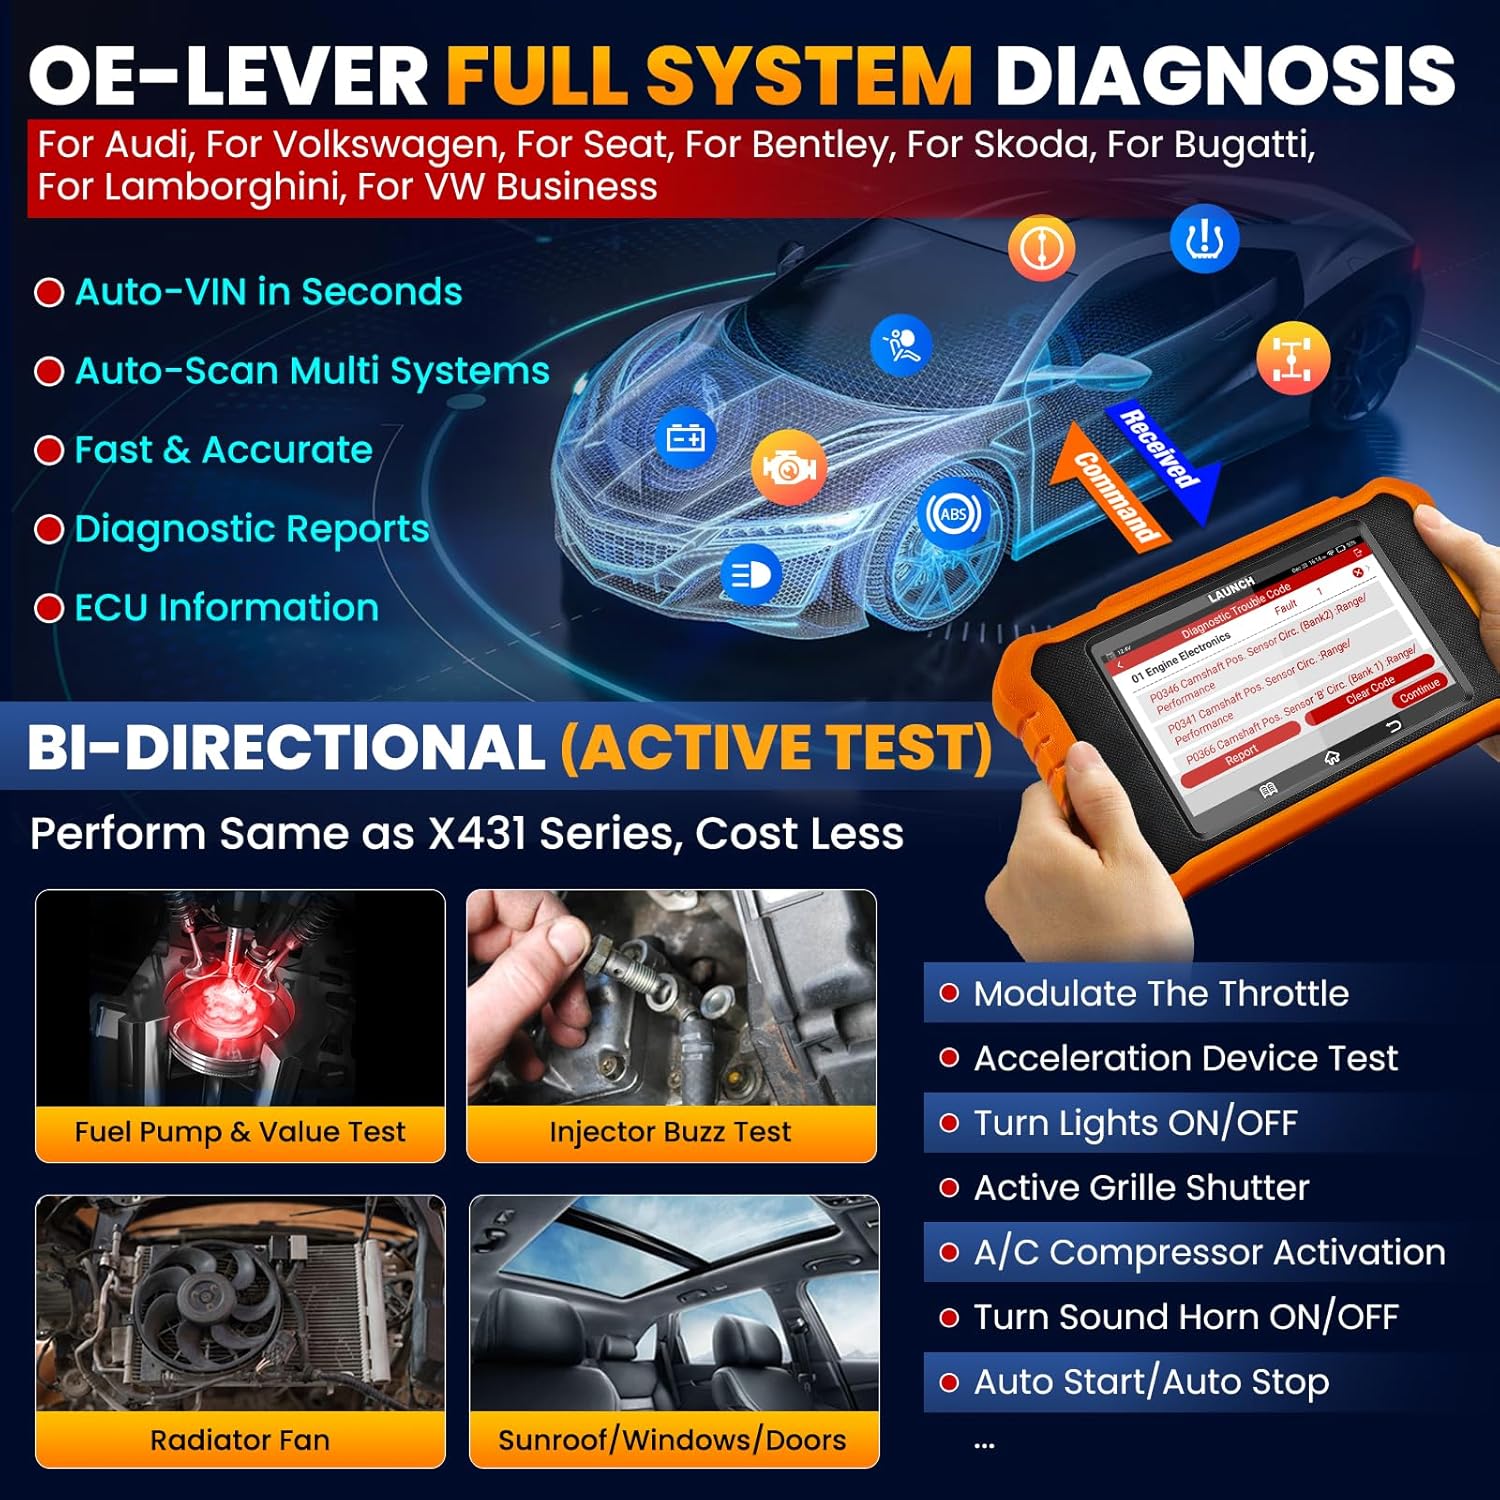
Image: Illustration of OE-Level Full System Diagnosis, showing the diagnostic tool connected to a car's system, performing auto-VIN scan, multi-system scan, and generating diagnostic reports.
3.2. Bi-Directional Control (Active Test)
This feature allows you to send commands to vehicle components to test their functionality, such as turning on/off wipers, horn, windows, or mirrors, and activating the A/C compressor. This helps in quickly pinpointing faulty components.
- Access Active Test: From the diagnostic menu for a specific system, look for the 'Active Test' or 'Bi-Directional Control' option.
- Select Component: Choose the specific component you wish to test (e.g., Fuel Pump, Injector, Radiator Fan, Wipers, Windows, Doors, A/C Compressor).
- Perform Test: Follow the on-screen prompts to activate or deactivate the component. Observe the component's response to verify its operational status.

Image: Visual representation of Bi-Directional Control, showing the diagnostic tool sending commands to the car and checking component status, with examples like modulate throttle, wiper test, door lock test, and A/C compressor activation.
3.3. Advanced ECU Coding
ECU Coding allows for customization of vehicle settings, flashing hidden functions, component matching, and retrofitting. This function is for experienced users.
- Component Matching: Match new components to the vehicle's ECU.
- ECU Replacement: Program new ECUs after replacement.
- Retrofit/Modification: Adapt the vehicle's software for retrofitted parts.
- Flash Hidden Functions: Activate or deactivate specific vehicle features (e.g., seat belt warning, auto door lock/unlock, rear mirror folding, interior lights, A/C settings memory).
Caution: Incorrect ECU coding can lead to vehicle malfunctions. Always back up original settings before making changes. Consult professional guidance if unsure.
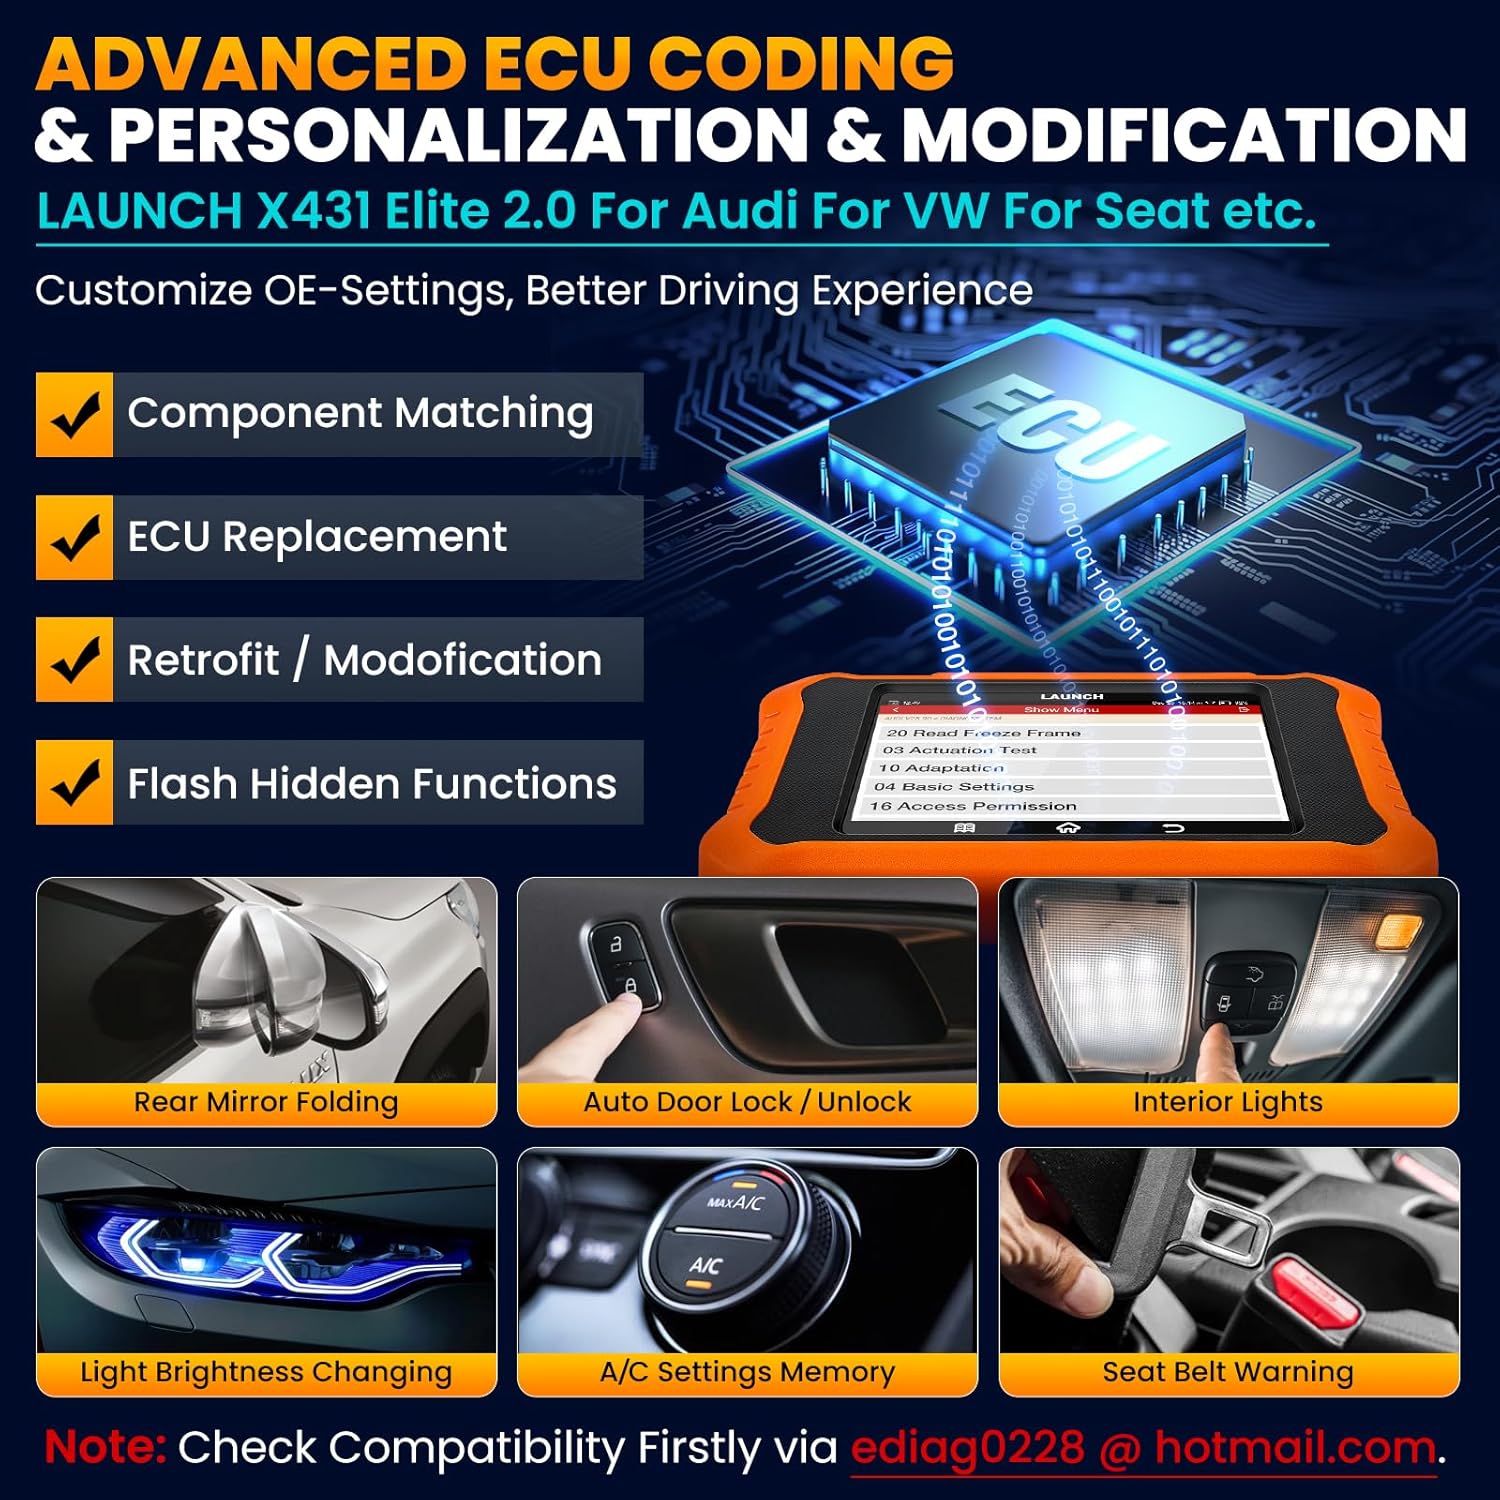
Image: Display showing advanced ECU coding capabilities, including component matching, ECU replacement, retrofit/modification, and flashing hidden functions, with examples like rear mirror folding and auto door lock/unlock.
3.4. Maintenance Services (50+ Functions)
The tool supports over 50 common maintenance and reset functions. Some key services include:
- Oil Reset: Reset the oil life reminder after an oil change.
- EPB Reset: Reset the electronic parking brake after brake pad replacement.
- SAS Calibration: Calibrate the steering angle sensor.
- ABS Bleeding: Perform ABS brake bleeding.
- TPMS Reset: Reset the Tire Pressure Monitoring System.
- DPF Regeneration: Initiate Diesel Particulate Filter regeneration.
- Battery Registration: Register a new battery.
- Injector Coding: Code new injector values.
- Throttle Relearn: Relearn throttle body position.
- Gearbox Adaptation: Adapt transmission settings.

Image: Overview of various service functions available, including Brake Reset, DPF Reset, Oil Reset, Battery Matching, Stop/Start Reset, SAS Calibration, Suspension Reset, and Seat Calibration.
3.5. OBD-II Functions
The device also functions as a universal OBD-II code reader, compatible with all OBD-II compliant vehicles (1996 and newer).
- Read/Clear Codes: Read generic and manufacturer-specific Diagnostic Trouble Codes (DTCs) and clear them.
- Live Data Stream: View real-time data parameters from the vehicle's sensors in text, graph, or gauge format. Supports 4-in-1 live data graphing.
- Freeze Frame Data: View a snapshot of vehicle operating conditions at the time a fault code is triggered.
- I/M Readiness: Check the readiness status of emission-related monitors.
- O2 Sensor Test: Retrieve O2 sensor monitor test results.
- On-Board Monitor Test: Retrieve results for emission-related powertrain components and systems.
- Component Test: Initiate a leak test for the EVAP system.
- Vehicle Information: Retrieve VIN, Cal ID, and CVN.
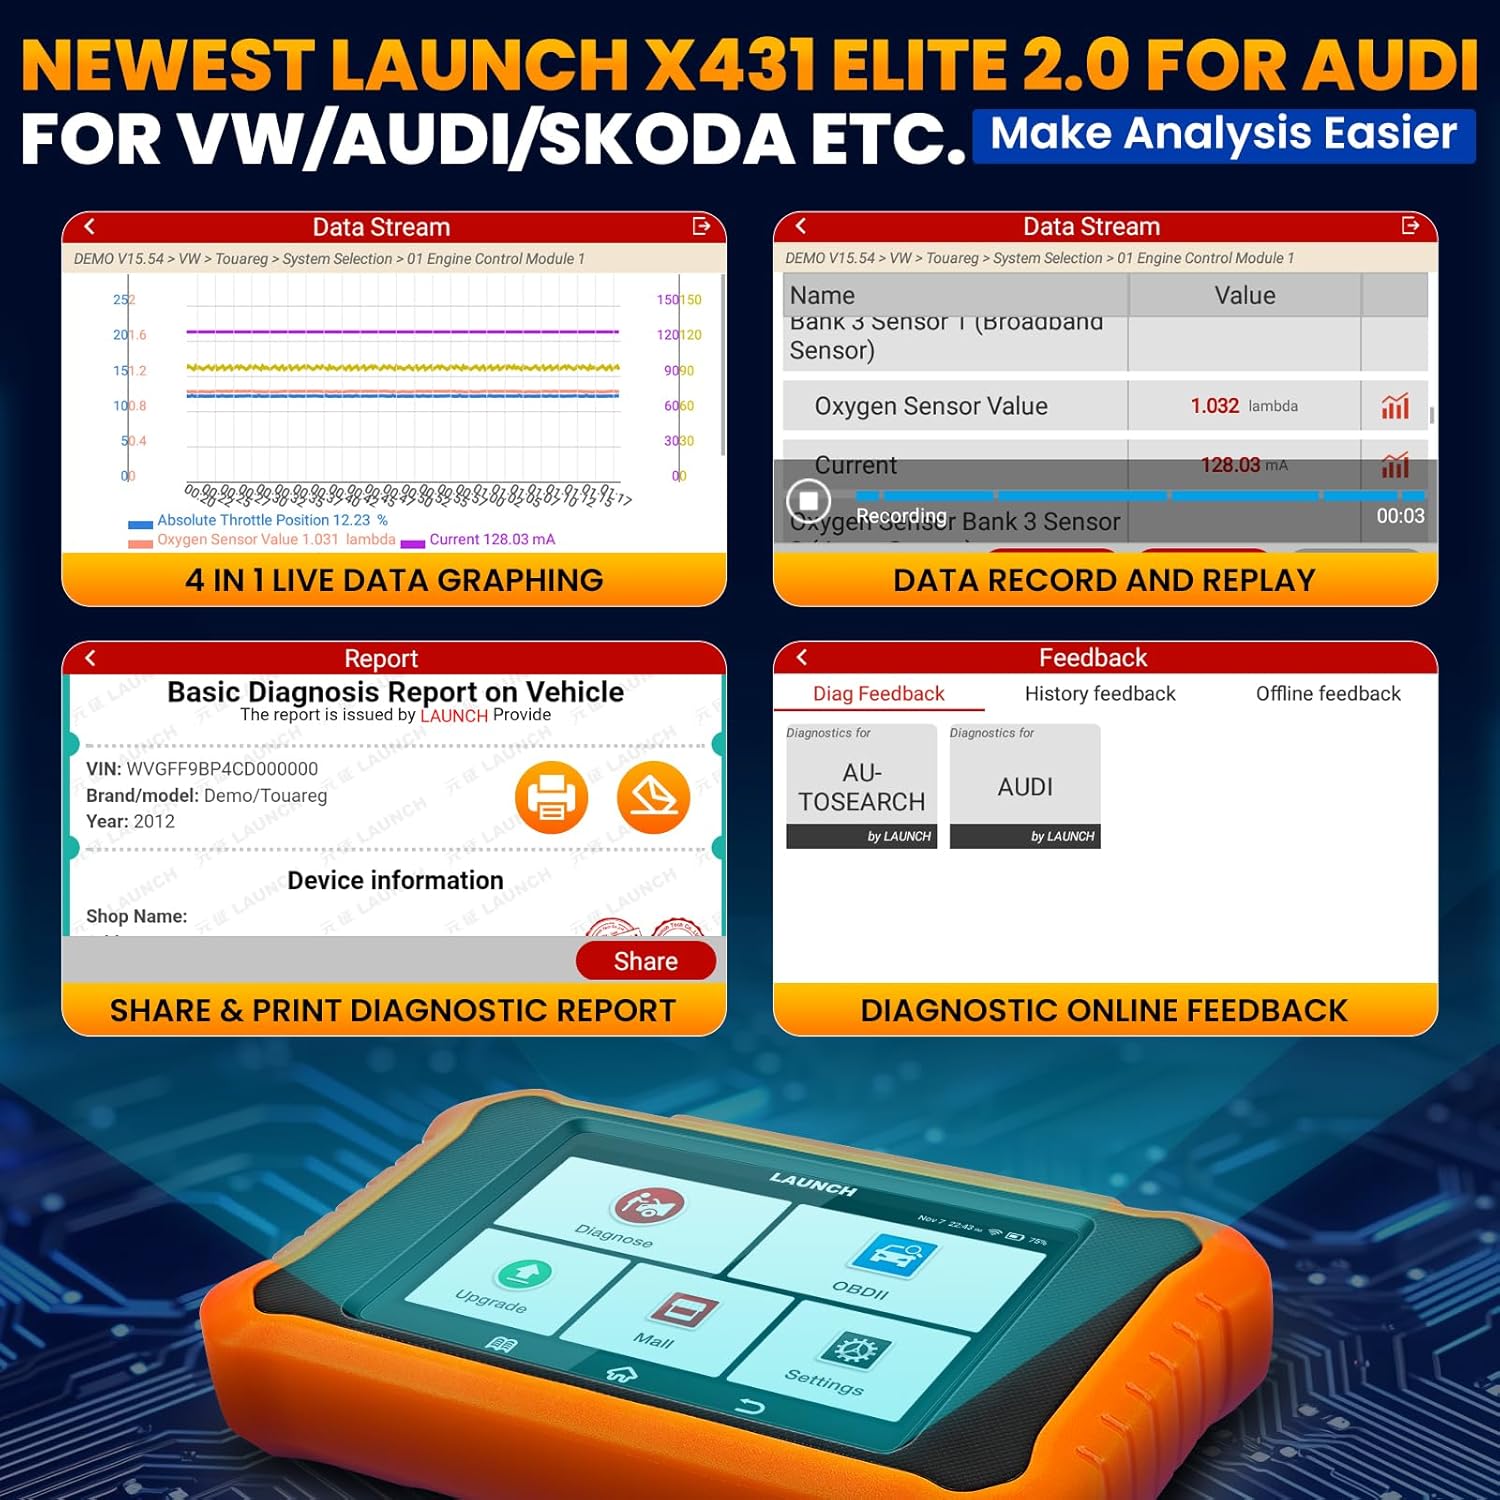
Image: Screenshots demonstrating 4-in-1 live data graphing, data record and replay, and the option to share/print a basic diagnostic report on the vehicle.
4. Maintenance
Proper maintenance ensures the longevity and optimal performance of your LAUNCH X431 Elite V2.0.
- Cleaning: Use a soft, damp cloth to clean the device's screen and body. Avoid abrasive cleaners or solvents.
- Storage: Store the device in a cool, dry place, away from direct sunlight and extreme temperatures. Keep it in its protective case when not in use.
- Software Updates: Regularly check for and install software updates via Wi-Fi to ensure compatibility with new vehicle models and access to the latest features.
- Battery Care: For long-term storage, ensure the battery is charged to about 50%. Recharge it every few months to prevent deep discharge.
- Cable Inspection: Periodically inspect the OBD-II cable for any signs of wear, damage, or frayed wires. Replace if necessary.
5. Troubleshooting
Here are solutions to common issues you might encounter with your LAUNCH X431 Elite V2.0.
| Problem | Possible Cause | Solution |
|---|---|---|
| Device does not power on. | Low battery; Power button not pressed long enough; Device malfunction. | Charge the device for at least 30 minutes. Press and hold the power button for 3-5 seconds. If issue persists, contact support. |
| Unable to connect to vehicle. | Loose OBD-II connection; Vehicle ignition off; Faulty OBD-II port; Incorrect vehicle protocol. | Ensure cable is securely connected. Turn ignition to ON. Check vehicle's OBD-II port for damage. Verify vehicle compatibility. |
| No communication with ECU. | Vehicle not OBD-II compliant; Damaged ECU; Software issue. | Confirm vehicle is OBD-II compliant (1996+). Try another vehicle. Update software. |
| Screen frozen or unresponsive. | Software glitch; System overload. | Perform a soft reset by holding the power button until the device restarts. If persistent, perform a factory reset (data will be lost). |
| Wi-Fi connection issues. | Incorrect password; Weak signal; Router issue. | Double-check Wi-Fi password. Move closer to the router. Restart router. |
6. Specifications
Key technical specifications for the LAUNCH X431 Elite V2.0.
- Model: LAUNCH CRE 2.0 for VW
- Manufacturer: LAUNCH
- Item Weight: 690 g
- Product Dimensions (L x W x H): 20 x 4.5 x 19.5 cm
- Screen Size: 4 inches
- Operating System: Android 8.1
- Internal Storage (ROM): 16GB
- Battery: 3000 mAh
- Display Resolution: HD 800P
- Connectivity: Wi-Fi
- Supported Languages: 11 (including English, French, Spanish, German, Italian)
- Updates: Lifetime Free Wi-Fi Update
- Compatible Car Models: For Audi, Volkswagen, Skoda, Seat, Bentley, Bugatti, Lamborghini, VW Business
7. Warranty and Support
LAUNCH provides comprehensive support for its products.
7.1. Warranty Information
Please refer to the warranty card included with your product for specific warranty terms and conditions. Generally, LAUNCH products come with a manufacturer's warranty covering defects in materials and workmanship.
7.2. Technical Support
For technical assistance, troubleshooting beyond this manual, or warranty claims, please contact LAUNCH customer support. You can often find contact information on the official LAUNCH website or through the seller.
For specific compatibility questions or technical inquiries, you may also contact the seller directly via email: ediag0228@hotmail.com.
Online diagnostic feedback and lifetime tech support are available to assist you with any issues.

Image: Features related to support and updates, including Auto VIN & DTC Lookup, Lifetime Free WiFi Update, Key IMMO, FCA Autoauth, Online Diagnostic Feedback, 4-in-1 Live Data Stream, Battery Registration, and Lifetime Tech Support.


