
SITERWELL GS525A
SITERWELL Smoke Detector User Manual
Model: GS525A
1. Product Overview
The SITERWELL GS525A Smoke Detector is a photoelectric smoke alarm designed to provide early warning of fire hazards. It features a built-in 10-year lithium battery and meets UL217-9th testing requirements, ensuring reliable and long-lasting protection for your home or bedroom.

Figure 1: SITERWELL GS525A Smoke Detector components.
Key Features:
- 10-Year Battery Life: Equipped with a built-in 3V lithium battery, providing continuous power for up to 10 years.
- Photoelectric Sensor: Highly sensitive in detecting slow smoldering fires, which produce light smoke.
- UL217-9th Listed: Certified to meet rigorous safety standards.
- Test/Mute Button: Allows for easy testing of the alarm's functionality and silencing of nuisance alarms.
- Flexible Installation: Can be mounted using included magnets or screws.
- Loud 85dB Alarm: Provides a clear and audible warning.

Figure 2: The SITERWELL smoke detector meets UL217-9th standards.
2. Setup and Installation
Proper activation and installation are crucial for the smoke alarm's effective operation. Please follow these steps carefully.
Activation:
Before mounting, pull out the battery tab to activate your smoke alarm. The GS525A smoke alarm must be activated prior to installation. Failure to properly install and activate this alarm will prevent proper operation and response to fire hazards.
Mounting Options:
The smoke detector can be easily mounted on the wall or ceiling using either the provided screws or magnetic adhesive pads. Choose the method that best suits your needs.
- Screw Installation: Use the included screws to securely fasten the mounting bracket to your desired location. Then, attach the smoke detector to the bracket.
- Magnetic Installation: Apply the provided magnetic adhesive pads to a clean, dry surface on your wall or ceiling. Ensure the surface is free of dust and debris for optimal adhesion. Attach the smoke detector to the magnetic pads.

Figure 3: Simple installation options using screws or magnetic pads.
3. Operating Instructions
Testing the Alarm:
It is recommended to test the smoke alarm weekly to ensure proper operation. To test, simply press the 'Test/Silence' button located on the front of the unit. The alarm will emit a loud sound and the indicator light will blink red.
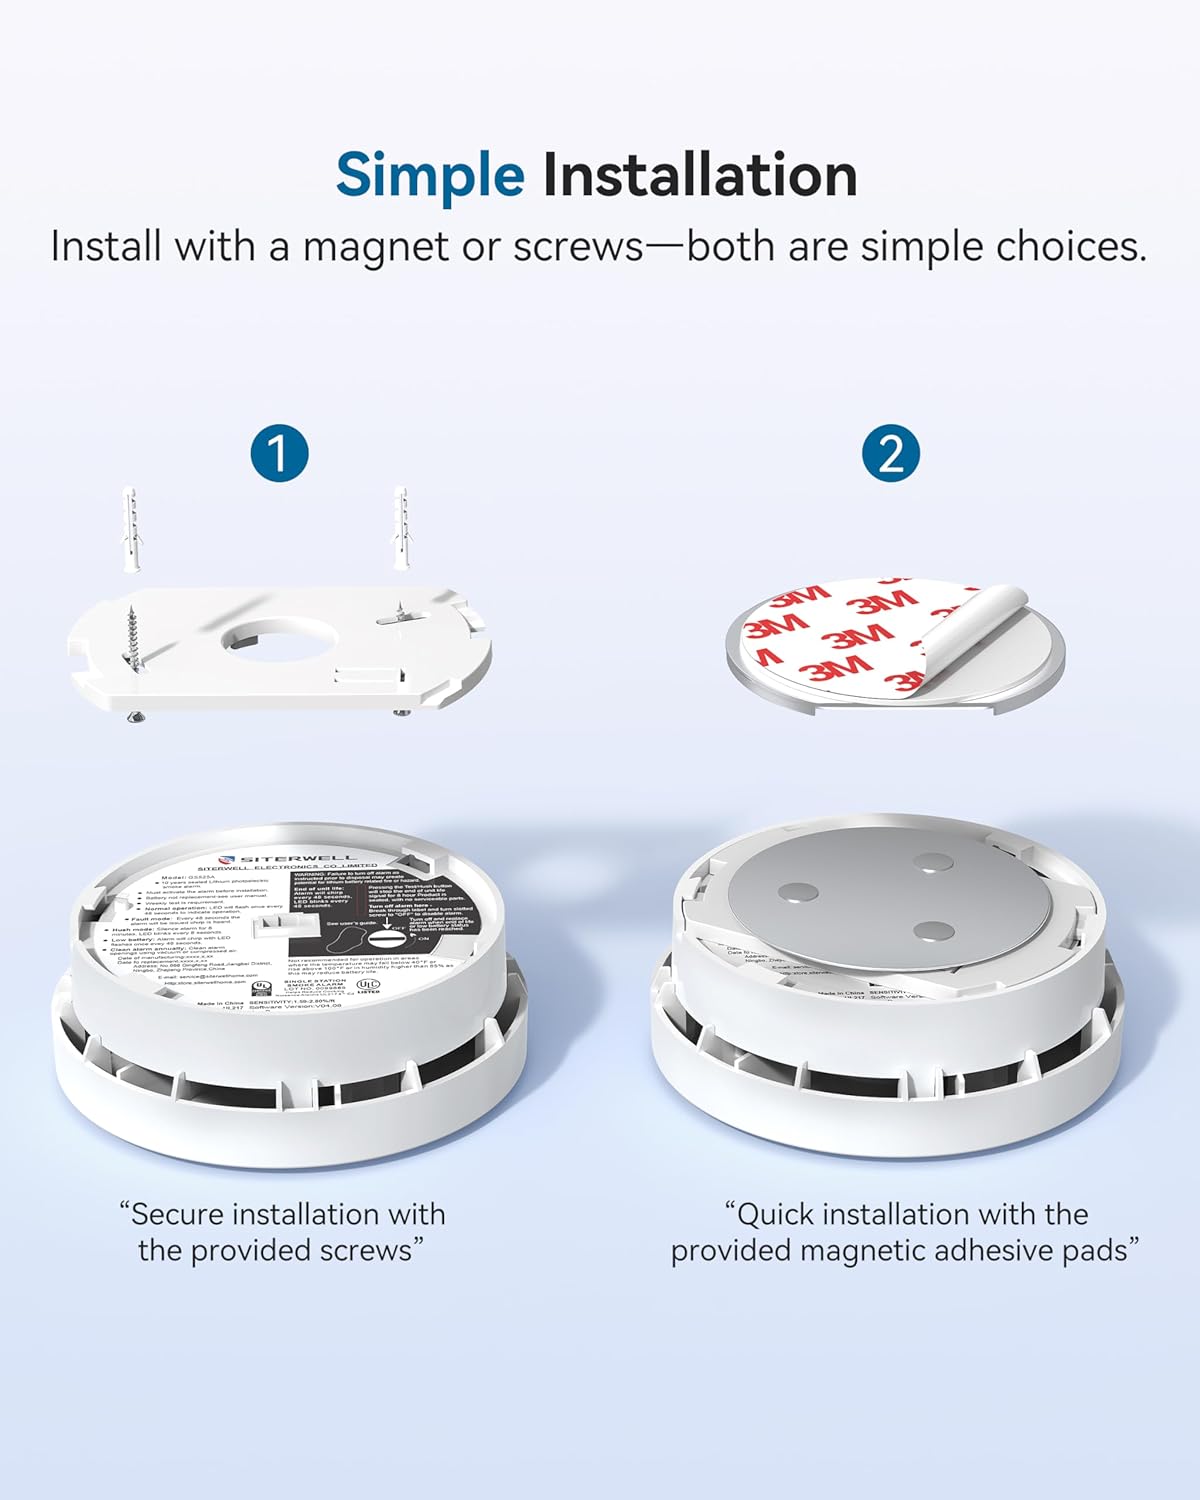
Figure 4: The 85dB alarm provides clear coverage throughout your home.
Silence Feature:
In case of a nuisance alarm (e.g., from cooking smoke), press the 'Test/Silence' button to temporarily silence the alarm. The alarm will automatically reset after a few minutes if the smoke clears.
4. Maintenance
Regular maintenance helps ensure your smoke detector functions correctly for its full lifespan.
Battery Life:
The smoke alarm has a built-in 3V lithium battery designed to last for 10 years. When the battery is low, the alarm will provide a low battery warning (audible chirp and/or blinking light). Since the battery is sealed for 10 years, it is not replaceable by the user. When the low battery warning occurs, the entire unit must be replaced.
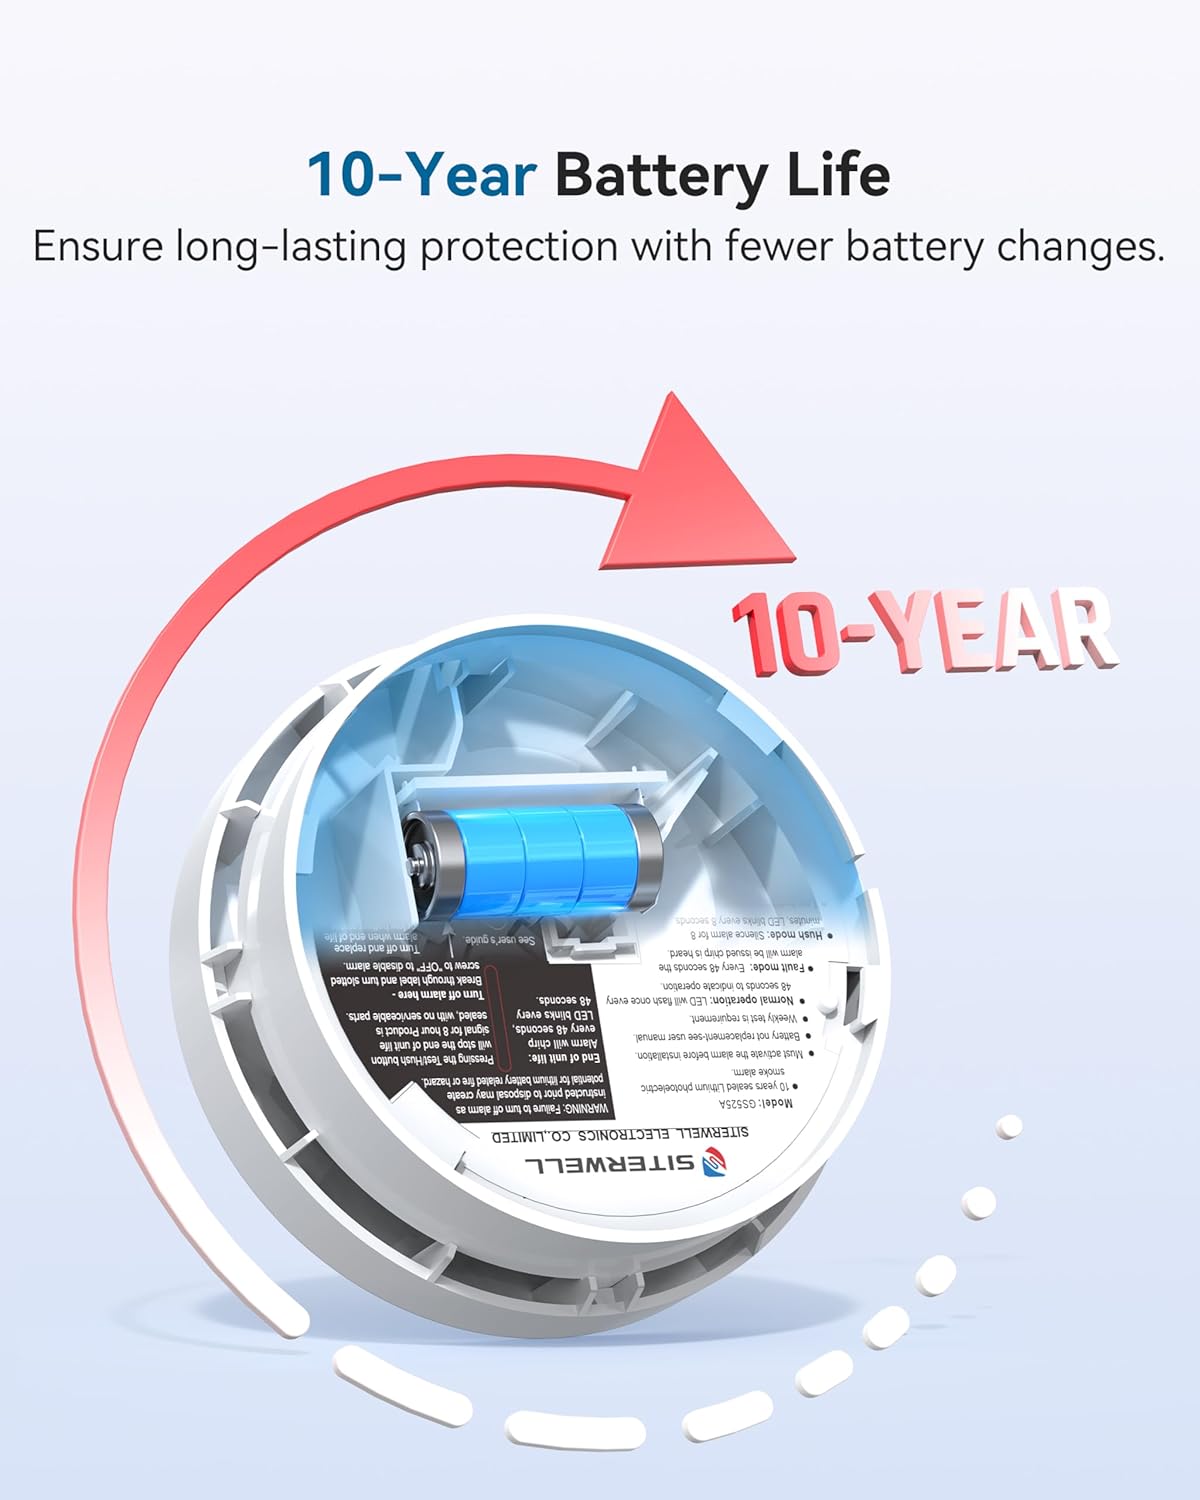
Figure 5: The smoke detector features a long-lasting 10-year battery.
Cleaning:
Dust and debris can affect the performance of your smoke detector. Gently vacuum the exterior of the alarm using a soft brush attachment at least once a month. Do not use cleaning solvents or spray directly onto the unit.
5. Troubleshooting
If your smoke detector is not functioning as expected, refer to the following common issues and solutions.
- Alarm Chirps Periodically: This typically indicates a low battery warning. As the battery is sealed for 10 years, the entire unit needs to be replaced.
- False Alarms: Ensure the detector is not installed too close to cooking appliances, bathrooms with showers, or dusty areas. Use the silence button for nuisance alarms. If false alarms persist, clean the unit as described in the Maintenance section.
- No Response to Test Button: Ensure the battery tab was pulled out during activation. If the unit is activated and still does not respond, it may be faulty and require replacement.
- Fault Signal: If the alarm sends a fault signal (different from a low battery chirp), the product must be replaced immediately.
6. Specifications
| Specification | Detail |
|---|---|
| Brand | SITERWELL |
| Model Number | GS525A |
| Sensor Type | Photoelectric |
| Power Source | Battery Powered (3V Lithium, non-replaceable) |
| Battery Life | 10 Years |
| Alarm Volume | 85dB |
| Certifications | UL217-9th Listed |
| Material | Plastic |
| Item Weight | 12.6 ounces (approx. 0.79 lbs) |
| Package Dimensions | 4.25 x 4.21 x 4.09 inches |

Figure 6: Compact and stylish design of the smoke detector.
7. Warranty and Support
For warranty information or technical support, please contact SITERWELL customer service. Refer to the product packaging or the official SITERWELL website for the most up-to-date contact details.
You can also refer to the official User Manual (PDF) for additional details: Download PDF Manual
Related documentsGS525A


Ask a question about this manual
Ask about setup, troubleshooting, compatibility, parts, safety, or missing instructions. Manuals+ will review the question and use this page’s manual context to help answer it.