
Introduction
This manual provides detailed instructions for the installation, operation, and maintenance of your HammerHead Showers Solid Metal Single-Handle Trim Kit with Rough-In Shower Valve. This product is designed for durability and reliable performance, featuring both volume and temperature control, along with pressure balance technology for a consistent shower experience. Please read all instructions carefully before beginning installation or operation.

Image: The HammerHead Showers Single-Handle Shower Valve and Trim Kit, showcasing the chrome finish.
Safety Information
- Always shut off the main water supply before installing or servicing the valve.
- Wear appropriate personal protective equipment, including safety glasses and gloves, during installation.
- If you are unsure about any part of the installation process, consult a qualified plumber.
- Ensure all connections are secure and leak-free before restoring water pressure.
- This product is cUPC certified, indicating compliance with applicable plumbing codes.
Package Contents
Verify that all components are present before beginning installation:
- Rough-In Shower Valve
- Single-Handle Trim Plate
- Handle Assembly
- Ceramic Disk Pressure Balancing Cartridge
- Mounting Hardware
- Optional 1/2" Cap (for shower-only installations)
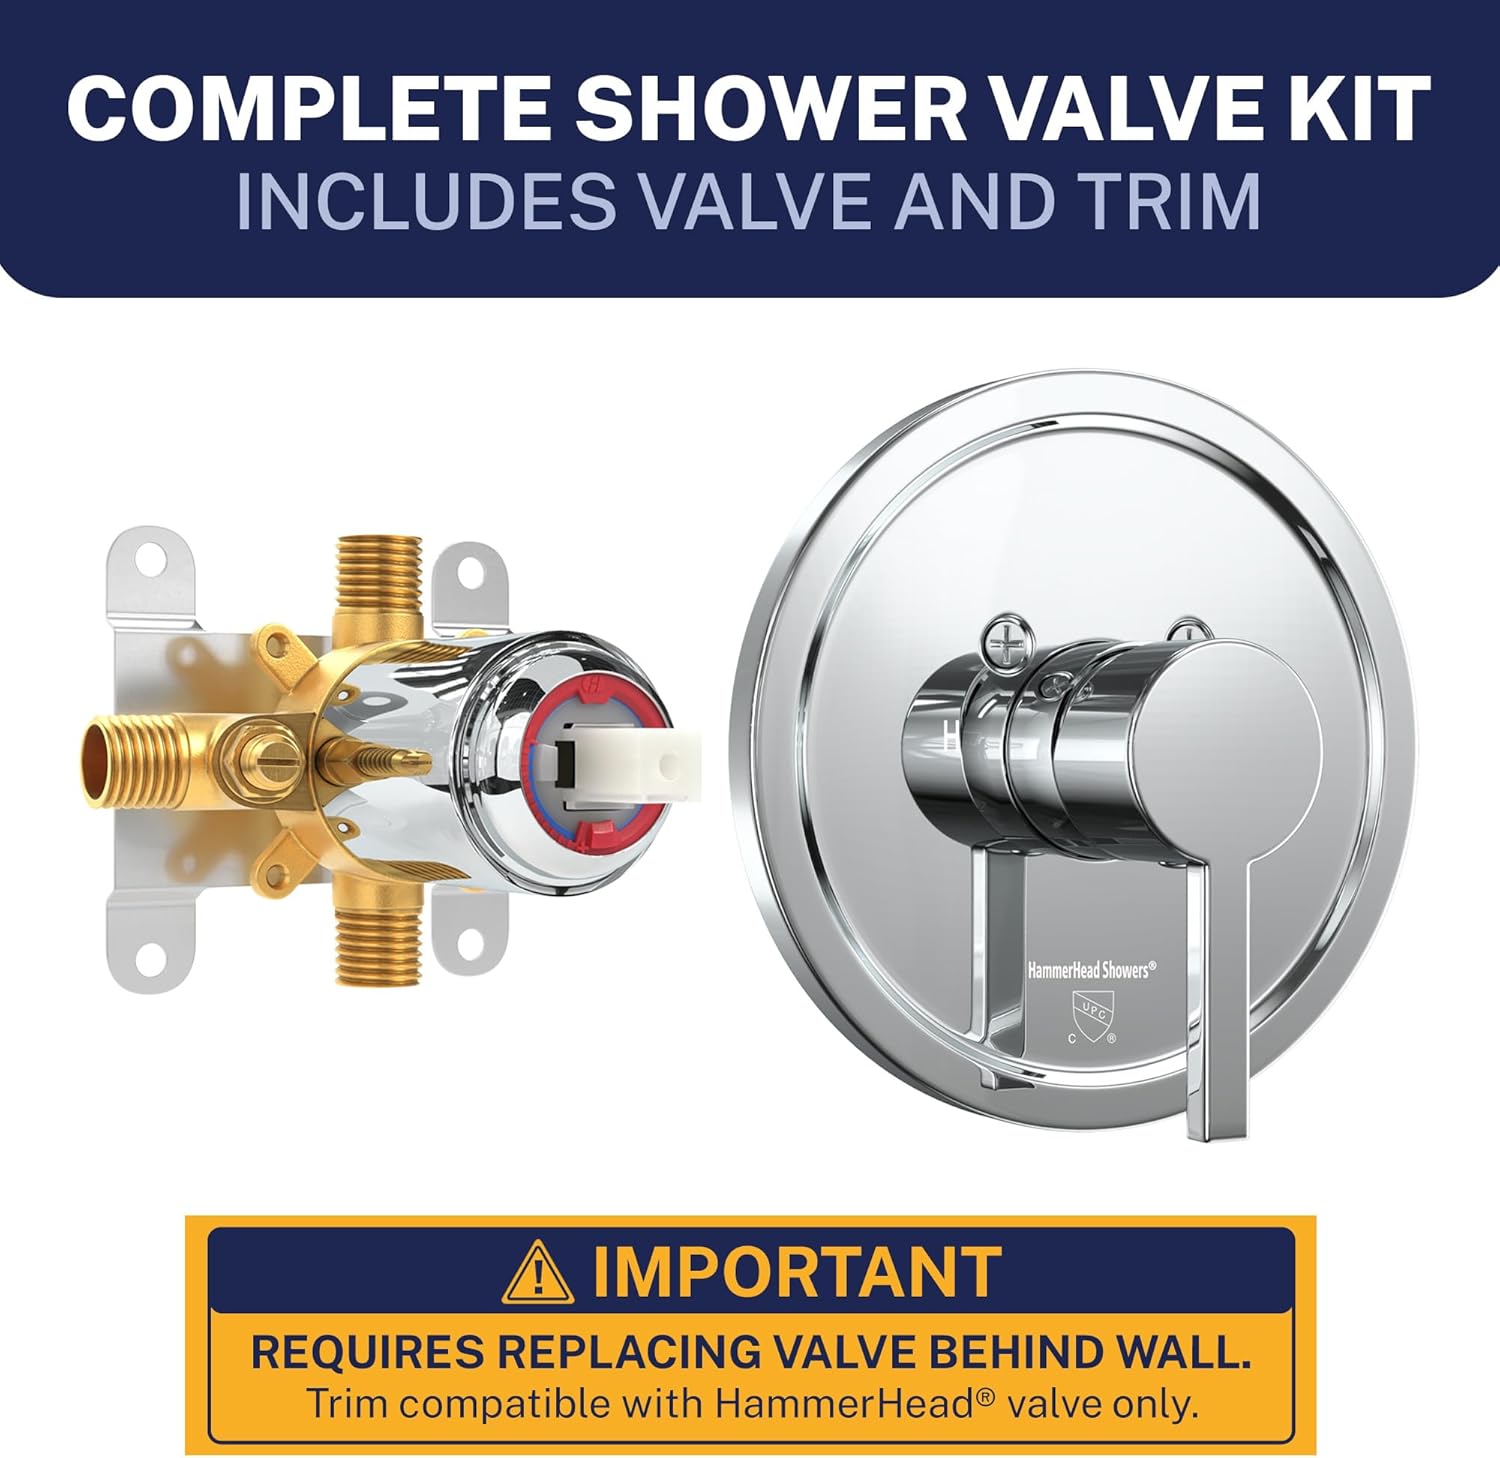
Image: The complete shower valve kit, including the rough-in valve and the chrome trim assembly.
Specifications
| Material | Brass, Stainless Steel |
| Item Dimensions (L x W x H) | 19.61 x 14.96 x 4.96 inches |
| Inlet Connection Type | National Pipe Tapered (NPT) |
| Outlet Connection Type | MNPT |
| Maximum Operating Pressure | 60 psi |
| Number of Ports | 4 |
| Certification | cUPC |
| Thread Size | 1/2 inches |
| Valve Type | Pressure Balance Valve |

Image: Visual representation of product details and key specifications.

Image: Technical drawing illustrating the dimensions of the valve and trim components.
Installation
This trim kit requires replacing the valve behind the wall. The trim is compatible only with the HammerHead Showers valve. Installation can be configured for either a tub and shower combination or a shower-only setup.

Image: Illustration of installation options for tub & shower or shower only configurations.
1. Rough-In Valve Installation
The valve features 1/2" NPT and 1/2" CC connections, offering flexibility for various plumbing setups. Built-in stops allow for water shut-off directly at the valve for maintenance without affecting the entire home's water supply.

Image: Detailed view of the rough-in valve, showing 1/2" NPT and 1/2" CC connections, 4 ports, and built-in stops.
For a comprehensive guide on installing the valve and trim, please refer to the video below:
Video: Complete Valve and Trim Installation Guide. This video provides step-by-step instructions for installing the HammerHead Showers valve and trim kit.
Proper wall depth is crucial for correct trim fitment. Watch the following video for guidance on setting the correct wall depth:
Video: Setting the Correct Wall Depth for Your Valve Installation. This video demonstrates how to achieve the proper wall depth for optimal valve installation.
2. Trim Installation
Once the rough-in valve is securely installed and tested for leaks, proceed with installing the trim plate and handle assembly according to the instructions provided with your kit. Ensure the trim plate is flush against the finished wall surface.
Operation
The single-handle design allows for intuitive control of both water volume and temperature.
- Adjust Water Volume: Lift the handle to open the water flow and increase volume. Lower the handle to reduce volume and shut off water.
- Adjust Temperature: With the handle lifted, turn it left for hotter water or right for colder water.
- Lock Settings: Push the handle inward to lock in your desired temperature and volume settings for subsequent use. The valve remembers your settings for the next shower.

Image: Visual guide for operating the single handle to control water volume and temperature.
Pressure Balance Feature
The integrated pressure balance valve maintains a consistent water temperature, preventing sudden changes due to fluctuations in hot or cold water pressure from other household appliances (e.g., toilet flushing). This anti-scalding feature enhances user safety and comfort.

Image: Explanation of the pressure balancing valve, showing how it mixes hot and cold water to maintain a stable output temperature.
Maintenance
The valve is equipped with an advanced ceramic disk cartridge designed for reduced wear and an extended lifespan. Built-in stops allow for easy replacement or repair of the cartridge without needing to shut off water to the entire home.

Image: Close-up of the 1-piece ceramic disk pressure balancing cartridge.
Adjusting the Temperature Limiter
The valve includes a temperature limiter to prevent excessively hot water. This can be adjusted to suit your preferences. Refer to the video below for instructions:
Video: How to Adjust the Temperature Limiter for Your Valve. This video demonstrates the process for adjusting the maximum hot water temperature setting.
Troubleshooting
| Problem | Possible Cause | Solution |
|---|---|---|
| Low Water Pressure | Partially closed shut-off stops; debris in cartridge; clogged showerhead. | Ensure built-in stops are fully open. Clean or replace cartridge. Clean or replace showerhead. |
| Inconsistent Water Temperature | Temperature limiter set too low; faulty pressure balance cartridge; insufficient hot water supply. | Adjust temperature limiter (refer to maintenance section). Inspect and replace cartridge if necessary. Check hot water heater settings. |
| Leaking from Handle/Trim | Loose trim screws; worn O-rings in cartridge; damaged cartridge. | Tighten trim screws. Replace O-rings or the entire cartridge. |
Warranty and Support
The HammerHead Showers Single-Handle Trim Kit with Rough-In Shower Valve is backed by a Limited Lifetime Warranty. This warranty covers defects in material and manufacturing under normal use and service. For warranty claims or technical support, please contact HammerHead Showers customer service through their official website or the retailer where the product was purchased.

Image: The HammerHead Showers valve and trim kit, highlighting its durable construction and limited lifetime warranty.