
1. Introduction and Overview
This manual provides essential information for the safe and effective operation of your OMTech 60W CO2 Laser Engraver, Model SH-G1390. This machine is designed for cutting, engraving, and shaping various non-metallic materials such as wood, acrylic, leather, and fabric.
The OMTech 60W CO2 Laser Engraver features a 28"x20" work area, autofocus functionality, and built-in air assist, making it suitable for a range of commercial and personal projects.
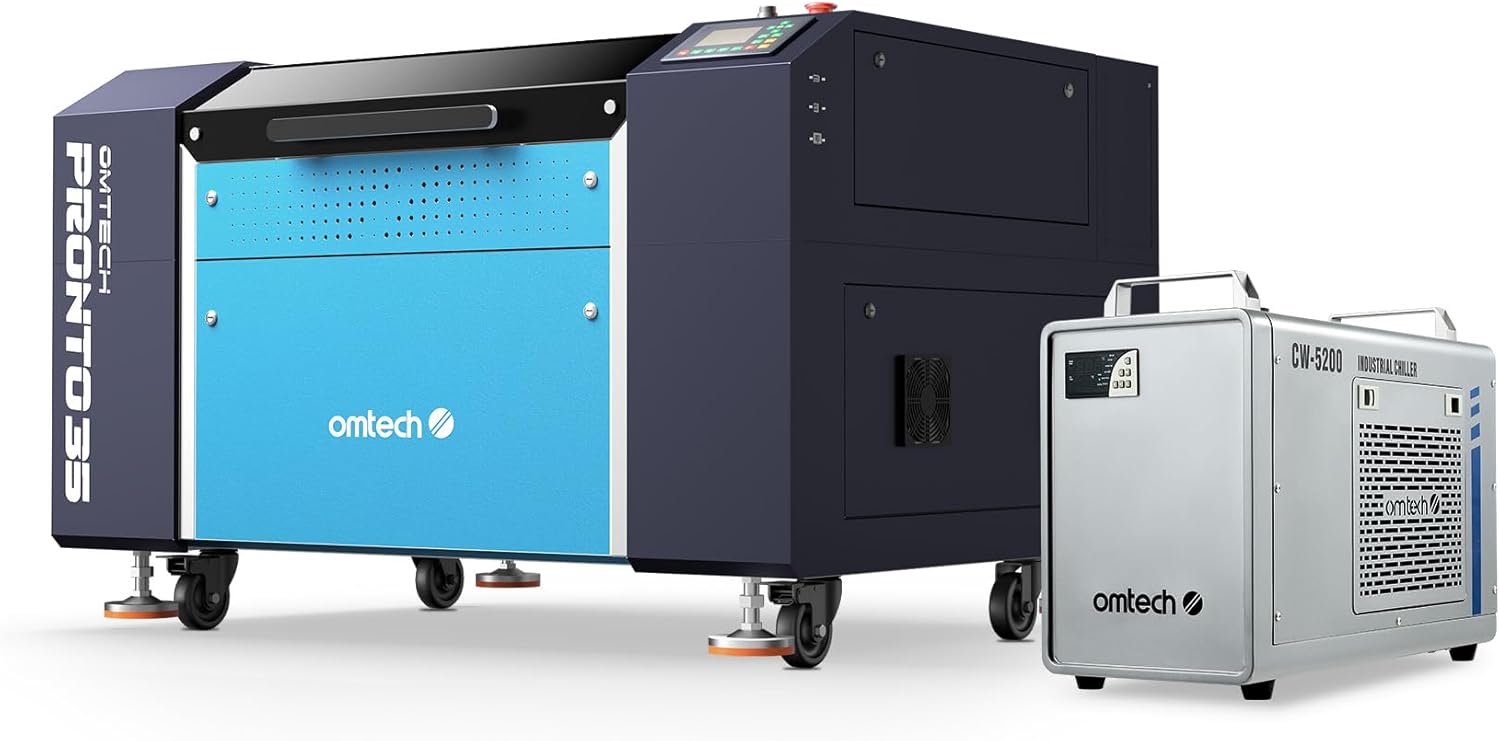
Figure 1: OMTech 60W CO2 Laser Engraver with accompanying industrial chiller.

Figure 2: Interior view of the OMTech 60W CO2 Laser Engraver, highlighting the workbed and laser head.
2. Safety Information
Operating a laser engraver requires strict adherence to safety protocols to prevent injury and equipment damage. This device is a Laser Class 2 product with 0.827 mW output power.
2.1 General Safety Guidelines
- Always wear appropriate laser safety glasses when operating the machine.
- Ensure proper ventilation to remove smoke and fumes generated during operation.
- Never leave the machine unattended during operation.
- Keep a fire extinguisher nearby and know how to use it.
- Do not engrave or cut materials that produce toxic fumes or are highly flammable.
2.2 Integrated Safety Features
The OMTech SH-G1390 includes several safety features:
- Built-in Temperature and Air Pressure Sensors: These sensors monitor operating conditions and will stop the operation and alert you if conditions exceed safe limits (e.g., overheating above 131°F or low air pressure).
- Cover Protection: The machine features a protective cover.
- Flame-Retardant PC Board: Reduces the risk of fire during operation.
- Safe Observation Window: A flame-resistant window allows for safe monitoring of the engraving process.

Figure 3: Overheating alert system, indicating a temperature exceeding 131°F.

Figure 4: Low-pressure alarm sensor displaying a reading of 19.4 KPa.
3. Setup
Proper setup is crucial for optimal performance and safety.
3.1 Unpacking and Placement
Carefully unpack the laser engraver and its components. Place the machine on a stable, level surface in a well-ventilated area, away from flammable materials.
3.2 Connecting Peripherals
Connect the included air pump and exhaust fan. Ensure the exhaust system is properly vented to the outside to remove smoke and debris.

Figure 5: Illustration of the high-speed fan and air pump system for efficient smoke and dust removal.
3.3 Software Installation and Compatibility
The OMTech SH-G1390 is compatible with popular laser software, including RDWorks, CorelLaser, and LightBurn. Install your preferred software on your computer and connect it to the laser engraver according to the software's instructions.

Figure 6: Software compatibility with LightBurn, RDWorks, and CorelLaser.
4. Operating Instructions
Follow these steps for successful engraving and cutting operations.
4.1 Material Preparation
Place your material securely on the honeycomb workbed. The 28"x20" work area accommodates large projects. For thicker or larger pieces, utilize the two-way pass-through feature.

Figure 7: The two-way pass-through allows for working with materials larger than the workbed.
4.2 Autofocus Function
The machine features an autofocus system. Simply press the designated button, and the laser head will automatically adjust to the correct focal distance for your material, ensuring precise results.

Figure 8: The autofocus mechanism precisely adjusts the laser head for optimal focus.

Figure 9: The red dot indicator assists in precise positioning and focus verification.
4.3 Engraving and Cutting Process
Once your design is loaded and the material is in place, initiate the engraving or cutting process through your chosen software. The machine operates at speeds up to 1,000 mm/s for engraving, ensuring efficient project completion.

Figure 10: X and Y-axis stepping motors and V-wheel guide rails ensure smooth and stable operation.
4.4 Supported Materials
The OMTech 60W CO2 Laser Engraver can process a variety of materials:
Materials Suitable for Engraving:
- Acrylic
- Wood
- Leather
- Rubber
- Paper
- Plastic
- Fabric
- MDF
- Cardboard
- Marble
- Foam
- Fiber Glass
Materials Suitable for Cutting:
- Acrylic (up to 0.8")
- Wood (up to 0.4")
- Leather
- Rubber
- Paper
- Plastic
- Fabric
- MDF
- Cardboard
- Foam
Video 1: An overview of the OMTech Laser Engraver, demonstrating its capabilities and ease of use for various projects.
Video 2: Demonstration of the CO2 Laser Engraver and Cutter with Autofocus feature, showcasing its precision and efficiency.
5. Maintenance
Regular maintenance ensures the longevity and optimal performance of your laser engraver.
- Clean the Workbed: Regularly remove debris and residue from the honeycomb workbed.
- Clean Optics: Keep the laser lens and mirrors clean to maintain laser beam quality and power. Refer to the detailed cleaning instructions in the full product manual.
- Check Water Cooling System: Ensure the water cooling system (if external) is functioning correctly and the water level is adequate.
- Inspect Belts and Rails: Periodically check the X and Y-axis belts and guide rails for wear and proper tension.
6. Troubleshooting
This section addresses common issues you might encounter.
6.1 Common Issues and Solutions
- Poor Engraving/Cutting Quality:
- Verify focus: Ensure autofocus is correctly set or manually adjust.
- Clean optics: Dirty lenses or mirrors can reduce laser power.
- Adjust power/speed settings: Different materials require different settings.
- Machine Stops Unexpectedly:
- Check temperature sensors: Overheating can trigger a shutdown. Allow the machine to cool.
- Check air pressure: Low air pressure can also cause a shutdown.
- Inspect emergency stop button: Ensure it is not engaged.
- Software Communication Errors:
- Verify USB/Ethernet connection: Ensure cables are securely connected.
- Restart software and machine: Sometimes a simple restart resolves communication issues.
- Update drivers: Ensure your laser software drivers are up to date.
7. Specifications
| Feature | Detail |
|---|---|
| Model Number | SH-G1390 |
| Rated Power | 60W |
| Work Area | 28" x 20" |
| Max. Engraving Speed | 1,000 mm/s |
| Max. Work Height | 8.7" |
| Product Dimensions | 72.8 x 55.1 x 26 inches |
| Item Weight | 549 pounds |
| Laser Class | Class 2, 0.827 mW output power |
| Manufacturer | OMTech |
8. Warranty and Support
OMTech provides comprehensive support for its products.
- Technical Support: U.S.-based technical support is available for quick responses to any issues.
- Customer Service: 24/7 online customer service is provided.
- Warranty: The product includes a two-year support period.
For further assistance, please refer to the official OMTech website or contact their customer service directly.


