
1. Introduction
This manual provides detailed instructions for setting up, operating, and maintaining your TRIGKEY Speed S8 Mini PC. Please read this manual thoroughly before using the device to ensure proper functionality and to prevent damage. Keep this manual for future reference.

Image 1.1: TRIGKEY Speed S8 Mini PC. This image displays the compact design of the mini PC, highlighting its small form factor and front panel ports.
2. Package Contents
Verify that all items listed below are included in your package:
- 1 x TRIGKEY Mini PC (Speed S8)
- 1 x Power Adapter
- 1 x VESA Mount
- 1 x User Manual (this document)
- 2 x HDMI Cables
3. Product Overview
Familiarize yourself with the ports and buttons on your TRIGKEY Speed S8 Mini PC.

Image 3.1: Front and Rear Ports. This diagram illustrates the location and type of ports available on the mini PC, including USB, HDMI, LAN, and power connections.
Front Panel:
- Power Button: Press to turn the PC on or off.
- CLR CMOS Button: Used to clear CMOS settings (refer to advanced troubleshooting).
- USB 3.0 Ports (x2): For connecting USB devices.
- Type-C Port (x1): For data transfer.
- MIC Headphone Jack (x1): For audio input/output.
Rear Panel:
- LAN Port (RJ45 1000M) (x1): For wired network connection.
- USB 3.0 Ports (x2): For connecting USB devices.
- HDMI Ports (x2): For connecting displays.
- DC Jack Port (x1): For power adapter connection.
4. Setup Instructions
Follow these steps to set up your Mini PC:
- Connect to a Display: Use one of the provided HDMI cables to connect the Mini PC to a monitor or TV. The device supports dual display output.
- Connect Peripherals: Connect your keyboard, mouse, and other USB devices to the available USB 3.0 ports.
- Connect to Network:
- Wired Connection: Connect an Ethernet cable to the RJ45 LAN port.
- Wireless Connection: The Mini PC supports 802.11ac Dual Band 2.4 & 5.8GHz Wi-Fi. After booting, configure Wi-Fi settings in the operating system.
- Connect Power: Plug the power adapter into the DC Jack port on the Mini PC, then plug the adapter into a power outlet.
- Power On: Press the power button on the front panel. The system will boot into Windows 11.
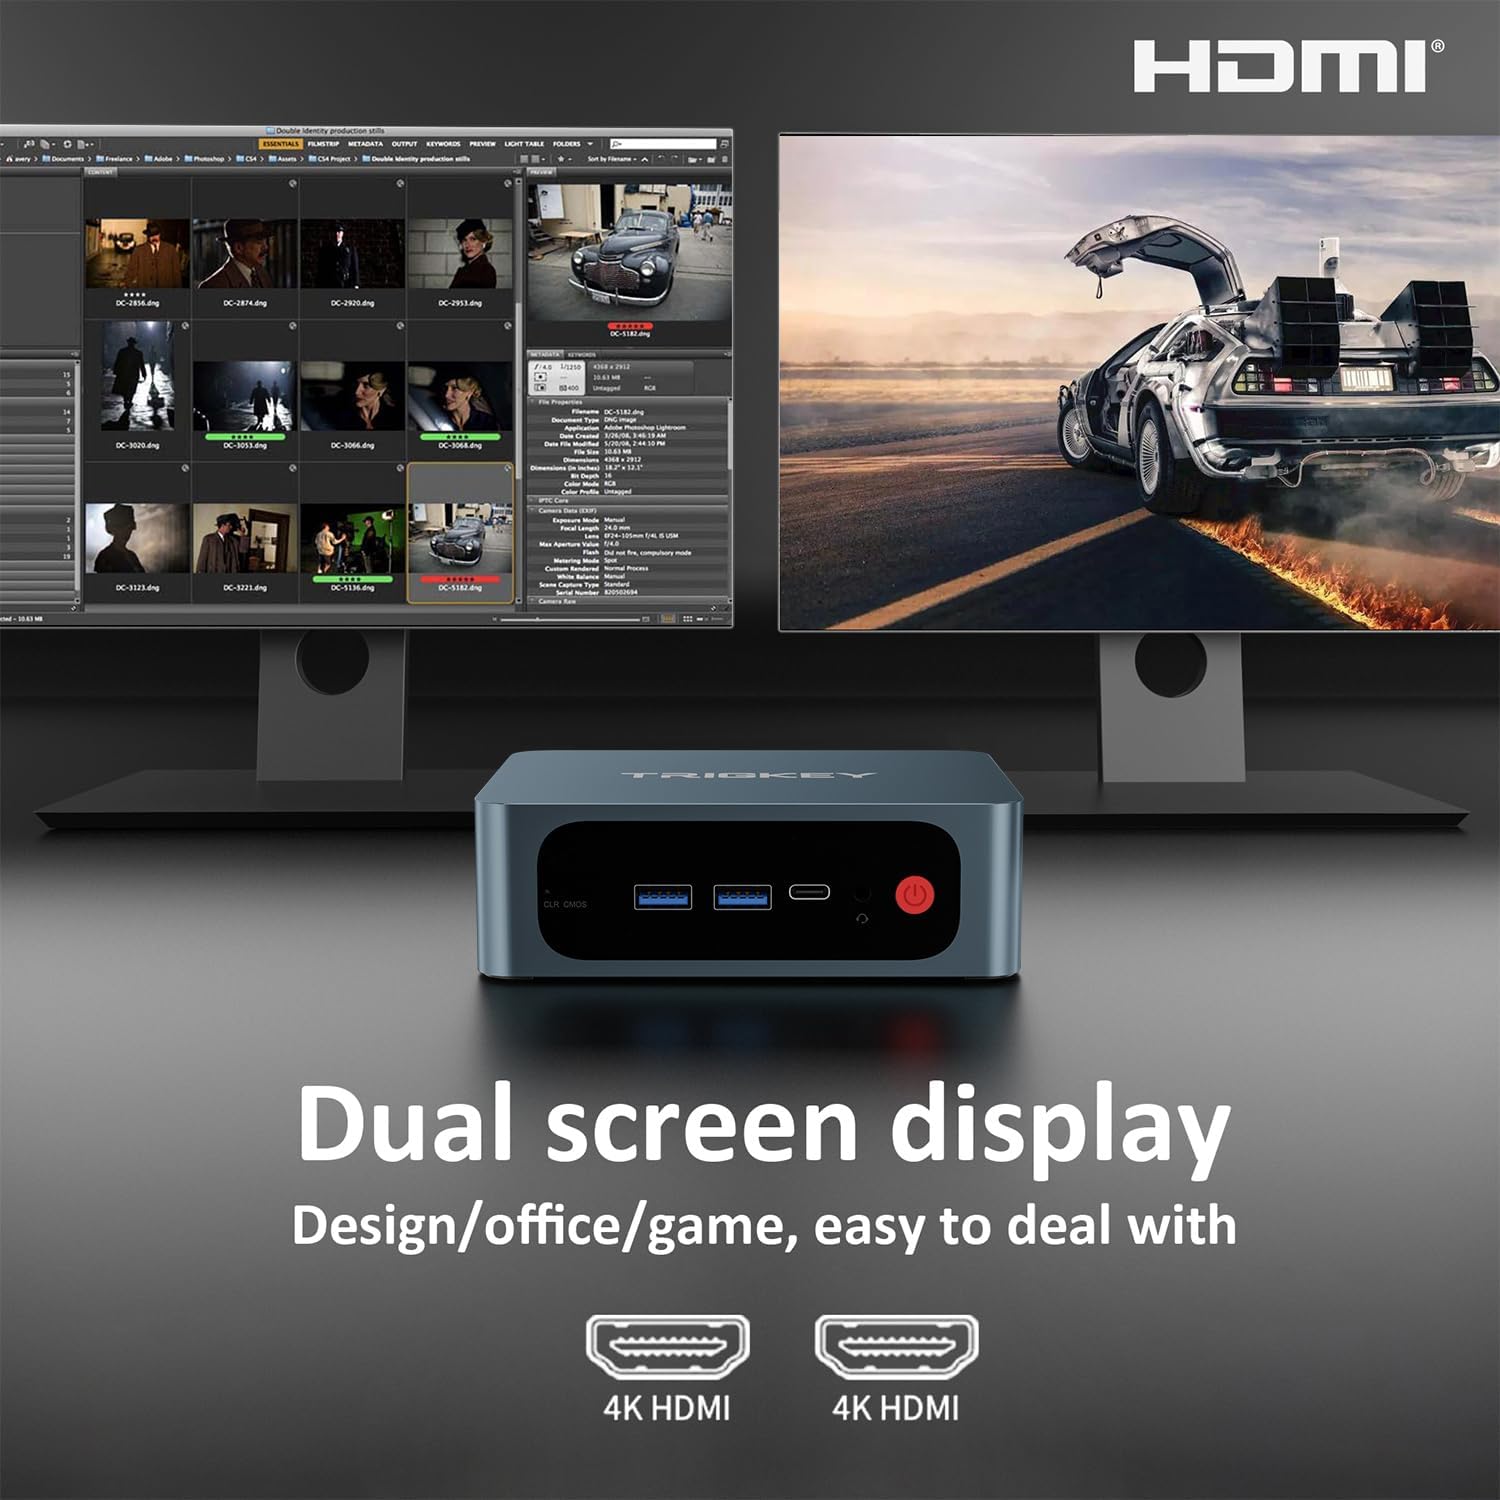
Image 4.1: Dual Screen Display. This image demonstrates connecting the mini PC to two monitors for an extended desktop experience.

Image 4.2: Wi-Fi 5. This image highlights the device's support for Wi-Fi 5 (802.11ac) for wireless internet connectivity.
5. Operating Instructions
5.1. Initial Boot and Windows 11 Setup
Upon the first power-on, you will be guided through the Windows 11 initial setup process. Follow the on-screen prompts to configure language, region, network, and user accounts.
5.2. Dual Display Configuration
The Mini PC supports connecting two displays via its two HDMI ports. To configure dual displays in Windows 11:
- Ensure both monitors are connected and powered on.
- Right-click on the desktop and select "Display settings".
- Under "Multiple displays", you can detect, identify, and arrange your displays.
- Choose your preferred display option (e.g., Extend these displays, Duplicate these displays).
5.3. Bluetooth Connectivity
The Mini PC includes Bluetooth 5.0 for connecting wireless peripherals such as keyboards, mice, and headphones.
- Go to "Settings" > "Bluetooth & devices".
- Ensure Bluetooth is turned "On".
- Click "Add device" and select "Bluetooth".
- Select your device from the list and follow pairing instructions.
6. Storage Expansion
The TRIGKEY Speed S8 Mini PC offers flexible storage expansion options:
- M.2 NVMe SSD: The device comes with a 500GB Kingston NVMe SSD. You can upgrade or replace this with an M.2 SATA SSD 2280 / NVMe SSD up to 2TB (not included).
- 2.5-inch SATA HDD: An additional 2.5-inch SATA HDD/SSD can be installed for up to 2TB of extra storage (not included).
For detailed instructions on installing or upgrading storage, please refer to the official TRIGKEY support website or contact customer service.

Image 6.1: Storage Expansion Options. This image illustrates the M.2 NVMe SSD slot and the possibility to add a 2.5-inch HDD for increased storage capacity.

Image 6.2: DDR4 High Performance Memory. This image shows the DDR4 RAM modules, indicating the device's memory configuration and potential for upgrade.
7. Maintenance
To ensure the longevity and optimal performance of your Mini PC, follow these maintenance guidelines:
- Cleaning: Regularly clean the exterior of the Mini PC with a soft, dry cloth. Avoid using liquid cleaners directly on the device. Use compressed air to clear dust from vents periodically.
- Ventilation: Ensure the Mini PC is placed in a well-ventilated area. Do not block the ventilation openings.
- Software Updates: Keep your Windows 11 operating system and drivers updated to the latest versions for security and performance improvements.
- Power Management: Use the provided power adapter. Avoid frequent power interruptions.
8. Troubleshooting
If you encounter issues with your Mini PC, refer to the following common troubleshooting steps:
| Problem | Possible Solution |
|---|---|
| No display output |
|
| PC does not power on |
|
| No Wi-Fi connection |
|
| Slow performance |
|
If the problem persists, please contact TRIGKEY customer support for further assistance.
9. Specifications
Detailed technical specifications for the TRIGKEY Speed S8 Mini PC:

Image 9.1: Product Specification Overview. This image provides a visual summary of the key technical specifications of the mini PC.
| Feature | Detail |
|---|---|
| Model Name | Speed S8 |
| Processor | Intel 8th Gen Core i3-8109U (2C/4T, 4 MB Smart Cache, up to 3.6GHz) |
| Graphics | Intel Iris Plus Graphics 655 |
| RAM | 16GB DDR4 (Expandable up to 32GB) |
| Storage | 500GB M.2 NVMe SSD (Expandable via M.2 SATA SSD 2280 / NVMe SSD or 2.5-inch SATA HDD/SSD up to 2TB) |
| Operating System | Windows 11 Pro |
| Video Output | 2 x HDMI (Supports 4K@30Hz dual display) |
| USB Ports | 4 x USB 3.0, 1 x Type-C |
| Network | Gigabit Ethernet (RJ45 1000M), Wi-Fi 5 (802.11ac Dual Band 2.4 & 5.8GHz) |
| Bluetooth | Bluetooth 5.0 |
| Audio | 1 x Audio Jack (HP&MIC) |
| Dimensions | Approximately 126 x 112.7 x 40.7 mm |
| Weight | Approximately 948 g |
| Power Adapter | Input: 100-240V AC, 50/60Hz; Output: 19V/3A |
| Included Accessories | Power Adapter, VESA Mount, User Manual, 2x HDMI Cables |
10. Warranty and Support
TRIGKEY is committed to providing reliable products and customer service.
- Warranty: Your TRIGKEY Mini PC comes with a 1-Year warranty from the date of purchase.
- Technical Support: Lifetime technical support is available for all TRIGKEY mini computers.
- After-Sales Service: 24/7 after-sales service is provided to address any concerns or issues you may encounter.
For warranty claims, technical assistance, or any product-related inquiries, please contact TRIGKEY customer support through their official website or the contact information provided with your purchase.


