
1. Product Overview
The Master Plumber Model 355 Basin Hold Down Clamp Assembly is a set of four essential components designed for securing plumbing basins. These clamps provide a stable and reliable connection, ensuring proper installation and function of your sink or basin.
Key Features:
- 4-piece set for comprehensive installation.
- Designed for basin hold-down applications.
- Durable metal construction for long-lasting performance.
- Part Number: 355.
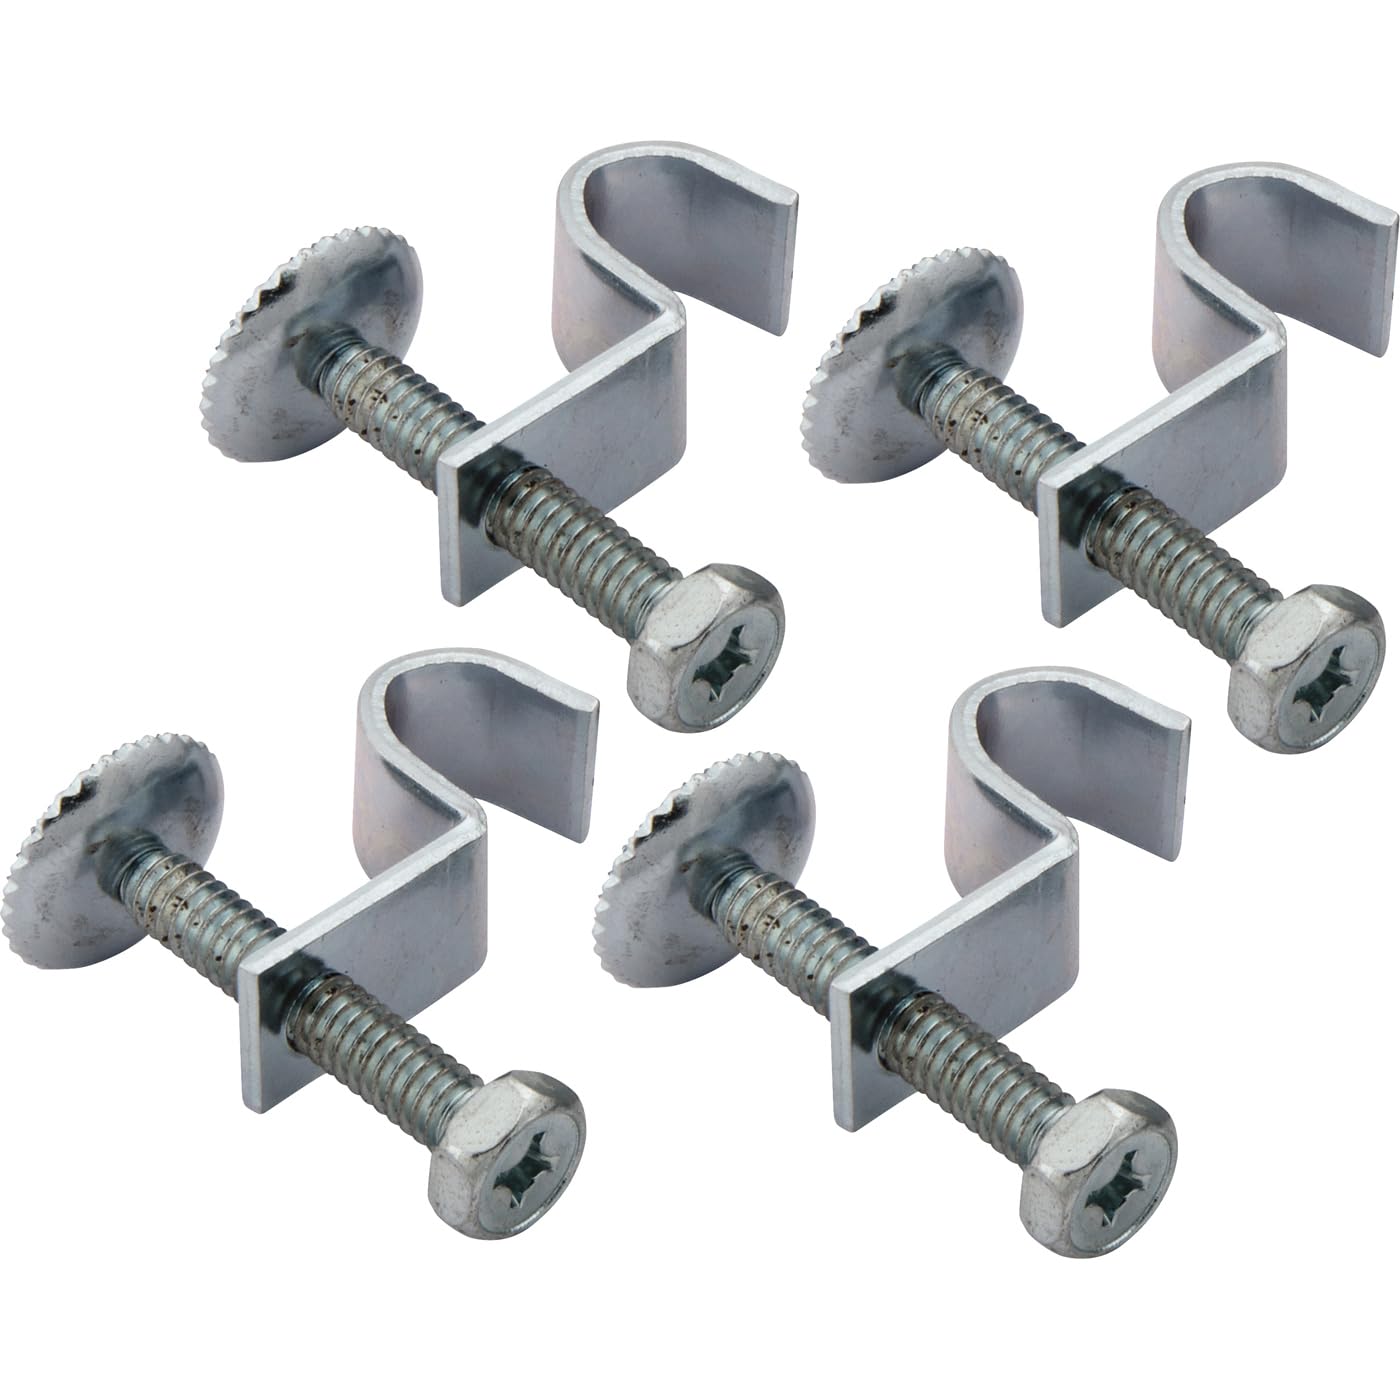
Figure 1: Master Plumber Model 355 Basin Hold Down Clamp Assembly (4-piece set).
2. Safety Information
Always wear appropriate personal protective equipment (PPE) such as gloves and eye protection when handling plumbing components and tools. Ensure the work area is well-lit and clear of obstructions. If you are unsure about any installation step, consult a qualified plumber.
3. Installation (Setup)
This section outlines the general procedure for installing the Master Plumber Model 355 Basin Hold Down Clamp Assembly. Specific basin designs may vary, so always refer to your basin's manufacturer instructions for precise details.
- Prepare the Basin: Ensure the basin is correctly positioned in its opening on the countertop or vanity. The underside of the basin should be accessible.
- Identify Mounting Points: Locate the designated mounting points or clips on the underside of the basin rim. These are typically designed to accept hold-down clamps.
- Position the Clamp: Place one piece of the clamp assembly onto a mounting point. The clamp typically consists of a bracket that hooks onto the basin rim and a screw mechanism that tightens against the underside of the countertop.
- Secure the Clamp: Hand-tighten the screw mechanism until the clamp makes firm contact with both the basin and the countertop. Do not overtighten initially.
- Repeat for all Clamps: Install the remaining three clamps evenly around the basin's perimeter.
- Final Tightening: Once all clamps are in place and hand-tight, gradually tighten each clamp with a screwdriver or appropriate tool, working in a crisscross pattern. This ensures even pressure and prevents warping. Tighten until the basin is securely held in place and there is no movement.

Figure 2: Individual clamp component for securing the basin.
4. Operation
The Master Plumber Model 355 Basin Hold Down Clamp Assembly is a passive component designed to maintain the secure position of your basin once installed. No active operation is required after proper installation. Its function is to provide a stable and fixed connection between the basin and the countertop.

Figure 3: Packaging of the Master Plumber Basin Hold Down Clamp Assembly.
5. Maintenance
The Master Plumber Model 355 Basin Hold Down Clamp Assembly requires minimal maintenance. Periodically inspect the clamps to ensure they remain tight and secure. Over time, vibrations or settling may cause slight loosening. If any clamp feels loose, gently retighten it using the appropriate tool. Avoid using harsh chemicals or abrasive cleaners on the metal components, as this may cause corrosion or damage to the finish.
6. Troubleshooting
- Basin feels loose after installation:
Ensure all four clamps are properly engaged with both the basin rim and the countertop. Gradually tighten each clamp in a crisscross pattern until the basin is secure. Avoid overtightening, which can damage the basin or countertop.
- Clamp does not fit:
Verify that the Master Plumber Model 355 is the correct clamp assembly for your specific basin and countertop configuration. Consult your basin's manufacturer specifications for compatible hold-down methods.
- Corrosion or rust appears on clamps:
While made of durable metal, prolonged exposure to moisture or harsh chemicals can lead to corrosion. Ensure the area around the basin is kept dry. If corrosion is significant, consider replacing the affected clamps.
7. Specifications
| Model Number | 355 |
| Brand | Master Plumber |
| Material | Metal |
| Color | Silver |
| Item Dimensions (L x W x H) | 17.8 x 10.2 x 1.3 centimetres |
| Number of Items | 4 |
| UPC | 773497030316 |
| Manufacturer | Masco Canada |
8. Warranty and Support
For specific warranty information or technical support regarding your Master Plumber Model 355 Basin Hold Down Clamp Assembly, please contact Master Plumber customer service. Refer to the official Master Plumber website or product packaging for the most current contact details.
Manufacturer: Masco Canada
Brand: Master Plumber
For additional information and product range, you may visit the Master Plumber Store on Amazon.