
TOMLOV DM9 Max
TOMLOV DM9 Max Digital Microscope User Manual
Model: DM9 Max
1. Introduction
The TOMLOV DM9 Max Digital Microscope is an advanced imaging tool designed for detailed observation and analysis. Featuring a 10.1-inch HD IPS display, 5X-1500X magnification, and versatile connectivity options, it is suitable for a wide range of applications including coin collection, soldering, watch repair, and plant inspection. This manual provides essential information for setting up, operating, and maintaining your microscope.
2. Package Contents
Verify that all items listed below are included in your package:
- 10.1-Inch HDMI Digital Microscope (1)
- 12.6-Inch Adjustable Stand (1)
- 64GB Micro SD Card (1)
- Remote Control (1)
- Light Barrier (1)
- USB Cable (2)
- HDMI Cable (1)
- User Manual (1)

Image: All components included in the TOMLOV DM9 Max Digital Microscope package, laid out for inspection.
3. Setup Guide
3.1 Assembly
- Attach the 12.6-inch adjustable stand to the base plate.
- Secure the microscope unit to the adjustable stand.
- Connect the two gooseneck side lights to the base, ensuring they are positioned to illuminate your observation area.

Image: The fully assembled TOMLOV DM9 Max Digital Microscope, showing the screen, microscope head, adjustable stand, and base with side lights.
3.2 Powering On and Initial Setup
- Connect the microscope to a power source using one of the provided USB cables. The device can also operate on its internal battery.
- Press and hold the power button on the microscope unit for approximately 5 seconds to turn it on.
- Insert the included 64GB Micro SD card into the designated slot on the side of the display unit. This card is essential for saving photos and videos.
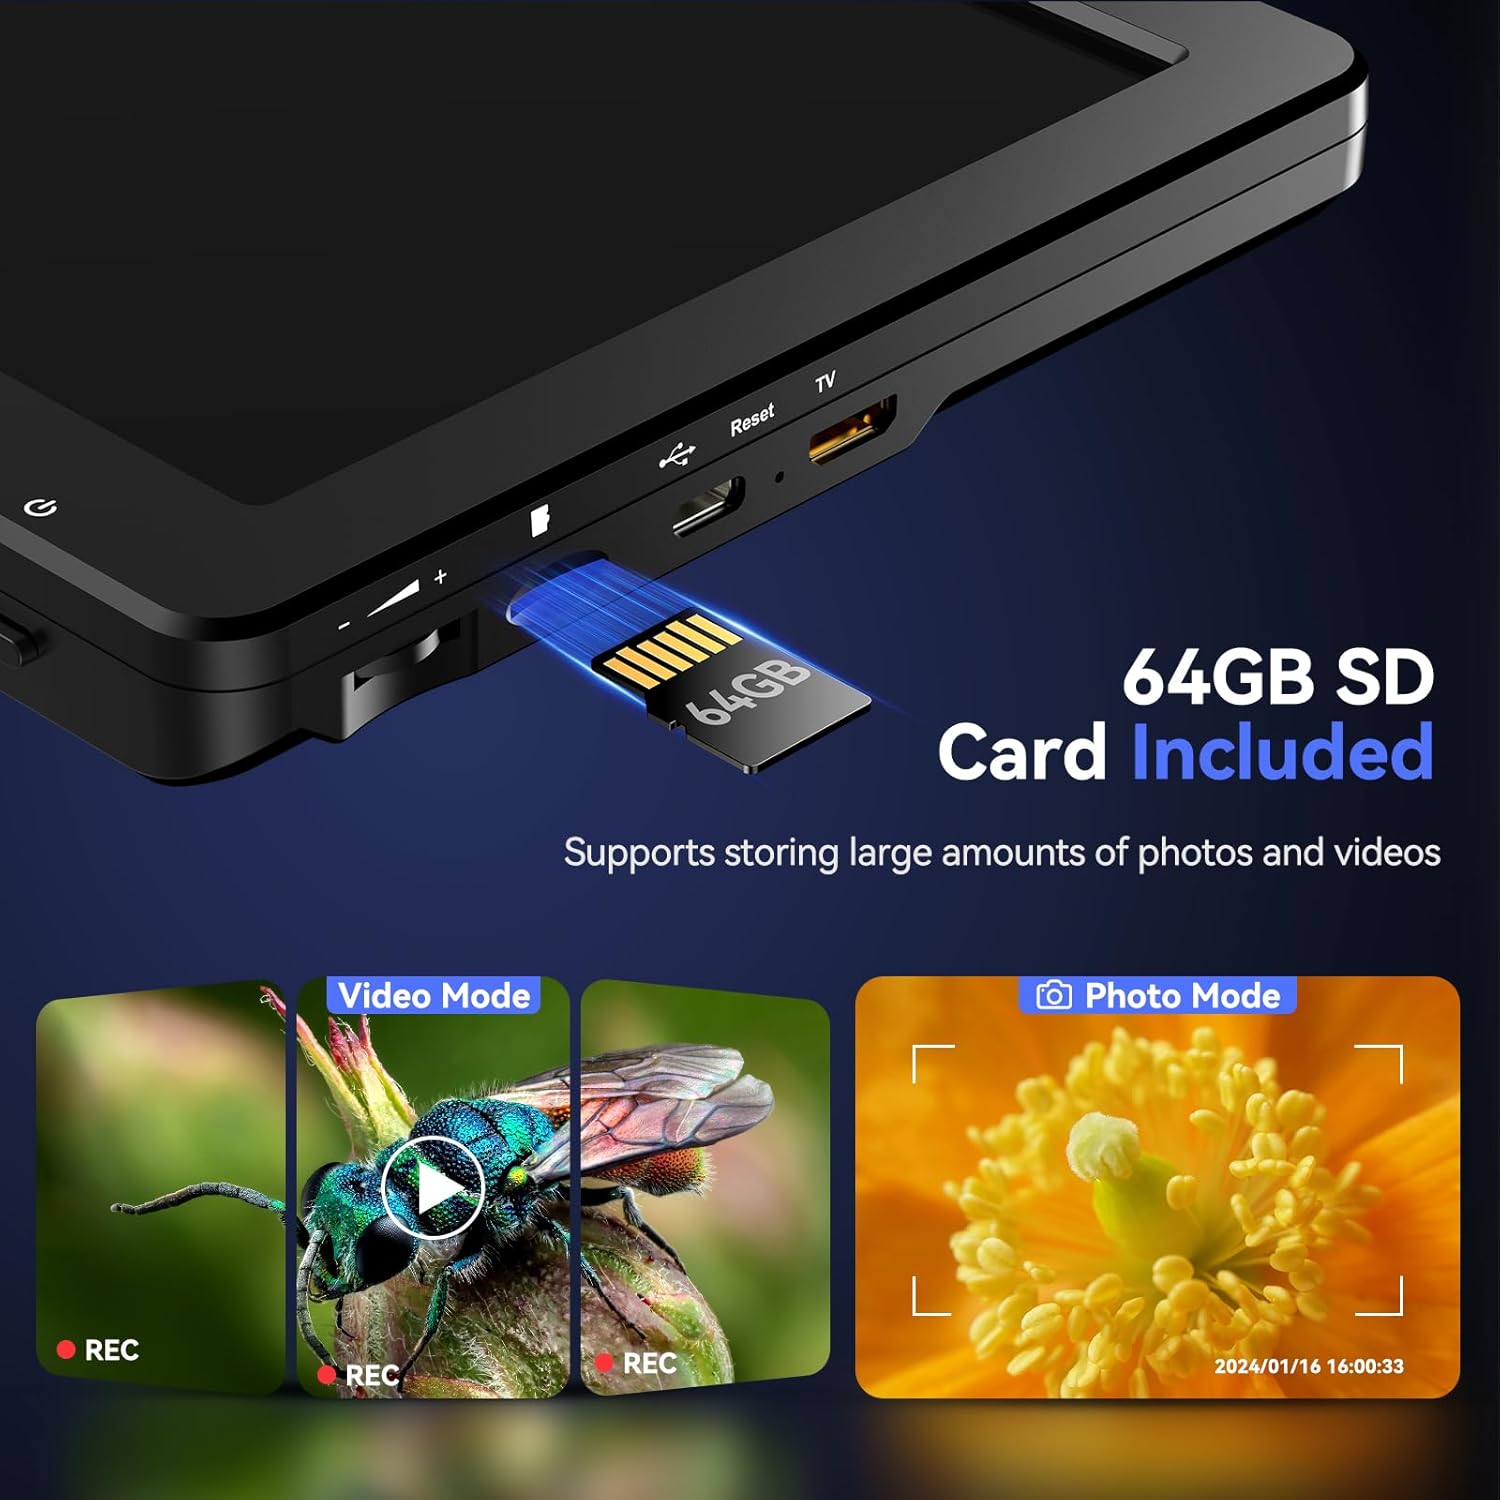
Image: A close-up view of the side of the microscope's display unit, showing the slot for inserting the 64GB SD card.
3.3 Connecting to External Displays
The DM9 Max supports HDMI and USB-C output for viewing on larger screens:
- HDMI Output: Use the provided HDMI cable to connect the microscope to an HDMI-compatible monitor or TV for real-time viewing.
- USB Output: Connect the microscope to a computer via USB-C. You may need to install specific software (refer to the included user manual for software details) to view the live feed on your PC.

Image: The TOMLOV DM9 Max Digital Microscope connected to a large external monitor and a laptop, demonstrating its HDMI and USB output capabilities for a larger viewing experience.
4. Basic Operation
4.1 Adjusting Magnification and Focus
- Place the object you wish to observe on the base plate directly under the microscope lens.
- Adjust the height of the microscope unit on the stand using the adjustment knob to change the initial magnification. The 12.6-inch adjustable stand allows for a larger working distance, ideal for observing larger objects like full coins.
- Rotate the focus wheel on the microscope body until the image on the screen is clear and sharp.
- Utilize the digital zoom function via the remote control or on-screen buttons for finer magnification adjustments (5X to 1500X).

Image: A visual representation of the TOMLOV DM9 Max's magnification capabilities, displaying an object at 5X, 500X, and 1500X zoom levels.
4.2 Illumination Control
The microscope is equipped with 8 adjustable LED lights around the lens and 2 flexible gooseneck side lights to ensure optimal illumination:
- Adjust the brightness of the lens lights using the dedicated knob on the microscope unit.
- The two gooseneck side lights can be independently positioned and dimmed to eliminate shadows and enhance detail.

Image: The TOMLOV DM9 Max Digital Microscope in use, highlighting the 8 adjustable LED lights around the lens and the 2 flexible gooseneck side lights providing comprehensive illumination for detailed observation.
4.3 Capturing Photos and Videos
Use the one-button recording function to capture high-resolution images and videos directly to the inserted 64GB SD card:
- Press the Photo button on the remote control or microscope to take a still image.
- Press the Video button to start/stop video recording. The built-in microphone captures clear audio during video recording.
- Review captured media directly on the 10.1-inch IPS display.

Image: The vibrant 10.1-inch HD IPS display of the TOMLOV DM9 Max, showcasing crystal clear, vivid, and saturated colors for an enhanced viewing experience.
4.4 Using the Wireless Remote Control
The wireless remote control provides convenient operation, minimizing screen shaking and sample disturbance:
- Zoom In/Out: Adjust magnification without touching the microscope.
- Photo/Video Capture: Remotely trigger image and video recording.
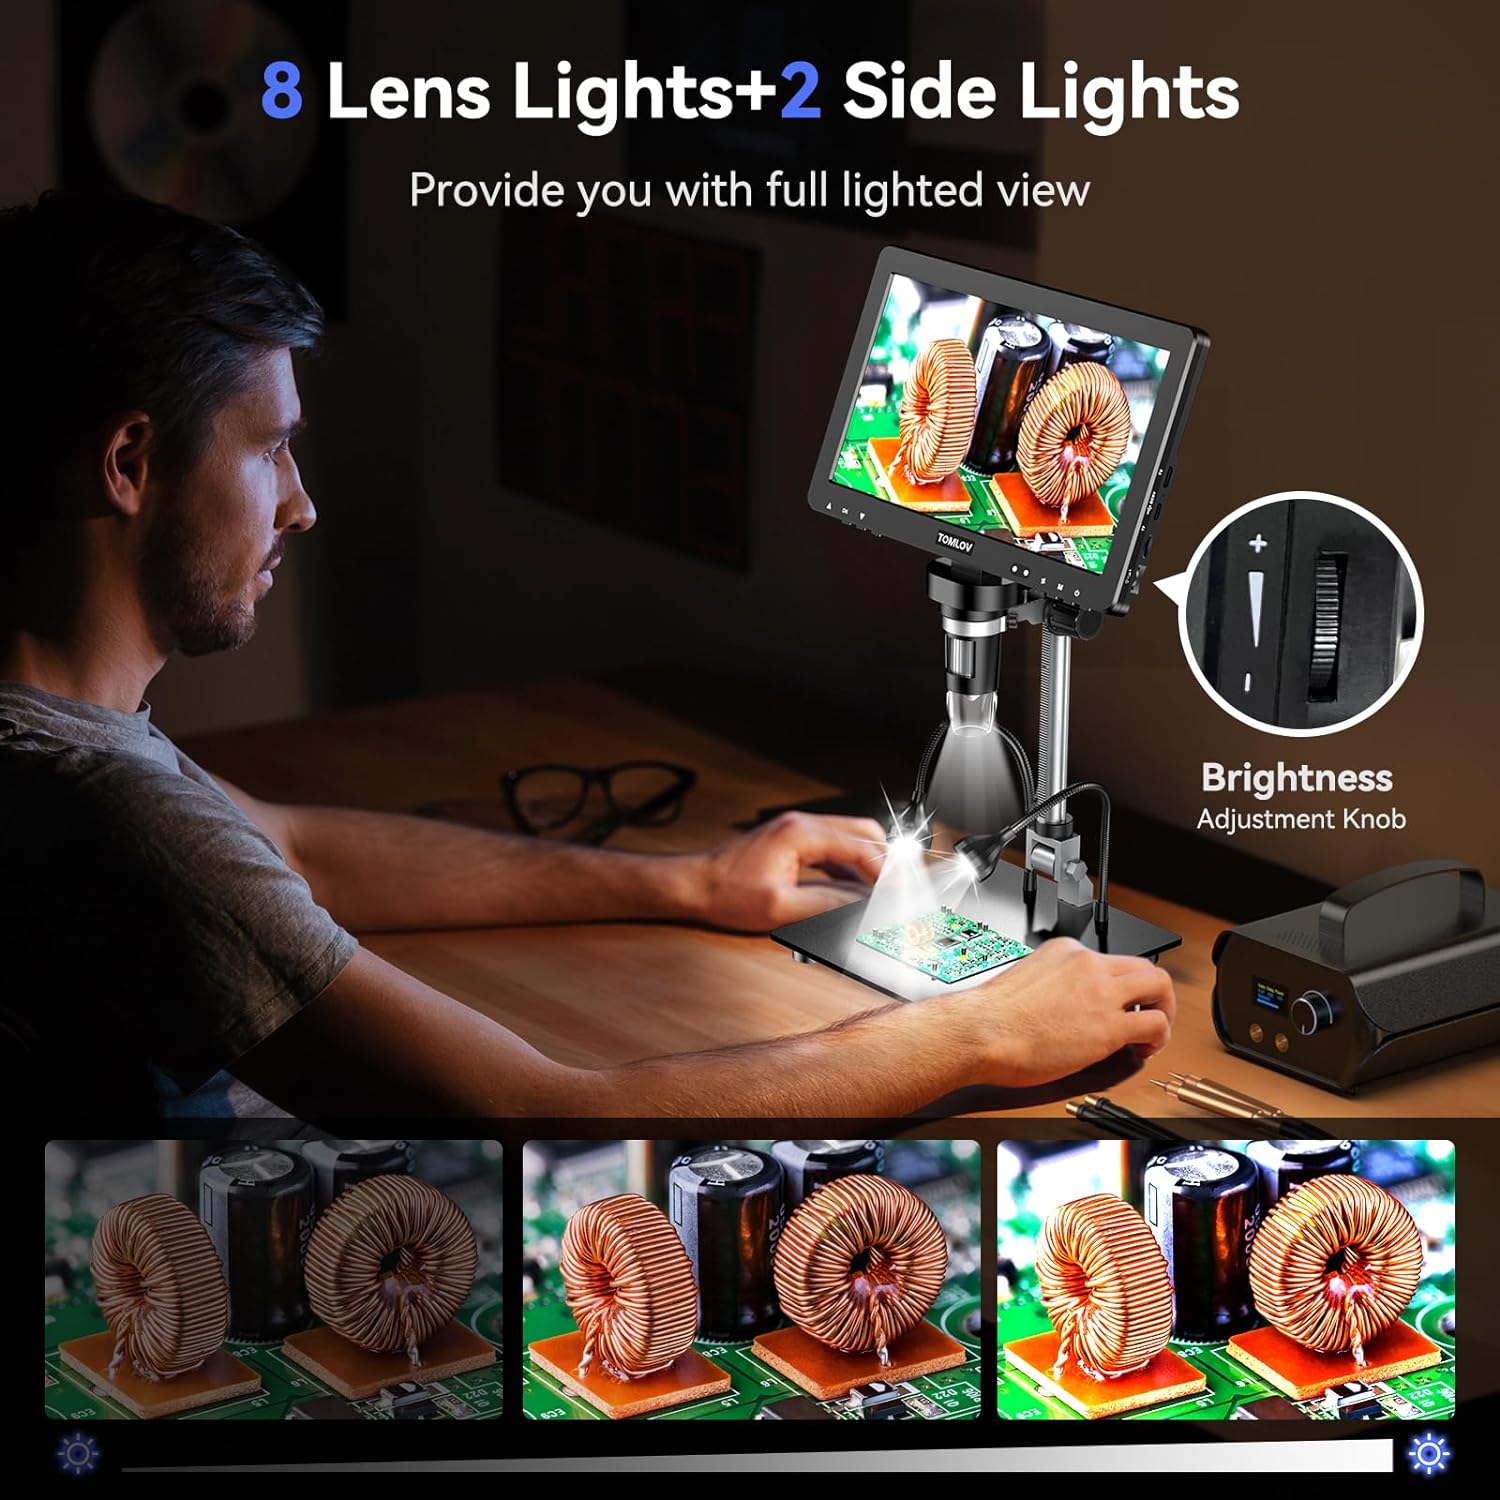
Image: The TOMLOV DM9 Max Digital Microscope with its wireless remote control, illustrating how the remote can be used to adjust zoom, capture photos, and record videos, reducing physical interaction with the device.
4.5 Product Video Overview
Video: An official product video demonstrating the key features and functionalities of the TOMLOV DM9 Max 10.1" HD IPS HDMI Digital Microscope 1500X, including its display, magnification, and ease of use.
5. Care and Maintenance
- Cleaning: Use a soft, dry cloth to clean the microscope body and screen. For the lens, use a lens cleaning cloth and specialized lens cleaning solution if necessary. Avoid abrasive materials or harsh chemicals.
- Storage: Store the microscope in a cool, dry place away from direct sunlight and extreme temperatures. When not in use, cover the lens to protect it from dust.
- Battery Care: If storing for an extended period, ensure the battery is partially charged (around 50%) to prolong its lifespan.
6. Troubleshooting
- Microscope not turning on: Ensure the device is charged or connected to a power source. Press and hold the power button for at least 5 seconds.
- Image is blurry: Adjust the focus wheel until the image is clear. Also, ensure the object is within the microscope's working distance and adjust the height of the microscope on the stand.
- No image on external display: Verify that the HDMI or USB cable is securely connected to both the microscope and the external display/computer. Ensure the correct input source is selected on your external display.
- SD card not recognized: Ensure the SD card is inserted correctly. Try reinserting it or using a different compatible SD card.
- Remote control not working: Check the battery in the remote control. Ensure there are no obstructions between the remote and the microscope.
7. Technical Specifications
| Feature | Specification |
|---|---|
| Product Dimensions | 12.2 x 11.4 x 4.3 inches |
| Item Weight | 4.36 pounds |
| Item Model Number | DM9 Max |
| Batteries | 1 Lithium Ion battery required (included) |
| Light Source Type | LED |
| Material | Aluminum Alloy |
| Color | Black |
| Real Angle of View | 178 Degrees |
| Magnification Maximum | 1500 x |
| Voltage | 5 Volts |
| Compatible Devices | Laptop, Television, Personal Computer |
8. Warranty and Support Information
For warranty claims, technical support, or further assistance, please refer to the contact information provided on the product packaging or visit the official TOMLOV website. Keep your purchase receipt as proof of purchase for warranty purposes.
Related documentsDM9 Max


Ask a question about this manual
Ask about setup, troubleshooting, compatibility, parts, safety, or missing instructions. Manuals+ will review the question and use this page’s manual context to help answer it.