
1. Introduction
This manual provides detailed instructions for the installation, operation, and maintenance of your EMPIRE GAMING Guardian P-W240 All-in-One (AIO) Liquid CPU Cooler. Please read this manual thoroughly before installation to ensure proper setup and optimal performance.
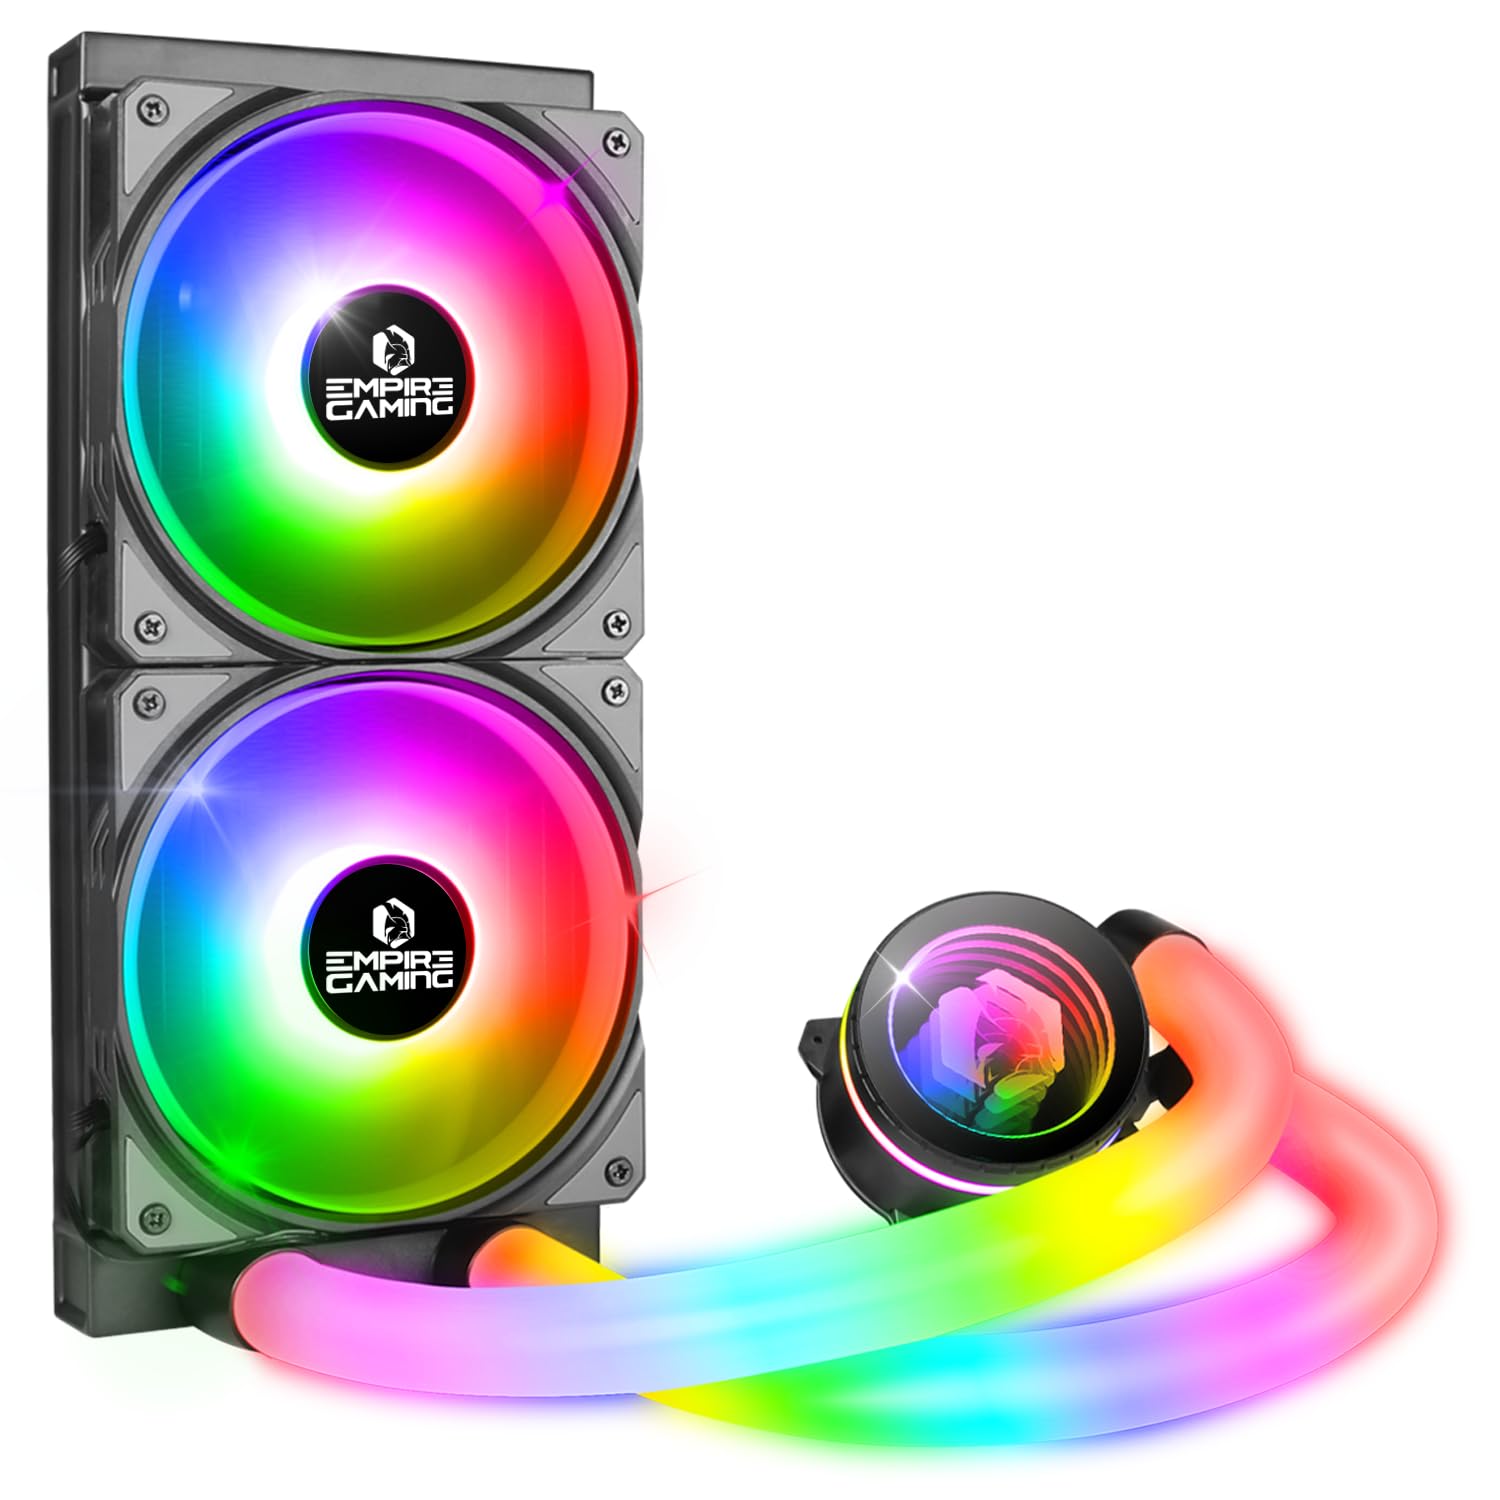
Image 1.1: EMPIRE GAMING Guardian P-W240 AIO Liquid CPU Cooler. This image shows the complete cooler unit with its radiator, two fans, pump, and illuminated tubing, highlighting its aesthetic features.
The Guardian P-W240 is designed to provide efficient cooling for your CPU, featuring a 240mm radiator, two 120mm ARGB fans, and a pump with 3-pin 5V ARGB lighting. It is compatible with a wide range of Intel and AMD sockets.
2. Safety Information
Please observe the following safety precautions to prevent damage to the product or injury to yourself:
- Ensure your computer is powered off and unplugged from the wall outlet before installation.
- Handle components carefully to avoid damage.
- Do not open the liquid cooler unit; it contains coolant under pressure.
- Keep the product away from children and pets.
- If any liquid leakage is detected, immediately power off your system and disconnect the power supply.
- Wear anti-static gloves or use an anti-static wrist strap during installation to prevent electrostatic discharge (ESD) damage to components.
3. Package Contents
Verify that all components listed below are present in your package. If any items are missing or damaged, please contact your retailer.

Image 3.1: Included mounting hardware and accessories. This image displays the various screws, brackets, backplates, thermal paste, and fan splitter cables required for installation.
- Guardian P-W240 AIO Liquid Cooler (Radiator with 2x 120mm fans, pump, and tubing)
- Intel Mounting Bracket Kit (LGA 1700/1200/115X/1366/2066/2011)
- AMD Mounting Bracket Kit (AM5/AM4)
- Universal Backplate
- Thermal Paste Syringe
- Fan Screws (for radiator mounting)
- Radiator Mounting Screws
- ARGB Splitter Cable
- Fan Splitter Cable
- User Manual (this document)
4. Specifications
Below are the technical specifications for the EMPIRE GAMING Guardian P-W240 AIO Liquid CPU Cooler:
| Feature | Specification |
|---|---|
| Model Number | OE-WA-240B |
| Radiator Dimensions (L x W x H) | 277mm x 120mm x 27mm |
| Pump Dimensions (L x W x H) | Approx. 70mm x 70mm x 45mm (based on image) |
| Tubing Length | 400mm |
| Fan Size | 2 x 120mm |
| Fan Connector | 4-pin PWM |
| ARGB Connector | 3-pin 5V ARGB |
| Compatible Sockets | Intel LGA 1700/1200/115X/1366/2066/2011, AMD AM5/AM4 |
| Cooling Method | Liquid (Water) |
| Radiator Material | Aluminum |
| Cold Plate Material | Copper |
| Voltage | 12 VDC |
| Wattage (TDP) | 250 Watts |

Image 4.1: Dimensional diagram of the AIO cooler. This diagram illustrates the radiator length (277mm), width (120mm), thickness (57mm including fans), and tubing length (400mm).
5. Setup and Installation
Follow these steps carefully to install your AIO liquid cooler. Refer to the images for visual guidance.
5.1 Prepare Your System
- Power off your computer and disconnect all cables.
- Open your PC case and remove any existing CPU cooler.
- Clean any old thermal paste from your CPU's integrated heat spreader (IHS) using isopropyl alcohol and a lint-free cloth.
5.2 Install Radiator and Fans
- Determine the optimal mounting location for the 240mm radiator in your PC case (e.g., top, front).
- Attach the two 120mm fans to the radiator using the provided fan screws. Ensure the fan airflow direction is appropriate for your case's cooling strategy (typically exhausting air out of the case).
- Mount the radiator assembly to your chosen location in the PC case using the longer radiator mounting screws.
5.3 Install CPU Mounting Hardware
The installation process varies slightly between Intel and AMD platforms.
For Intel Sockets (LGA 1700/1200/115X/1366/2066/2011):
- Attach the appropriate Intel mounting brackets to the pump head.
- For LGA 1700/1200/115X, install the universal backplate behind your motherboard. Ensure the standoffs align with the CPU socket holes.
- For LGA 2066/2011, use the integrated motherboard backplate and screw directly into the standoffs.
For AMD Sockets (AM5/AM4):
- Remove the plastic retention clips from the motherboard's stock AM4/AM5 backplate, but keep the backplate in place.
- Attach the AMD mounting brackets to the pump head.
- Screw the AMD standoffs into the motherboard's stock backplate.

Image 5.1: Rear view of the pump and copper cold plate. This image shows the pre-applied thermal paste (if applicable) or the clean copper surface where thermal paste should be applied, and the mounting points for brackets.
5.4 Apply Thermal Paste and Mount Pump
- Apply a small, pea-sized amount of thermal paste to the center of your CPU's IHS. (If thermal paste is pre-applied to the cold plate, skip this step).
- Carefully place the pump head onto the CPU, aligning the mounting holes with the standoffs.
- Secure the pump head by tightening the thumb screws in a diagonal pattern until snug. Do not overtighten.

Image 5.2: AIO cooler installed in a PC. This image demonstrates the pump head mounted on the CPU, with the illuminated tubing and fans visible within a computer case.
5.5 Connect Cables
- Connect the pump's 3-pin power cable to a CPU_FAN or AIO_PUMP header on your motherboard. Ensure it receives full power.
- Connect the two fan 4-pin PWM cables to the provided fan splitter cable, then connect the splitter to a CPU_FAN or SYS_FAN header on your motherboard.
- Connect the pump's 3-pin 5V ARGB cable and the fan ARGB cables (if applicable) to the provided ARGB splitter cable. Connect the splitter to a 3-pin 5V ARGB header on your motherboard. Do not connect to a 4-pin 12V RGB header, as this will damage the LEDs.

Image 5.3: Fan with 3-pin 5V ARGB connector. This image highlights the specific 3-pin 5V ARGB connector type used for the cooler's lighting, distinct from 4-pin 12V RGB connectors.
6. Operating Instructions
Once installed and connected, the EMPIRE GAMING Guardian P-W240 operates automatically to cool your CPU.
- Fan Speed Control: The fan speeds are controlled via PWM (Pulse Width Modulation) through your motherboard's BIOS or dedicated software. Adjust fan curves for optimal balance between cooling performance and noise levels.
- ARGB Lighting Control: The 3-pin 5V ARGB lighting on the pump and fans can be controlled via your motherboard's ARGB software (e.g., ASUS Aura Sync, MSI Mystic Light Sync, GIGABYTE RGB Fusion, ASRock Polychrome Sync). Ensure your motherboard supports 3-pin 5V ARGB.

Image 6.1: AIO cooler showcasing ARGB compatibility. This image displays the cooler with various motherboard ARGB sync logos, indicating broad compatibility for lighting control.
7. Maintenance
Regular maintenance helps ensure the longevity and optimal performance of your AIO cooler.
- Dust Cleaning: Periodically clean dust from the radiator fins and fan blades using compressed air. Ensure the fans are not spinning during cleaning to prevent damage.
- Inspect Tubing: Regularly check the tubing for any signs of kinks, cracks, or leaks.
- Pump Noise: A slight hum from the pump is normal. If you notice excessive or unusual pump noise, it may indicate an issue.
- Thermal Paste: Thermal paste typically lasts for several years. If you notice significantly higher CPU temperatures over time, consider reapplying fresh thermal paste.
8. Troubleshooting
If you encounter issues with your EMPIRE GAMING Guardian P-W240, refer to the following common problems and solutions:
| Problem | Possible Cause | Solution |
|---|---|---|
| High CPU Temperatures |
|
|
| ARGB Lighting Not Working |
|
|
| Unusual Pump Noise |
|
|
9. Warranty and Support
For warranty information, please refer to the documentation provided with your purchase or contact your retailer directly. EMPIRE GAMING products are typically covered by a manufacturer's warranty against defects in materials and workmanship.
For technical support or further assistance, please visit the official EMPIRE GAMING website or contact their customer service department. Keep your proof of purchase handy when seeking support.
Note: Software updates for this product are not guaranteed beyond the initial release.