
1. Introduction
This manual provides essential instructions for the safe and efficient use of your Retevis B3S Portable Two-Way Radios. Please read this manual thoroughly before operating the device and retain it for future reference. The Retevis B3S is a compact, license-free FRS radio designed for clear communication.
Video: An overview of the Retevis B3S walkie-talkie, showcasing its design and features.
2. Safety Information
Observe the following safety precautions to prevent injury or damage to your radio:
- Do not operate the radio in explosive atmospheres (e.g., around flammable gas, dust, or powders).
- Do not disassemble or modify the radio. Repairs should only be performed by authorized personnel.
- Avoid exposing the radio to direct sunlight for extended periods or to extreme temperatures.
- Keep the radio away from water and moisture. This device is not water-resistant.
- Use only Retevis-approved accessories and chargers.
3. Product Overview
3.1 Package Contents
The Retevis B3S package includes:
- 2 x Retevis B3S Walkie Talkies (with 1620 mAh Li-ion battery included)
- 2 x Belt Clips
- 1 x USB-C Charging Cable
- 1 x Charger Adapter
- 1 x User Manual

Image: The complete package contents for the Retevis B3S walkie-talkie set.
3.2 Radio Features
The Retevis B3S features a clear LCD screen for easy information display, a compact and lightweight design, and a durable build. It operates on license-free FRS frequencies.

Image: A front view of the Retevis B3S walkie-talkie, highlighting its LCD screen and compact form factor.

Image: Demonstrating the ultra-thin design of the Retevis B3S, measuring 0.59 inches, for easy carrying.
4. Setup
4.1 Charging the Battery
Your Retevis B3S walkie-talkie comes with a built-in 1620mAh Li-ion battery. Before first use, fully charge the battery.
- Connect the USB-C charging cable to the charging port on the side of the radio.
- Connect the other end of the USB-C cable to the provided charger adapter, then plug the adapter into a power outlet.
- The LCD screen will indicate charging status. A full charge typically takes several hours.

Image: Two Retevis B3S radios being charged simultaneously using the USB-C charging method.

Image: Visual representation of the 1620mAh battery capacity, supporting extended use.
4.2 Attaching the Belt Clip
Align the belt clip with the designated slots on the back of the radio and slide it into place until it clicks securely.
5. Operating Instructions
5.1 Power On/Off
To power on the radio, rotate the Power/Volume knob clockwise until you hear a click and the LCD screen illuminates. To power off, rotate the knob counter-clockwise until it clicks off.
5.2 Channel Selection
The Retevis B3S has 16 channels. Use the Channel Selector knob on top of the radio to choose your desired channel. Ensure all radios in your group are on the same channel for communication.
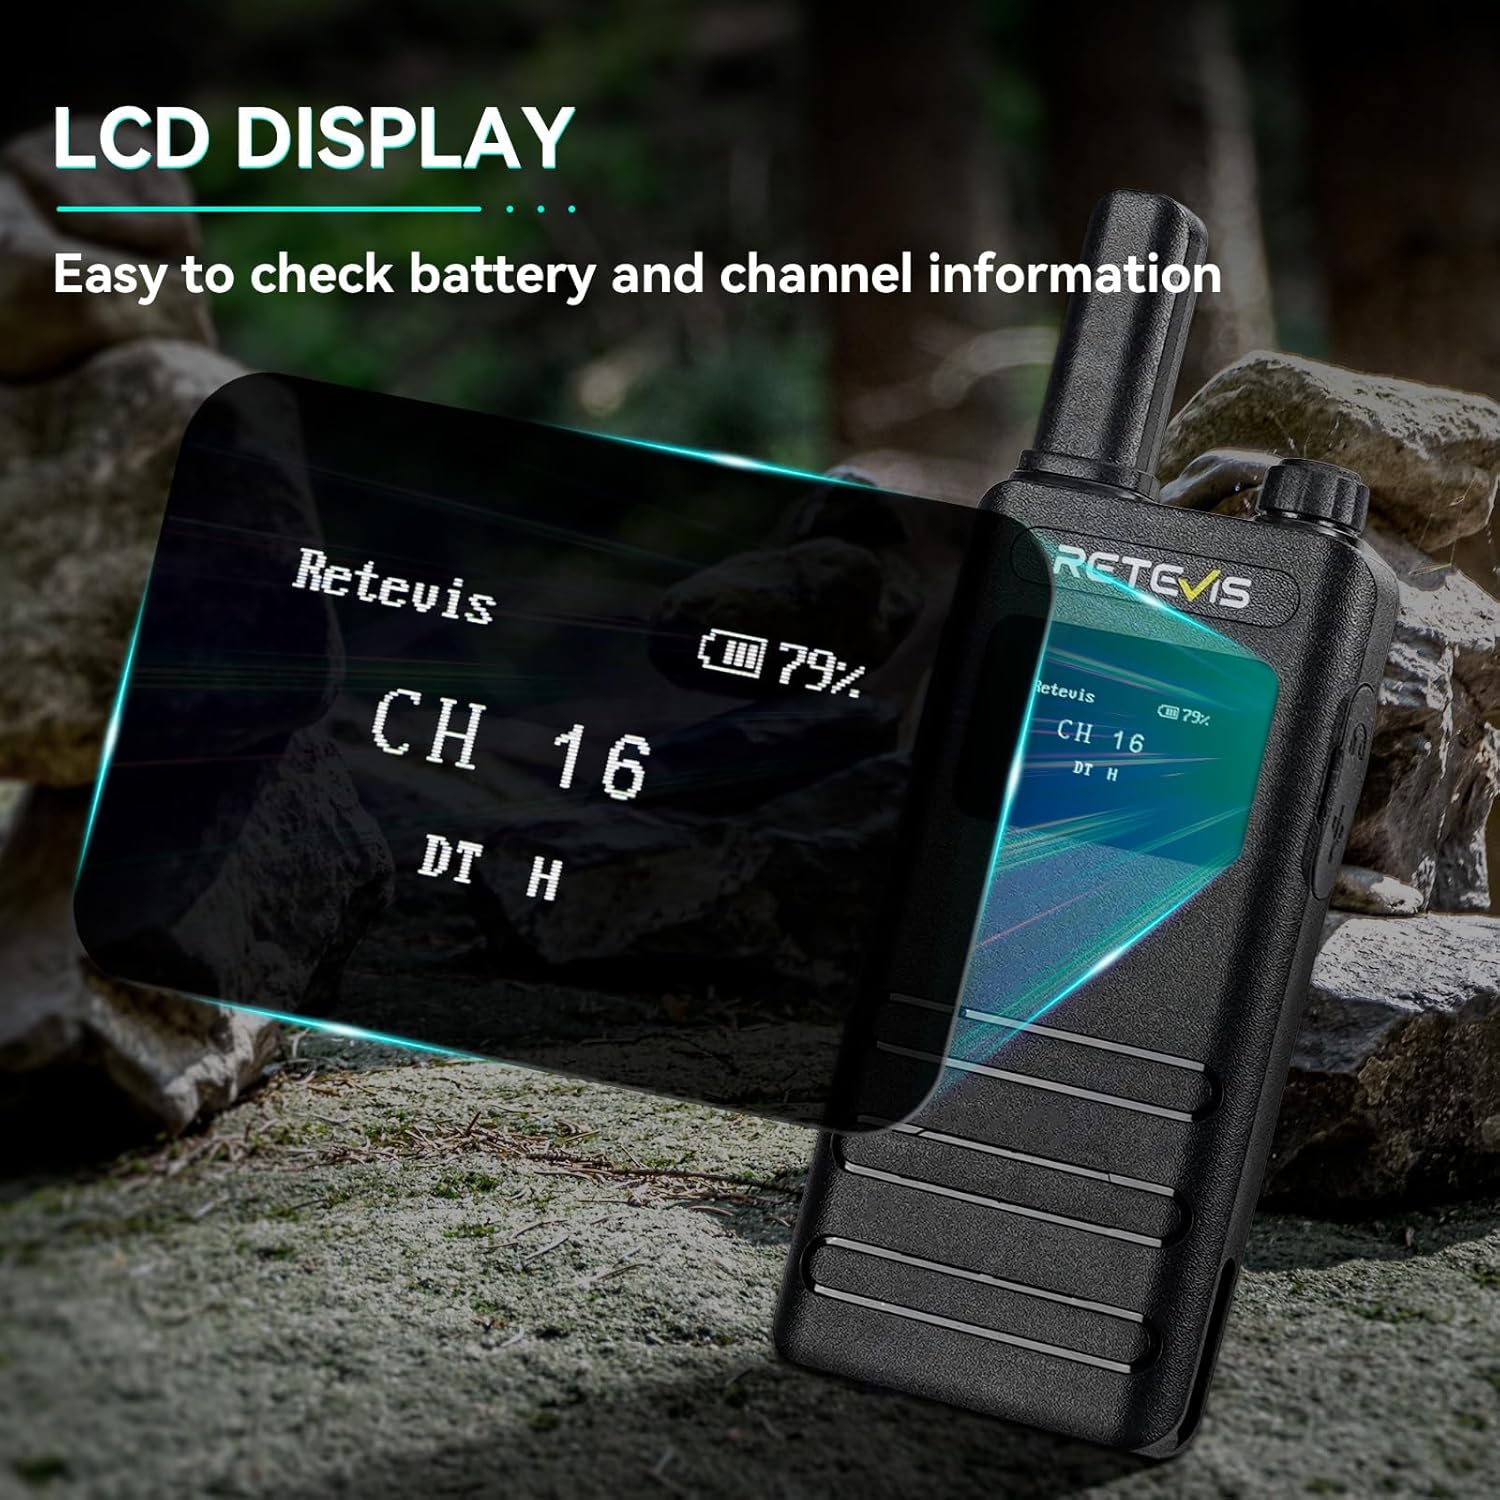
Image: The LCD screen of the Retevis B3S displaying channel and battery information.
Video: Demonstrating the various display options and settings accessible via the Retevis B3S LCD screen.
5.3 Transmitting and Receiving
To transmit, press and hold the Push-to-Talk (PTT) button on the side of the radio and speak clearly into the microphone. Release the PTT button to receive. Adjust the volume using the Power/Volume knob.
5.4 VOX Hands-Free Function
The Voice Operated Exchange (VOX) function allows for hands-free communication without pressing the PTT button.
- Shortly press the Function Key to access the main menu.
- Use the + or - key to navigate to the VOX menu.
- Press the Function Key to enter the VOX function settings.
- Use the + or - key to set VOX to OFF or select a sensitivity level from 1-10.
- Press the Function Key to confirm your setting and return to the previous menu.

Image: Illustration of the VOX hands-free feature, allowing communication without manual button press.
5.5 Emergency Alarm
In an emergency, you can activate an audible alarm to alert others.
- Long press the defined side key (usually the orange button) to activate the emergency alarm.
- The radio will emit a loud siren sound.
- To deactivate, short press the PTT button or power cycle the radio.
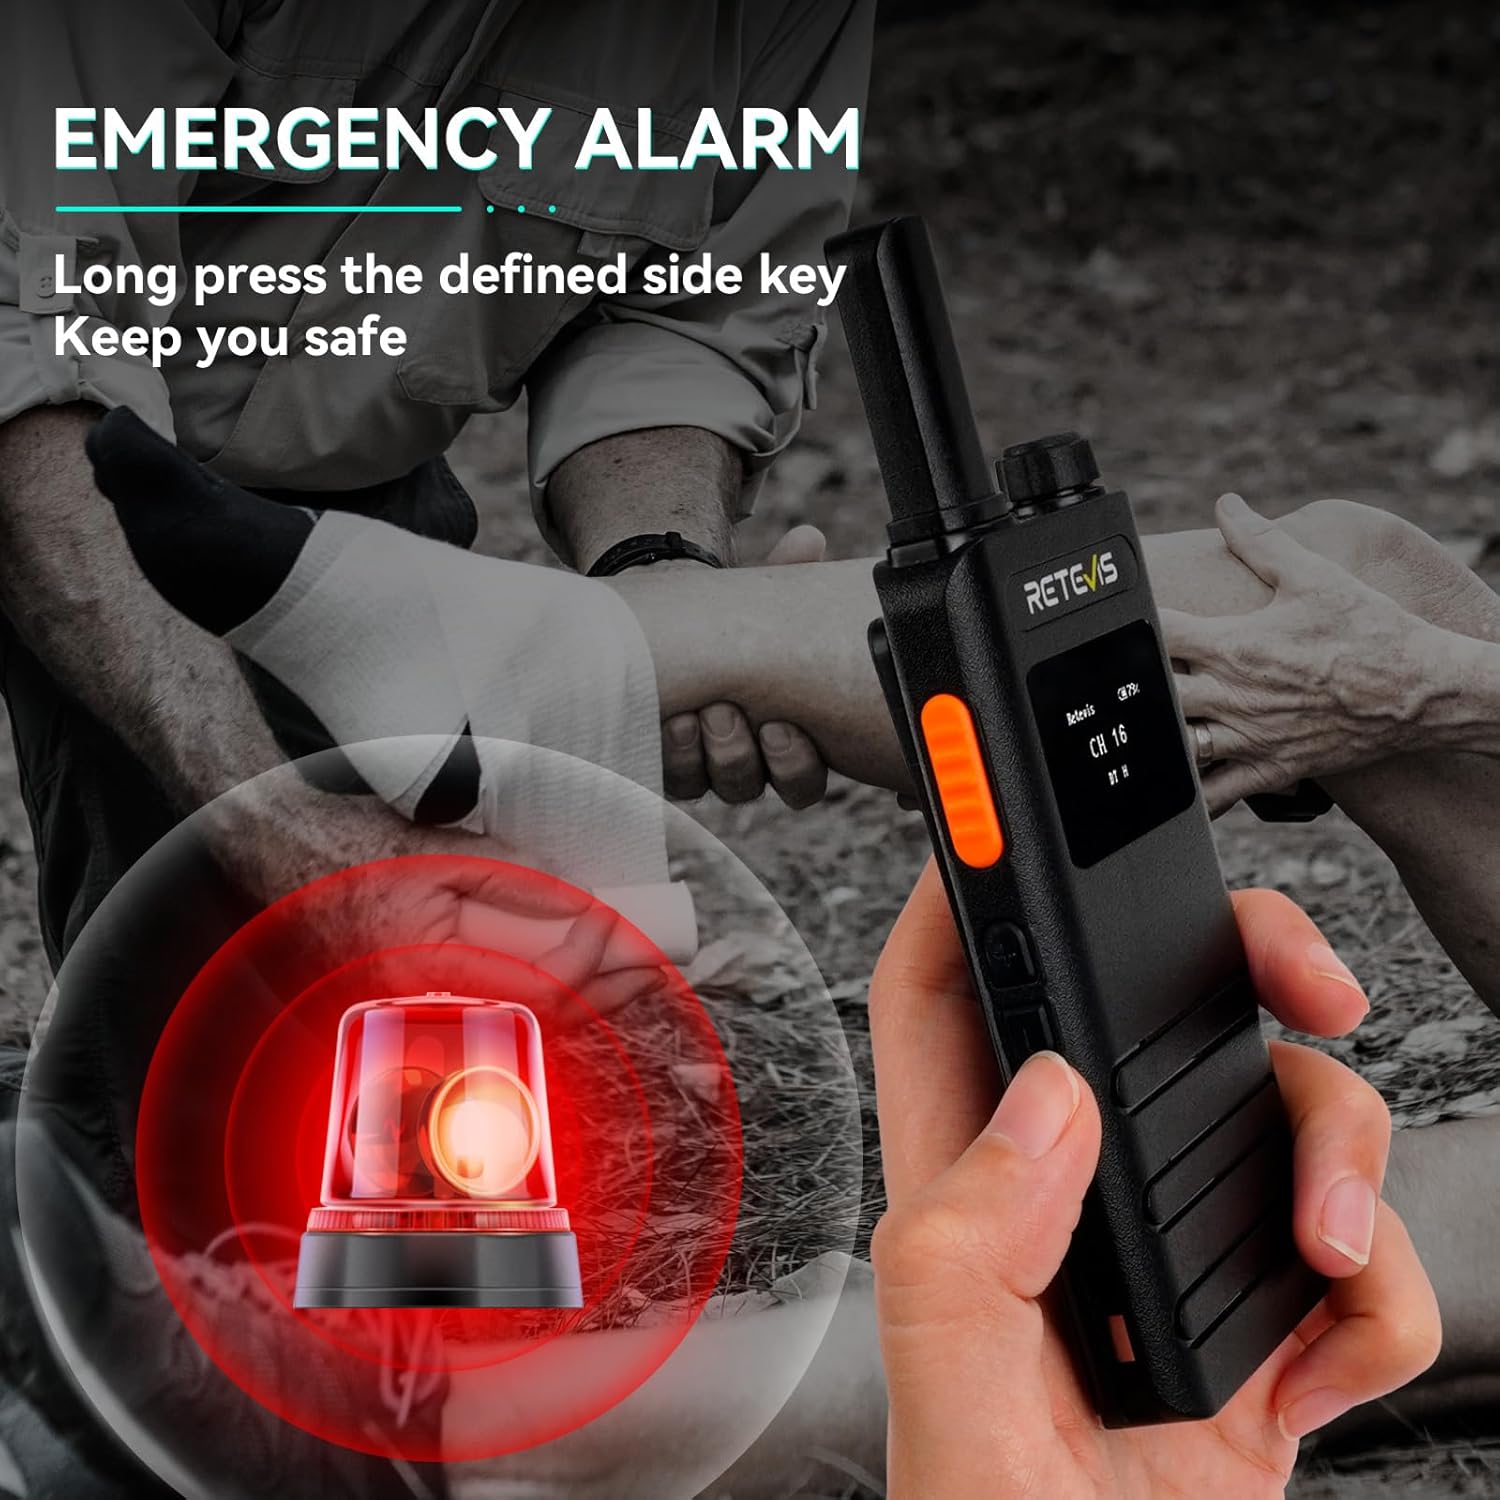
Image: Visual representation of the emergency alarm feature, activated by pressing a side key.
Video: Instructions on how to activate and use the emergency alarm function on the Retevis B3S.
5.6 CTCSS/DCS Codes (Privacy Codes)
CTCSS (Continuous Tone-Coded Squelch System) and DCS (Digitally Coded Squelch) codes help filter out unwanted conversations on a channel. When a CTCSS/DCS code is set, you will only hear transmissions from radios using the same channel and code.
- Access the menu via the Function Key.
- Navigate to the R-CTCSS/T-CTCSS or R-DCS/T-DCS settings.
- Select the desired code. Ensure all radios in your group use the same channel and code.
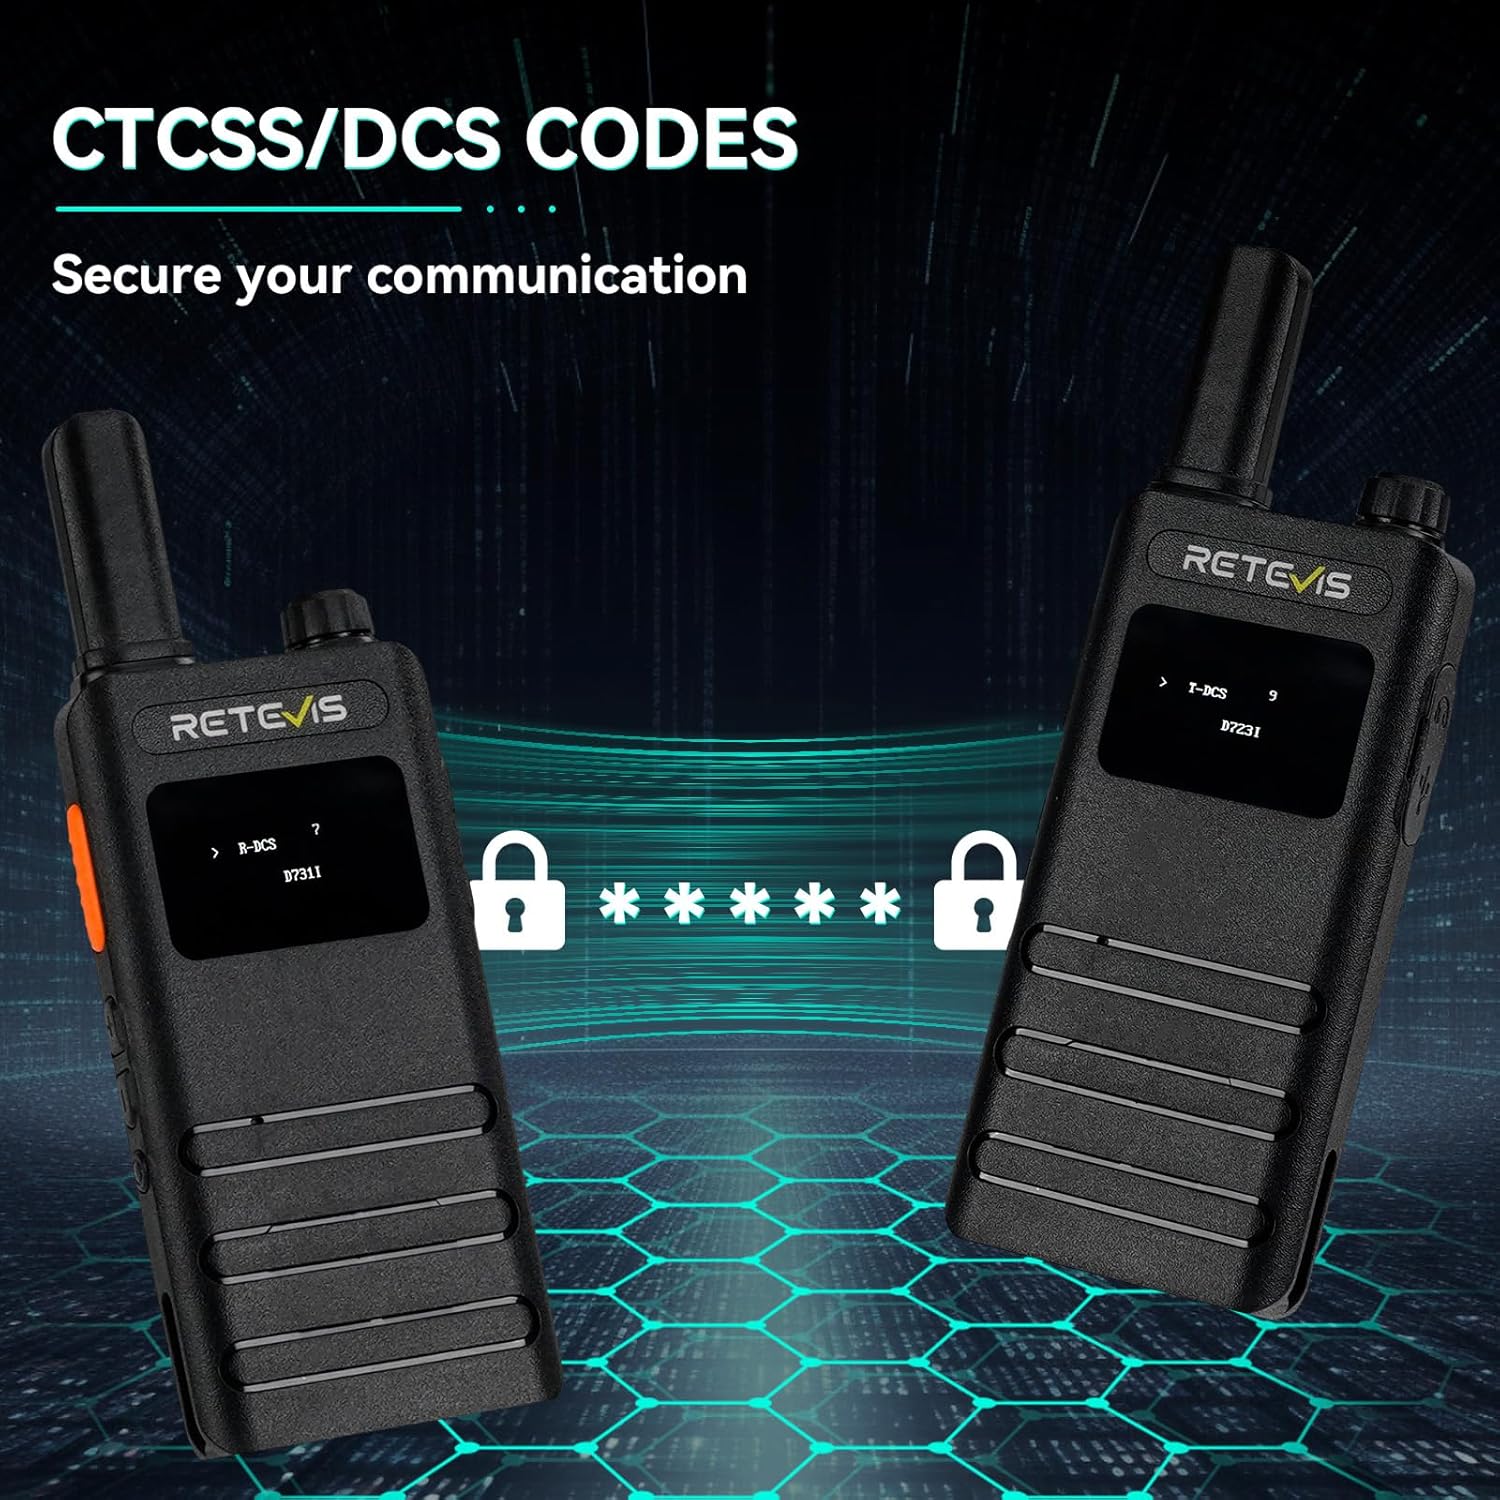
Image: The LCD screens showing CTCSS/DCS code settings for enhanced communication privacy.
6. Maintenance
6.1 Cleaning
Clean the radio's exterior with a soft, damp cloth. Do not use harsh chemicals or abrasive cleaners. Ensure the charging port is free of dust and debris.
6.2 Storage
When not in use for extended periods, store the radio in a cool, dry place. It is recommended to fully charge the battery before storage and recharge it every three months to maintain battery health.
7. Troubleshooting
| Problem | Possible Cause | Solution |
|---|---|---|
| No power | Battery depleted; Power knob off | Charge battery; Rotate Power knob clockwise |
| Cannot transmit or receive | Wrong channel/code; Out of range; Low battery | Verify channel/code; Move closer; Recharge battery |
| Poor audio quality | Volume too low/high; Obstructions; Interference | Adjust volume; Move to clear area; Change channel/code |
| VOX not working | VOX disabled; Sensitivity too low | Enable VOX in menu; Increase VOX sensitivity |
8. Specifications
| Feature | Detail |
|---|---|
| Model Number | B3S |
| Item Weight | 7.04 ounces |
| Product Dimensions | 5.82 x 2.16 x 0.59 inches |
| Batteries | 2 Lithium Ion batteries required (included) |
| Number of Channels | 16 |
| Frequency Range | 462 MHz - 467 MHz |
| Talking Range Maximum | 2 Mile |
| Voltage | 3.7 Volts |
| Water Resistance Level | Not Water Resistant |
| Special Features | LCD screen, Portable, 1620mAh battery, USB-C charging, Emergency alarm, VOX |
9. Warranty and Support
9.1 Warranty Information
Retevis provides a 2-year warranty for the radio body and a 1-year warranty for accessories. A 30-day no-reason return policy is also offered. For service beyond the warranty period, maintenance services are available, with buyers responsible for associated costs.
9.2 Customer Support
For any inquiries or support needs, please contact Retevis directly on Amazon. Responses are typically provided within 12 hours.


