
Introduction
Thank you for choosing the COWSAR 2 Burner BBQ Propane Gas Grill. This manual provides essential information for the safe assembly, operation, maintenance, and troubleshooting of your new grill. Please read all instructions carefully before use and retain this manual for future reference.
Safety Information
WARNING: Failure to follow these instructions could result in fire, explosion, or burn hazard, which could cause property damage, personal injury, or death.
- FOR OUTDOOR USE ONLY. Do not operate this appliance indoors.
- Read all instructions before assembling and operating the grill.
- Keep children and pets away from the grill at all times.
- Do not store or use gasoline or other flammable liquids or vapors in the vicinity of this or any other appliance.
- Always perform a leak test on gas connections before initial use and after any cylinder change.
- Ensure adequate ventilation. Do not obstruct the flow of combustion and ventilation air.
- Never leave a lit grill unattended.
- Wear protective gloves when handling hot components.
Package Contents
Verify that all components are present before beginning assembly. If any parts are missing or damaged, contact COWSAR customer support.
- Grill Hood and Firebox Assembly
- 2 Stainless Steel Burners
- Porcelain Cooking Grates (2 layers)
- Warming Rack
- Side Shelves (2)
- Control Panel with Knobs and Igniter
- Grease Pan and Grease Cup
- Cart Frame and Legs
- Wheels (2)
- Hardware Pack (bolts, screws, washers)
- Propane Hose and Regulator
- Instruction Manual
Setup and Assembly
Assembly is required for this product. Please follow the steps below carefully. It is recommended to have two people for assembly.
1. Unpacking and Preparation
- Remove all contents from the packaging.
- Lay out all parts on a clean, flat, and soft surface to prevent scratches.
- Identify all components using the parts list.
2. Cart Assembly
- Attach the legs to the bottom shelf and secure with provided hardware.
- Install the two wheels onto the designated leg assembly. The wheels allow for easy mobility of the grill.

Image: Grill dimensions and propane tank storage area. The grill features two wheels for easy movement.
3. Grill Body and Burner Installation
- Mount the main grill body (firebox and hood) onto the assembled cart frame.
- Carefully install the two stainless steel burners into their respective positions. Ensure they are properly seated over the gas orifices.

Image: Close-up of the two stainless steel burners, each providing 10,000 BTU for efficient heating.
4. Side Shelves and Grates
- Attach the dual-sided shelves to the main grill body using the provided hardware. These shelves offer convenient space for ingredients and tools.
- Place the porcelain cooking grates and the warming rack inside the grill.
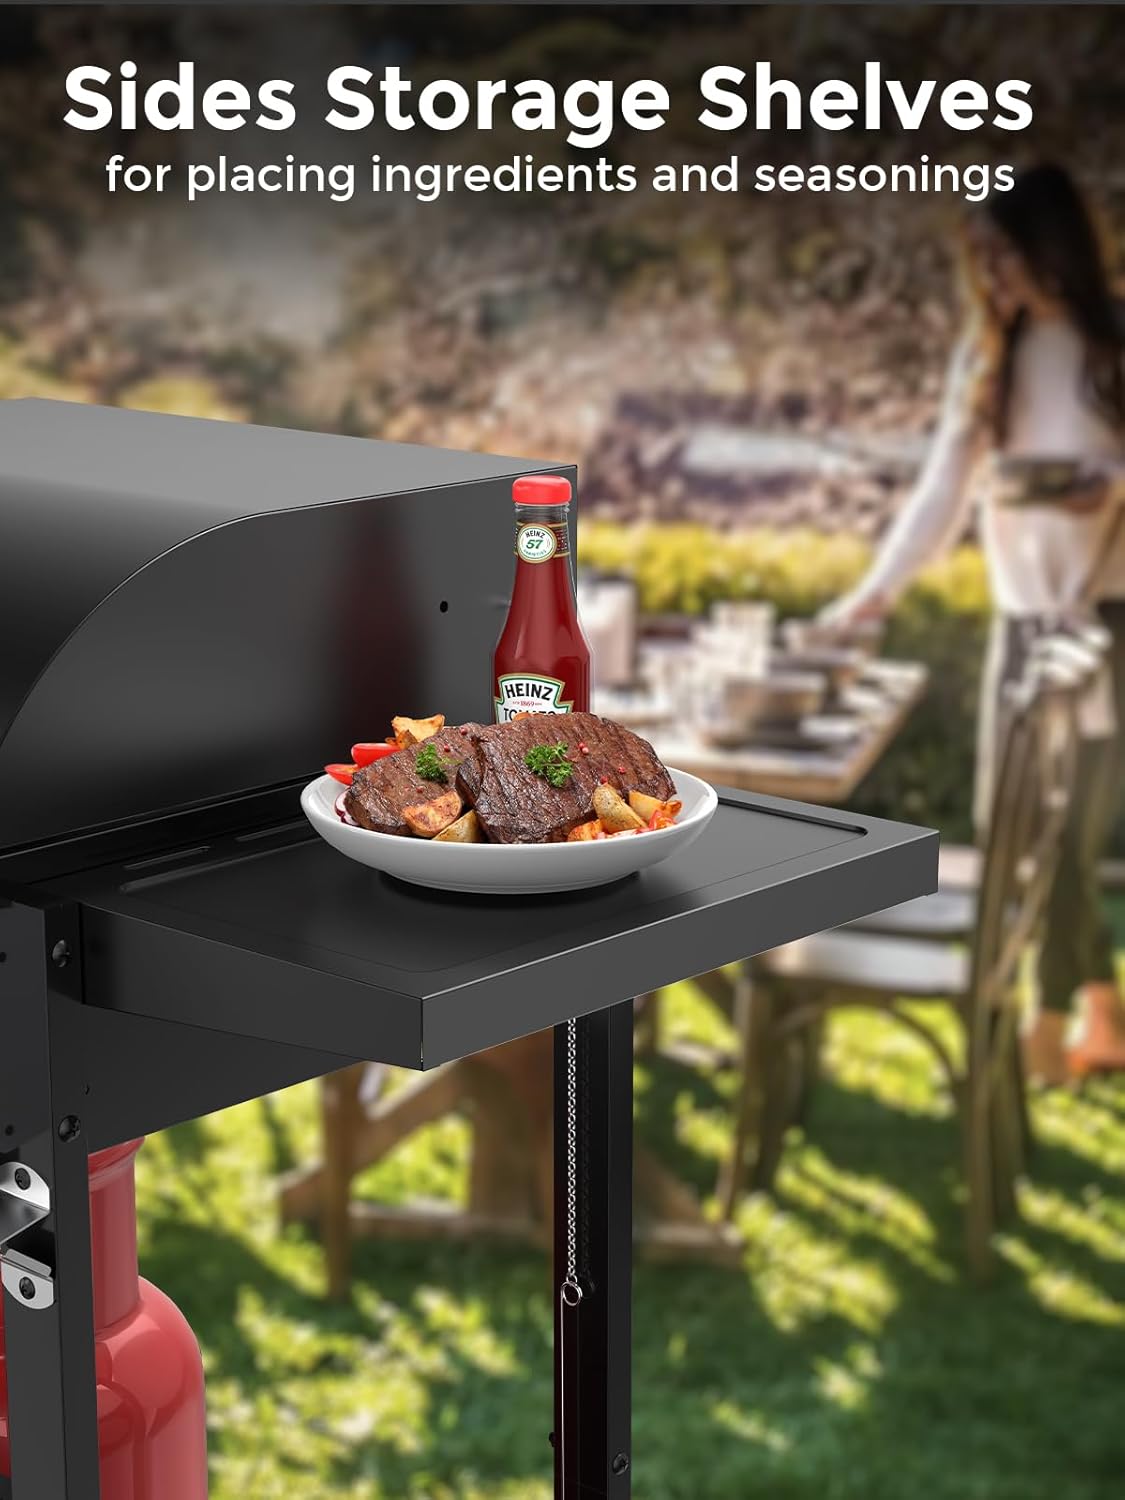
Image: Grill with side shelves extended, providing ample space for food preparation and condiments.

Image: The grill's cooking surface, featuring 352 square inches of cooking area, including a warming rack.
5. Propane Tank Connection and Leak Test
- Connect the propane hose and regulator to the gas cylinder. Ensure a secure connection.
- Perform a leak test: Apply a soapy water solution to all gas connections. Open the gas supply. If bubbles appear, there is a leak. Tighten connections and retest. Do not use the grill if a leak is present.
Assembly Video
Video: An overview of the COWSAR 2 Burner BBQ Propane Gas Grill, demonstrating its features and potentially assembly steps. This video is provided by the seller.
Operating Instructions
1. Pre-heating the Grill
- Open the grill lid.
- Ensure all burner control knobs are in the "OFF" position.
- Open the valve on the propane tank.
2. Lighting the Burners
- Push and turn one burner control knob to the "HIGH" position.
- Immediately press and hold the electronic igniter button until the burner lights. You should hear a clicking sound.
- If the burner does not light within 5 seconds, turn the knob to "OFF", wait 5 minutes, and repeat the lighting procedure.
- Once one burner is lit, you can light other burners by turning their respective knobs to "HIGH".
- Close the lid and allow the grill to preheat for 10-15 minutes. The built-in thermometer on the lid will indicate the internal temperature.

Image: Grill lid with integrated thermometer for temperature monitoring and a stainless steel handle for safe opening.
3. Temperature Control and Cooking
- Adjust the burner control knobs to achieve the desired cooking temperature. The knobs allow precise flame control.
- Utilize the 352 square inches of cooking space, including the warming rack, for various foods.
- The double-layered porcelain cooking grates provide even heat distribution.

Image: The spacious cooking area of the grill, ideal for preparing a variety of meals simultaneously.
4. Shutting Down the Grill
- Turn all burner control knobs to the "OFF" position.
- Close the valve on the propane tank.
Operational Video
Video: Demonstrates the grill's two burners and 325 square inches of cooking space, highlighting its capacity for mouthwatering meals. This video is provided by the seller.
Maintenance and Cleaning
Regular cleaning and maintenance will extend the life of your grill and ensure optimal performance.
1. Cleaning the Cooking Grates
- After each use, once the grill has cooled, brush off any food residue from the porcelain cooking grates.
- The grates are removable for easier cleaning with warm soapy water.
2. Grease Management System
- The grill is equipped with a removable grease pan and grease cup.
- Regularly check and empty the grease cup to prevent flare-ups and maintain cleanliness.
- Clean the grease pan and cup with warm soapy water.

Image: Removable grease pan and grease cup designed for easy cleaning and maintenance.
3. Exterior Cleaning
- Wipe down stainless steel surfaces with a damp cloth and mild detergent.
- The porcelain-enameled lid is rust-resistant and can be cleaned with a soft cloth.
4. Storage
- Store the grill in a dry, protected area when not in use, especially during off-season.
- Disconnect the propane tank and store it upright in a well-ventilated area, away from direct sunlight or heat sources.
Troubleshooting
If you encounter issues with your grill, refer to the common problems and solutions below.
| Problem | Possible Cause | Solution |
|---|---|---|
| Burner does not light | No gas flow; Clogged burner port; Faulty igniter | Check propane tank connection and level; Clean burner ports; Check igniter electrode and wire. |
| Uneven heat | Clogged burner ports; Grease buildup | Clean burner ports; Clean cooking grates and grease pan. |
| Yellow or orange flame | Air shutter adjustment needed; Clogged burner | Consult manufacturer for air shutter adjustment; Clean burner. |
| Gas odor | Gas leak | Immediately turn off gas supply; Perform leak test; Do not operate until leak is fixed. |
Specifications
- Model: G8421-BLACK
- Brand: COWSAR
- Fuel Type: Propane Gas
- Main Burner Count: 2
- Heating Power: 20,000 BTU (10,000 BTU per burner)
- Cooking Surface Area: 352 Square Inches (232 sq. in. cooking, 120 sq. in. warming)
- Product Dimensions (D x W x H): 36.61" x 20.08" x 37.4"
- Item Weight: 33.9 Pounds
- Material: Stainless Steel (frame, handle, burners), Porcelain-enameled (lid, cooking grates)
- Special Features: Rust Resistant, Warming Rack, Piezoelectric Ignition, Built-in Thermometer, Side Shelves, 2 Wheels
- Installation Type: Free Standing
- Required Assembly: Yes
Warranty and Support
For warranty information or technical support, please refer to the warranty card included with your product or contact COWSAR customer service directly. Keep your purchase receipt as proof of purchase.
COWSAR Customer Service: Please visit the official COWSAR website or refer to your product packaging for contact details.


