
1. Introduction
Thank you for choosing the Kooper 6 Kg Washing Machine. This appliance is designed to provide efficient and convenient laundry care for your home. With its 15 automatic programs, 1000 RPM spin speed, and user-friendly features, it simplifies your daily washing tasks.
This manual contains important information regarding the installation, operation, and maintenance of your washing machine. Please read it carefully before using the appliance and keep it for future reference.
Key features include:
- 6 kg load capacity
- 15 automatic washing programs
- 1000 revolutions per minute (RPM) spin speed
- Child safety lock
- Delayed start function
- Automatic error diagnosis
2. Safety Information
Always follow basic safety precautions when using electrical appliances to reduce the risk of fire, electric shock, and injury to persons.
- Ensure the washing machine is properly grounded.
- Do not operate the machine if the power cord or plug is damaged.
- Keep children and pets away from the appliance during operation.
- Do not reach into the washing machine while the drum is moving.
- Unplug the appliance before cleaning or performing any maintenance.
- Do not wash items that have been soiled with flammable substances.
- Ensure all transport bolts are removed before first use.
3. Product Overview
Familiarize yourself with the components of your Kooper washing machine.

Figure 3.1: Front view of the Kooper 6 Kg Washing Machine, showing the control panel, detergent dispenser, and drum door, along with the energy efficiency label.
Control Panel
The control panel allows you to select programs and adjust settings.

Figure 3.2: Close-up view of the control panel, highlighting the program selection dial and digital display.

Figure 3.3: Detailed view of the program selection dial, showing various wash cycles like Cotton, Mix, Wool, Silk, Delicates, Quilts, Sheets, Drum Clean, Rinse & Spin, and Spin.
The dial allows you to choose from 15 automatic programs. The digital display shows program status and selected options.
Detergent Dispenser

Figure 3.4: The detergent dispenser drawer, pulled open, showing compartments for pre-wash, main wash, and fabric softener.
The dispenser has compartments for pre-wash detergent, main wash detergent, and fabric softener. Refer to the markings inside the dispenser for correct placement.
4. Setup and Installation
Proper installation is crucial for the safe and efficient operation of your washing machine.
Unpacking
- Carefully remove all packaging materials.
- Remove all transport bolts from the rear of the machine. These bolts secure the drum during transit and must be removed before use to prevent damage.

Figure 4.1: Rear view of the washing machine, indicating the positions of the water inlet, drain hose, and transport bolts that need to be removed before operation.
Water Connection
- Connect the water inlet hose to a cold water tap. Ensure the connection is secure to prevent leaks.
- The water inlet features a filter to prevent debris from entering the machine.
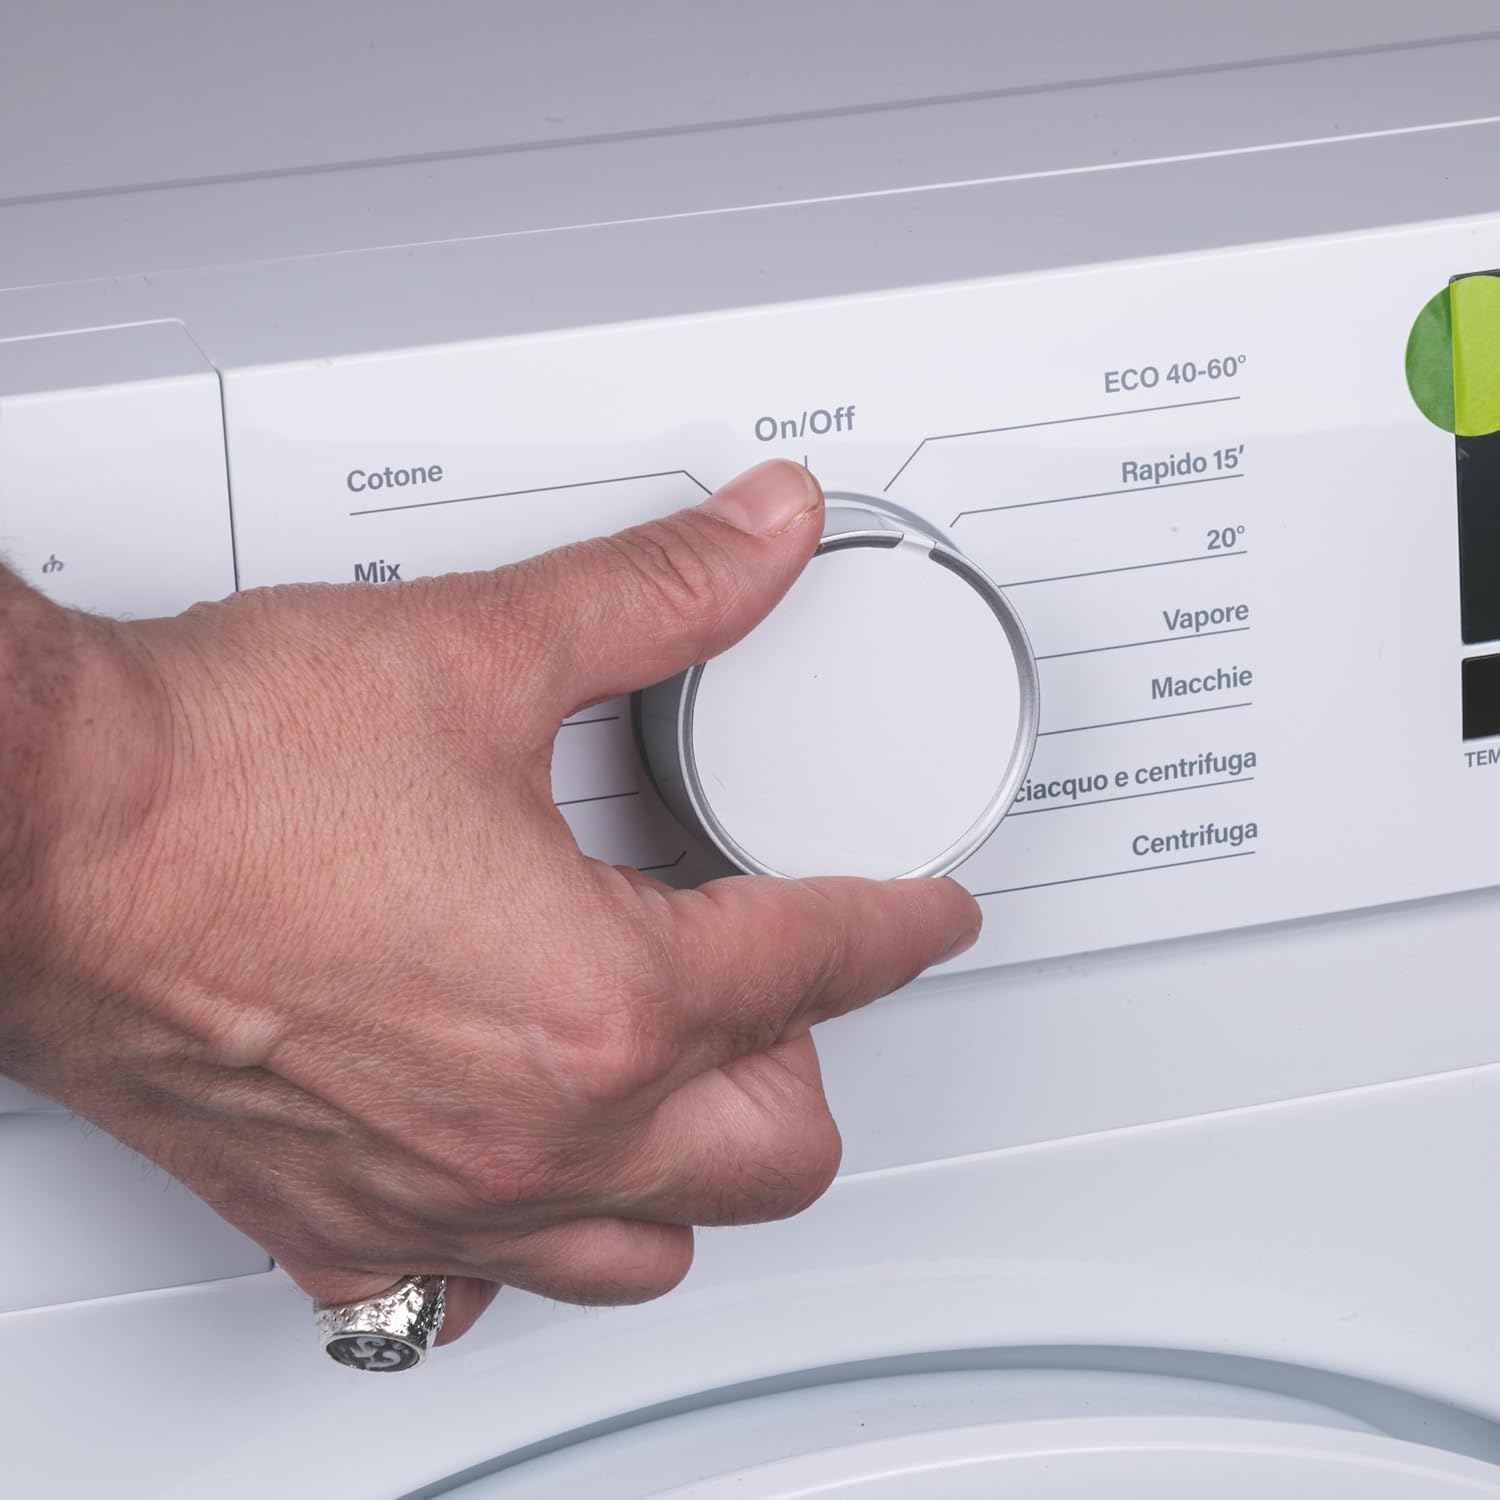
Figure 4.2: Detailed view of the water inlet connection point, showing the integrated filter for water purification.
- Position the drain hose into a suitable drain pipe or sink, ensuring it is securely fixed to prevent displacement during draining.

Figure 4.3: Close-up of the drain hose outlet, showing how it should be secured to prevent kinks or dislodgement.
Electrical Connection
- Connect the power cable to a grounded electrical outlet (220-240 V).
- Ensure the outlet is easily accessible.

Figure 4.4: Included accessories: power cable, water inlet hose, and drain hose support.
Leveling
Adjust the leveling feet at the bottom of the machine to ensure it is stable and level. An unlevel machine can cause excessive vibration and noise.
5. Operating Instructions
Loading Laundry
- Open the washing machine door.
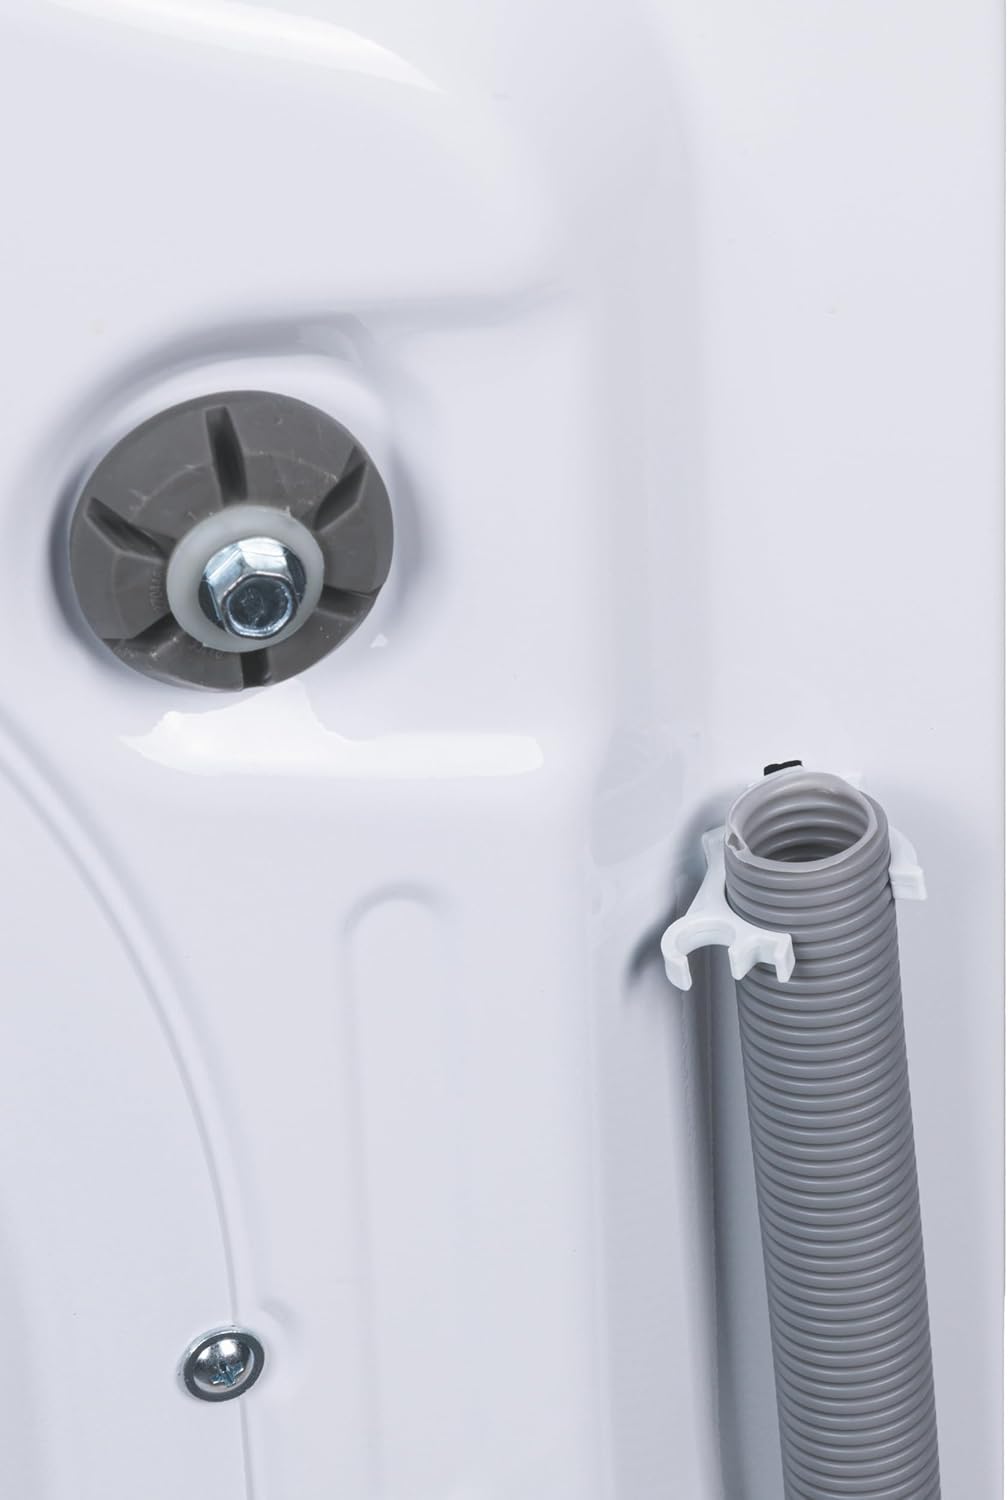
Figure 5.1: Opening the washing machine door.
- Load laundry into the drum, ensuring not to overload. The maximum capacity is 6 kg. Overloading can reduce washing performance and damage the machine.
- Close the door firmly until it clicks shut.

Figure 5.2: Washing machine with the door open, ready for loading laundry into the stainless steel drum.
Adding Detergent and Softener
- Pull out the detergent dispenser drawer.
- Add appropriate amounts of detergent to the main wash compartment and fabric softener to its designated compartment. Do not exceed the MAX fill line.
- Push the dispenser drawer back in until it is fully closed.

Figure 5.3: Adding detergent or softener to the dispenser. The blue insert is for liquid detergent.
Program Selection
- Turn the program selection dial to choose the desired washing program.

Figure 5.4: Selecting a wash program using the rotary dial.
- Available programs include: Cotton, Mix, Wool, Silk, Delicates, Quilts, Sheets, Drum Clean, Rinse & Spin, Spin, ECO 40-60°, Rapid 15', 20°, Steam, Stains.
- Adjust additional options like spin speed, temperature, or delayed start using the buttons on the control panel if available for the selected program.
Starting the Wash Cycle
- Press the Start/Pause button to begin the selected program.
- The machine will automatically lock the door and start filling with water.
Child Safety Lock
To activate or deactivate the child safety lock, refer to the specific instructions on the control panel or in the full user manual. This feature prevents accidental program changes by children.
Delayed Start Function
Use the delayed start function to postpone the start of a wash cycle by a few hours, allowing you to take advantage of off-peak electricity rates or have laundry ready at a specific time.
6. Maintenance
Regular maintenance ensures the longevity and optimal performance of your washing machine.
Cleaning the Detergent Dispenser
- Periodically remove the detergent dispenser drawer and rinse it under running water to remove any detergent residue.
- Clean the housing of the dispenser with a damp cloth.
Drum Cleaning Program
Use the "Pulizia cestello" (Drum Clean) program regularly to clean the inside of the drum and remove any odors or residue. Run this program without any laundry in the machine.
Cleaning the Water Inlet Filter
If you notice reduced water flow, the water inlet filter may be clogged. Turn off the water supply, disconnect the inlet hose, and clean the filter mesh under running water. Reattach securely.
General Cleaning
- Wipe the exterior of the washing machine with a soft, damp cloth. Do not use abrasive cleaners.
- Clean the door seal regularly to prevent mold and mildew buildup.
7. Troubleshooting
The washing machine features automatic error diagnosis. If an error occurs, a code may appear on the display. Refer to the full user manual for a complete list of error codes and their solutions.
Here are some common issues and their potential solutions:
| Problem | Possible Cause | Solution |
|---|---|---|
| Machine does not start | Power cord not plugged in; Door not closed properly; Program not selected; Delayed start active. | Check power connection; Ensure door is latched; Select a program and press Start; Check delayed start settings. |
| No water filling | Water tap closed; Water inlet hose kinked; Water inlet filter clogged. | Open water tap; Straighten hose; Clean water inlet filter. |
| Excessive vibration/noise | Transport bolts not removed; Machine not level; Overloaded drum; Small items caught in drum. | Remove transport bolts; Adjust leveling feet; Reduce load; Check drum for foreign objects. |
| Water not draining | Drain hose kinked or blocked; Drain pump filter clogged. | Check and clear drain hose; Clean drain pump filter (refer to full manual for location). |
If the problem persists after attempting these solutions, please contact customer support.
8. Specifications
| Feature | Specification |
|---|---|
| Model Number | 5917001 |
| Brand | Kooper (Manufactured by Galileo SpA) |
| Capacity | 6 kg |
| Maximum Spin Speed | 1000 RPM |
| Number of Programs | 15 |
| Dimensions (D x W x H) | 44 cm x 60 cm x 84 cm |
| Weight | 12 kg |
| Color | White |
| Material (Body) | Galvanized Carbon Steel |
| Material (Drum) | Stainless Steel |
| Noise Level (Washing) | 45 dB |
| Voltage | 220-240 V |
| Maximum Power | 1950 W |
| Energy Class | E |
| Installation Type | Free-standing |
| Loading Position | Front-loading |
9. Warranty and Support
This product is covered by a legal warranty. For specific terms and conditions, please refer to the warranty card included with your purchase or contact your retailer.
For technical assistance, spare parts, or further inquiries, please contact the manufacturer, Galileo SpA, or your authorized service center.
Manufacturer: Galileo SpA