
Sunrosa NKK6122-1-6076G
Sunrosa Frameless Double Sliding Shower Door
Model: NKK6122-1-6076G
Instruction Manual
Introduction
This manual provides detailed instructions for the installation, operation, maintenance, and troubleshooting of your Sunrosa Frameless Double Sliding Shower Door. Please read all instructions carefully before beginning installation to ensure proper function and safety. Keep this manual for future reference.
Safety Information
Important Safety Instructions:
- Always wear safety glasses during installation.
- Handle glass panels with extreme care. Tempered glass is strong but can shatter if struck at the edges.
- Ensure all mounting surfaces are structurally sound and capable of supporting the weight of the shower door.
- Use appropriate tools for each step. Do not overtighten screws, as this may damage components.
- If you are unsure about any installation step, consult a qualified professional.
- After installation, allow silicone sealant to cure for 24 hours before using the shower.
Product Overview
The Sunrosa Frameless Double Sliding Shower Door is designed for modern bathrooms, offering both functionality and aesthetic appeal. Key features include:
- Adjustable Width: Designed to fit shower stalls with widths ranging from 56 1/8" to 60" (1424-1524 mm).
- Premium Materials: Frame and handles crafted from high-quality stainless steel with a brushed gold finish, resistant to corrosion and rust.
- Water Containment: Features a double sliding seal strip along the entire length of the glass to keep water within the enclosure.
- Safety Tempered Glass: Constructed with 5/16" (8mm) SGCC certified clear tempered glass for strength and resistance against breakage.
- Soft Closing System: Robust stainless steel buffer pulley ensures smooth and effortless sliding operation with an anti-jumping design.
- Reversible Design: Allows for installation on either the left or right side.
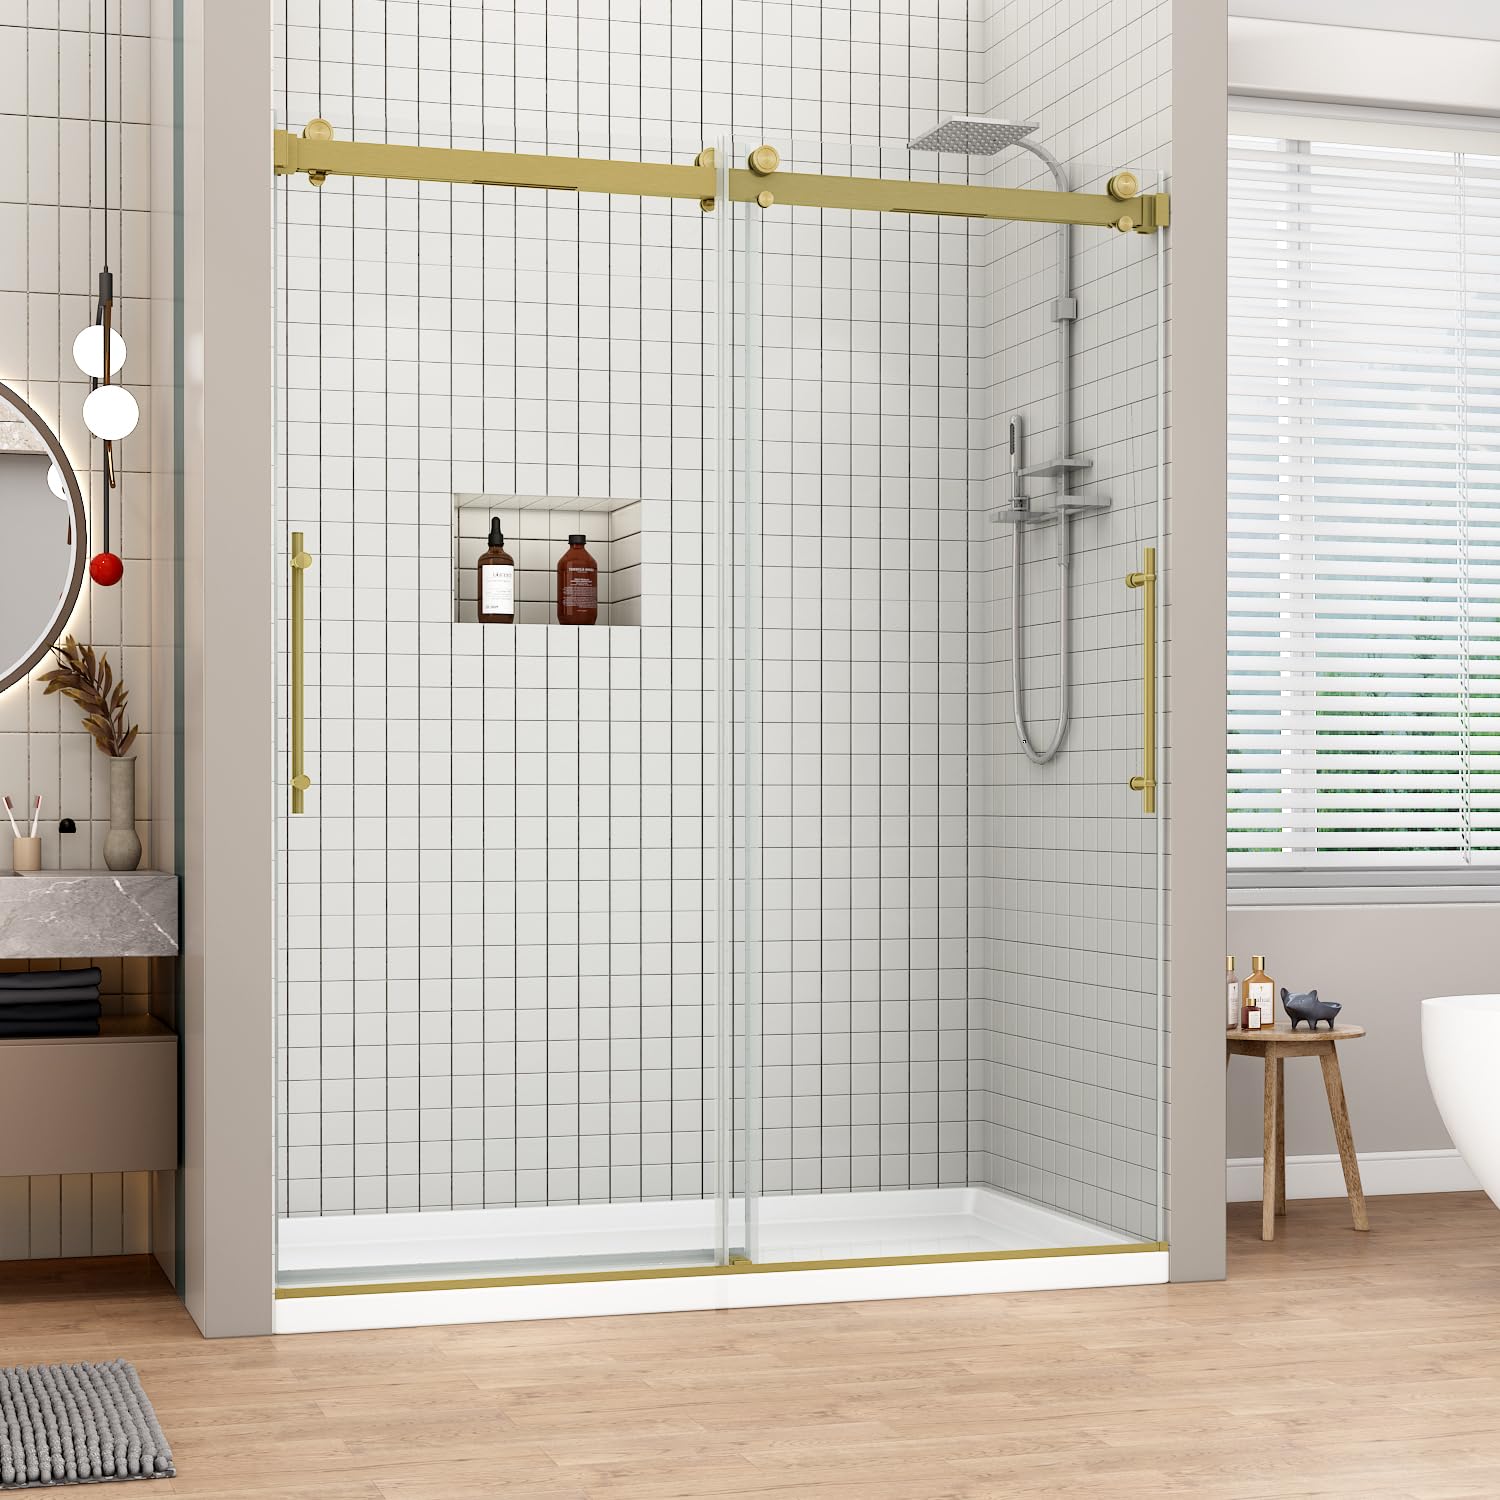
Figure 1: Sunrosa Frameless Double Sliding Shower Door, Brushed Gold finish.
Specifications
| Brand | Sunrosa |
| Model Number | NKK6122-1-6076G |
| Dimensions (W x H) | 56 1/8"-60" x 76" (1424-1524 mm x 1930 mm) |
| Walk-in Opening | 24"-28" (610-710 mm) |
| Glass Thickness | 5/16" (8mm) |
| Glass Type | SGCC Certified Clear Tempered Glass |
| Material | Glass, Stainless Steel |
| Finish | Brushed Gold |
| Assembly Required | Yes |

Figure 2: Detailed dimensions for the shower door.
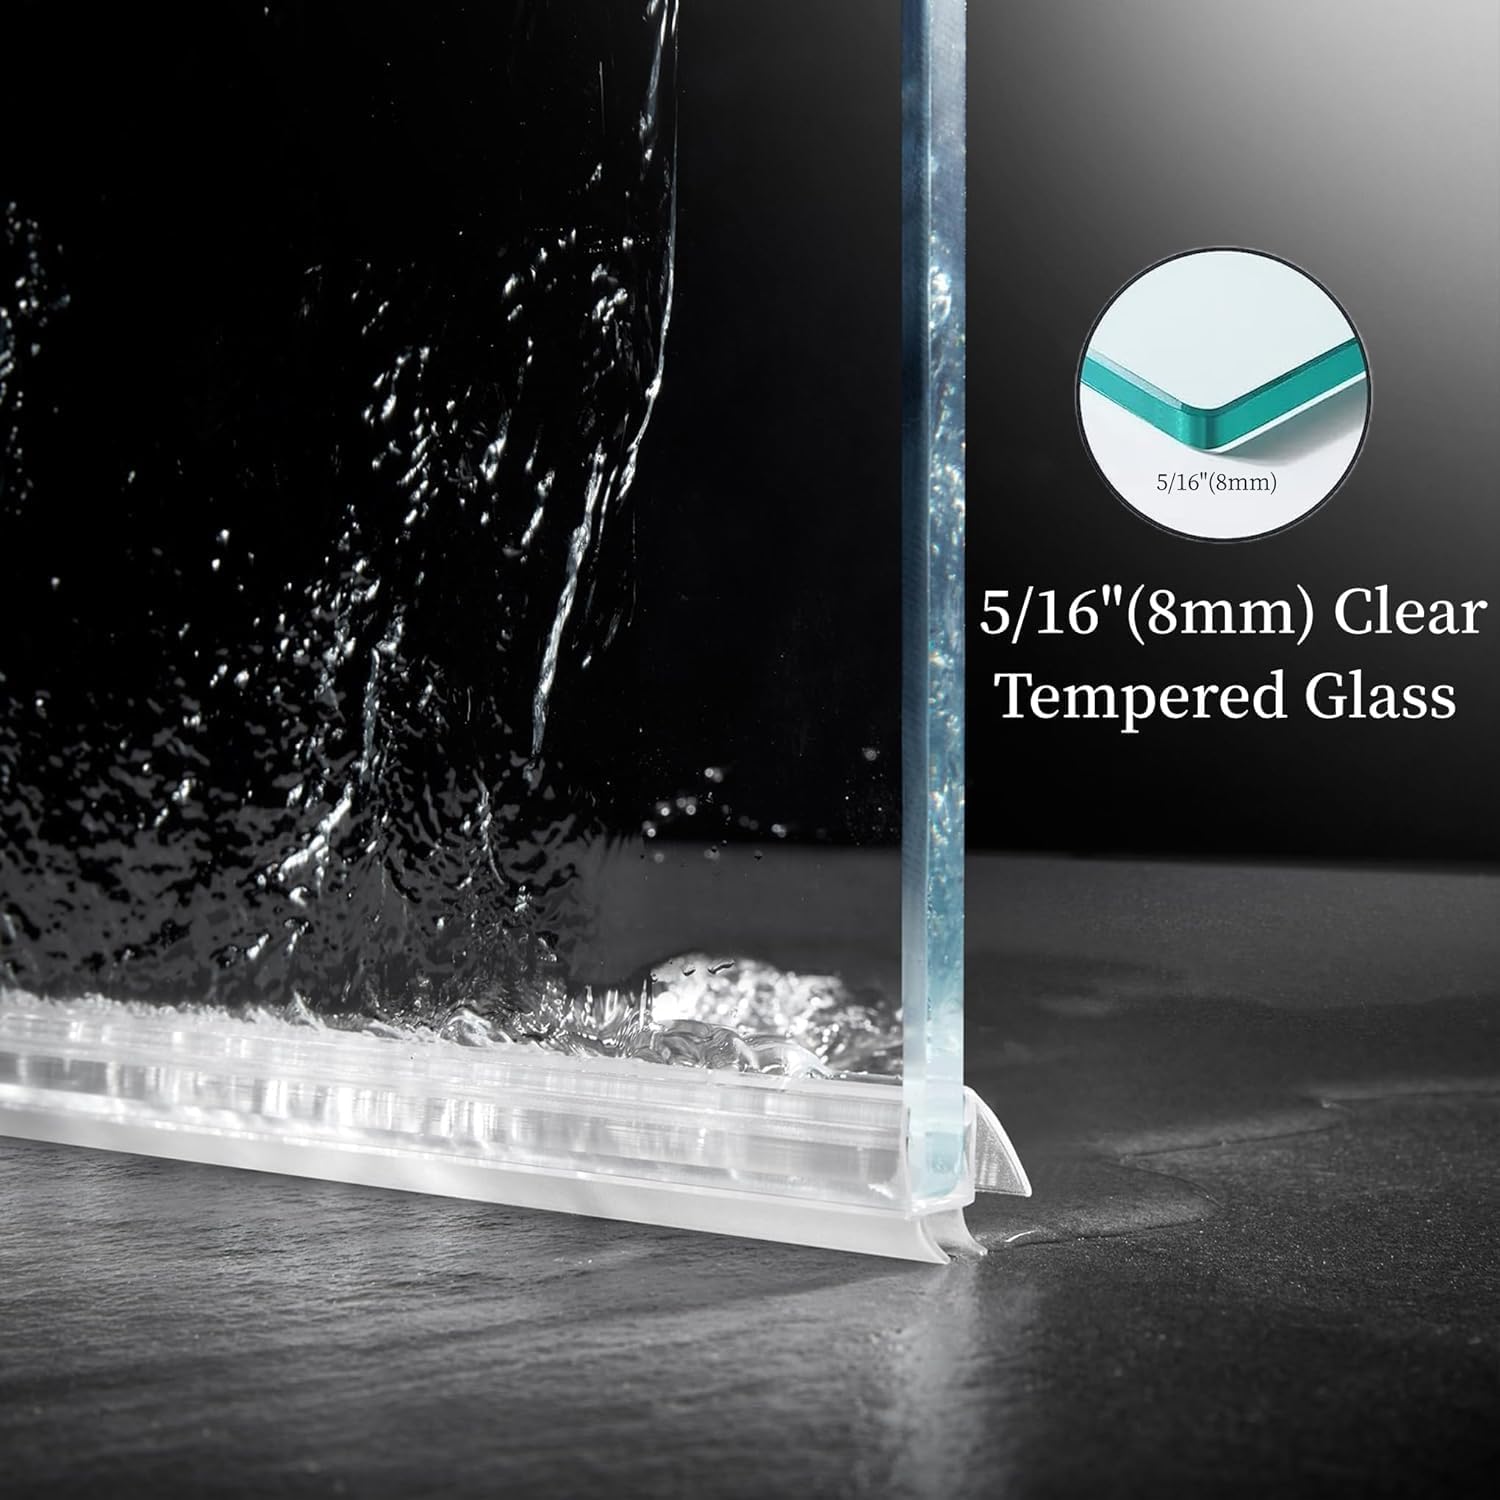
Figure 3: Illustration of the 5/16" (8mm) clear tempered glass.
Setup and Installation
For a comprehensive visual guide, please refer to the official installation video below. The following steps outline the installation process:
Video 1: Official Installation Video for Sunrosa Double Sliding Shower Door. This video provides a step-by-step visual guide for the entire installation process.
Installation Steps:
- Measure and Calculate:
- Measure the shower opening width (L) between finished walls.
- Calculate required Header Bar length: L - 16 mm.
- Calculate required Anti-Splash Threshold length: L - 4 mm.
- Cut and Finish Components:
- Cut the Header Bar and Anti-Splash Threshold to the calculated lengths using a hacksaw.
- Deburr all cut edges with a metal file.
- Mark and Drill Wall Bracket Holes:
- Position the measuring tool 10mm from the edge of the shower base, ensuring it is level. Mark the two drilling points.
- Repeat this process on the opposite wall.
- Drill at the marked points using a 6 mm (1/4 in.) drill bit and insert Wall Anchors.
- Install Wall Brackets and Header Bar:
- Align Wall Brackets with the pre-drilled holes and secure using ST4x35 screws. Repeat on the opposite wall.
- Position the Header Bar, check with a level, then secure the included decorative cover using an Allen key.
- Loosen screws on both buffer assemblies at the Header Bar's ends. Adjust to maintain 40mm clearance from the wall (measured from the screw edge), then retighten.
- Install Anti-Splash Threshold and Bottom Guide:
- Apply silicone sealant to the bottom of the Anti-Splash Threshold, align it 10mm from the edge, then press firmly onto the floor.
- Locate the shower opening's centerline. Align the Bottom Guide's midline to this mark, then trace the drilling point through the guide hole.
- Drill at the marked point with a 6 mm (1/4 in.) drill bit and insert a Wall Anchor.
- Secure the Bottom Guide with ST4x25 screws, then cover with the Cap.
- Apply silicone sealant to Floor Clamps and install them at both ends of the Threshold, facing the shower interior.
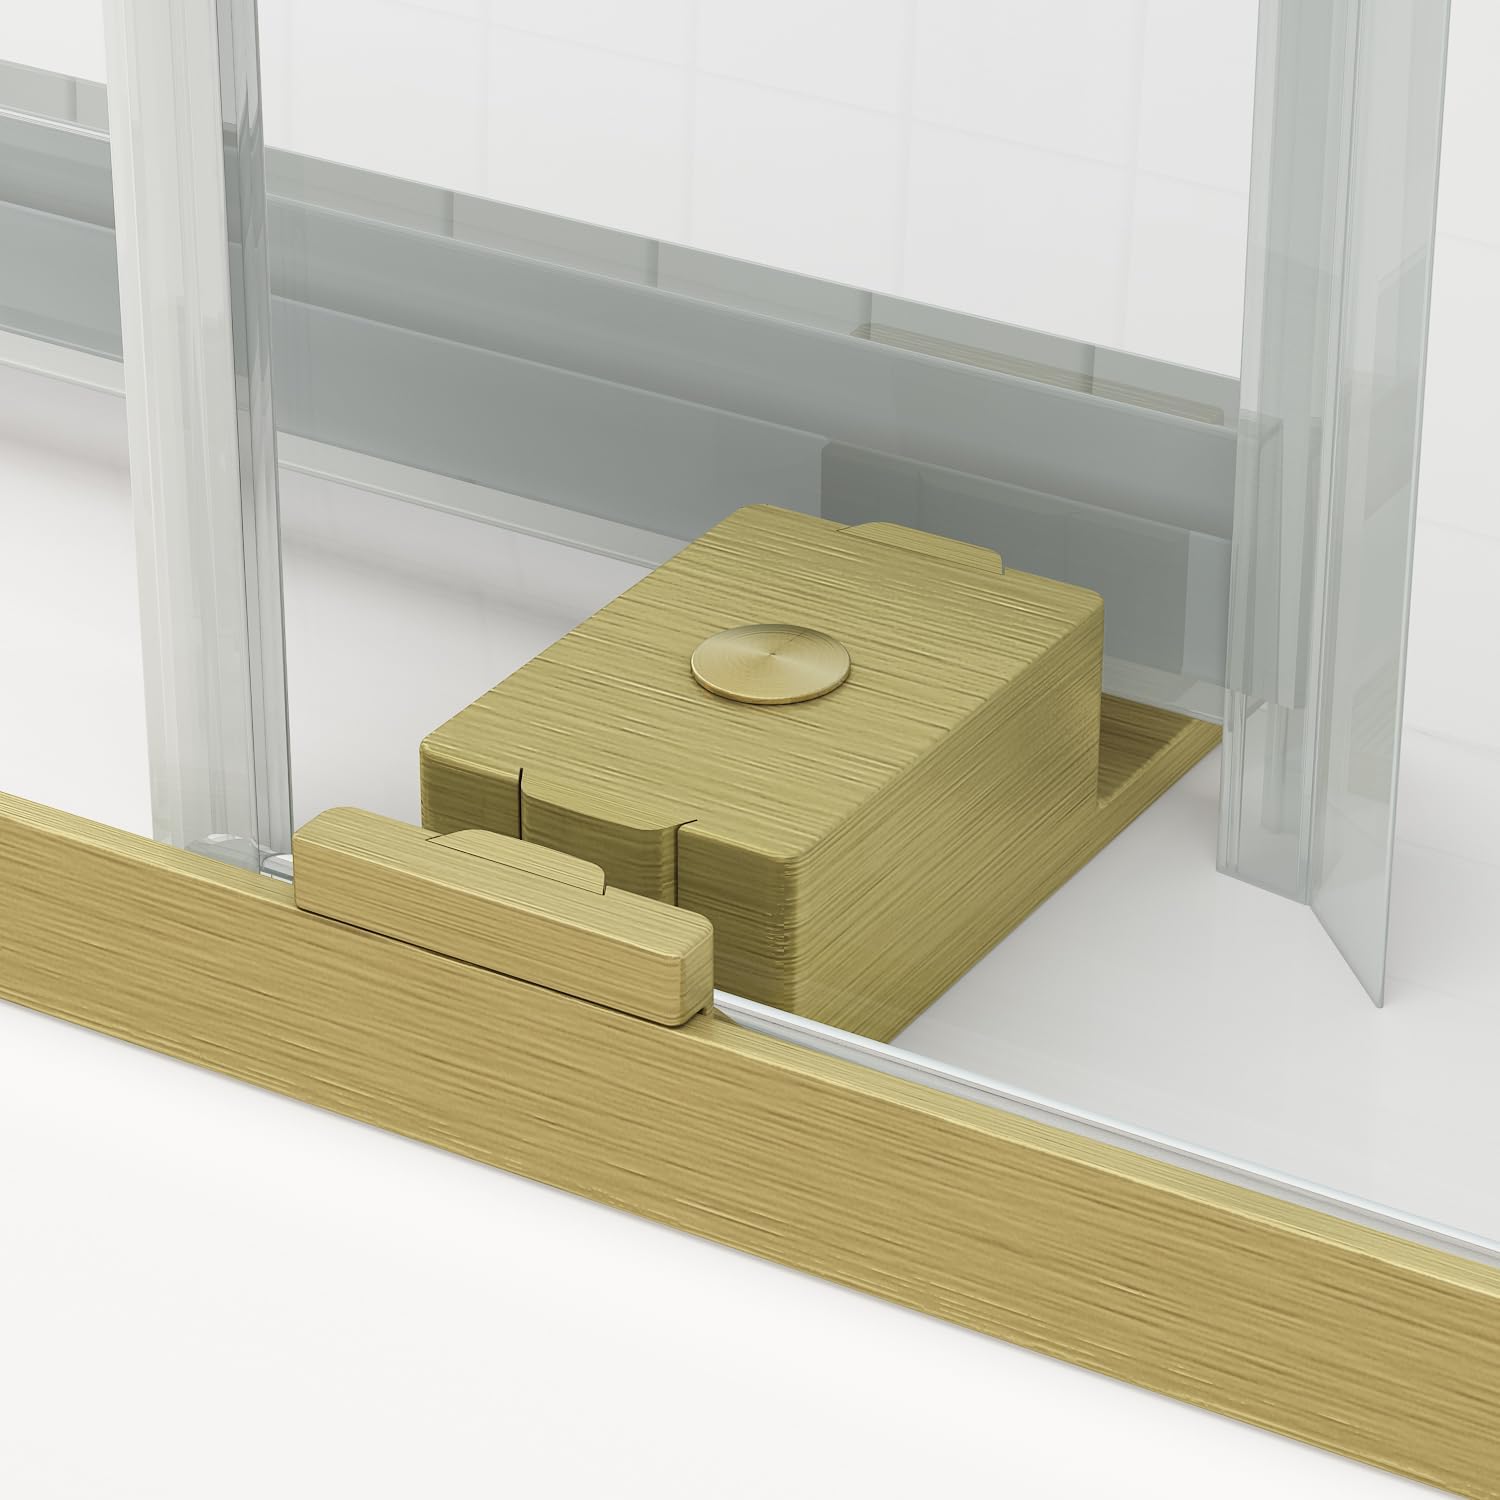
Figure 4: Detail of the soft-close mechanism and bottom guide installation.
- Install Decorative Strips:
- Cut two Decorative Strips to cover the gap between the two buffer assemblies and install them.
- Prepare and Install Door Panels:
- Disassemble Rollers, then install them onto the top of Door Panel 06A. Ensure the arrow marking points downward.
- Install the Bottom Seal onto the bottom edge of Door Panel 06A. The seal's water barrier edge faces the shower interior.
- Lift Door Panel 06A and hang it onto the Header Bar. Insert the door into the Bottom Guide, engaging the innermost slot (shower-side position).
- Install rollers onto Door Panel 06B, then lift and hang it onto the Header Bar, engaging the outermost slot of the Bottom Guide.
- Insert Anti-Jump Rollers diagonally into their designated holes, then secure them with an Allen key.
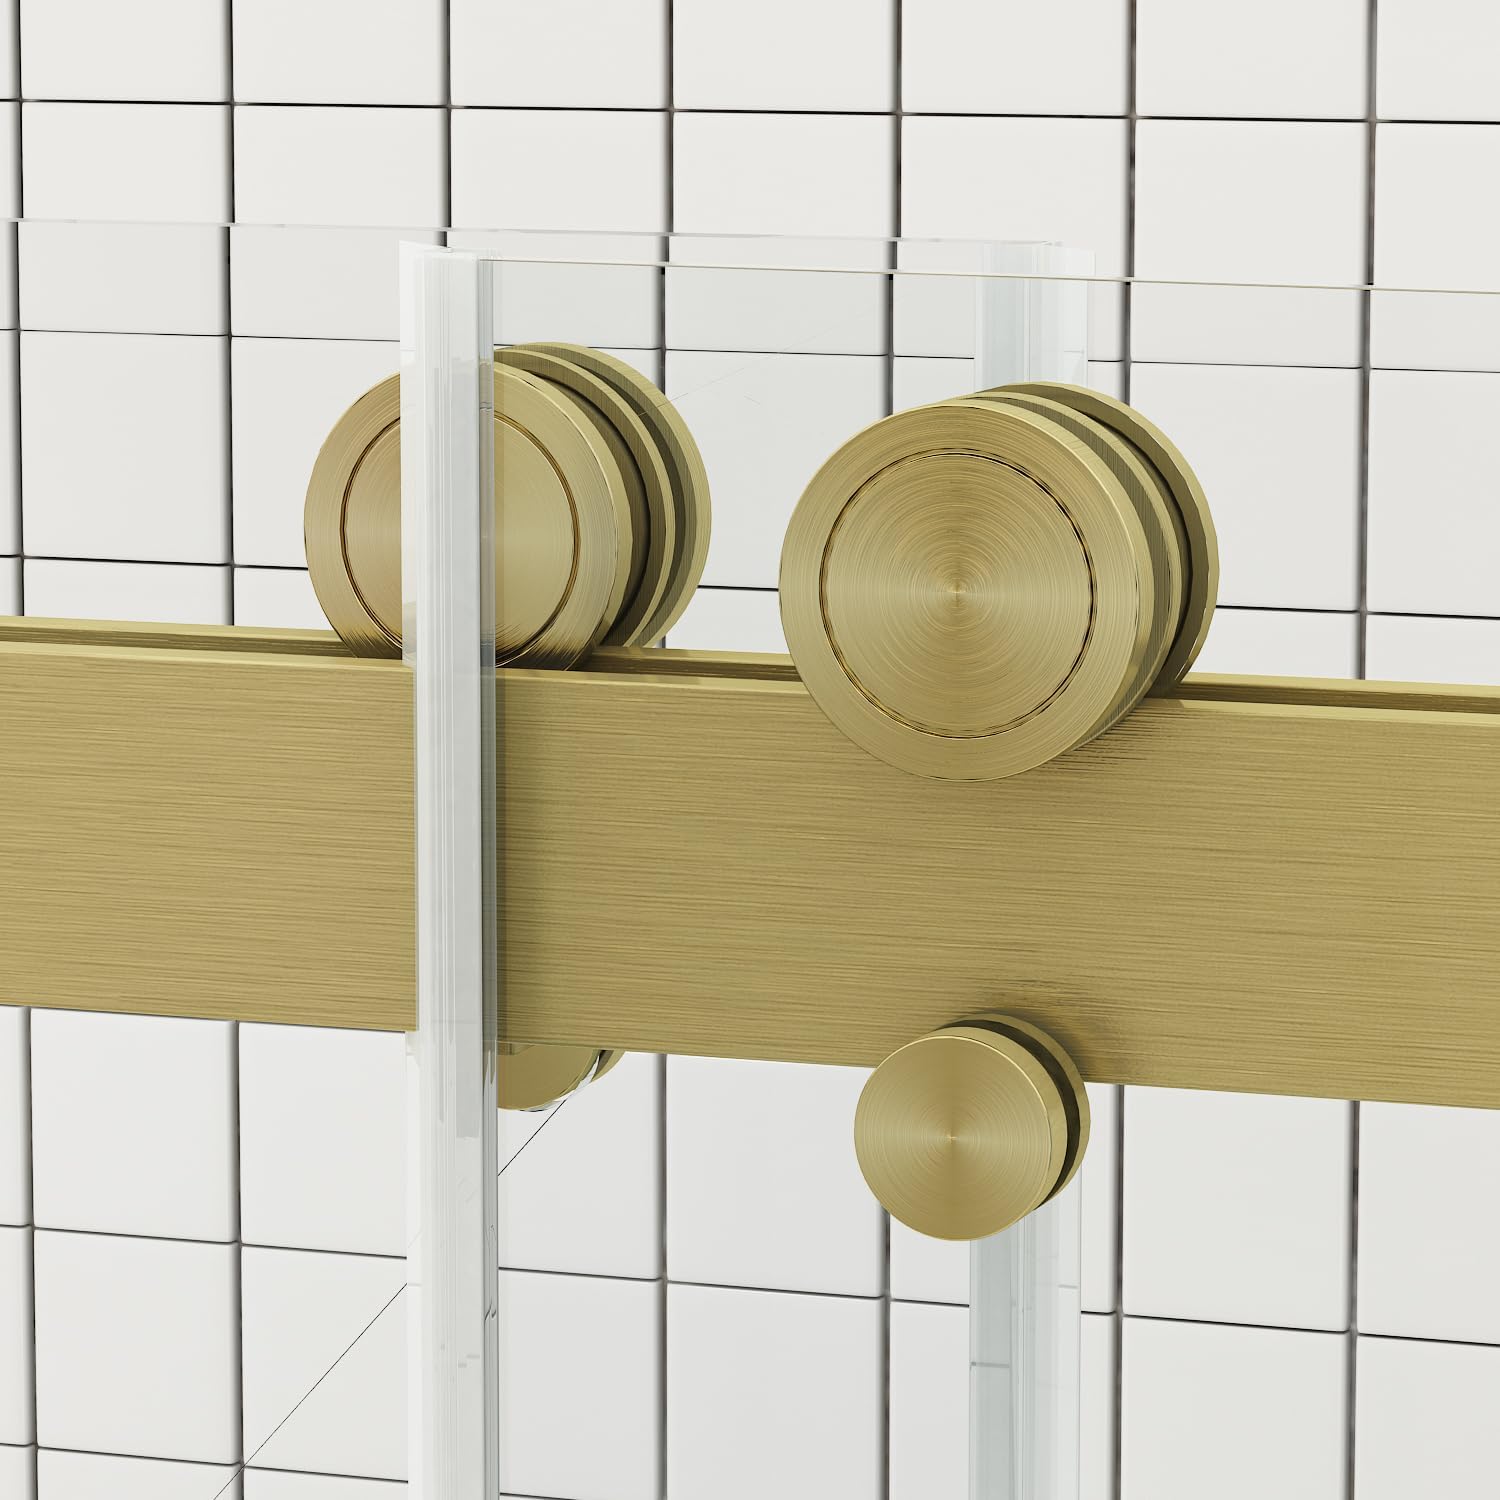
Figure 5: Detail of the roller assembly for smooth door operation.

Figure 6: View of the top rail and roller system ensuring stable sliding.
- Install Handles:
- Install the Handles using the Allen key. Mount one handle on the interior side and the other handle on the exterior side of the door panel.

Figure 7: Installation of the shower door handle.
- Final Adjustments and Sealing:
- Slide the bumper protrusions at both ends of the Header Bar horizontally toward the center of the shower door. This prevents damage.
- Verify the vertical alignment of the door panel. If misaligned, loosen screws on all rollers and anti-jump rollers. Adjust the roller with a wrench until the door panel is properly aligned, then tighten the roller screws.
- Adjust the anti-jump roller position with the wrench, ensuring its arrow marking aligns with the arrow on the main roller. Once adjusted, tighten the anti-jump roller screws.
- Finally, install the decorative covers over both the rollers and anti-jump rollers.
- Apply silicone sealant to all floor-contact junctions.
- Important: You must wait 24 hours before using the shower to allow the silicone sealant to fully cure. Do not allow water to directly spray the door during this period.
Operating Instructions
Your Sunrosa Frameless Double Sliding Shower Door is designed for smooth and quiet operation. To open or close the door, gently push or pull the handle. The soft-close system will engage to prevent abrupt impacts and ensure a controlled movement. Avoid forcing the doors, as this can damage the rollers or track system.
Maintenance
Regular maintenance will help preserve the appearance and functionality of your shower door.
- Glass Cleaning: The 5/16" (8mm) tempered glass features an easy-clean coating. For best results, wipe down the glass panels after each use with a soft cloth or squeegee to prevent water spots and soap scum buildup. For deeper cleaning, use a non-abrasive glass cleaner specifically designed for shower doors. Avoid harsh chemicals or abrasive pads that could damage the coating.
- Frame and Hardware: Clean the brushed gold frame and hardware with a soft, damp cloth. Mild soap and water can be used for stubborn spots. Do not use abrasive cleaners, steel wool, or acidic cleaners, as these can scratch or corrode the finish.
- Seals: Periodically check the double sliding seal strips for wear or damage. Replace them if they appear cracked or no longer provide an effective seal.
- Rollers and Track: Keep the rollers and track free of debris, hair, and soap residue to ensure smooth sliding. You may occasionally apply a silicone-based lubricant (not oil-based) to the rollers for optimal performance.
Troubleshooting
If you encounter any issues with your Sunrosa shower door, refer to the following common problems and solutions:
| Problem | Possible Cause | Solution |
|---|---|---|
| Door does not slide smoothly. | Debris in track, worn rollers, misaligned rollers. | Clean the track and rollers. Check rollers for damage and replace if necessary. Verify roller alignment as per installation steps. |
| Water leakage from the bottom or sides. | Damaged or improperly installed seals, insufficient silicone sealant. | Inspect all seals for damage and ensure they are properly seated. Reapply silicone sealant to floor-contact junctions if needed, ensuring a 24-hour cure time. |
| Door appears crooked or uneven. | Improper vertical alignment during installation. | Refer to the "Final Adjustments" section in the installation guide to re-align the door panel and anti-jump rollers. |
| Soft-close system not functioning correctly. | Buffer assemblies not properly adjusted or damaged. | Check the 40mm clearance of the buffer assemblies as described in the installation steps. Ensure they are not obstructed. |
Support and Warranty
If you encounter any issues with your product or require further assistance, please follow these steps:
- Contact the Seller: Navigate to your order details, click on "Problem with order," and then select "Contact seller."
- Describe the Issue in Detail: Attach images showing the product issue in the message chat and provide a detailed description of the problem.
- Resolution: The seller will provide a solution, such as a complimentary replacement of damaged or missing parts or other appropriate resolutions.
If you find the installation instructions unclear, please contact us, and we will provide a clear version and professional installation support.
Warranty Information: For specific warranty details, please refer to the product listing or contact Sunrosa customer support directly. Generally, products are covered against manufacturing defects.
Related documentsNKK6122-1-6076G


Ask a question about this manual
Ask about setup, troubleshooting, compatibility, parts, safety, or missing instructions. Manuals+ will review the question and use this page’s manual context to help answer it.