
1. Product Overview
The Codnida 3MP Security Camera is an advanced outdoor IP CCTV system designed for comprehensive surveillance. It offers high-definition 2K resolution, versatile night vision modes, and intelligent motion detection capabilities. This manual provides detailed instructions for installation, operation, and maintenance to ensure optimal performance of your security camera system.

Image: Two Codnida 3MP Security Cameras, illustrating the product design and dual antenna setup.
2. Package Contents
Before beginning installation, please verify that all components are present in your package:
- Codnida 3MP Security Camera (2 units for 2-pack)
- Power Adapter (Corded Electric)
- Mounting Screws and Wall Plugs
- User Manual
Note: An SD card (up to 128GB) is required for local storage and is not included in the package.
3. Setup Guide
3.1. Physical Installation
The camera is designed for wall mounting. Choose a location that provides the desired viewing angle and is within reach of a power outlet. Ensure the mounting surface is stable and can support the camera's weight.
- Mark the drilling points using the camera's mounting bracket as a template.
- Drill holes at the marked positions.
- Insert the wall plugs into the drilled holes.
- Align the camera bracket with the holes and secure it using the provided screws.
- Attach the camera securely to the mounted bracket.

Image: A Codnida security camera securely mounted on an outdoor wall, demonstrating proper installation.
3.2. Power Connection
Connect the camera to a power source using the provided corded electric adapter. The camera operates at 4 watts.

Image: The Codnida camera connected to its power adapter, ready for operation.
3.3. App Installation and Wi-Fi Connection
The camera connects to the CloudEdge APP via a 2.4GHz Wi-Fi connection (5GHz is not supported).
- Download the 'CloudEdge' app from your mobile device's app store (iOS or Android).
- Register for a new account or log in if you already have one.
- Follow the in-app instructions to add your new device. This typically involves powering on the camera and scanning a QR code displayed on your phone screen with the camera's lens.

Image: A smartphone displaying the CloudEdge app icon, indicating the application used for camera control.

Image: A hand holding a smartphone displaying a QR code, which is being scanned by the camera lens for initial setup.
3.4. SD Card Installation
The camera supports local video and image storage on an SD card up to 128GB. The SD card slot is typically located under a protective cover on the camera body.
- Power off the camera before inserting or removing the SD card.
- Locate the SD card slot, usually covered by a rubber stopper or screw-on cap.
- Insert the SD card into the slot with the contacts facing the correct direction until it clicks into place.
- Replace the protective cover.
- Power on the camera. You may need to format the SD card via the CloudEdge app for first-time use.

Image: A close-up of the camera showing the SD card slot and a microSD card being inserted, with icons for local and cloud storage.
4. Operating Instructions
4.1. Live View and PTZ Control
Access the live feed of your camera through the CloudEdge app. The camera features Pan-Tilt-Zoom (PTZ) functionality, allowing you to adjust the viewing angle remotely.
- Open the CloudEdge app and select your camera.
- Use the on-screen controls to pan horizontally up to 355° and tilt vertically up to 90°.

Image: A visual representation of the camera's 355-degree horizontal and 90-degree vertical PTZ capabilities, controlled via a smartphone app.
4.2. Two-Way Audio
The built-in two-way intercom allows for real-time communication through the camera.
- From the live view in the CloudEdge app, tap the microphone icon to speak.
- Tap the speaker icon to listen to audio from the camera's location.

Image: A delivery person at a door, with a speech bubble indicating two-way audio communication via the security camera.
4.3. Recording and Storage
The camera supports 24/7 recording and offers flexible storage options.
- SD Card Storage: Videos and images are stored locally on the inserted SD card (up to 128GB).
- Cloud Storage: A 7-day free trial of cloud storage is available. Subscription options may be available after the trial period.
- Access recorded footage via the 'History' or 'Cloud' sections within the CloudEdge app.

Image: A smartphone displaying the CloudEdge app interface with a video playback timeline, indicating 24/7 recording and options for cloud or TF card storage.
4.4. Night Vision
The camera provides both black and white infrared night vision and full-color night vision.
- Black and White Mode: Utilizes 4 infrared LEDs for clear 2K images in low light conditions, with a night vision range of up to 10 meters.
- Color Mode: Activates the built-in floodlight to capture crisp, full-color video even in complete darkness.
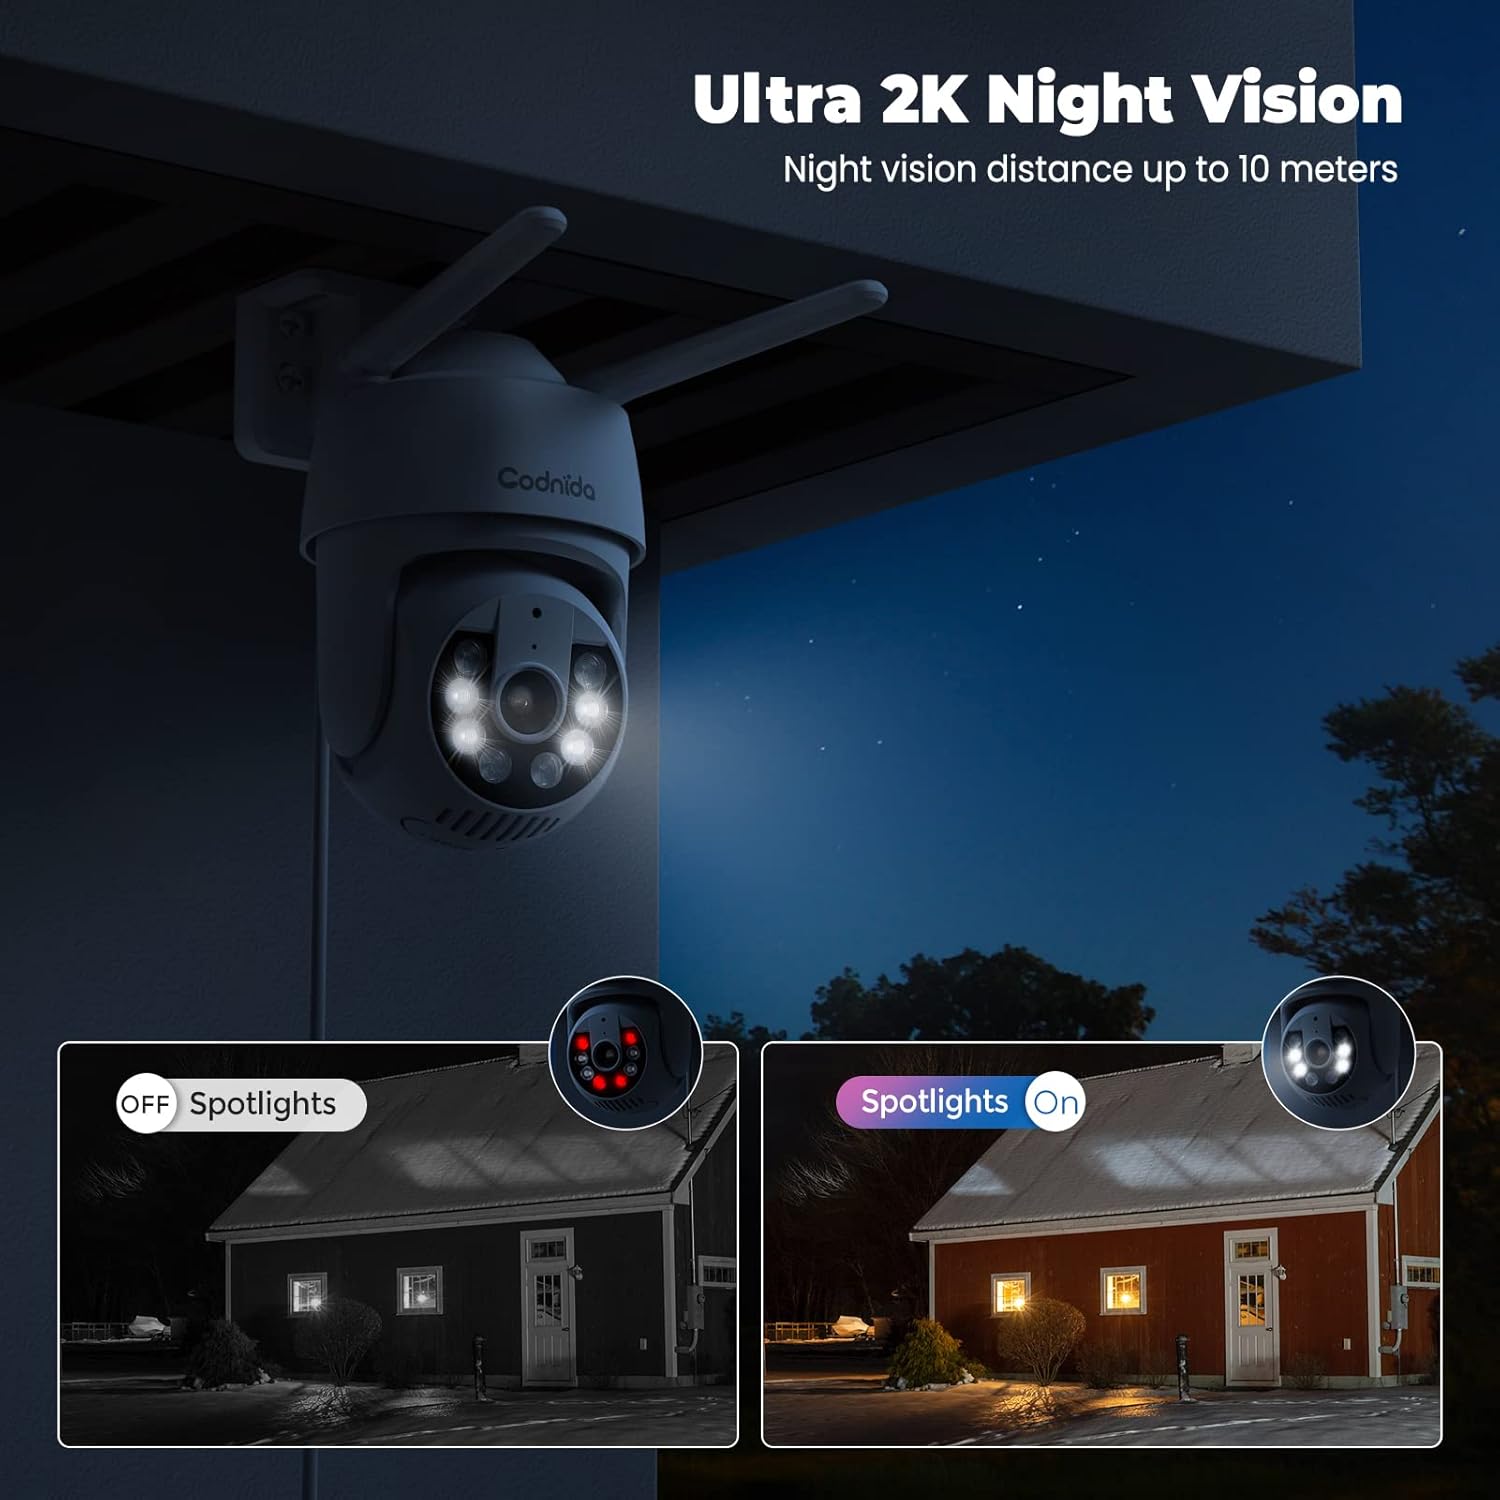
Image: A split image demonstrating the difference between spotlights off (infrared night vision) and spotlights on (color night vision) at night.
4.5. Smart Motion Detection and Alerts
The camera features a PIR human detection sensor to minimize false alarms and provide instant notifications.
- When human movement is detected, the camera will send an immediate notification to your phone.
- The camera can activate a sound alarm and/or light alarm to deter intruders.
- Customize detection areas within the app to focus on specific zones and reduce unnecessary alerts.
- The camera supports AI automatic tracking, following detected motion within its field of view.
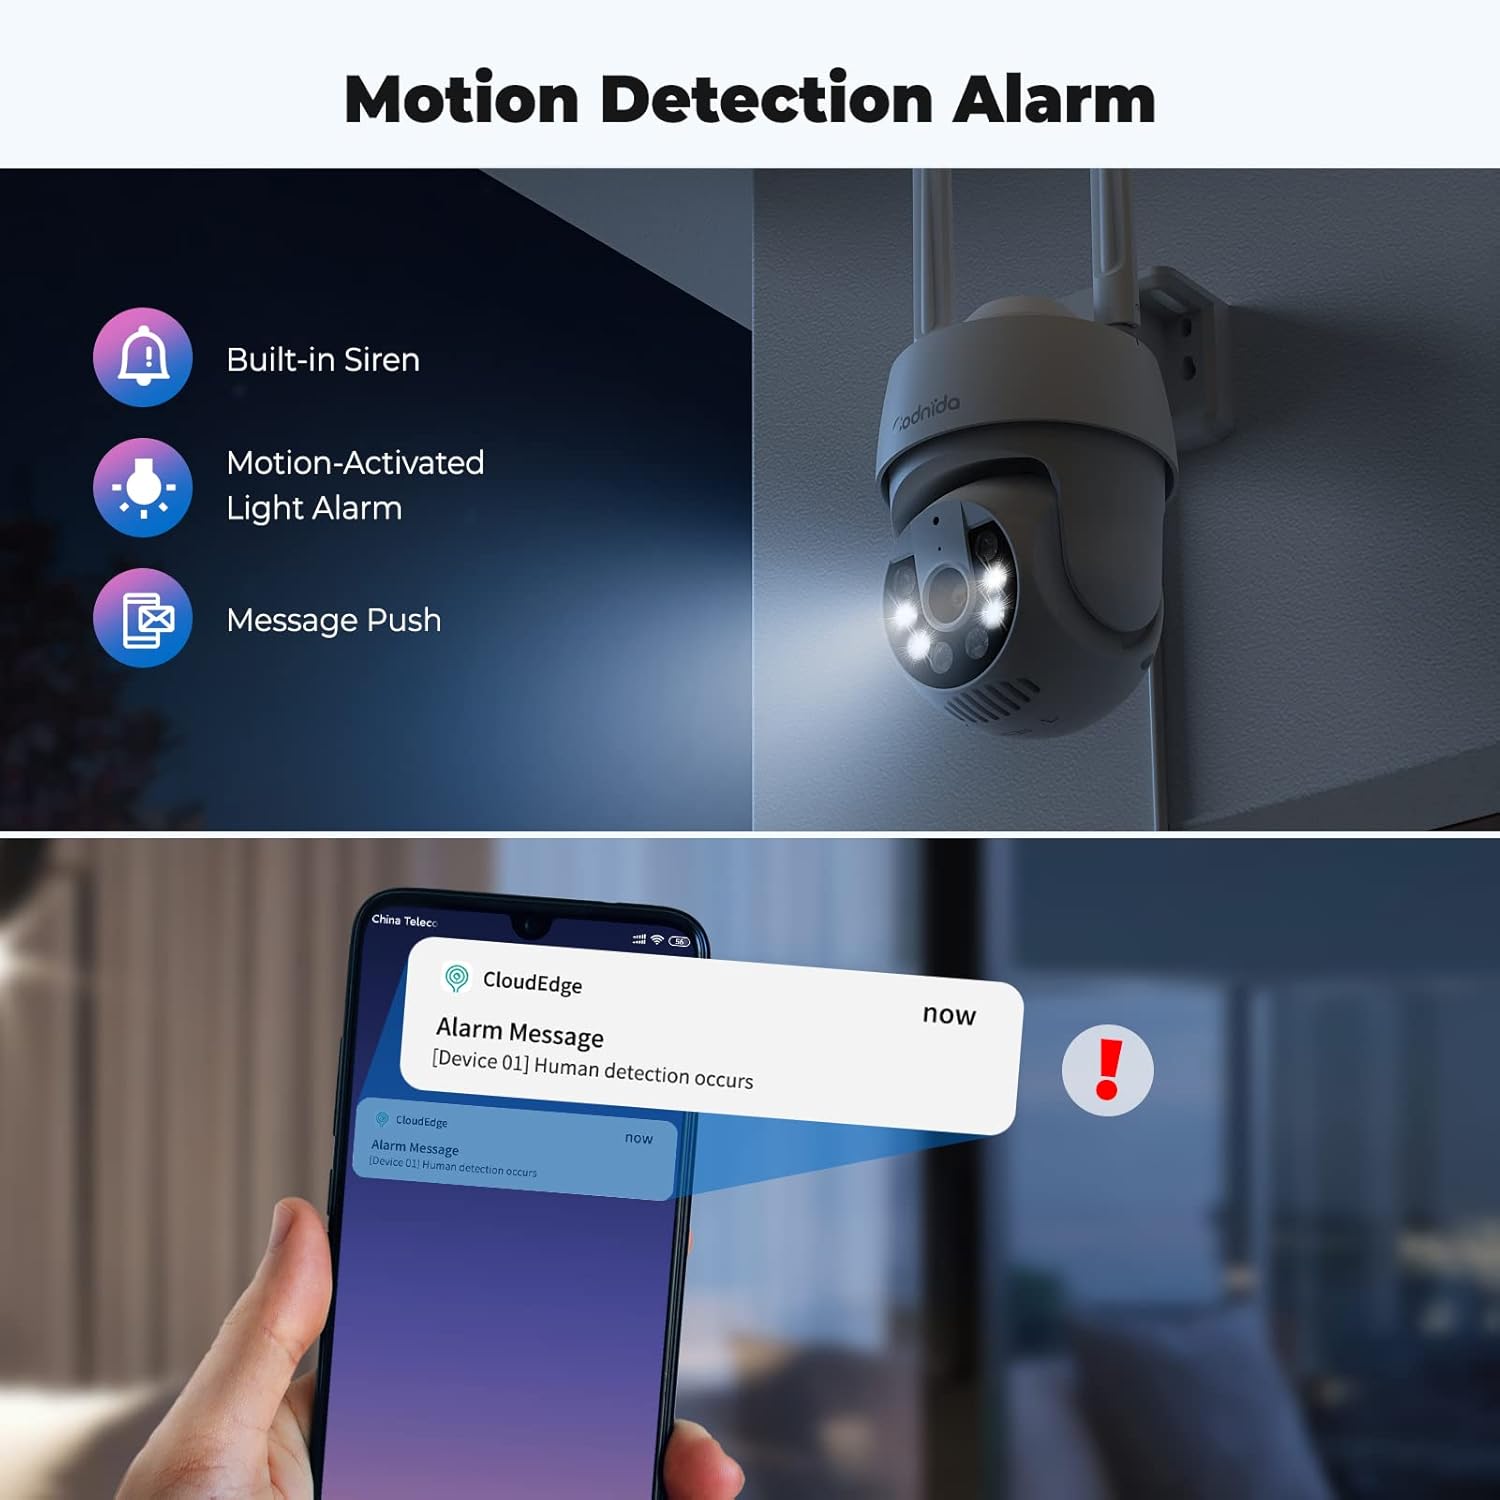
Image: An illustration showing the camera's motion detection alarm features, including a built-in siren, motion-activated light alarm, and push notifications to a smartphone.

Image: A visual demonstrating the AI automatic tracking feature, showing the camera following a child's movement across a yard.
4.6. Alexa Compatibility and Onvif Support
- The camera is compatible with Alexa, allowing for voice control and integration into your smart home system. Refer to the CloudEdge app or Alexa app for specific setup instructions.
- The camera supports Onvif, enabling integration with other Onvif-compliant network video recorders (NVRs) or surveillance systems.
5. Maintenance
Regular maintenance ensures the longevity and optimal performance of your Codnida security camera.
- Cleaning: Periodically wipe the camera lens and body with a soft, damp cloth to remove dust and dirt. Avoid abrasive cleaners or solvents.
- Firmware Updates: Check the CloudEdge app regularly for available firmware updates. Keeping the firmware updated ensures access to the latest features and security enhancements.
- Weather Protection: The camera is IP66 weatherproof, designed to withstand rain, snow, and shine. However, ensure proper installation to prevent water accumulation around connections.
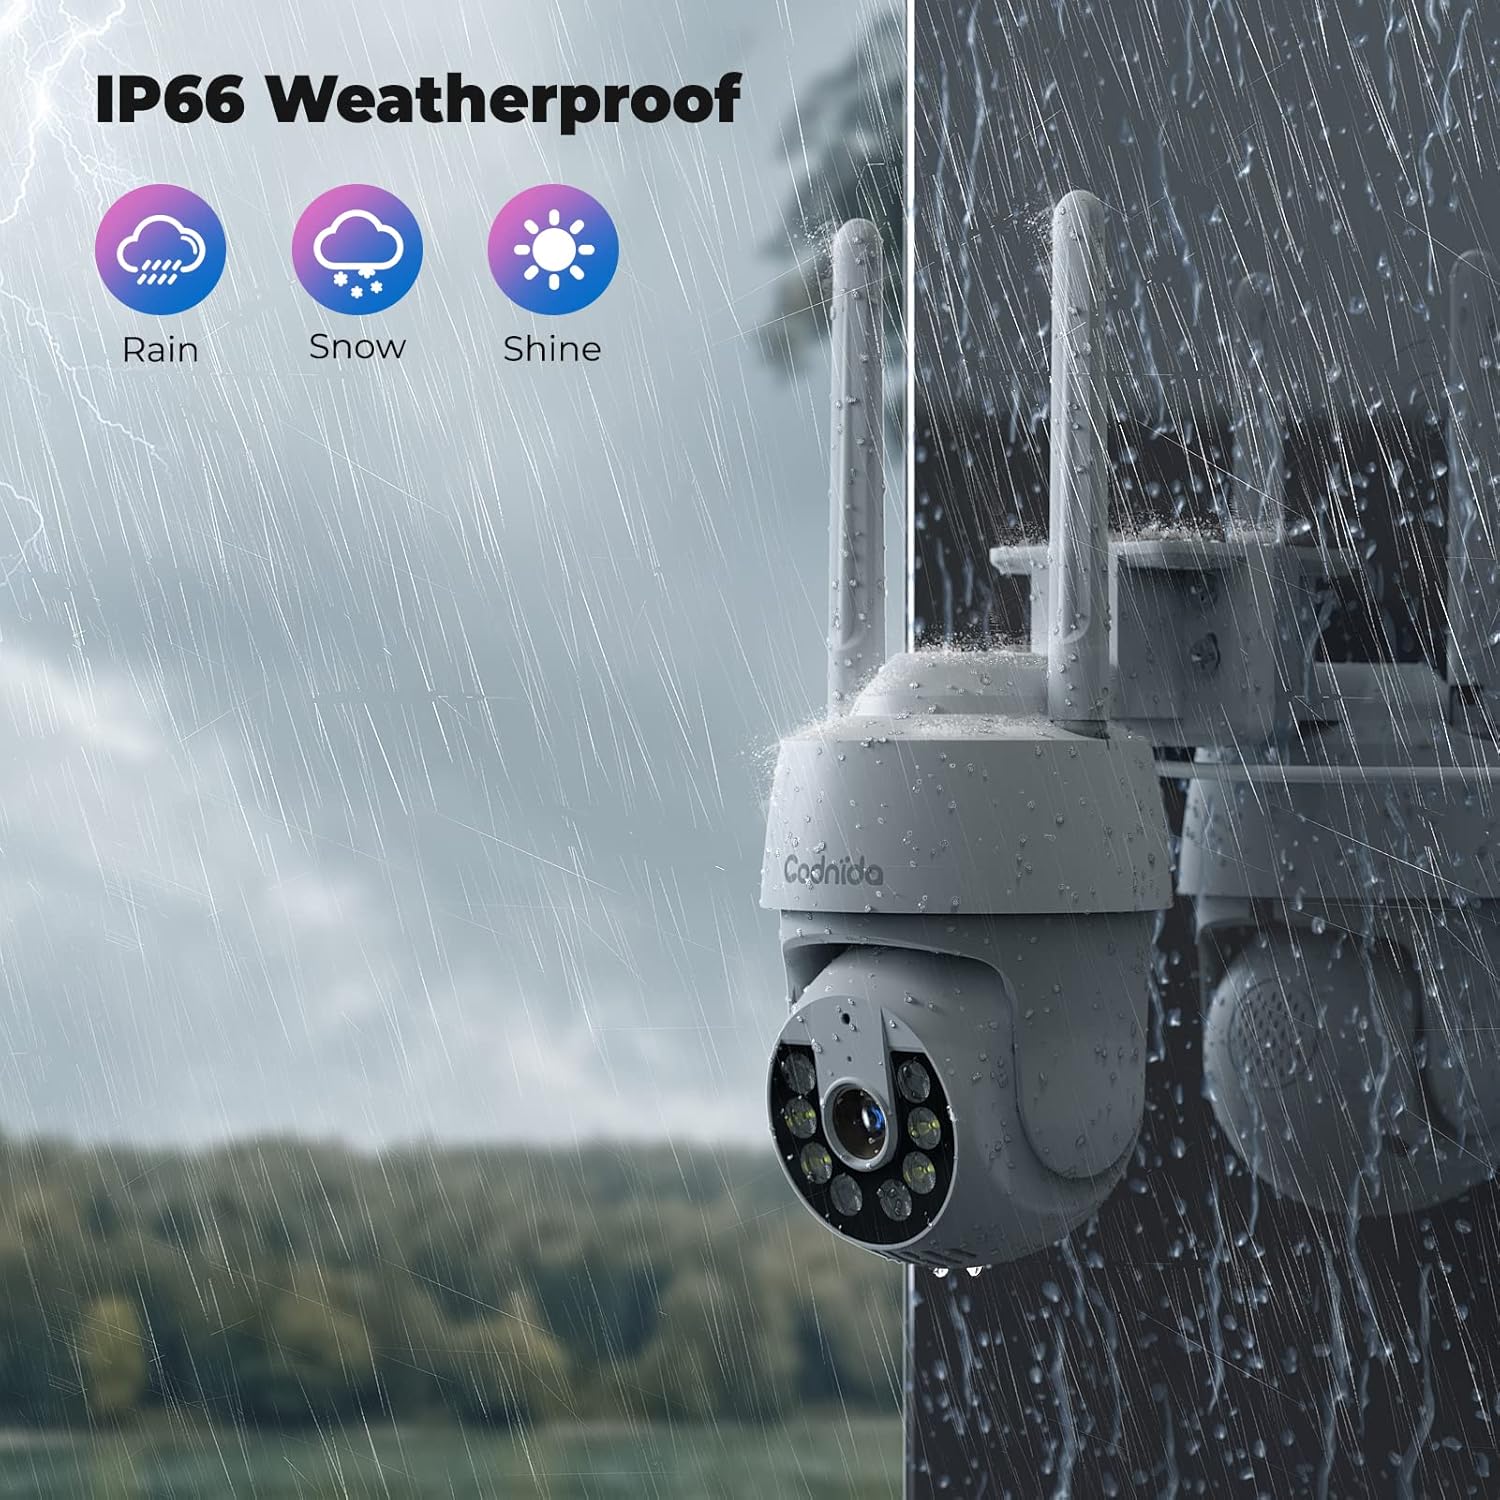
Image: A Codnida camera shown in a rainy environment, highlighting its IP66 weatherproof rating against rain, snow, and shine.
6. Troubleshooting
If you encounter issues with your Codnida security camera, refer to the following common problems and solutions:
| Problem | Possible Cause | Solution |
|---|---|---|
| Camera not connecting to Wi-Fi | Incorrect Wi-Fi password; 5GHz network used; camera too far from router; network congestion. | Ensure correct 2.4GHz Wi-Fi password. Move camera closer to router. Restart router and camera. |
| Poor video quality or lag | Weak Wi-Fi signal; network bandwidth issues; camera lens dirty. | Improve Wi-Fi signal strength. Reduce network traffic. Clean the camera lens. |
| Motion detection not working or too many false alarms | Incorrect sensitivity settings; detection area not configured; environmental factors (e.g., swaying trees). | Adjust PIR sensitivity in the app. Customize detection zones to exclude irrelevant areas. |
| Two-way audio issues (poor sound pickup) | Microphone obstruction; environmental noise; software glitch. | Ensure microphone is clear. Test in a quieter environment. Restart camera. |
| Camera not responding to PTZ controls | Weak Wi-Fi signal; temporary app/camera glitch. | Check Wi-Fi connection. Restart the CloudEdge app and camera. |
| SD card not recording | SD card full; not formatted; faulty card; incorrect recording settings. | Check SD card capacity. Format the SD card via the app. Ensure recording settings are enabled. Replace faulty card if necessary. |
For further assistance, please refer to the CloudEdge app's help section or contact Codnida customer support.
7. Specifications
| Feature | Detail |
|---|---|
| Model Name | Q30 |
| Indoor/Outdoor Usage | Outdoor, Indoor |
| Power Source | Corded Electric |
| Connectivity Protocol | Wi-Fi (2.4GHz only) |
| Controller Type | CloudEdge App |
| Mounting Type | Wall Mount |
| Video Capture Resolution | 3 MP (2K) |
| Number of Channels | 2 (for 2-pack) |
| Form Factor | Dome |
| Night-Vision Range | 10 Metres |
| Material | Plastic |
| Wattage | 4 watts |
| Item Dimensions (L x W x H) | 50 x 50 x 50 millimetres |
| Water Resistance Level | Waterproof (IP66) |
| Special Features | 2 Way Audio, HD Resolution, Color Night Vision, PIR Human Detection, PTZ (355° Pan, 90° Tilt), Alexa Compatible, Onvif Support |
| Storage Options | SD Card (up to 128GB), Cloud Storage |
| Item Weight | 1.15 kg |
8. Warranty and Support
For information regarding product warranty, please refer to the purchase documentation or contact Codnida directly through their official website or the seller from whom you purchased the product. Codnida is committed to providing high-quality security cameras and offers professional customer support to resolve any product issues.
For technical support or inquiries, please visit the Codnida official website or use the support features within the CloudEdge application.