Important Safety Instructions
Please read all instructions carefully before using this appliance to prevent injury and property damage. Keep this manual for future reference.
- Always place the dispenser on a flat, stable surface.
- Do not operate the dispenser if the power cord is damaged.
- Ensure the dispenser is plugged into a grounded electrical outlet.
- Keep the dispenser away from direct sunlight and heat sources.
- Do not immerse the dispenser, cord, or plug in water or other liquids.
- The hot water faucet is equipped with a child safety lock. Always engage the lock after dispensing hot water to prevent accidental burns.
- Unplug the dispenser before cleaning or performing any maintenance.
- This appliance is intended for household use only.
Product Overview
The Euhomy Top Loading Water Dispenser provides convenient access to hot and cold water. It is designed to accommodate standard 3 or 5 gallon water bottles.

Front view of the Euhomy Top Loading Water Dispenser, showcasing its sleek black and silver design.

The water dispenser seamlessly integrated into a modern living room environment, demonstrating its compact footprint.
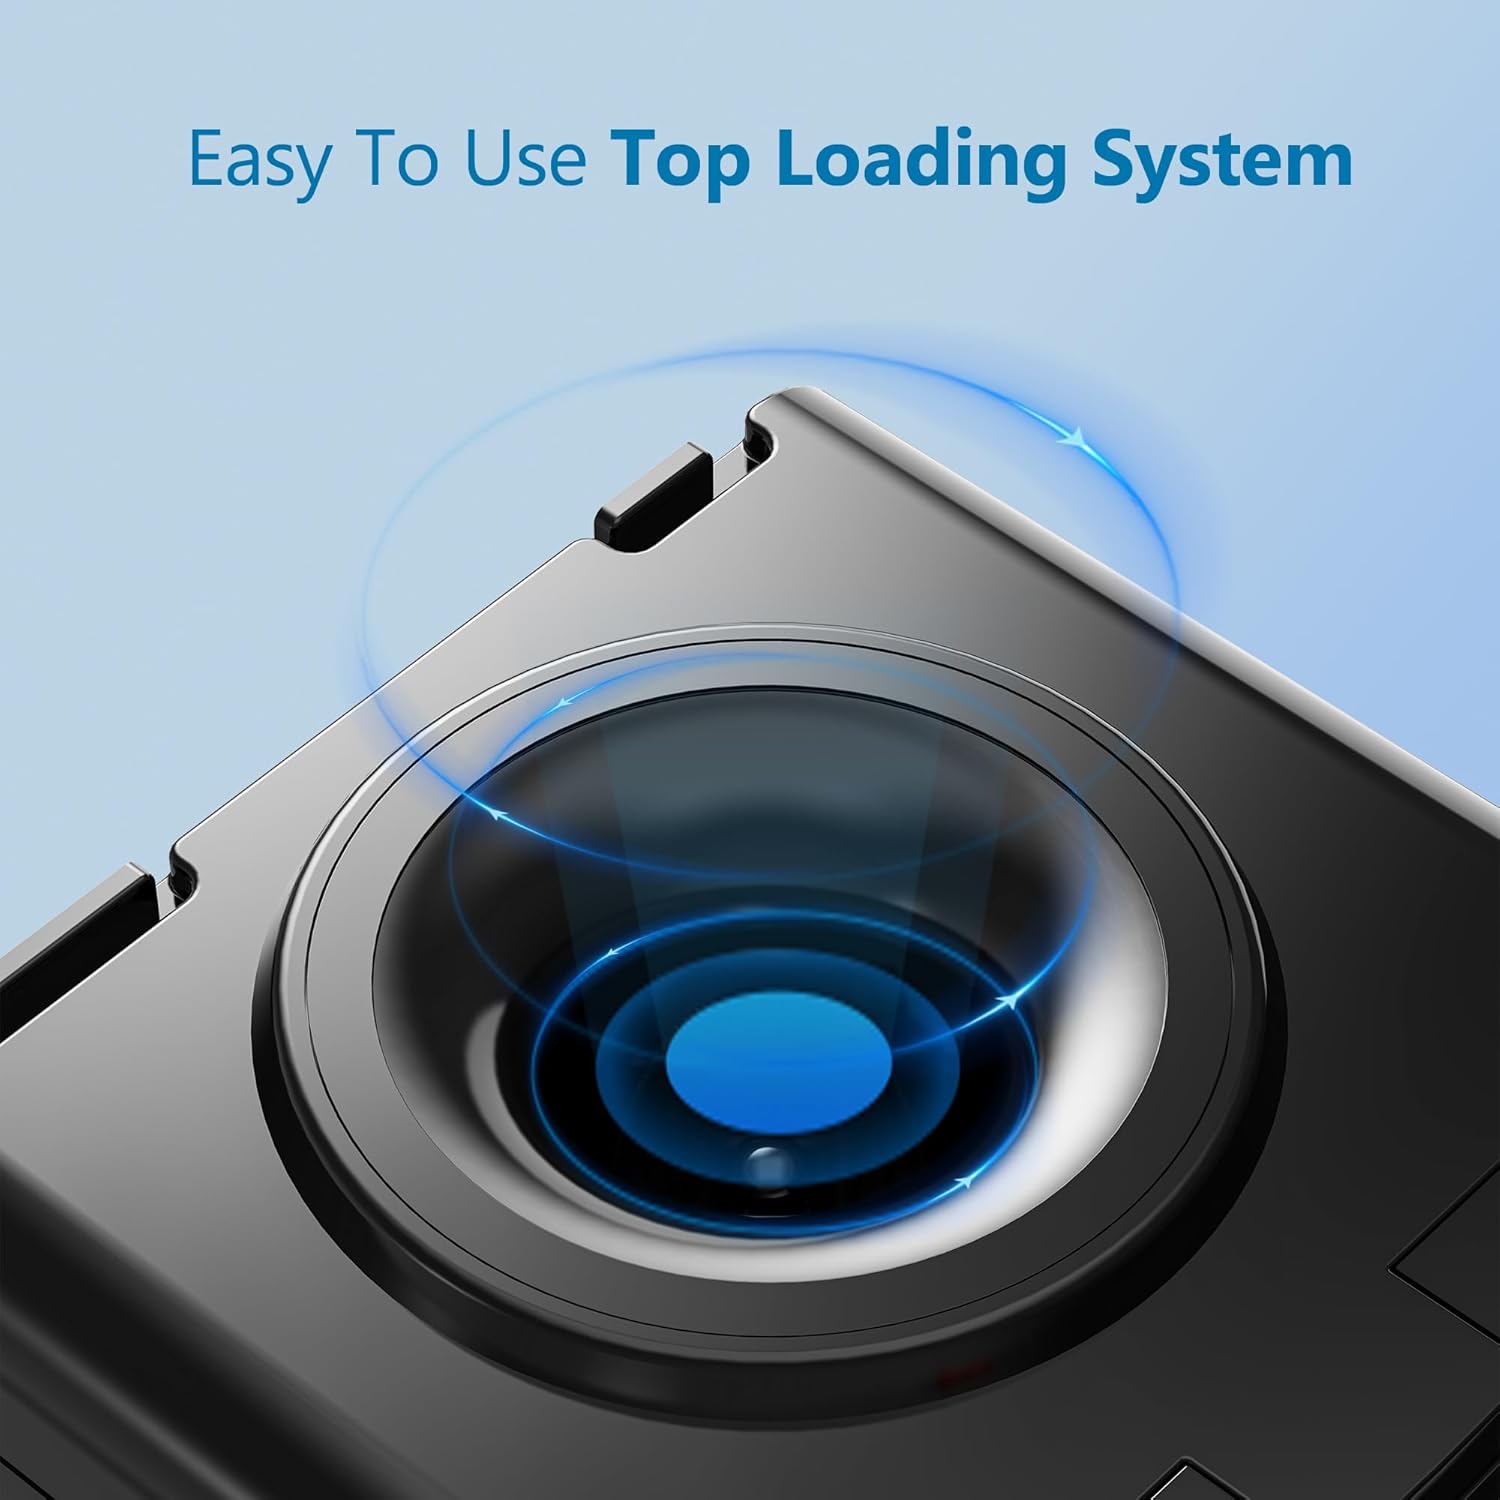
A detailed view of the top loading system, highlighting the simple mechanism for placing water bottles.

Illustration showing the dispenser's capability to provide both hot and cold water, with distinct icons for each.

A close-up of the hot water button, clearly showing the integrated child safety lock mechanism.
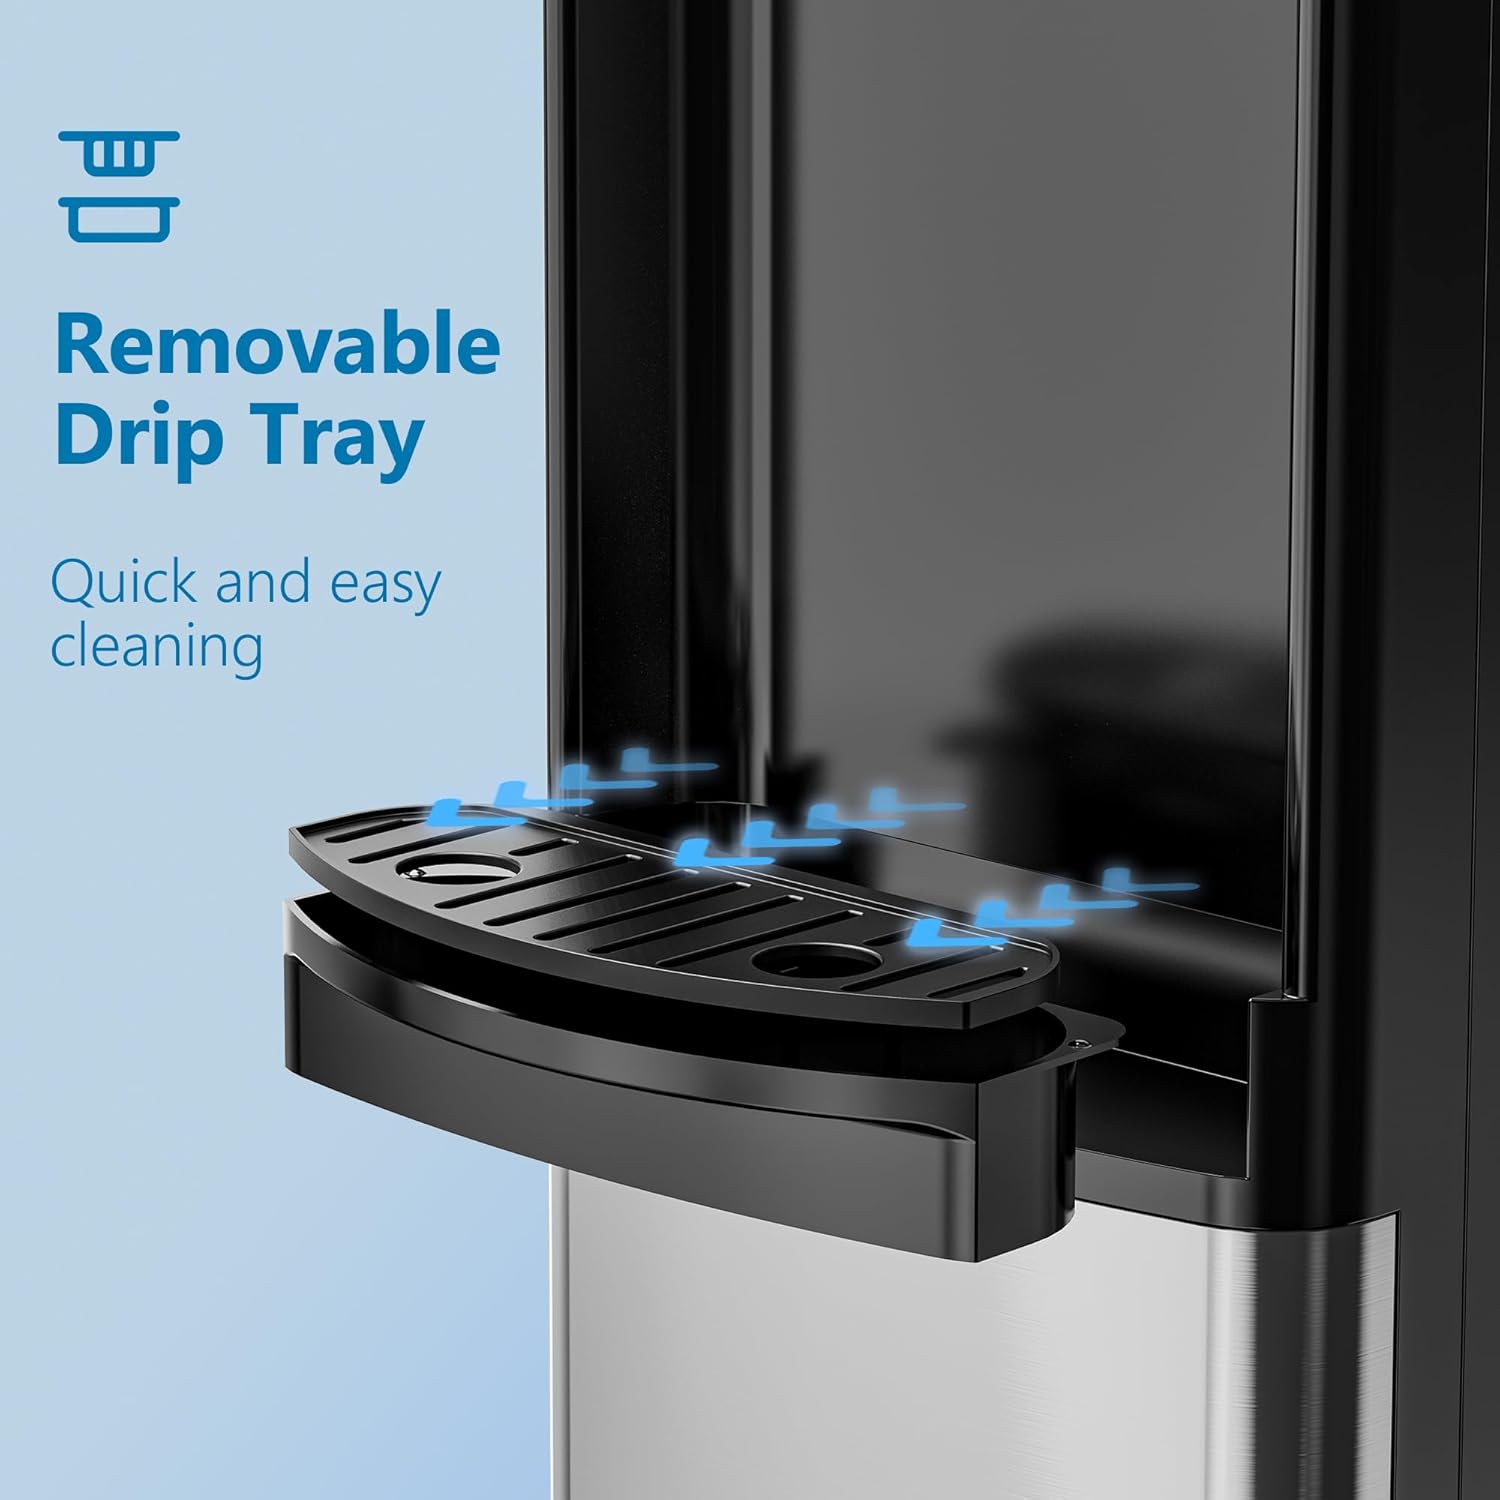
View of the removable drip tray located beneath the spouts, designed for quick and easy cleaning.

Diagram illustrating the overall dimensions of the water dispenser: 36.6 inches in height, 11.4 inches in depth, and 11 inches in width.
Setup and Installation
- Unpacking: Carefully remove the dispenser from its packaging. Inspect for any damage.
- Placement: Place the dispenser on a hard, level surface. Ensure there is at least 4 inches of clearance from the wall for proper ventilation. Do not place it in direct sunlight or near heat-generating appliances.
- Initial Cleaning: Before first use, clean the water tank and spouts. You can run a few cups of water through both the hot and cold spouts to flush out any dust or residue from manufacturing.
- Install Water Bottle: Remove the cap from a 3 or 5 gallon water bottle. Carefully lift the bottle and invert it, placing it onto the top loading receptacle of the dispenser. Ensure the bottle is seated firmly.
- Power Connection: Plug the power cord into a grounded 110-120V AC outlet.
- Initial Fill: Allow approximately 15-20 minutes for the internal tanks to fill and for the water to reach the desired hot and cold temperatures. The indicator lights will show when heating/cooling is active.
Operation
Dispensing Cold Water
- Place a cup under the cold water spout.
- Press the cold water dispensing button.
- Release the button when the desired amount of water is dispensed.
Dispensing Hot Water
- Place a heat-resistant cup under the hot water spout.
- To activate the child safety lock, push the red safety button inward and hold it.
- While holding the safety button, press the hot water dispensing button.
- Release both buttons when the desired amount of hot water is dispensed.
- Always ensure the child safety lock springs back to its original position after use.
Care and Maintenance
Regular Cleaning
- Drip Tray: The drip tray is removable for easy cleaning. Empty and wash the tray and grid regularly with mild soap and water.
- Exterior: Wipe the exterior of the dispenser with a soft, damp cloth. Do not use abrasive cleaners or solvents.
Deep Cleaning / Descaling (Every 3-6 Months)
- Unplug the dispenser from the power outlet and remove the water bottle.
- Drain all water from both hot and cold tanks by dispensing from the spouts until no more water comes out.
- Prepare a cleaning solution: Mix 1 gallon of clean water with 2 tablespoons of white vinegar or a food-grade descaling solution.
- Pour the cleaning solution into the top reservoir of the dispenser.
- Allow the solution to sit for 15-20 minutes to dissolve mineral deposits.
- Drain the cleaning solution through both hot and cold spouts until the tanks are empty.
- Rinse the dispenser thoroughly by filling the reservoir with clean water and draining it through the spouts. Repeat this step 2-3 times to ensure all cleaning solution is removed.
- Replace the water bottle and plug the dispenser back in. Allow it to reach temperature before use.
Troubleshooting
| Problem | Possible Cause | Solution |
|---|---|---|
| No water dispensing | Water bottle empty or not properly seated. Airlock in the system. | Replace water bottle. Remove and re-seat bottle. Dispense from both spouts to release air. |
| Water not hot/cold enough | Dispenser not plugged in. Heating/cooling switch off. Insufficient time to reach temperature. | Ensure dispenser is plugged in. Check if heating/cooling switches are on (if applicable). Allow 15-20 minutes after plugging in. |
| Leaking from dispenser | Water bottle cracked or seal damaged. Drip tray overflowing. | Inspect water bottle for cracks; replace if necessary. Empty and clean drip tray. |
| Unusual noise | Compressor noise (normal). Dispenser not level. | Ensure dispenser is on a level surface. Compressor noise is normal during operation. |
Product Specifications
| Feature | Specification |
|---|---|
| Brand | EUHOMY |
| Model | Top Loading |
| Color | Black |
| Material | Plastic |
| Capacity | Fits 3 or 5 Gallon Bottles |
| Product Dimensions (D x W x H) | 12"D x 13"W x 36"H |
Warranty and Customer Support
Euhomy provides a one-year warranty for this product. If you encounter any issues or have questions regarding your Euhomy Top Loading Water Dispenser, please contact our customer service team.
For assistance, please refer to the contact information provided on the product packaging or the official Euhomy website. Our team is committed to providing excellent customer service and support.


