
1. Product Overview
The BLACK+DECKER BEM2200-IN is a heavy-duty corded electric chop saw designed for efficient and precise cutting of various metal materials. This powerful tool features a 2200W motor and a no-load speed of 4200 RPM, accommodating a 14-inch (355mm) abrasive wheel (not included). Its robust design and ergonomic features ensure reliable performance for demanding cutting tasks.
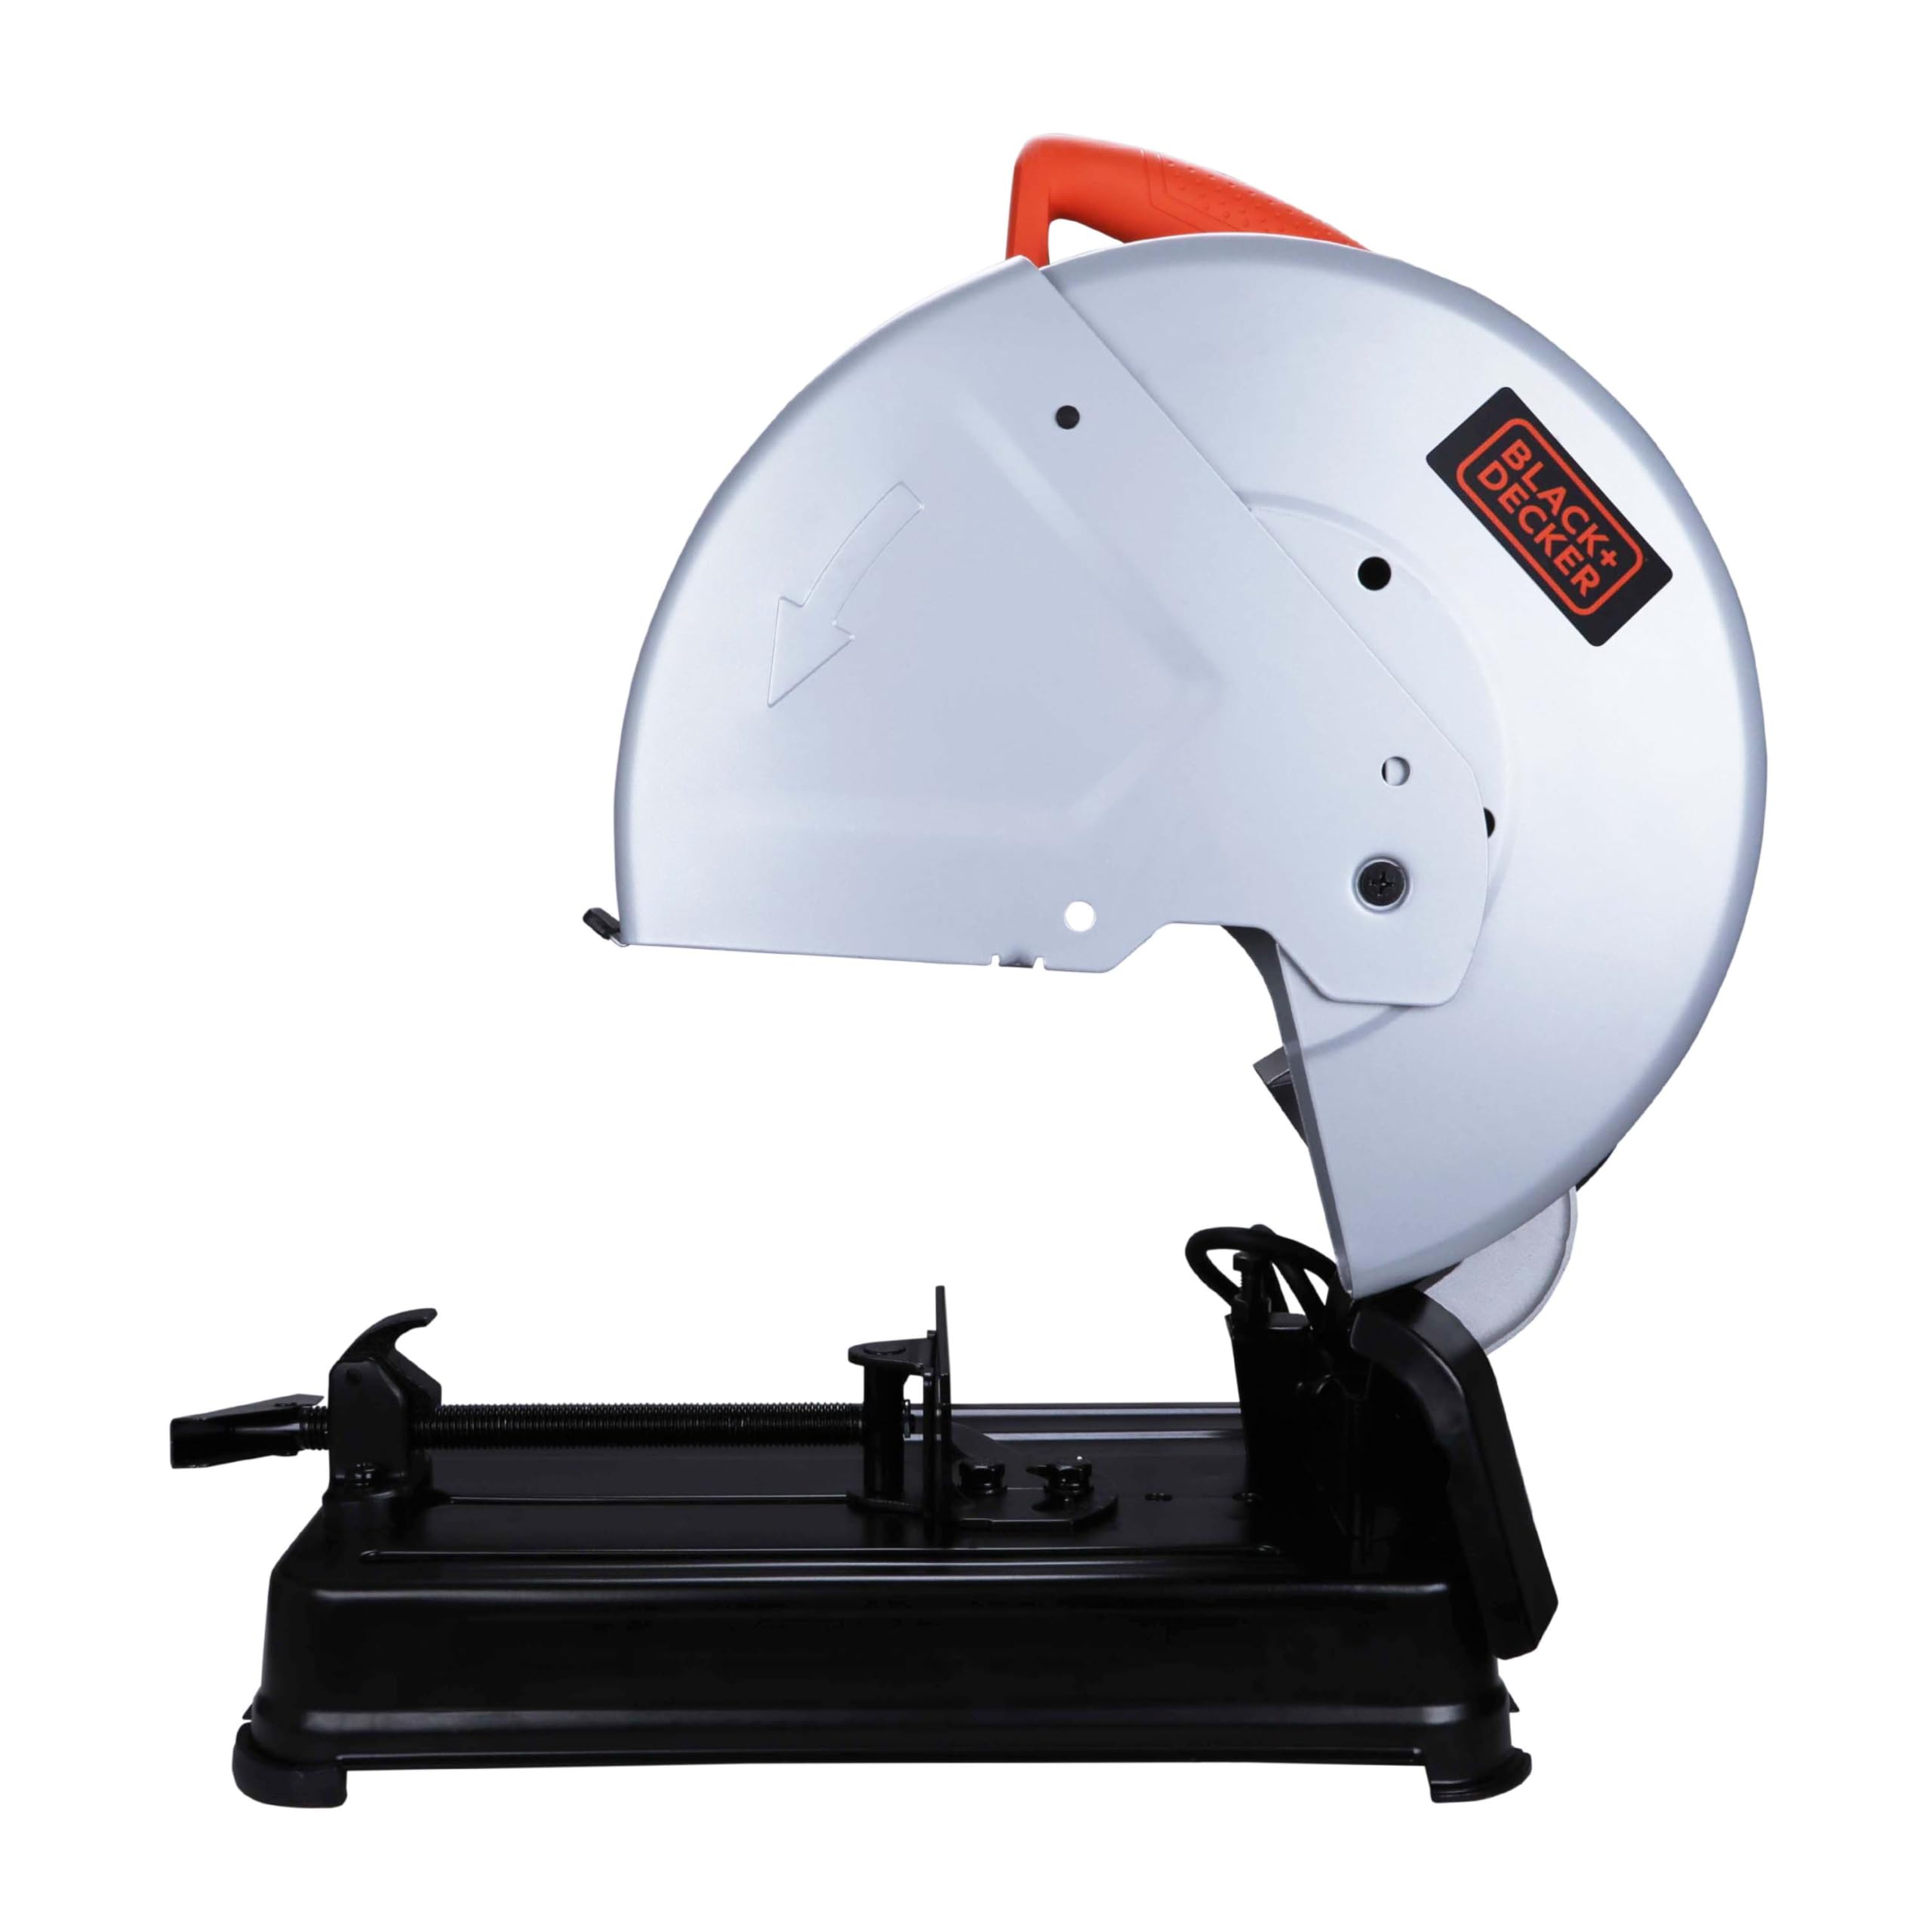
Image 1.1: The BLACK+DECKER BEM2200-IN Heavy Duty Corded Electric Chop Saw, showcasing its robust design.
2. Key Features
- Powerful Motor: Equipped with a 2200 Watt motor for demanding cutting applications.
- High Speed: Achieves a no-load speed of 4200 RPM for fast and efficient cutting.
- Large Wheel Capacity: Designed for 14-inch (355mm) diameter abrasive wheels.
- Continuous Operation: Features a lock-on button for extended use.
- Ergonomic Design: Includes an ergonomic handle for comfortable operation.
- Spindle Lock: Facilitates quick and easy abrasive wheel changes.
- Portable: Reduced tool weight and optimized base design for easier transport.

Image 2.1: Visual representation of key specifications including frequency, voltage, power, no-load speed, and maximum blade diameter.
3. Components Identification
Familiarize yourself with the various parts of your chop saw before operation.

Image 3.1: Detailed diagram showing the main components of the chop saw.
- Padlock Hole: For securing the tool when not in use.
- Spindle Lock: Immobilizes the spindle for blade changes.
- Guard: Protects the user from the rotating blade.
- Trigger Switch with Lock On: Activates the motor and allows for continuous operation.
- Depth Stop Bolt and Jam Nut: Controls the cutting depth.
- Vise: Secures the workpiece during cutting.
- Vise Level: Adjusts the vise for different material sizes.
- Lock Pin: Prevents accidental activation.
- Fence: Provides a stable reference surface for accurate cuts.
- Base: Provides stability for the entire unit.
- Polygonal Wrench: Tool for maintenance and adjustments.
4. Technical Specifications
| Specification | Value |
|---|---|
| Rated Input Power | 2200 Watts |
| No Load Speed | 4200 RPM |
| Wheel Diameter | 355 mm (14 inch) |
| Voltage | 220 Volts |
| Frequency | 50/60 Hz |
| Item Weight | 14.7 Kilograms |
| Blade Material | High Speed Steel (for recommended blades) |
| Surface Recommendation | Metal |
| Power Source | Corded Electric |
| Product Dimensions | 43L x 3W x 14H Centimeters |
| Cutting Angle | 45 Degrees (adjustable) |
| Included Components | Chop Saw (Abrasive wheel not included) |
5. Safety Instructions
Always follow basic safety precautions to reduce the risk of fire, electric shock, and personal injury when operating power tools.
- Read the Manual: Understand all instructions and warnings before use.
- Wear Eye Protection: Always wear safety goggles or glasses with side shields.
- Wear Hearing Protection: Use earplugs or earmuffs during operation.
- Wear Respiratory Protection: Use a dust mask, especially when cutting materials that produce fine dust.
- Secure Workpiece: Always clamp the workpiece firmly with the vise before cutting.
- Maintain Clear Work Area: Keep the work area clean and well-lit. Cluttered areas invite accidents.
- Avoid Dangerous Environments: Do not use power tools in damp or wet locations, or expose them to rain.
- Keep Children Away: Do not let children or untrained persons operate the tool.
- Inspect Tool: Before each use, check for damaged parts, misalignment, or any condition that may affect operation.
- Use Correct Blade: Only use abrasive wheels designed for the chop saw and the material being cut. Ensure the wheel is rated for the tool's RPM.
- Disconnect Power: Always disconnect the power cord before making any adjustments, changing accessories, or performing maintenance.
6. Setup
6.1 Unpacking
Carefully remove the chop saw and all accessories from the packaging. Inspect for any damage that may have occurred during shipping. Retain packaging for future transport or storage.
6.2 Blade Installation
- Ensure the tool is unplugged from the power source.
- Lift the blade guard to expose the spindle.
- Press and hold the spindle lock button to immobilize the spindle.
- Using the polygonal wrench, loosen and remove the blade retaining nut and outer flange.
- Place the new 14-inch (355mm) abrasive cutting wheel onto the spindle, ensuring it is correctly seated against the inner flange. Note: The abrasive wheel is NOT included with the chop saw and must be purchased separately.
- Reinstall the outer flange and blade retaining nut. Tighten securely with the polygonal wrench while holding the spindle lock.
- Lower the blade guard.

Image 6.1: Close-up view of the spindle lock mechanism, used for securing the blade during installation or removal.
6.3 Workpiece Clamping
Properly securing the workpiece is critical for safety and accurate cuts.
- Place the material to be cut on the base against the fence.
- Adjust the vise level to bring the vise jaw close to the workpiece.
- Tighten the vise securely using the vise handle to prevent any movement during cutting.
- Ensure the cutting line is clear and the blade will not contact the vise or fence.

Image 6.2: Close-up of the vise and fence system, demonstrating how to secure a workpiece for cutting.
7. Operation
7.1 Starting and Stopping the Saw
- To start the saw, depress the trigger switch.
- For continuous operation, press the lock-on button while the trigger is depressed. Release the trigger, then release the lock-on button.
- To stop the saw from continuous operation, depress the trigger switch fully and then release it.
- To stop the saw during momentary operation, simply release the trigger switch.

Image 7.1: Detailed view of the handle, showing the lock-on button, trigger switch, and padlock hole for security.
7.2 Cutting Procedure
- Ensure the workpiece is securely clamped and the cutting line is marked.
- Stand to the side of the cutting path, clear of the blade.
- Start the saw and allow the blade to reach full speed before engaging the workpiece.
- Slowly and steadily lower the cutting arm, allowing the blade to cut through the material. Do not force the cut.
- Once the cut is complete, allow the blade to stop rotating completely before raising the cutting arm.
- Release the workpiece from the vise.

Image 7.2: The chop saw actively cutting a metal workpiece, demonstrating its intended use.
8. Maintenance
Regular maintenance ensures optimal performance and extends the life of your chop saw.
- Cleaning: After each use, disconnect the power and clean the tool with a dry cloth. Remove any metal shavings or dust from the motor vents and blade guard.
- Blade Inspection: Regularly inspect the abrasive wheel for wear, cracks, or damage. Replace worn or damaged wheels immediately.
- Cord Inspection: Check the power cord for any cuts, fraying, or damage. Do not use the tool with a damaged cord.
- Brush Replacement: Carbon brushes may need replacement over time. Refer to a qualified service technician for brush inspection and replacement.
- Storage: Store the chop saw in a dry, secure location out of reach of children.
9. Troubleshooting
Refer to this table for common issues and their solutions.
| Problem | Possible Cause | Solution |
|---|---|---|
| Saw does not start | No power supply; Damaged power cord; Faulty switch | Check power connection; Inspect cord for damage; Contact service for switch replacement. |
| Excessive sparks during cutting | Worn or incorrect abrasive wheel; Forcing the cut | Replace with a new, appropriate abrasive wheel; Reduce cutting pressure. |
| Blade binds or stalls | Workpiece not securely clamped; Incorrect cutting angle; Dull blade | Re-clamp workpiece firmly; Adjust cutting angle; Replace blade. |
| Unusual noise or vibration | Loose components; Damaged blade; Motor issue | Check all fasteners; Replace blade; Contact service for motor inspection. |
10. Warranty and Support
This BLACK+DECKER BEM2200-IN Chop Saw comes with a 1-year warranty provided by the manufacturer from the date of purchase. The warranty covers manufacturing defects and ensures the product is free from defects in material and workmanship under normal use.
For warranty claims, technical assistance, or general inquiries, please contact our customer care team.
Customer Care Contact
- Phone: 1800-203-0644 (Monday - Saturday, 09:00 AM - 06:00 PM IST, except Government Holidays)
- Email: SBD-CUSTOMERCOMMUNICATIONS@SBDINC.COM
- WhatsApp: +91 96060 55835 (Scan the QR code or click the link to contact us)
- Authorized Service Centers: Over 500+ service centers available.

Image 10.1: BLACK+DECKER Total Care information, including contact details for sales, support, and warranty services.


