
Yottamaster DR2RU3
Yottamaster 2-Bay RAID Hard Drive Enclosure User Manual
Model: DR2RU3
1. Introduction
This manual provides comprehensive instructions for the installation, operation, and maintenance of your Yottamaster 2-Bay RAID Hard Drive Enclosure (Model: DR2RU3). This device is designed to offer versatile and reliable data storage solutions, supporting up to 32TB of capacity with RAID 0, RAID 1, and SPAN modes.
The Yottamaster DR series is engineered to expand your data storage possibilities, providing a secure and efficient way to manage your digital assets.

Figure 1: Yottamaster 2-Bay RAID Hard Drive Enclosure. This image shows the sleek, silver aluminum casing of the enclosure, designed for efficient heat dissipation and a modern aesthetic.
2. Key Features
- High-Speed Data Transfer: Supports up to 6Gbps transfer rate and UASP protocol, accelerating data transfer speeds by up to 20%.
- Massive Storage Capacity: Accommodates two 3.5-inch SATA hard drives, supporting a total capacity of up to 32TB (16TB x 2). Ideal for data backup, music libraries, and video/photo editing.
- Multiple RAID Modes: Supports RAID 0 (for ultra-fast speed), RAID 1 (for data security), and SPAN (for mass storage capacity). RAID modes are easily configurable via switches.
- Superior Heat Dissipation: Features an all-aluminum body with front and rear cooling holes, ensuring faster ventilation and efficient heat dissipation to protect your hard drives.
- Wide Compatibility: Designed with a Mac-style aesthetic, it is an ideal storage extension for Mac computers. Also widely compatible with Windows, Mac OS, and Linux systems. Driver-free, hot-swappable, and plug-and-play.
- Stable Power Supply: Equipped with a 12V/4A external power adapter to ensure stable data access and transmission.
- Auto-Sleep Function: Automatically enters sleep mode after 10 minutes of data inactivity, conserving energy and extending the lifespan of your hard drives.
3. Package Contents
Please verify that all items are present and in good condition upon opening the package. If any items are missing or damaged, please contact Yottamaster customer support.
- Yottamaster 2-Bay RAID Hard Drive Enclosure (DR2RU3)
- 12V/4A Power Adapter
- USB 3.0 Type-B to Type-A Data Cable
- Screws and Screwdriver (if applicable for drive installation)
- User Manual
4. Setup Guide
4.1 Installing Hard Drives
- Ensure the enclosure is powered off and disconnected from your computer.
- Gently slide open the enclosure cover or access the drive bays.
- Insert your 3.5-inch SATA hard drives into the designated bays. Ensure they are securely seated.
- Close the enclosure cover.

Figure 2: Hard Drive Installation. This image illustrates the process of inserting a 3.5-inch SATA hard drive into one of the two bays of the enclosure. Note the internal structure designed to hold the drives securely. For more information on compatible drives, you may visit Western Digital Red drives.
4.2 Configuring RAID Modes
The Yottamaster DR2RU3 supports RAID 0, RAID 1, and SPAN modes. The RAID mode is set using switches located at the rear of the enclosure.
- Locate the RAID mode switches on the rear panel of the enclosure.
- Refer to the diagram below and set the switches according to your desired RAID configuration.
- After setting the switches, press the RESET button (usually a small pinhole button) to apply the new RAID configuration. This action will erase all data on the drives, so ensure you have backed up any important information before proceeding.

Figure 3: Rear Panel and RAID Switches. This image displays the rear of the enclosure, highlighting the cooling vents and the small red switches used for RAID configuration. A reset button is typically located near these switches.
| RAID Mode | Switch 1 | Switch 2 | Description |
|---|---|---|---|
| RAID 0 | ON | ON | Striping: Combines drives for maximum speed and capacity. No data redundancy. |
| RAID 1 | ON | OFF | Mirroring: Duplicates data across drives for redundancy. Capacity is limited to the smallest drive. |
| SPAN (JBOD) | OFF | ON | Concatenation: Combines drives into a single large volume. No data redundancy or speed benefits. |
| PM (Individual) | OFF | OFF | Port Multiplier: Each drive is recognized as a separate volume. |
Important: Changing RAID modes will erase all data on the hard drives. Always back up your data before reconfiguring RAID settings.
4.3 Connecting to Computer
- Connect the 12V/4A power adapter to the enclosure's power input and then to a power outlet.
- Connect the USB 3.0 data cable from the enclosure's USB 3.0 Type-B port to an available USB 3.0 (or higher) port on your computer.
- Power on the enclosure. Your operating system should detect the new storage device.
- For new hard drives, you may need to initialize and format them through your operating system's Disk Management (Windows) or Disk Utility (macOS) before use.

Figure 4: External Power Supply Connection. This image shows the enclosure connected to its 12V/4A external power adapter, emphasizing the stable 48W power delivery.
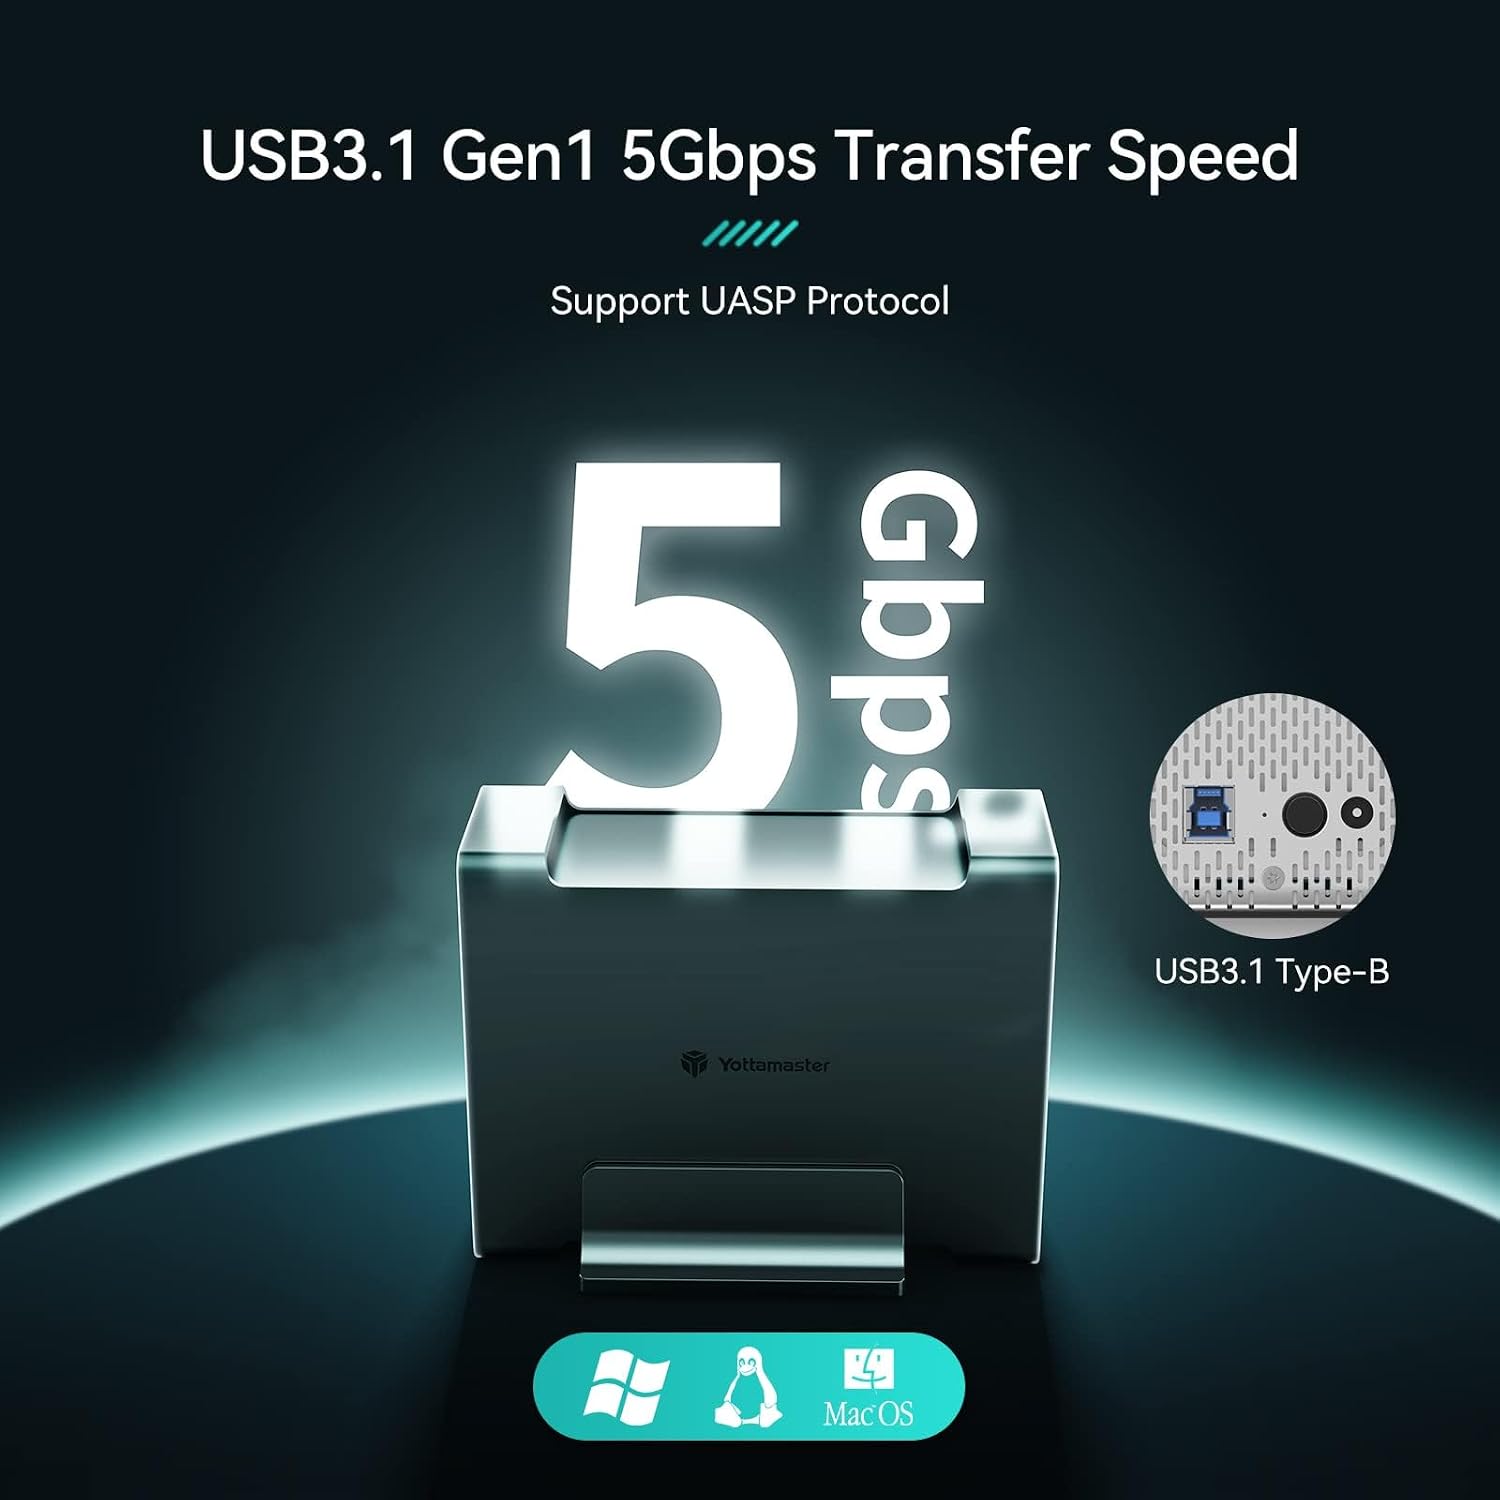
Figure 5: USB 3.1 Gen1 Connectivity. This image highlights the USB 3.1 Gen1 Type-B port on the enclosure, capable of 5Gbps transfer speeds and supporting UASP protocol for enhanced performance. It also indicates compatibility with Windows, macOS, and Linux operating systems.
5. Operation
5.1 Understanding RAID Modes
The Yottamaster enclosure offers flexible RAID configurations to suit various needs:
- RAID 0 (Striping): Combines the capacity of both drives into a single volume, distributing data across them. This mode offers the highest read/write speeds but provides no data redundancy. If one drive fails, all data is lost.
- RAID 1 (Mirroring): Creates an exact copy of data on both drives. This provides excellent data redundancy; if one drive fails, your data is still safe on the other. The usable capacity is limited to that of a single drive.
- SPAN (Concatenation/JBOD): Joins the drives sequentially to form one large volume. Data is written to the first drive until it's full, then to the second. This mode maximizes capacity but offers no performance benefits or data redundancy.
- PM (Port Multiplier/Individual): Each drive is recognized as a separate, independent volume by the operating system.

Figure 6: RAID Mode Comparison. This diagram visually compares RAID 0, RAID 1, and SPAN modes in terms of storage capacity, data security, and speed, helping users choose the appropriate configuration for their needs.
5.2 Auto-Sleep Function
The enclosure is equipped with an intelligent auto-sleep function to conserve energy and prolong the lifespan of your hard drives. If there is no data exchange or activity for 10 minutes, the hard drives will automatically enter sleep mode. The drives will wake up automatically when data access is initiated.

Figure 7: Auto-Sleep Function. This image illustrates the 10-minute inactivity timer that triggers the auto-sleep mode, designed to save power and extend HDD life.
6. Maintenance
- Cleaning: Use a soft, dry cloth to clean the exterior of the enclosure. Do not use liquid cleaners or aerosols.
- Ventilation: Ensure the cooling vents on the front and rear of the enclosure are not obstructed to maintain optimal heat dissipation.
- Safe Removal: Always safely eject or unmount the storage device from your operating system before disconnecting the USB cable or powering off the enclosure to prevent data corruption.
- Firmware Updates: Periodically check the Yottamaster official website for any available firmware updates for your model to ensure optimal performance and compatibility.
7. Troubleshooting
| Problem | Possible Cause | Solution |
|---|---|---|
| Enclosure not detected by computer. | Loose cable connection, insufficient power, driver issue, uninitialized drives. |
|
| Slow data transfer speeds. | Using USB 2.0 port, UASP not enabled, drive fragmentation, drive health. |
|
| RAID configuration not working as expected. | Incorrect switch settings, reset button not pressed. |
|
| Drives frequently go to sleep. | Auto-sleep function is active. | This is normal behavior. The enclosure is designed to enter sleep mode after 10 minutes of inactivity to save energy and extend drive life. There is no option to disable this feature. |
If you encounter issues not listed here or if the suggested solutions do not resolve your problem, please contact Yottamaster customer support for further assistance.
8. Specifications
| Feature | Detail |
|---|---|
| Model Number | DR2RU3 |
| Brand | Yottamaster |
| Material | Aluminum Alloy |
| Supported Drives | 2 x 3.5-inch SATA HDDs |
| Max Capacity | Up to 32TB (16TB per drive) |
| RAID Modes | RAID 0, RAID 1, SPAN (JBOD), PM (Individual) |
| Interface | USB 3.0 (USB 3.1 Gen1 Type-B) |
| Transfer Rate | Up to 5Gbps (USB 3.1 Gen1), supports UASP |
| Power Supply | External 12V/4A Power Adapter |
| Auto-Sleep | Yes, after 10 minutes of inactivity |
| Compatibility | Windows, Mac OS, Linux |
| Dimensions (Approx.) | 18.5cm (L) x 7.5cm (W) x 14.3cm (H) - Refer to Figure 8 |

Figure 8: Product Dimensions. This image shows the enclosure alongside a Mac computer setup, with approximate dimensions (18.5cm L x 7.5cm W x 14.3cm H) indicated.
9. Warranty and Support
9.1 Warranty Information
Yottamaster products typically come with a limited warranty. For specific warranty terms and conditions, including duration and coverage, please refer to the warranty card included with your product or visit the official Yottamaster website. Keep your proof of purchase for warranty claims.
9.2 Customer Support
If you have any questions, require technical assistance, or need to report an issue with your Yottamaster 2-Bay RAID Hard Drive Enclosure, please contact Yottamaster customer support through their official website. You can usually find contact information, FAQs, and driver/firmware downloads on their support page.
Website: www.yottamaster.com (Note: This is a placeholder URL, please refer to the actual manufacturer's website for accurate support information.)
Related documentsDR2RU3


Ask a question about this manual
Ask about setup, troubleshooting, compatibility, parts, safety, or missing instructions. Manuals+ will review the question and use this page’s manual context to help answer it.