
1. Introduction
The Creality Nebula Camera is designed to enhance your 3D printing experience by providing real-time monitoring, time-lapse recording, and anomaly detection capabilities. This camera features night vision for 24-hour surveillance and manual focus for clear image quality. It connects easily via USB to compatible Creality devices, allowing for seamless integration into your printing workflow.

Image 1.1: The Creality Nebula Camera and its retail packaging, showcasing the compact design and branding.
2. Compatible Devices
The Nebula Camera is compatible with the following Creality 3D printing devices:
- Creality Sonic Pad
- Creality Nebula Pad
- Ender-3 V3 KE
- CR-10 SE
- HALOT-MAGE Pro Printer

Image 2.1: Visual representation of the Creality Nebula Camera's compatibility with various Creality 3D printers and control pads.
3. Setup and Installation
The Nebula Camera is designed for easy plug-and-play setup. Follow these steps to install your camera:
- Unpack Components: Carefully remove the Nebula Camera, its integrated USB cable, and the included tripod from the packaging.
- Attach Tripod (Optional): If desired, screw the camera onto the provided mini tripod for stable placement. The camera also features a standard mounting point for other compatible accessories.
- Position the Camera: Place the camera in a location that provides a clear view of your 3D printer's build plate and the printing process. Ensure it is stable and will not interfere with printer movement.
- Connect to 3D Printer: Plug the integrated USB cable of the Nebula Camera into an available USB port on your compatible Creality 3D printer (e.g., Ender-3 V3 KE) or control pad (e.g., Sonic Pad, Nebula Pad).
- Power On: Ensure your 3D printer or control pad is powered on. The camera should be automatically detected.
- Software Recognition: Access the camera feed through the Creality app or the interface of your compatible control pad.
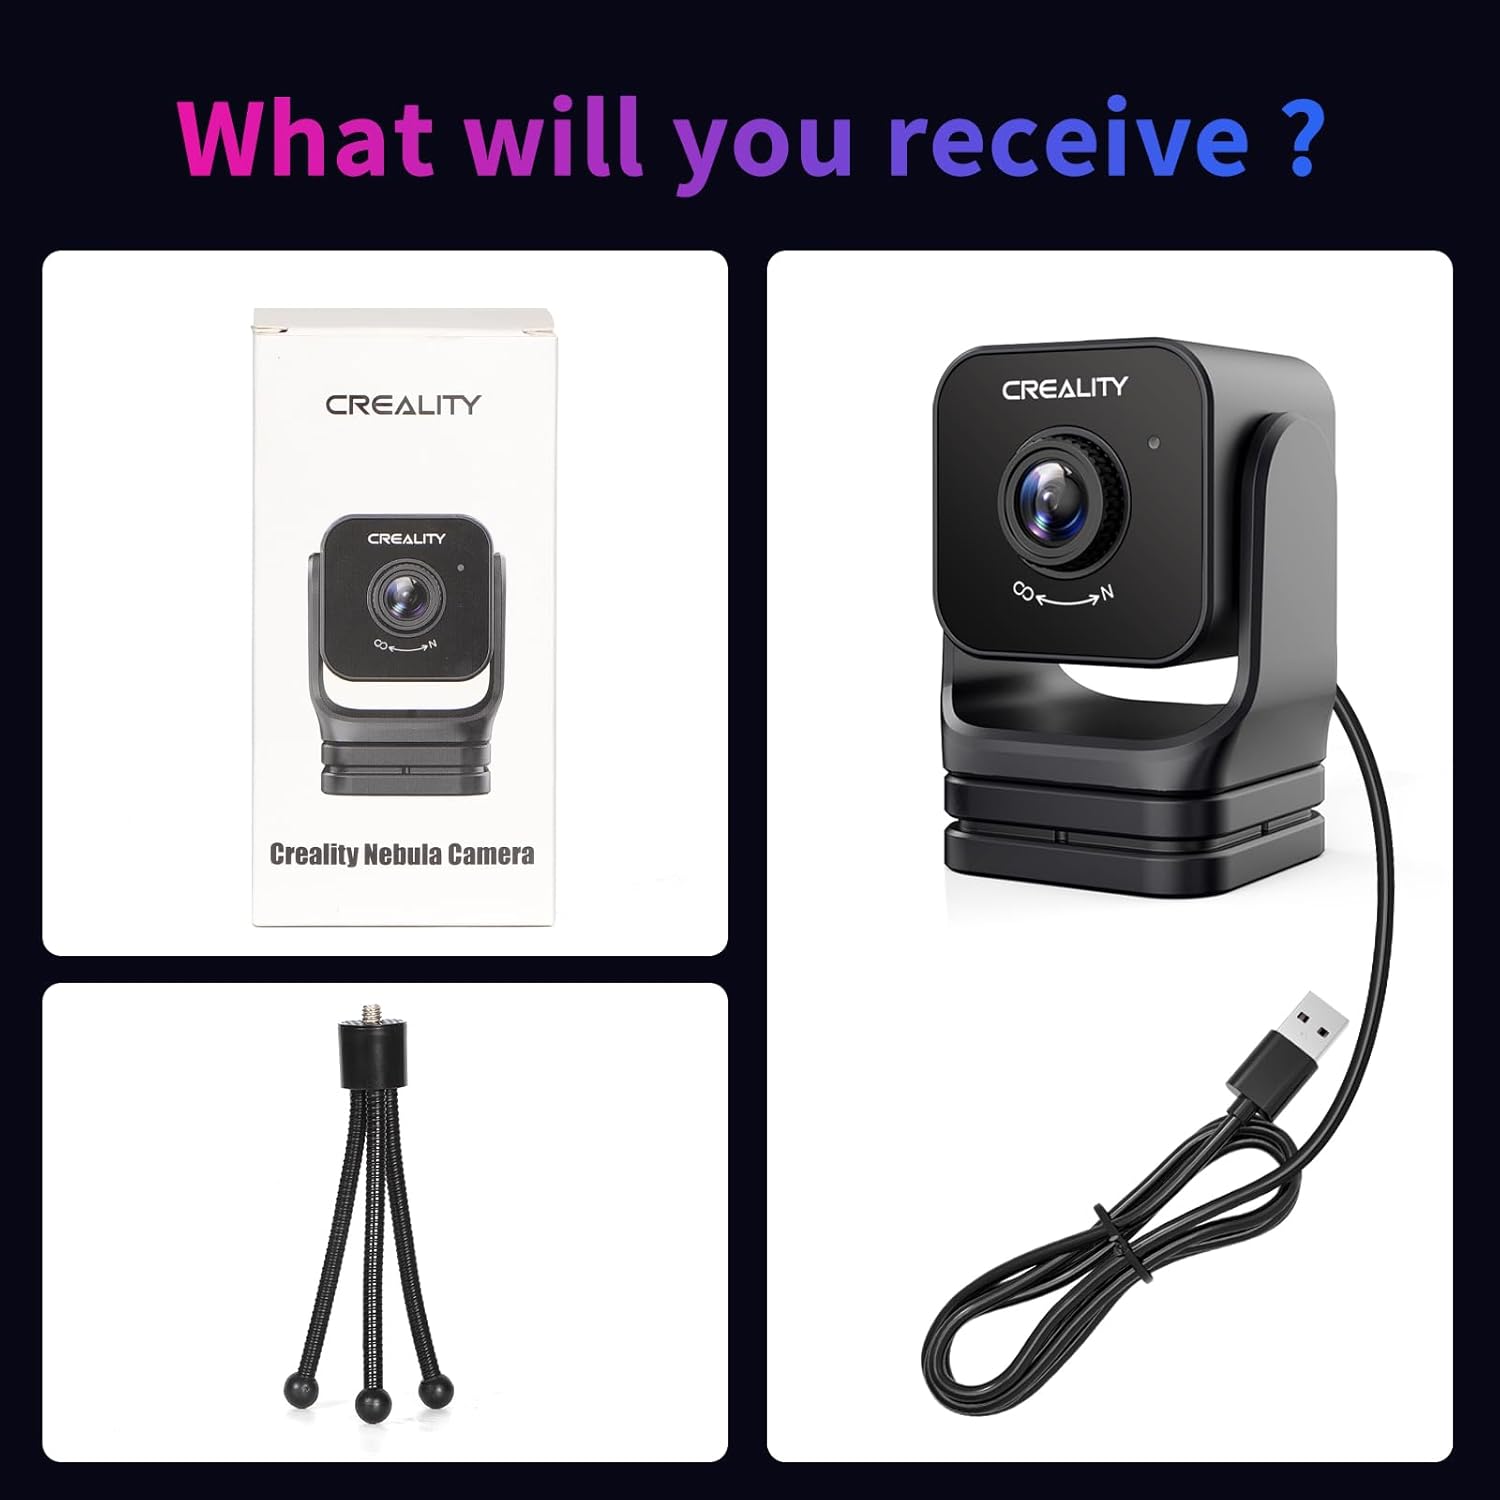
Image 3.1: The components included with the Nebula Camera: the camera unit with its attached USB cable, and a flexible mini tripod for versatile positioning.
4. Operating Instructions
4.1 Real-time Monitoring
Once connected, you can monitor your 3D prints in real-time. The camera provides a 1920x1080 resolution feed, accessible via the Creality app on your smartphone or tablet, or directly through compatible Creality control pads. This allows you to observe the printing process from anywhere, ensuring smooth operation.

Image 4.1: Examples of remote monitoring interfaces on a laptop and a smartphone, displaying the live camera feed of a 3D printer.
4.2 Night Vision Function
The Nebula Camera is equipped with a night vision function that automatically switches on in low-light conditions. This feature utilizes a built-in 940nm infrared fill light to provide clear images even in complete darkness, enabling 24-hour monitoring of your prints.

Image 4.2: A side-by-side comparison demonstrating the camera's clear visibility during the day and its effective night vision capability in darkness.
4.3 Time-lapse Filming
Capture the entire printing process with the time-lapse filming feature. This allows you to create condensed videos of your prints, ideal for sharing or reviewing the build progression.
4.4 Manual Focus Adjustment
The camera features an adjustable-focus lens. To achieve optimal image clarity, manually rotate the lens to adjust the focal length until the image appears sharp on your monitoring device.

Image 4.3: A detailed view of the Nebula Camera's lens, highlighting the manual focus ring for precise image adjustment.
5. Maintenance and Care
- Cleaning: Use a soft, dry cloth to gently wipe the camera lens and body. Avoid abrasive cleaners or solvents.
- Storage: When not in use, store the camera in a cool, dry place away from direct sunlight and extreme temperatures.
- Cable Care: Do not pull on the integrated USB cable forcefully. Handle it with care to prevent damage.
6. Troubleshooting
- No Image/Connection: Ensure the USB cable is securely plugged into both the camera and the compatible 3D printer/control pad. Restart the connected device. Verify that the camera is enabled in the Creality app or control pad settings.
- Blurry Image: Manually adjust the focus ring on the camera lens until the image is clear. Ensure the camera lens is clean and free from dust or smudges.
- Night Vision Issues: Confirm that the night vision feature is enabled in your monitoring software if it's not activating automatically. Ensure no obstructions are blocking the infrared light.
- Intermittent Connection: Check for any loose cable connections. Try using a different USB port if available. Ensure your network connection is stable if monitoring remotely.
7. Specifications
| Product Dimensions | 2.56 x 2.56 x 4.92 inches |
| Item Weight | 5.1 ounces |
| Item Model Number | Creality Nebula Camera |
| Manufacturer | Creality |
| Photo Sensor Technology | CCD or CMOS |
| Video Capture Resolution | 1920*1080 |
| Maximum Aperture | 3 f |
| Video Capture Format | MP4 |
| Supported Audio Format | AAC, MP3 |
| Connectivity Technology | USB |
| Color | Nebula Camera |
8. Warranty and Support
Creality provides a 1-year limited warranty and lifetime technical assistance for the Nebula Camera. For any inquiries or professional assistance, please contact Creality's customer service. A team of over 20 engineers is available 24/7 to provide support.
To contact support, please use the "ask a question" feature on the product's purchase platform or visit the official Creality support website.
