Introduction
This manual provides detailed instructions for the setup, operation, and maintenance of your Blaupunkt WS40WH Weather Station. Please read this manual thoroughly before using the device to ensure proper function and longevity.
Package Contents
Verify that all items are present in the package:
- Blaupunkt WS40WH Weather Station (Main Unit)
- 3 x Wireless External Temperature and Humidity Sensors
- 6 x AA Batteries (for sensors)
- Power Adapter (for main unit)
- User Manual (English)

Image: The main weather station unit displayed alongside its three wireless external sensors.
Product Overview
The Blaupunkt WS40WH Weather Station consists of a main display unit and three wireless external sensors. The main unit features a color LCD display showing indoor and outdoor temperature, humidity, atmospheric pressure, time, date, and moon phases. Buttons on the top allow for easy configuration and control.
Main Unit Features:
- LCD Display: Shows indoor/outdoor temperature and humidity, atmospheric pressure, time, date, day of the week, and moon phases.
- Integrated Air Pressure Sensor: Measures absolute atmospheric pressure.
- Clock and Calendar: 12/24-hour format, calendar with 7 language options for the day.
- Alarm Function: With snooze option.
- Dimmable Screen: Manual or automatic brightness adjustment.
- Battery Status Indicator: For external sensors.
External Sensors:
The three wireless sensors measure external temperature and humidity, transmitting data to the main unit.
Control Buttons:
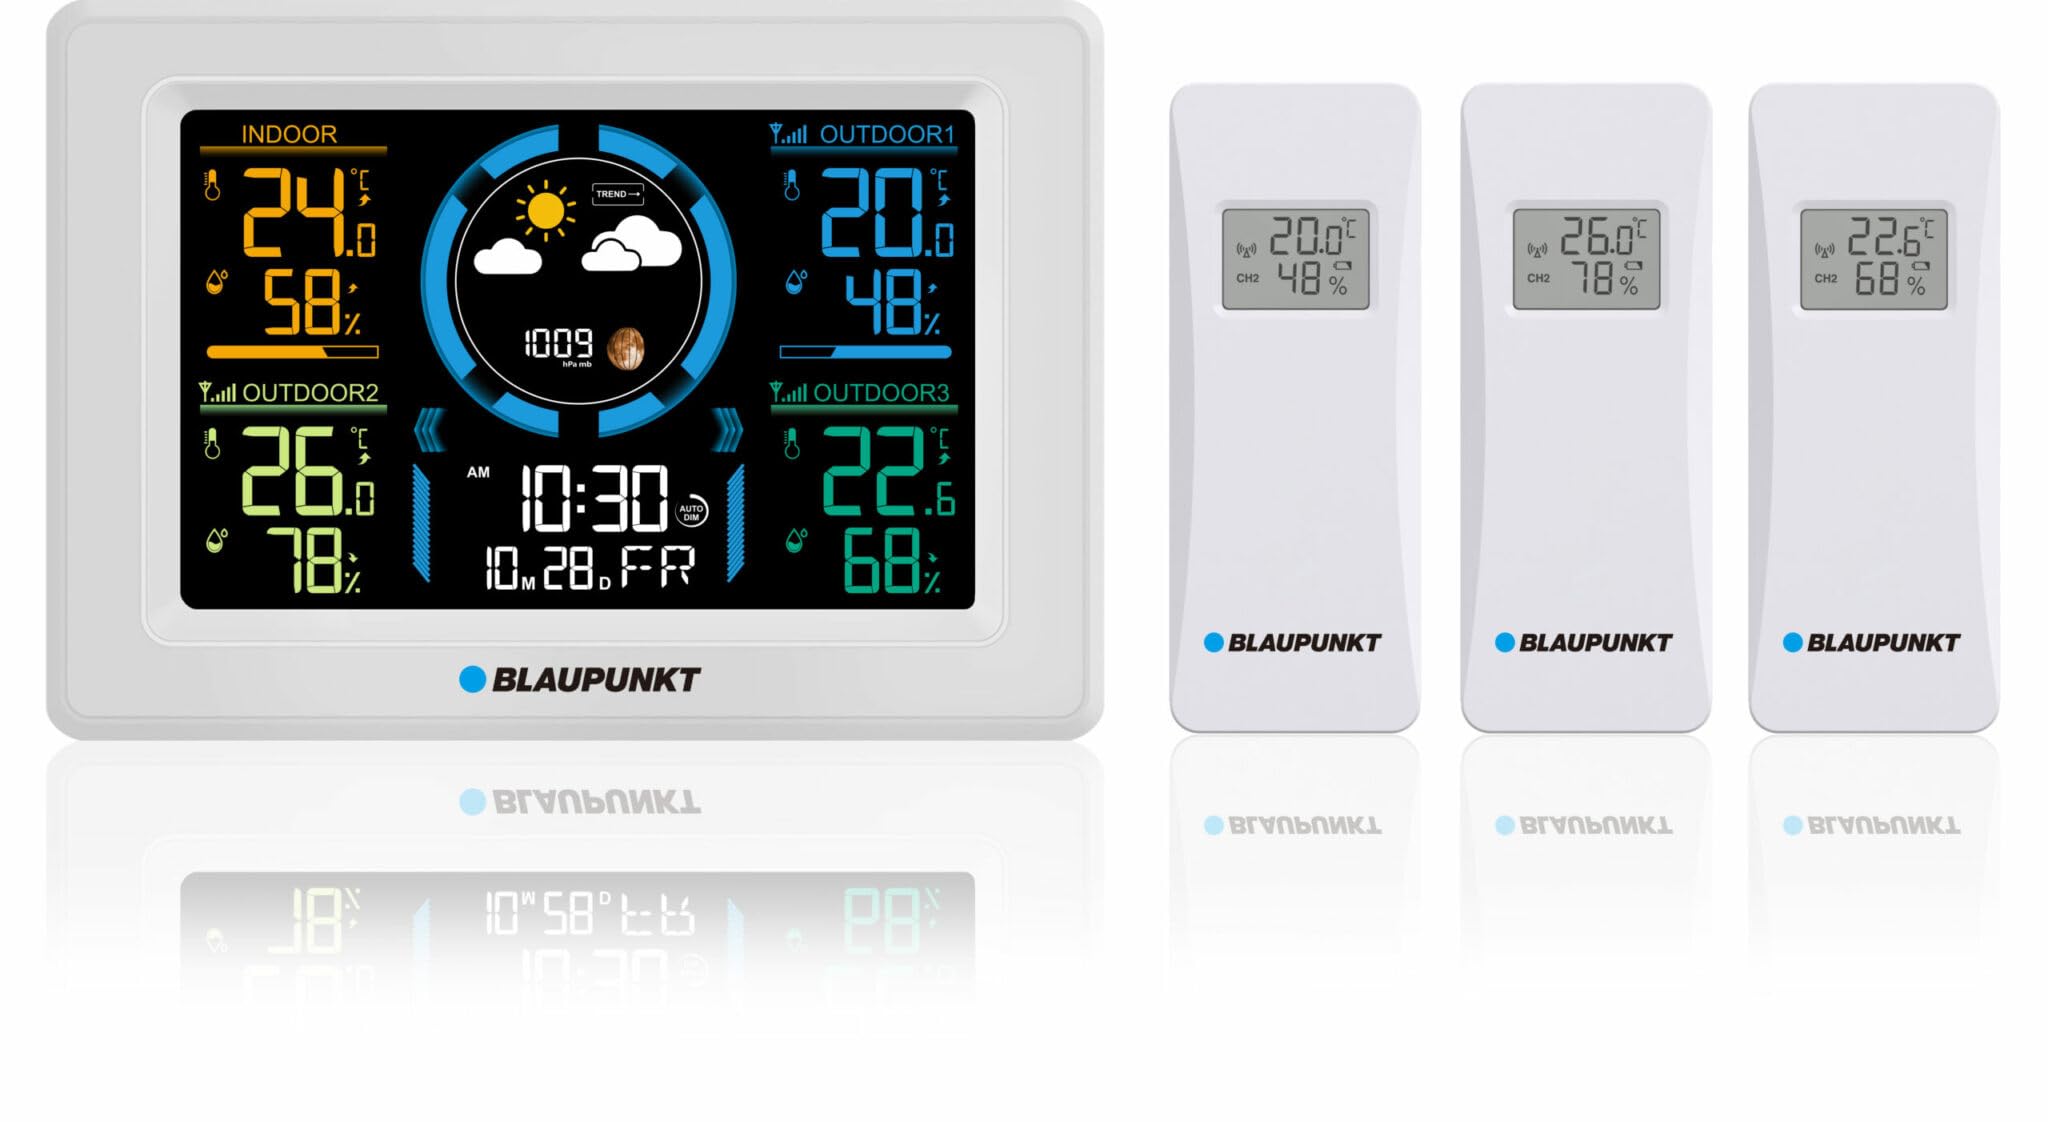
Image: Top view of the main unit, highlighting the control buttons: ALARM, MEM, CH, SNOOZE/LIGHT, +, -, and SET.
- ALARM: Access and set alarm functions.
- MEM: View maximum/minimum temperature and humidity records.
- CH (Channel): Switch between external sensor channels (1, 2, 3).
- SNOOZE/LIGHT: Activate snooze during an alarm or adjust screen backlight.
- +: Increase values during settings or manually adjust screen brightness.
- -: Decrease values during settings or manually adjust screen brightness.
- SET: Enter settings mode for time, date, and other parameters.
Setup Guide
1. Powering the Main Unit
- Connect the provided power adapter to the main unit and plug it into a wall outlet.
- (Optional) For power outage backup, insert 3 x AA batteries (not included) into the battery compartment on the back of the main unit.
2. Installing Batteries in External Sensors
- Open the battery compartment on the back of each wireless external sensor.
- Insert 2 x AA batteries (included) into each sensor, observing the correct polarity (+/-).
- Close the battery compartment securely.
3. Sensor Pairing and Initial Calibration
The main unit will automatically search for and connect to the external sensors once powered on. Ensure sensors are within range during initial setup.
- The station performs an automatic calibration of atmospheric pressure over the first two weeks of operation.
- Manual adjustments for atmospheric pressure are also possible if desired. Refer to the 'Operating Instructions' for details.
4. Sensor Placement
For accurate outdoor readings, place the wireless external sensors in a location that is:
- Sheltered from direct sunlight and precipitation.
- Well-ventilated.
- Within the wireless transmission range of the main unit (typically up to 100 meters in open air, less with obstructions).

Image: The main display unit showing various indoor and outdoor readings, with illustrative placements of external sensors in different environments such as a kitchen, an outdoor patio, and a storage pantry.
Operating Instructions
Setting Time and Date
- Press and hold the SET button to enter time/date setting mode.
- Use the + or - buttons to adjust the flashing value.
- Press SET again to confirm and move to the next setting (e.g., year, month, day, hour, minute, 12/24-hour format, day of week language).
- After setting all parameters, press SET to exit.
Alarm Function
- Press the ALARM button once to view the alarm time.
- Press and hold the ALARM button to enter alarm setting mode.
- Use + or - to adjust the alarm hour and minute.
- Press ALARM to confirm each setting.
- To activate/deactivate the alarm, press ALARM briefly when viewing the alarm time. An alarm icon will appear/disappear on the display.
- When the alarm sounds, press SNOOZE/LIGHT for snooze function (alarm will sound again after a few minutes) or any other button to stop the alarm for 24 hours.
Display Backlight Adjustment
- Press the SNOOZE/LIGHT button to cycle through backlight brightness levels (e.g., High, Medium, Low, Off).
- The display also features an automatic dimming function that adjusts brightness based on your sleep schedule, if configured.
Viewing External Sensor Data
The main unit displays data from all three external sensors simultaneously. If you wish to view data from a specific channel or cycle through them:
- Press the CH button to manually switch between displaying data from individual sensors (CH1, CH2, CH3) or to cycle through them automatically.
Atmospheric Pressure Reading
The station measures absolute atmospheric pressure. Note that this may differ from relative pressure values reported in official weather forecasts, which are often adjusted to sea level. The station's reading reflects the pressure at its specific location.
Moon Phase Display
The LCD display shows the current moon phase, providing additional astronomical information.
Maintenance
Battery Replacement
- The LCD display shows battery status indicators for all external sensors. Replace batteries promptly when the low battery icon appears to ensure continuous data transmission.
- For external sensors, open the battery compartment, remove old AA batteries, and insert new ones, observing correct polarity.
- If using optional backup batteries in the main unit, replace them when the main unit is unplugged and the display fades or resets.
Cleaning
- Wipe the main unit and sensors with a soft, damp cloth. Do not use abrasive cleaners or solvents.
- Ensure no moisture enters the battery compartments or other openings.
Sensor Placement
Regularly check the placement of your external sensors to ensure they remain sheltered from direct weather elements for optimal performance and longevity.
Troubleshooting
No Readings from External Sensors
- Check Batteries: Ensure batteries in the sensors are fresh and inserted with correct polarity.
- Range: Verify that sensors are within the effective wireless range of the main unit. Obstacles like thick walls can reduce range.
- Interference: Move sensors or the main unit away from potential sources of electromagnetic interference (e.g., other wireless devices, large metal objects).
- Re-pair: If issues persist, try removing and re-inserting batteries in both the main unit (if applicable) and sensors to force a re-pairing.
Incorrect Time or Date
- Manually adjust the time and date using the SET button as described in the 'Operating Instructions'.
Display Issues (e.g., blank screen, faded display)
- Power Supply: Ensure the power adapter is securely connected to the main unit and a working power outlet.
- Backup Batteries: If using backup batteries, check their charge level.
- Backlight Setting: Adjust the backlight brightness using the SNOOZE/LIGHT button.
Inaccurate Temperature/Humidity Readings
- Sensor Placement: Ensure external sensors are not in direct sunlight, near heat sources, or in areas with poor ventilation.
- Calibration: Allow the station sufficient time for automatic calibration, especially for atmospheric pressure.
Specifications
| Model: | WS40WH |
| Indoor Temperature Range: | -10 °C to +50 °C (14 °F to 122 °F) |
| Outdoor Temperature Range: | -30 °C to +60 °C (-22 °F to 140 °F) |
| Indoor/Outdoor Humidity Range: | 1% to 99% RH |
| Temperature Accuracy: | ±1 °C (0-50 °C), ±1.5 °C (outside this range) |
| Humidity Accuracy: | ±5% (40-70% RH), ±8% (outside this range) |
| Main Unit Dimensions: | 175 x 31 x 122 mm |
| Main Screen Dimensions: | 128 x 80 mm |
| Sensor Dimensions: | 43 x 22 x 110 mm |
| Sensor Screen Dimensions: | 25 x 17 mm |
| Power Source (Main Unit): | AC Power Adapter (included), 3 x AA batteries (optional backup) |
| Power Source (Sensors): | 2 x AA batteries per sensor (included) |
| Material: | Plastic |
| Display Type: | LCD |
| Special Features: | Integrated air pressure sensor, automatic calibration, dimmable screen, moon phase display |
Warranty and Support
For warranty information and technical support, please refer to the documentation provided with your purchase or contact Blaupunkt customer service. Information regarding spare parts availability is currently not provided.


