
1. Introduction
Thank you for choosing the Ejoyous Mini WiFi Security Camera. This compact and versatile camera is designed for indoor surveillance, offering 1080P HD video recording, night vision, and motion detection capabilities. With its wireless connectivity, you can monitor your space remotely via a smartphone application. This manual provides essential information for setting up, operating, and maintaining your camera to ensure optimal performance.

Image 1.1: Ejoyous Mini WiFi Security Camera with its magnetic mounting base and USB charging cable.
2. Package Contents
Please check the package for the following items:
- 1 x Ejoyous Mini WiFi Security Camera
- 1 x USB Charging Cable
- 1 x Fixed Magnetic Base
- 1 x User Instruction Manual
3. Specifications
| Model Number | Ejoyous0mn7hkip8w |
| Video Resolution | Up to 1080P HD |
| Video Format | AVI |
| Field of View | 90 degrees |
| Connectivity | Wireless (2.4G WiFi only) |
| Storage | MicroSD card up to 64GB (not included) |
| Battery Capacity | 300 mAh built-in lithium battery |
| Recording Time (Battery) | Approximately 30 minutes |
| Special Features | Night Vision, Motion Detection, Loop Recording |
| Material | ABS Plastic |
| Mounting Type | Wall Mount (Magnetic) |

Image 3.1: Key features of the Ejoyous Mini WiFi Security Camera.
4. Setup
4.1 Charging the Camera
Before first use, fully charge the camera using the provided USB cable connected to a standard USB power adapter (not included). The camera can record while charging, ensuring continuous surveillance.
4.2 Installing the Mobile Application
- Download and install the HDWifiCamPro application.
- For iOS devices, search for "HDWifiCamPro" in the App Store.
- For Android devices, search for "HDWifiCamPro" in the Google Play Store. If your device cannot access Google Play, scan the QR code provided in the physical instruction manual for an APK download.
4.3 Connecting the Camera to Your Phone
Important: When using the camera for the first time, connect the camera directly to your phone's Wi-Fi network before adding it to the application.
- Power on the camera.
- On your smartphone, go to Wi-Fi settings and connect to the camera's Wi-Fi hotspot (usually starts with a unique identifier).
- Open the HDWifiCamPro application.
- Tap on the "+" icon to add a new camera.
- Select "Add connected camera" and follow the on-screen prompts to enter the camera's UID or password.
- Ensure your home Wi-Fi network is 2.4Ghz. The camera does not support 5Ghz wireless networks.

Image 4.1: The camera connected wirelessly, showing live feed on a smartphone.
5. Operating Instructions
5.1 Remote Monitoring via App
Once connected, the HDWifiCamPro app allows you to control the camera remotely and view real-time surveillance footage from anywhere. You can adjust settings such as sound, night vision, and video definition directly from the app.

Image 5.1: Mobile phone app interface for camera control and live viewing.
5.2 Night Vision
The integrated night vision function provides clear images even in complete darkness. This feature activates automatically or can be toggled via the app, ensuring reliable monitoring at night.
5.3 Motion Detection
The camera features motion detection, which captures movement in front of the lens. When motion is detected, the camera can send an alarm notification to your mobile phone, alerting you to activity.
5.4 Recording and Storage
Insert a MicroSD card (up to 64GB, not included) into the camera's slot for continuous local storage. The camera supports 24-hour recording and will automatically overwrite older recordings when the storage space is full (loop recording).
5.5 Adjustable Viewing Angle
The camera features a 90-degree wide-angle lens. While the lens itself is fixed, the camera can be manually rotated 360 degrees on its magnetic base to adjust the shooting angle, effectively reducing blind spots.

Image 5.2: Camera rotation and night vision capability.
5.6 Magnetic Fixation
The camera is equipped with a rotating magnetic bracket, allowing it to be easily attached to any iron material for flexible placement and easy fixation.
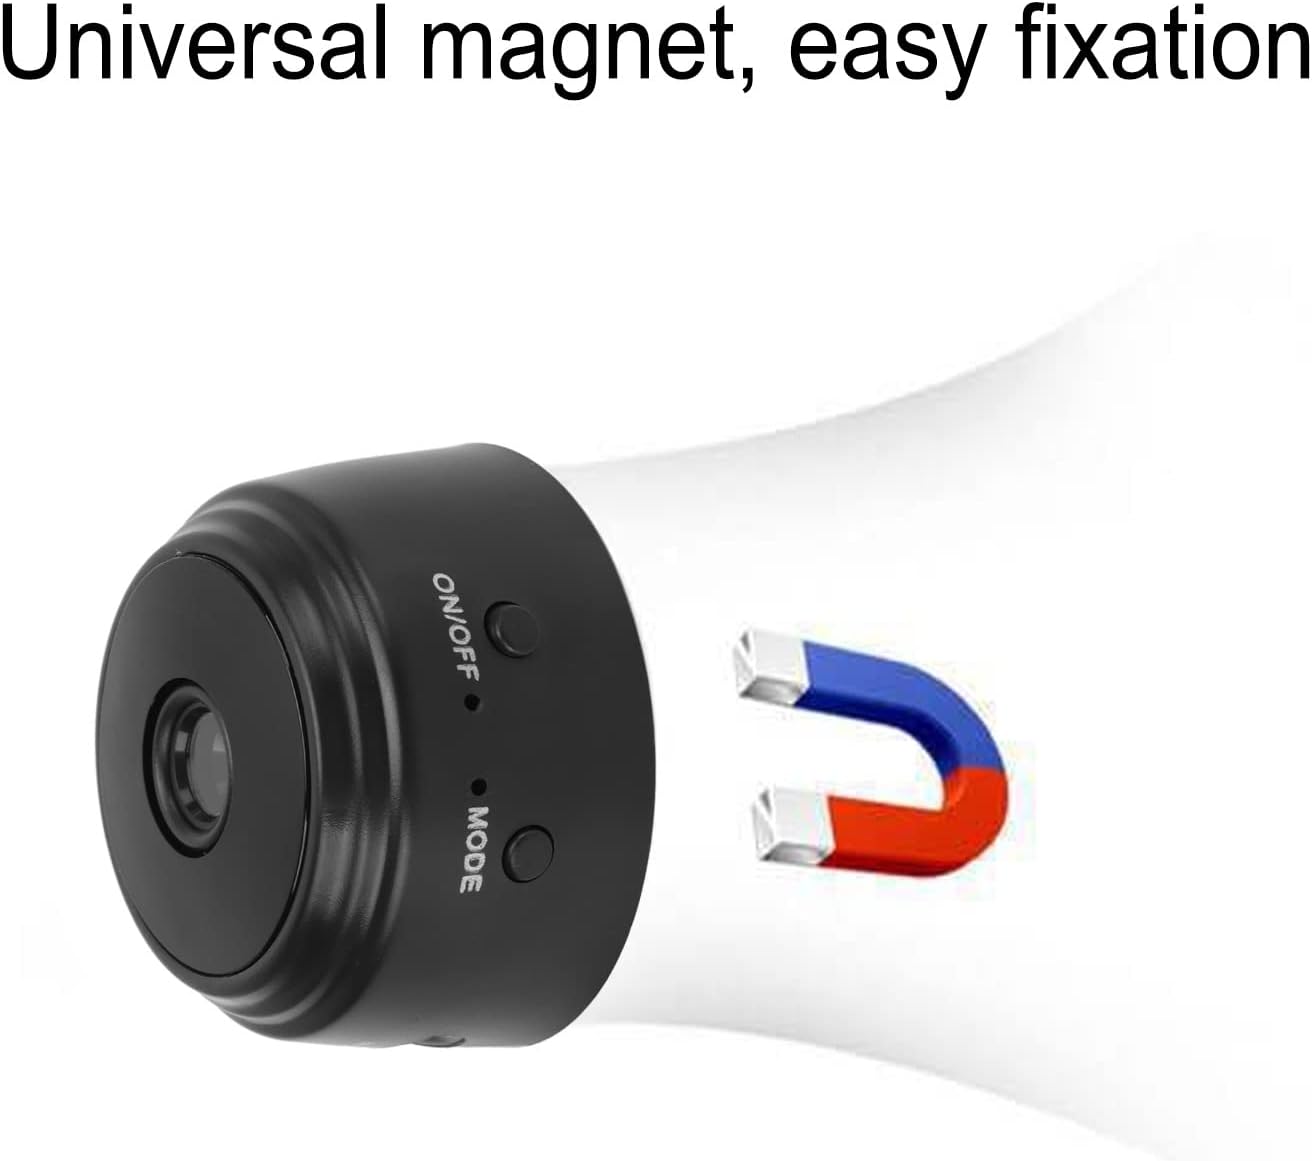
Image 5.3: Universal magnetic fixation for easy placement.
6. Maintenance
- Cleaning: Use a soft, dry cloth to clean the camera lens and body. Avoid using liquid cleaners or abrasive materials.
- Storage: Store the camera in a cool, dry place away from direct sunlight and extreme temperatures when not in use for extended periods.
- Battery Care: To prolong battery life, avoid fully discharging the camera frequently. Charge it regularly, even if not in constant use.
- Software Updates: Periodically check the HDWifiCamPro app for any available firmware updates for the camera to ensure optimal performance and security.
7. Troubleshooting
7.1 Camera Not Connecting to Wi-Fi
- Ensure your Wi-Fi network is 2.4Ghz. The camera does not support 5Ghz networks.
- Verify that the camera is powered on and within range of your Wi-Fi router.
- Restart your Wi-Fi router and the camera.
- Make sure you have connected your phone directly to the camera's Wi-Fi hotspot first, before adding it to the app.
- Double-check the Wi-Fi password entered in the app.
7.2 No Image or Poor Video Quality
- Check the camera lens for any dirt or obstructions and clean it gently.
- Ensure adequate lighting in the environment, or verify that night vision is active in low-light conditions.
- Check your internet connection speed. A weak Wi-Fi signal can affect streaming quality.
- Adjust the video definition settings within the HDWifiCamPro app.
7.3 MicroSD Card Not Recording
- Ensure the MicroSD card is inserted correctly.
- Check if the MicroSD card is formatted correctly (FAT32 is usually recommended). Format it if necessary (this can often be done via the app).
- Verify that the MicroSD card is not full. The camera supports loop recording, but a faulty card might prevent this.
- Try using a different MicroSD card to rule out card malfunction. The camera supports cards up to 64GB.
7.4 Motion Detection Not Working
- Ensure motion detection is enabled in the HDWifiCamPro app settings.
- Adjust the sensitivity settings for motion detection in the app.
- Check the camera's placement to ensure the detection area is clear and not obstructed.
8. Warranty and Support
For warranty information or technical support, please refer to the contact details provided at the point of purchase or visit the official Ejoyous website. Keep your purchase receipt as proof of purchase for any warranty claims.