
Topyond 24V-48V 17A Brushless DC Motor Controller
Topyond 24V-48V 17A Brushless DC Motor Controller Instruction Manual
Model: 24V-48V 17A Brushless DC Motor Controller

Image: The Topyond 24V-48V 17A Brushless DC Motor Controller with its wiring harness.
1. Introduction
This manual provides detailed instructions for the installation, operation, and maintenance of your Topyond 24V-48V 17A Brushless DC Motor Controller. Please read this manual thoroughly before installation and use to ensure proper function and safety.
The Topyond Brushless DC Motor Controller is designed for electric bicycles and scooters, offering efficient and reliable performance with its 3-mode sine wave technology. Its robust aluminum alloy construction ensures durability and effective heat dissipation.
2. Specifications
| Feature | Description |
|---|---|
| Brand | Topyond |
| Model | 24V-48V 17A Brushless DC Motor Controller |
| Voltage Compatibility | 24V, 36V, 48V (DC) |
| Current Limit | 17A (maximum short-time current) |
| Motor Compatibility | 24V250W, 24V350W, 36V250W, 36V350W, 48V250W, 48V350W hall and non-hall brushless motors |
| Design | 3-Mode Sine Wave |
| Material | Aluminum Alloy |
| Heat Dissipation | Grooved shell design |
| Circuit Protection | Automatic current cutoff for thermal overload |
| Item Weight | 8.8 ounces (0.25 Kilograms) |
Note: Specifications are subject to change without prior notice.
3. Package Contents
Upon opening the package, verify that all components are present and undamaged. The standard package includes:
- 1 x Topyond 24V-48V 17A Brushless DC Motor Controller
- Instruction Manual (this document)
Video: Product packaging display, showing the controller and its wiring.
4. Setup and Installation
Proper installation is crucial for the safe and efficient operation of the motor controller. If you are unsure about any steps, consult a qualified technician.
4.1 Safety Precautions
- Ensure the power source is disconnected before beginning installation.
- Wear appropriate personal protective equipment (PPE), such as insulated gloves and safety glasses.
- Verify that the voltage and current ratings of your motor and battery are compatible with the controller.
- Avoid short circuits during wiring.
- Mount the controller in a location that allows for adequate airflow to prevent overheating.
4.2 Wiring Diagram and Connections
The controller features multiple labeled wires for various connections. Refer to the diagram below for identification and proper connection points.

Image: Detailed view of the controller's wiring harness with labels for each connection.
Key Connections:
- Battery Line: Connects to the main battery power supply. Ensure correct polarity.
- Phase Lines (Motor): Connect to the motor's phase wires (typically three wires).
- Hall Line: Connects to the motor's Hall sensors (if applicable).
- Throttle: Connects to the throttle mechanism for speed control.
- E-Brake: Connects to the electronic brake levers.
- PAS (Pedal Assist System): Connects to the PAS sensor for pedal-assisted riding.
- Self-Study: Used for initial motor pairing and configuration.
- Light: Output for connecting a headlight or taillight.
- Display: Connects to a compatible display unit (if applicable).
- Anti-theft Signal/Power: Connections for anti-theft features.
- Speed: Speed signal output.
Carefully match each connector from the controller to the corresponding component on your electric bicycle or scooter. Secure all connections to prevent accidental disconnections or short circuits.
4.3 Mounting the Controller
The controller features mounting brackets for secure attachment. Choose a location that is:
- Protected from direct water exposure and excessive dust.
- Allows for good airflow around the grooved aluminum casing for optimal heat dissipation.
- Minimizes vibration and physical impact.

Image: The controller showing its physical dimensions (95mm length, 53mm width, 30mm height) for mounting reference.
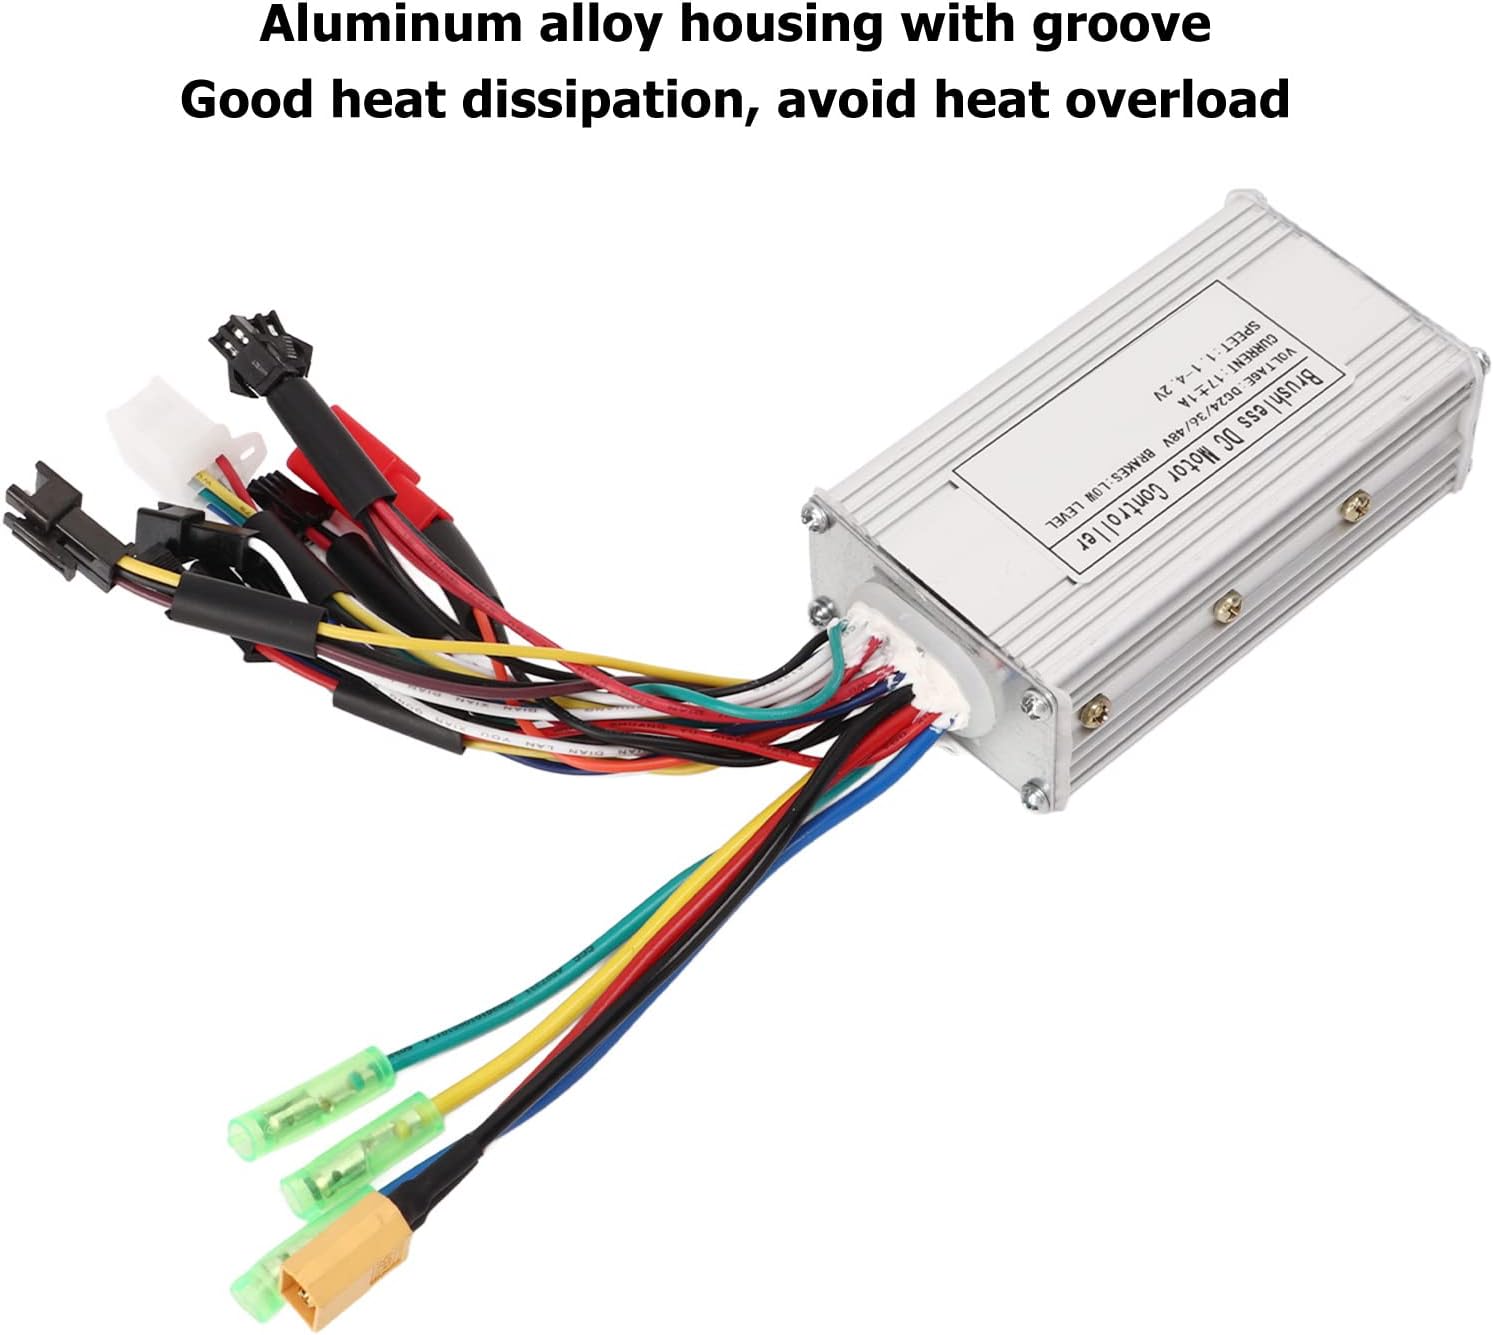
Image: The controller's aluminum alloy housing with grooved design, highlighting its heat dissipation features.
5. Operating Instructions
Once the controller is correctly installed and all connections are secure, follow these steps to operate your electric vehicle:
- Power On: Turn on the main power switch of your electric bicycle or scooter.
- Self-Study Function (Initial Setup): If this is the first time using the controller or if you have replaced the motor, you may need to perform the self-study function. Connect the two "Self-Study" wires (often white or green, labeled) and turn on the power. The motor should spin. If it spins in the wrong direction, disconnect the self-study wires, wait a few seconds, and reconnect them. The motor should then spin in the correct direction. Once the correct direction is established, disconnect the self-study wires.
- Throttle Control: Gently twist the throttle to accelerate. The controller's 3-mode sine wave design provides smooth and responsive motor control.
- Pedal Assist System (PAS): If your system includes a PAS, pedaling will activate motor assistance.
- Braking: Engage the brake levers to activate the electronic brake function, which can cut off motor power and apply braking.
- Power Off: Always turn off the main power switch when the vehicle is not in use.
6. Maintenance
Regular maintenance helps ensure the longevity and optimal performance of your Topyond motor controller.
- Cleaning: Periodically clean the exterior of the controller with a dry, soft cloth. Avoid using water or harsh chemicals.
- Connection Check: Regularly inspect all wire connections for tightness and signs of wear or corrosion. Re-secure any loose connections.
- Heat Dissipation: Ensure the controller's grooved casing remains free from obstructions (e.g., dirt, debris) to maintain effective heat dissipation.
- Environmental Protection: Protect the controller from extreme temperatures, direct sunlight, heavy rain, and high humidity.
7. Troubleshooting
If you encounter issues with your motor controller, refer to the following common problems and solutions:
| Problem | Possible Cause | Solution |
|---|---|---|
| Motor not running |
|
|
| Motor runs intermittently or with reduced power |
|
|
| Motor makes unusual noise |
|
|
| Controller gets excessively hot |
|
|
If troubleshooting steps do not resolve the issue, contact Topyond customer support for further assistance.
8. Warranty and Support
For warranty information and customer support, please refer to the documentation provided with your purchase or visit the official Topyond website. Keep your purchase receipt as proof of purchase for warranty claims.
Contact Information:
- Brand: Topyond
- Manufacturer: Topyond
- Online Store: Topyond Amazon Store
Ask a question about this manual
Ask about setup, troubleshooting, compatibility, parts, safety, or missing instructions. Manuals+ will review the question and use this page’s manual context to help answer it.