
Introduction
This manual provides detailed instructions for the safe and efficient operation of your QUANSHENG UV-K5(99) Ham Radio Handheld. Please read this manual thoroughly before using the device to ensure proper functionality and to understand all features and safety precautions.
What's in the Box
Upon unpacking, please verify that all items listed below are present and in good condition:
- Intercom Host (Radio Unit)
- Li-Battery
- Antenna
- Belt Clip
- Desktop Charger
- User Manual
- Type-C Direct Charging Line
- Intercom Earphones

Figure 1: Package Contents of the UV-K5(99)
Product Overview
Familiarize yourself with the various parts and controls of your UV-K5(99) radio:

Figure 2: UV-K5(99) Component Diagram
- Antenna: For transmitting and receiving signals.
- Volume/Switch Knob: Controls power on/off and audio volume.
- Flashlights: Integrated LED for illumination.
- Screen: Displays frequency, channel, and status information.
- Headset Interface: Port for connecting external audio accessories.
- PTT Key (Push-to-Talk): Activates transmission.
- A/B Switch Key: Toggles between upper and lower display frequencies.
- Side Keys (SideKeys1, SideKeys2): Programmable function keys.
- Scroll Down: Navigates menus and frequencies.
- Menu and Confirmation Key: Accesses menu and confirms selections.
- Speaker: Audio output.
Setup
1. Battery Installation
- Ensure the radio is powered off.
- Align the battery pack with the grooves on the back of the radio.
- Slide the battery upwards until it clicks securely into place.
- To remove, press the release latch (if present) and slide the battery downwards.
2. Antenna Attachment
- Screw the antenna clockwise into the connector on the top of the radio until it is finger-tight. Do not overtighten.
3. Belt Clip Installation
- Align the belt clip with the designated slot on the back of the radio.
- Secure the belt clip using the provided screws or by sliding it into place until it locks.
4. Initial Charging
Before first use, fully charge the battery. The radio supports two charging methods:
- Desktop Charger: Place the radio (with battery installed) into the desktop charging cradle. Ensure the charging contacts align. The indicator light will show charging status.
- USB-C Direct Charging: Connect the provided USB-C cable to the USB-C port on the battery (or radio, if applicable) and to a compatible USB power source (e.g., power bank, car charger, computer USB port).

Figure 3: Dual Charging Methods
Operating Instructions
1. Power On/Off and Volume Control
Rotate the Volume/Switch Knob clockwise to power on the radio. Continue rotating to increase volume. Rotate counter-clockwise to decrease volume and power off.
2. Frequency and Channel Selection
- VFO Mode (Frequency Mode): Allows direct frequency input. Use the keypad to enter desired frequencies.
- Channel Mode: Accesses pre-programmed channels. Use the up/down keys or the rotary knob to select channels.
- A/B Switch Key: Press the A/B key to switch between the upper and lower frequency displays, allowing monitoring of two frequencies simultaneously.
3. Full Band Scan & Air Band Reception
The UV-K5(99) supports ultra-wide band reception from 20MHz to 1000MHz. It includes a dedicated AM Air Band mode (108-136MHz) for monitoring aviation communications. Use the scan function to search for active frequencies within the selected band.
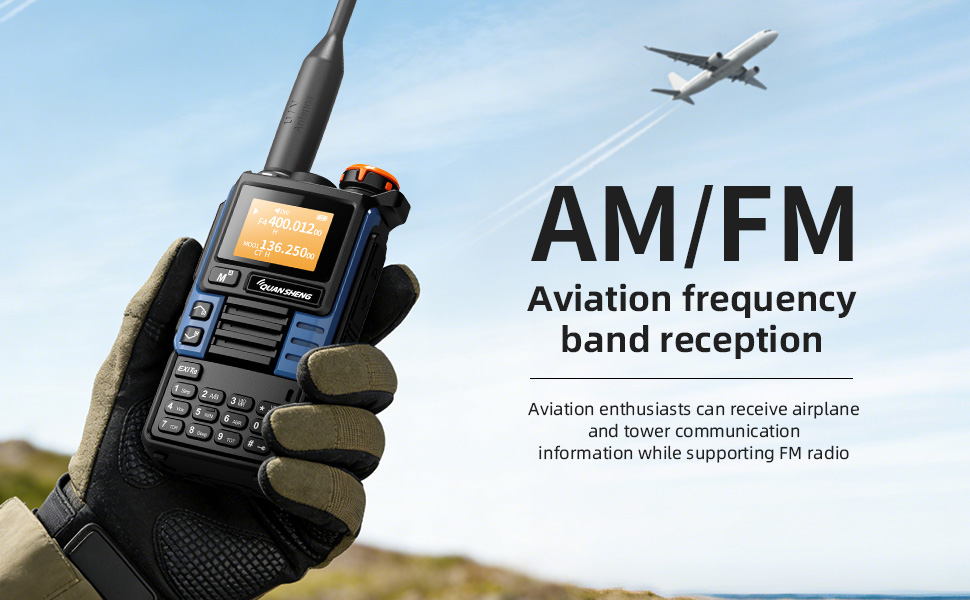
Figure 4: Air Band Reception
4. Wireless Frequency Copy (One-Key Frequency Match)
This feature allows instant detection and synchronization of frequency and CTCSS/DCS tones from other nearby two-way radios without computer programming. Activate this function (typically F+4) and point your radio towards the transmitting device.
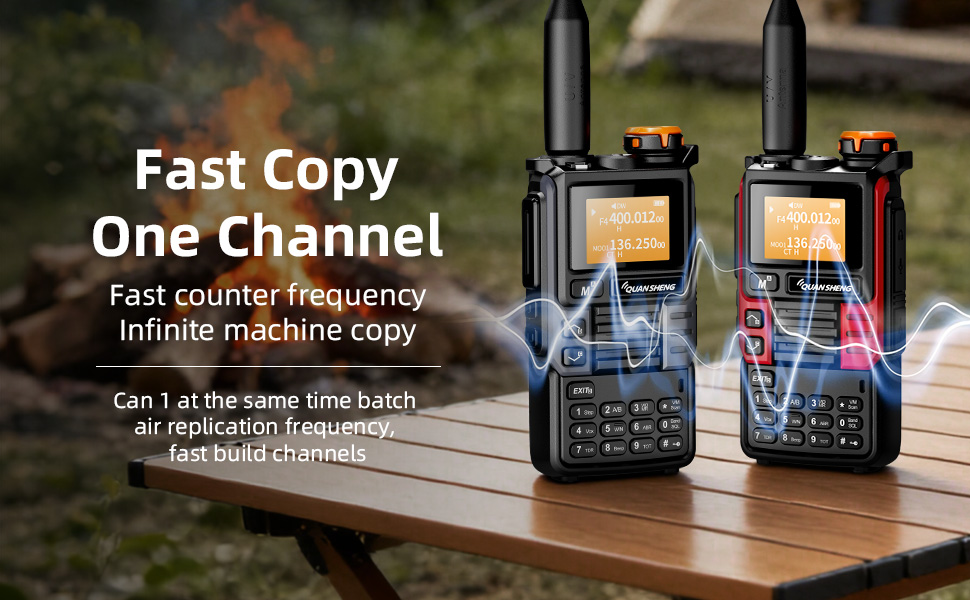
Figure 5: Wireless Frequency Copy in action
5. Dual Watch
The Dual Watch feature allows you to monitor two different frequencies simultaneously. If a signal is detected on either frequency, the radio will automatically switch to that frequency for reception.
6. VOX (Voice Operated Exchange)
VOX enables hands-free operation. When activated, the radio will automatically transmit when it detects your voice, eliminating the need to press the PTT button.
7. DTMF Signaling
DTMF (Dual-Tone Multi-Frequency) signaling can be used for various functions, including repeater access and remote control applications. Refer to the specific DTMF codes for your intended use.
8. Flashlight Function
The built-in high-brightness LED flashlight can be activated for illumination. Refer to the user interface for specific key presses to toggle the flashlight on/off or activate SOS mode.

Figure 6: Strong Light Flashlight
Safety Features
1. NOAA Weather Alert
The UV-K5(99) can receive 10 NOAA weather channels with an auto-scan feature to alert you to severe weather conditions such as storms and tornadoes. This feature is crucial for emergency preparedness.
2. Emergency Alarm
A remote emergency alarm function is integrated for critical situations, providing an audible alert to signal distress.
Performance & Compliance
The UV-K5(99) delivers 5 Watts of high power for clear long-distance communication on VHF (136-174MHz) and UHF (400-470MHz) bands. It supports repeater access for extended range.
Note: FCC ID: XBPUV-K5. Please adhere to local regulations. Transmitting on Amateur Radio frequencies requires a valid FCC license.

Figure 7: Compliance Certifications
Maintenance
- Cleaning: Use a soft, damp cloth to clean the radio's exterior. Avoid harsh chemicals or abrasive cleaners.
- Battery Care: To prolong battery life, avoid overcharging or fully discharging the battery frequently. Store the radio and battery in a cool, dry place.
- Storage: When not in use for extended periods, remove the battery and store the radio in a protective case.
Troubleshooting
If you encounter issues with your UV-K5(99), please refer to the following common solutions:
- No Power: Ensure the battery is correctly installed and fully charged. Check the power knob.
- Cannot Transmit: Verify that you are on a valid frequency and have the necessary license. Check antenna connection.
- Poor Reception: Ensure the antenna is securely attached. Check for obstructions or interference. Adjust squelch level.
- Display Issues: Try restarting the radio. If issues persist, consult the full user manual or contact customer support.
Specifications
| Item Weight | 0.2 Kilograms (7 ounces) |
| Product Dimensions | 1.48"D x 1.48"H (3.76 x 3.76 cm) |
| Model Number | UV-K5(99) |
| Batteries | 1 Lithium Ion battery required (included) |
| Display Type | LCD |
| Number of Channels | 200 |
| Special Feature | Weather Alert |
| Frequency Range | 20-1000 MHz |
| Talking Range Maximum | 10 Kilometer |
| Water Resistance Level | Not Water Resistant |
Warranty & Support
The product comes with a 2-year warranty. For technical support, troubleshooting assistance, or warranty claims, please contact QUANSHENG customer service through their official website or the retailer where the product was purchased.


