
1. Introduction
Thank you for choosing the yeezoo 4-Rung Hooked Window Well Ladder. This ladder is designed to provide a reliable and safe means of egress from basement window wells during emergencies. Constructed from high-quality steel, it offers durability and stability. Please read this manual thoroughly before installation and use to ensure proper function and safety.

Figure 1: An illustration of the 4-rung hooked ladder, detailing its overall height of 45.2 inches and width of 17.9 inches. Key measurements for rung spacing and hook depth are also indicated.
2. Safety Instructions
Your safety is paramount. Adhere to all safety guidelines to prevent injury or damage.
General Safety Warnings:
- Inspect Before Use: Always check the ladder for any signs of damage, loose fasteners, or corrosion before each use. Do not use if damaged.
- Proper Installation: Ensure the ladder is securely installed according to the instructions. Improper installation can lead to instability.
- Load Capacity: Do not exceed the maximum load capacity of 480 pounds.
- Stable Footing: Ensure the base of the ladder rests on a stable, level surface within the window well.
- Clear Path: Keep the area around the window well and the ladder clear of obstructions.
- Children: Keep children away from the ladder unless under direct adult supervision. This ladder is not a toy.
- Emergency Use Only: This ladder is intended for emergency egress from basement window wells. It is not designed for daily use or as a general-purpose ladder.
3. Package Contents
Please verify that all components are present before beginning assembly:
- Ladder Rungs (4 pieces)
- Side Rails with Hooks (2 pieces)
- Mounting Screws and Anchors (for securing to window well)
- Instruction Manual (this document)
4. Setup and Installation
Follow these steps carefully for proper assembly and installation.
Tools Required:
- Drill
- Drill bits appropriate for anchors
- Wrench or Socket Set
- Measuring Tape
- Pencil
Assembly Steps:
- Unpack all components and lay them out on a clean, flat surface.
- Align the ladder rungs with the pre-drilled holes on the side rails. Ensure the textured side of the rungs faces upwards for better grip.
- Insert the provided screws through the side rails and into the rungs. Hand-tighten all screws initially.
- Once all rungs are in place, use a wrench or socket to fully tighten all screws. Ensure all connections are secure and stable.

Figure 2: A close-up view demonstrating the secure grip on the ladder's 21mm diameter deformed steel rungs, highlighting their robust design for safe and reliable use during assembly and use.
Installation in Window Well:
- Position the assembled ladder inside your window well. The hooks at the top of the side rails should rest securely over the top edge of the window well.
- Ensure the ladder is centered and plumb. The bottom of the ladder should rest firmly on the window well's base.
- Mark the locations for drilling through the pre-drilled holes on the side rails where they contact the window well wall.
- Remove the ladder and drill pilot holes at the marked locations using an appropriate drill bit for your window well material (e.g., concrete, metal, plastic).
- Insert the provided anchors into the drilled holes, if applicable for your wall material.
- Reposition the ladder and secure it to the window well wall using the provided mounting screws. Tighten all screws firmly to ensure the ladder is stable and does not wobble.

Figure 3: Photographs showcasing the ladder installed in different basement window well settings, demonstrating its versatility and practical application for emergency home safety.
Note: For taller window wells, multiple yeezoo ladder sections (3, 4, or 5-rung models) can be combined using expansion screws to achieve the required height. Ensure secure connections for all combined sections.

Figure 4: A diagram illustrating how multiple ladder sections (3, 4, and 5-rung) can be combined using expansion screws to achieve the desired height for various window well depths.
5. Operating Instructions (Emergency Use)
In the event of an emergency requiring egress from your basement:
- Approach the window well and locate the ladder.
- Carefully step onto the first rung, ensuring stable footing.
- Maintain a firm grip on the side rails or rungs as you ascend.
- Climb steadily, one rung at a time, until you safely exit the window well.
- Once clear, move away from the building to a safe location.

Figure 5: An image depicting a person ascending the ladder, illustrating its use and emphasizing its maximum load capacity of 480 pounds, ensuring reliable support during an emergency.
6. Maintenance
Regular maintenance ensures the longevity and reliability of your ladder.
- Periodic Inspection: At least once every six months, or after any significant weather event, inspect the ladder for signs of rust, corrosion, loose fasteners, or structural damage.
- Cleaning: Clean the ladder with mild soap and water. Avoid abrasive cleaners or solvents that could damage the finish. Rinse thoroughly and allow to air dry.
- Tighten Fasteners: Check and tighten all screws and bolts periodically to ensure they remain secure.
- Repair/Replace: If any part of the ladder is damaged or shows significant wear, do not use it. Contact customer support for replacement parts or consider replacing the entire unit.
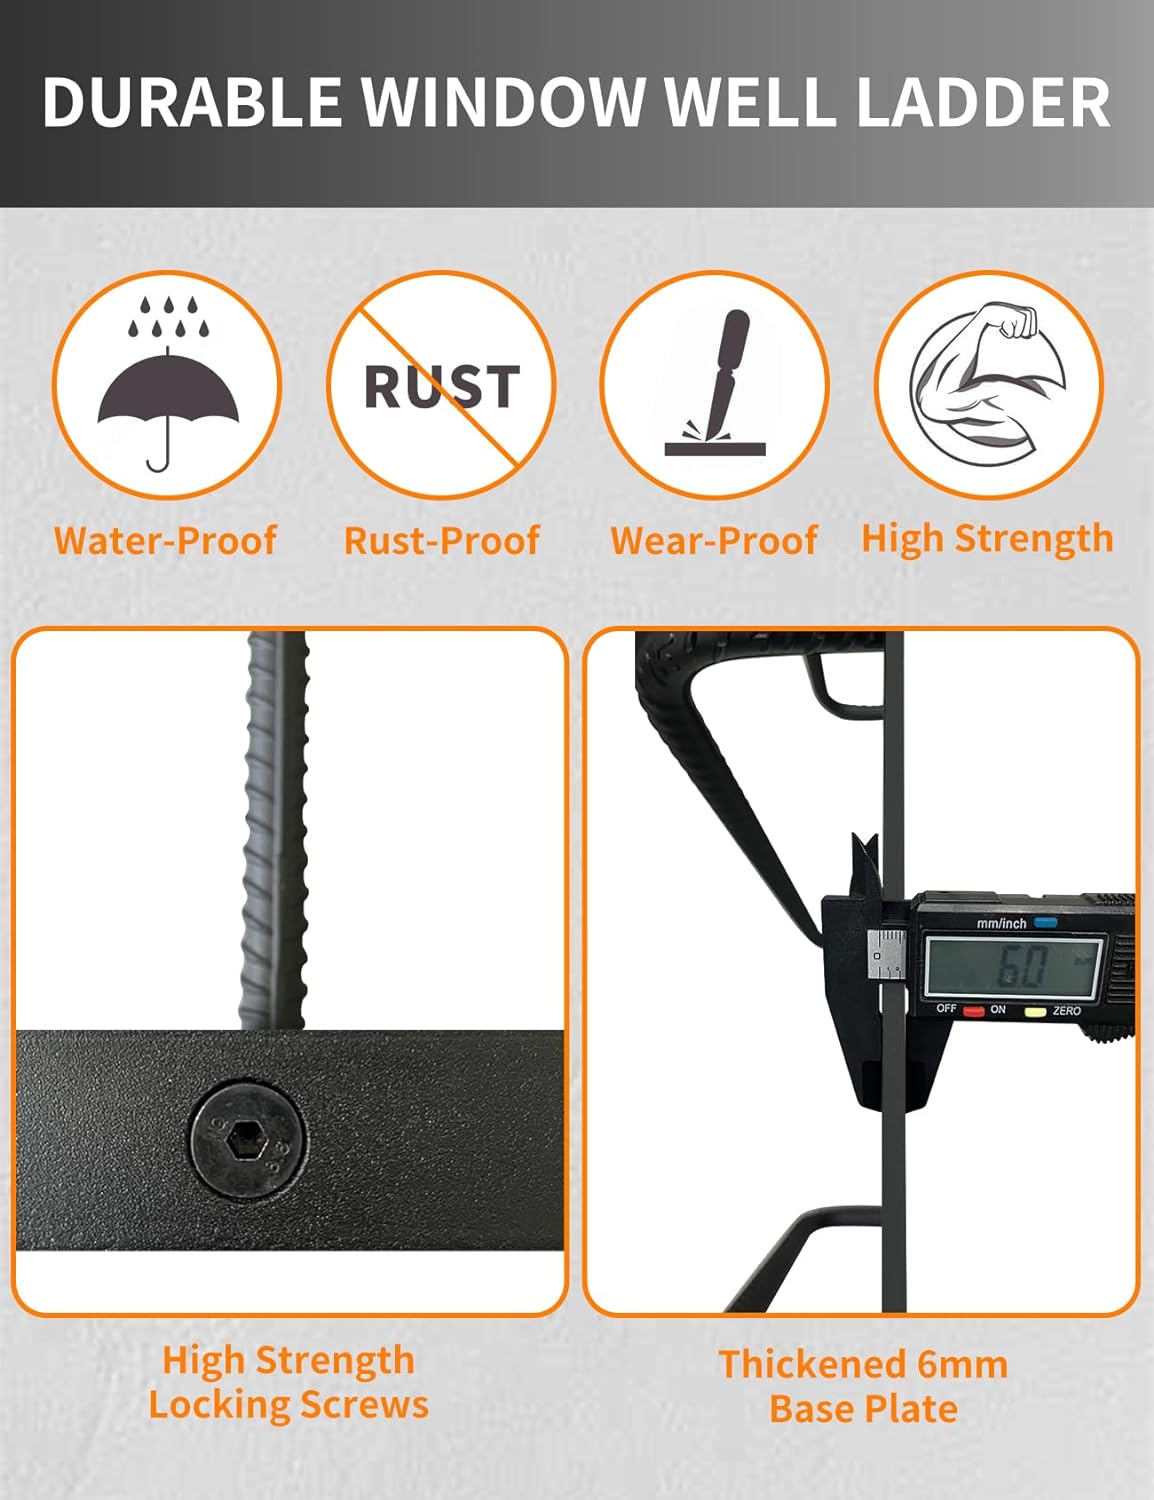
Figure 6: Visual representation of the ladder's durable construction, emphasizing its water-proof, rust-proof, wear-proof, and high-strength properties. Regular maintenance helps preserve these features.
7. Troubleshooting
If you encounter issues, refer to the following table:
| Problem | Possible Cause | Solution |
|---|---|---|
| Ladder feels wobbly after installation | Screws not fully tightened; improper anchors; uneven surface | Ensure all mounting screws are fully tightened. Verify appropriate anchors were used for wall material. Ensure base is on a level surface. |
| Difficulty assembling rungs to side rails | Misalignment; paint in screw threads | Ensure rungs are correctly aligned with holes. Clear any paint or debris from screw threads if necessary. Do not force screws. |
| Rust appearing on ladder | Surface coating compromised; prolonged exposure to harsh elements | Clean affected area and apply rust-inhibiting paint. Ensure proper drainage in window well to prevent standing water. |
8. Specifications
| Model | Hook-4STEPS |
| Material | Carbon Steel |
| Color | Matt Black |
| Product Dimensions (W x H) | 17.9" x 45.2" |
| Item Weight | 25.4 pounds |
| Maximum Load Capacity | 480 Pounds |
| Number of Steps | 4 |
| Special Features | Anti-Slip, Detachable Design |
9. Warranty and Support
yeezoo stands behind the quality of its products. For warranty information, technical support, or to inquire about replacement parts, please contact the retailer from whom you purchased this product or visit the official yeezoo website. Please have your model number (Hook-4STEPS) and purchase date available when contacting support.