
1. Introduction
The TCNEWCL 4-Port DisplayPort KVM Switch allows you to control up to four DisplayPort-enabled computers from a single set of peripherals: one DisplayPort monitor, one keyboard, one mouse, and other USB 2.0 devices. This device supports resolutions up to 4K@60Hz, providing a high-quality visual experience. It is designed to streamline your workspace and enhance efficiency by eliminating the need for multiple monitors and peripheral sets.
2. Package Contents
- 1 x TCNEWCL DP KVM Switch
- 4 x DP 1.2 Cables
- 4 x USB 2.0 Cables (USB A-to-B)
- 1 x Wired Desktop Controller
- 1 x User Manual (this document)

The image above illustrates the complete set of items included in your TCNEWCL DP KVM Switch package. Please verify that all components are present before proceeding with installation.
3. Product Overview
The TCNEWCL DP KVM Switch features clearly labeled ports for easy connection of your computers, monitor, and USB peripherals. Familiarize yourself with the port layout before setup.

Front Panel:
- DP OUT: Connects to your DisplayPort monitor.
- USB OUT 1, 2, 3: Connects to your USB keyboard, mouse, and other USB 2.0 devices.
- LED Indicators: Blue lights indicate the currently selected computer.
- POWER: Power indicator light.
- KEY 1, KEY 2: Ports for the wired desktop controller.
Rear Panel:
- DP IN 1, 2, 3, 4: Connects to the DisplayPort output of your computers.
- USB IN 1, 2, 3, 4: Connects to the USB port of your computers (for keyboard/mouse/USB device sharing).
4. Setup Instructions
Follow these steps to properly set up your TCNEWCL DP KVM Switch:
- Power Off Devices: Ensure all computers and the monitor are completely powered off before making any connections.
- Connect Monitor: Connect your DisplayPort monitor to the DP OUT port on the KVM switch using a DisplayPort cable.
- Connect USB Peripherals: Connect your USB keyboard, USB mouse, and any other USB 2.0 devices (e.g., printer, USB flash drive) to the USB OUT 1, USB OUT 2, and USB OUT 3 ports on the KVM switch.
- Connect Computers: For each computer (up to four) you wish to connect:
- Connect a DisplayPort cable from the computer's DisplayPort output to a corresponding DP IN port on the KVM switch (e.g., DP IN 1).
- Connect a USB A-to-B cable from an available USB port on the computer to the corresponding USB IN port on the KVM switch (e.g., USB IN 1).
- Connect Desktop Controller: Plug the wired desktop controller into either the KEY 1 or KEY 2 port on the KVM switch.
- Power On: Power on the KVM switch (it draws power from the connected computers via USB), then power on your monitor, and finally power on your computers.

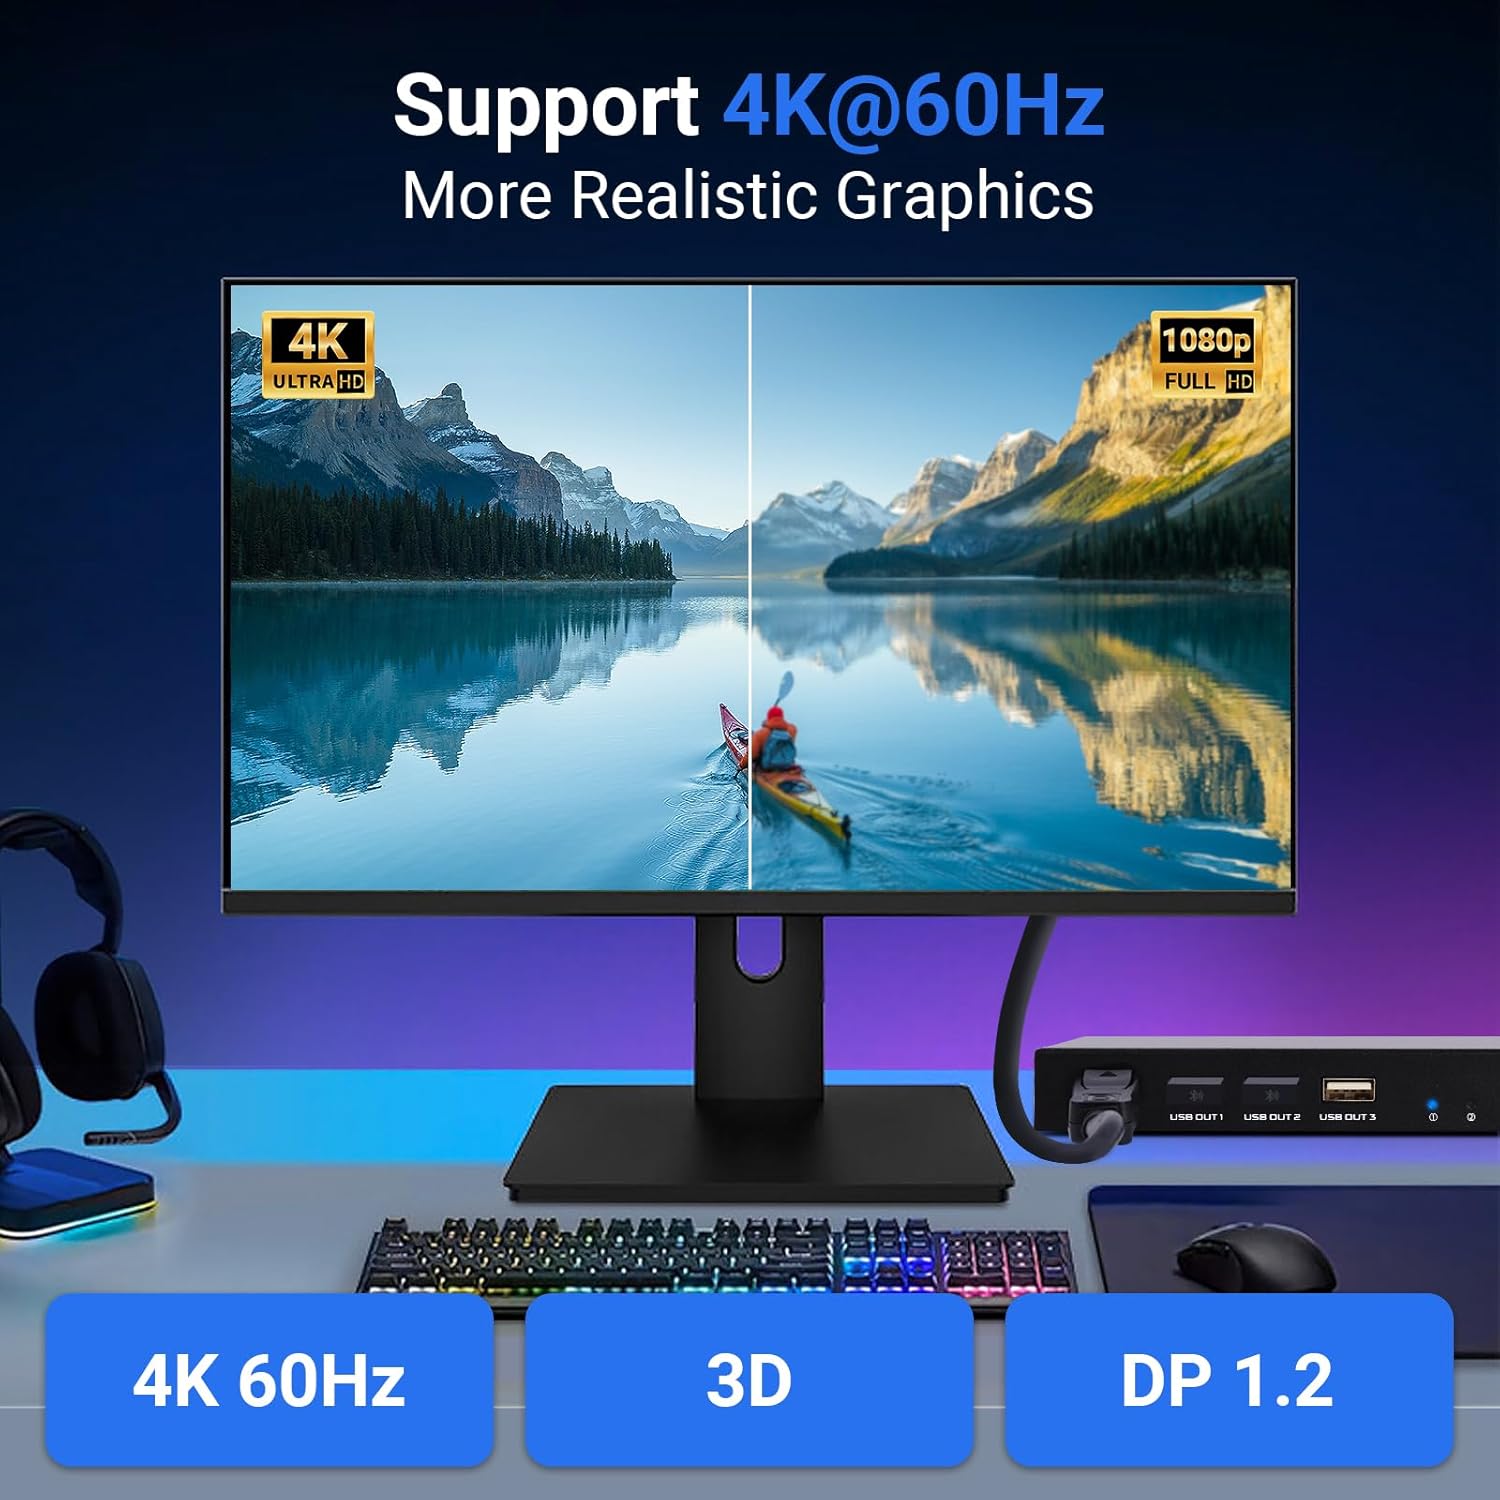
The KVM switch supports resolutions up to 4K@60Hz. Ensure your monitor and graphics cards are capable of this resolution for optimal performance.
5. Operating Instructions
The TCNEWCL DP KVM Switch offers two convenient methods for switching between connected computers:
5.1. Switching Computers
- Panel Button: Press the input selection buttons (labeled 1, 2, 3, 4) located on the front panel of the KVM switch to directly select the desired computer input. The blue LED indicator will illuminate next to the active input.
- Desktop Controller: Press the single button on the wired desktop controller to cycle sequentially through the connected computers. Each press will switch to the next active input.

5.2. Important Notes
- Sleep Mode: Avoid setting connected computers to sleep mode, as this may interfere with proper switching and device recognition upon waking.
- Hotkey Switching: This model does not support hotkey switching via keyboard commands. Switching is performed exclusively via the panel buttons or the wired desktop controller.
6. Maintenance
To ensure the longevity and optimal performance of your KVM switch, follow these simple maintenance guidelines:
- Cleaning: Use a soft, dry cloth to clean the exterior of the device. Avoid using liquid cleaners, solvents, or abrasive materials, as these can damage the finish or internal components.
- Environment: Keep the KVM switch in a cool, dry place, away from direct sunlight, excessive heat, humidity, or dust.
- Handling: Handle the device with care. Avoid dropping it or subjecting it to strong impacts.
- Disassembly: Do not attempt to disassemble or modify the unit. Unauthorized modifications will void the warranty and may cause damage or injury.
7. Troubleshooting
If you encounter issues with your TCNEWCL DP KVM Switch, please refer to the following common problems and solutions:
- No Display/Signal on Monitor:
- Ensure all DisplayPort cables are securely connected between the computers, KVM switch, and monitor.
- Verify that the monitor is powered on and set to the correct DisplayPort input.
- Try restarting the KVM switch by disconnecting and reconnecting the USB cables from the computers.
- Check the display settings on your computer to ensure the resolution is correctly configured and supported by your monitor (up to 4K@60Hz).
- Keyboard/Mouse Not Working:
- Ensure all USB A-to-B cables are securely connected between the computers and the KVM switch.
- Verify that the keyboard and mouse are connected to the USB OUT ports on the KVM switch.
- Try connecting the keyboard/mouse directly to the computer to confirm their functionality.
- Some specialized gaming keyboards/mice with high power requirements or specific drivers may function better when connected directly to the computer rather than through the KVM's USB 2.0 ports.
- Switching Issues:
- Ensure that the connected computers are not in sleep mode, as this can prevent proper switching.
- Confirm the wired desktop controller is securely plugged into the KEY 1 or KEY 2 port.
- If using the panel buttons, ensure they are pressed firmly.
- Resolution Problems (e.g., lower than expected):
- Ensure your monitor and graphics card on the connected computers fully support the desired resolution (e.g., 4K@60Hz).
- Check the display settings on each computer to ensure the resolution is correctly configured.
- Verify that you are using high-quality DisplayPort 1.2 cables, as lower quality or older cables may not support higher resolutions.
8. Specifications
| Feature | Specification |
|---|---|
| Model Number | KS304T |
| Brand | TCNEWCL |
| Input Ports | 4 x DisplayPort 1.2, 4 x USB 2.0 (Type B) |
| Output Ports | 1 x DisplayPort 1.2, 3 x USB 2.0 (Type A) |
| Video Resolution | Up to 4K@60Hz (3840x2160@60Hz), 1080P, 1080P 3D, 1080I, 720P, 576P, 576I, 480P, 480I |
| USB Standard | USB 2.0 |
| Control Method | Front Panel Button, Wired Desktop Controller |
| Power Supply | USB Powered (no external power adapter required) |
| Operating Voltage | 5 Volts |
| Compatibility | Windows 10/8/8.1/7/Vista/XP, Mac OS, Linux, Dos |
| Dimensions (L x W x H) | 8.66 x 1.77 x 0.59 inches |
| Item Weight | 2.25 pounds |
| Material | Metal |

9. Warranty and Support
Warranty Information: Please refer to your purchase documentation or the TCNEWCL official website for specific warranty information regarding your DP KVM Switch.
Customer Support: If you encounter any problems during use, require technical assistance, or have any inquiries, please contact TCNEWCL customer support. Contact details can typically be found on your product packaging, the TCNEWCL official website, or through your point of purchase.