
Introduction
This manual provides comprehensive instructions for the setup, operation, and maintenance of your TeoTeeo Large Digital Alarm Clock. Designed for ease of use, this clock features a large display, adjustable brightness, snooze function, and USB charging ports, making it suitable for various users including seniors, children, and heavy sleepers.

Image: The TeoTeeo Large Digital Alarm Clock, showcasing its prominent red LED display and the integrated USB charging port in use with a smartphone.
The clock's 6-inch display with 1.4-inch height red LED digits ensures excellent readability from a distance. It includes stepless dimming and a 2-level night light for comfortable viewing in any lighting condition. The alarm offers a 9-minute snooze and 2-level volume adjustment (65-90dB) with an 8-minute alarm duration. For convenience, it features USB ports for charging smart devices and a memory function (requires 2 AAA batteries, not included) to retain settings during power outages.
Setup
Power Connection:
Connect the provided AC adapter to the clock's power input port and then plug the adapter into a standard electrical outlet. The clock requires continuous power to display the time.

Image: Rear panel of the alarm clock, highlighting the power input and various control buttons for setup and operation.
Battery Backup (Memory Function):
For the memory function to work during a power outage, insert two (2) AAA batteries (not included) into the battery compartment located on the bottom of the clock. This feature ensures that your time and alarm settings are retained, though the display will not be lit during an outage.
Initial Power On:
Once connected to power, the clock display will light up. It may show a default time or a flashing display, indicating it is ready for time setting.
USB Charging Port:
The clock includes a convenient USB charging port on the side. You can use this port to charge your smart devices (e.g., smartphones, tablets) while the clock is plugged into an AC outlet.
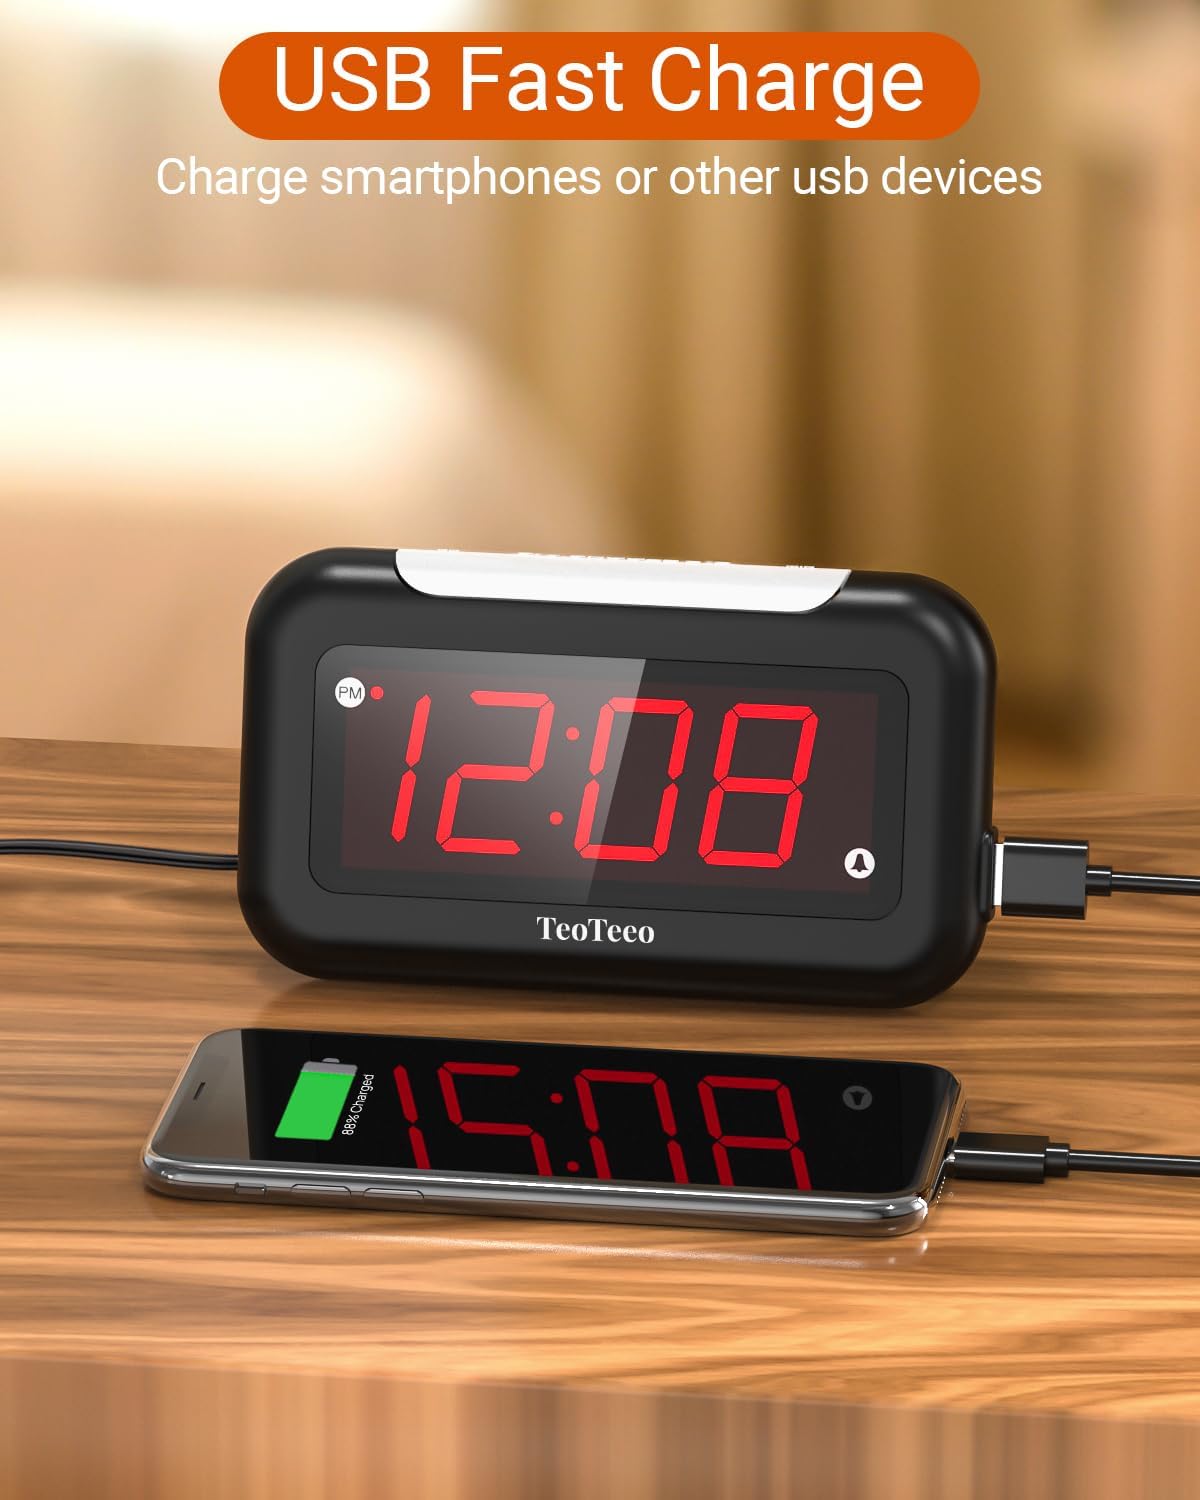
Image: The alarm clock demonstrating its USB fast charge capability, with a smartphone connected and charging.
Operating Instructions
1. Setting the Time
- Locate the "TIME SET" button on the back of the clock.
- Press and hold the "TIME SET" button until the hour digits begin to flash.
- Use the "+" or "-" buttons (often combined with "MODE" or "ALARM SET" buttons) to adjust the hour. Pay attention to the PM indicator if using 12-hour mode.
- Press "TIME SET" again to switch to minute adjustment. Use the "+" or "-" buttons to set the minutes.
- Press "TIME SET" one more time to confirm and exit time setting mode.
2. Setting the Alarm
- Locate the "ALARM SET" button on the back of the clock.
- Press and hold the "ALARM SET" button until the alarm hour digits begin to flash.
- Use the "+" or "-" buttons to adjust the alarm hour.
- Press "ALARM SET" again to switch to alarm minute adjustment. Use the "+" or "-" buttons to set the alarm minutes.
- Press "ALARM SET" one more time to confirm and exit alarm setting mode.
- To activate or deactivate the alarm, briefly press the "ALARM SET" button. An alarm icon (e.g., a bell) will appear or disappear on the display.
3. Snooze Function
- When the alarm sounds, press the large "SNOOZE" button located on the top of the clock.
- The alarm will pause for 9 minutes and then sound again.
- You can press the snooze button continuously until you press the "OFF" button (usually the "ALARM SET" button or a dedicated alarm off button) to completely turn off the alarm for the day.

Image: A visual representation of the 9-minute snooze function, showing the clock next to a sleeping person.
4. Display Dimming (Stepless)
- Locate the "DISPLAY DIMMER" switch or button on the back of the clock.
- Adjust the switch or press the button to cycle through brightness levels or to achieve stepless dimming, allowing you to set the display brightness to your preference, from off to 100%.

Image: The alarm clock display demonstrating its 0-100% brightness control, with examples of different dimming levels.
5. Night Light Function
- The clock features a night light located on the top.
- Press the dedicated "NIGHT LIGHT" button (or a multi-function button) to cycle between two levels of brightness for the night light, or to turn it off.
- This feature provides ambient lighting for various needs, such as reading or navigating in the dark.

Image: The alarm clock's night light function in use, providing illumination for reading.
6. Alarm Volume Adjustment
- Locate the "ALARM VOLUME" switch or button on the back of the clock.
- Adjust this control to select between two alarm volume levels: 65dB (low) and 90dB (high).
- Choose the volume that best suits your needs to ensure you wake up without being startled or missing the alarm.

Image: The alarm clock illustrating its adjustable volume range from 65dB to 90dB, suitable for various users including kids, elderly, and heavy sleepers.
Key Features
- Extremely Easy to Operate: Designed for simplicity, allowing quick setup without complex instructions, ideal for all ages.
- Large Display, Red Digital Display: Features a 6-inch display with 1.4-inch red LED digits for clear visibility, even from a distance, and is gentle on the eyes at night.
- Stepless Dimming & 2-level Night Light: Offers customizable display brightness and a top-mounted night light with two levels, ensuring a comfortable sleep environment.
- 9-minute Snooze: A large, easy-to-press snooze button provides a 9-minute delay, allowing for extra rest without missing important schedules.
- 2-level Volume & 8-Minute Alarm: Adjustable alarm volume (65-90dB) and an 8-minute alarm duration, suitable for light and heavy sleepers.
- Plug-in Alarm Clock with USB Ports: Operates on AC power and includes convenient USB ports for charging smart devices.
- Memory Function & 12H Mode: Retains time and alarm settings during power outages (requires 2 AAA batteries, not included) and operates in 12-hour mode for easy reading.
Maintenance
- Cleaning: To clean the clock, gently wipe the surface with a soft, dry cloth. Do not use abrasive cleaners, solvents, or harsh chemicals, as these may damage the finish or internal components.
- Battery Replacement: If the memory function (for power outages) stops working, replace the two AAA batteries in the battery compartment. Ensure correct polarity when inserting new batteries.
- Storage: If storing the clock for an extended period, disconnect it from power and remove the AAA batteries to prevent leakage. Store in a cool, dry place.
Troubleshooting
| Problem | Possible Cause | Solution |
|---|---|---|
| Clock display is off or not lighting up. | No power connection; power outage; display dimmer set to off. | Ensure AC adapter is securely plugged into the clock and a working outlet. Check household power. Adjust the "DISPLAY DIMMER" switch/button. |
| Alarm does not sound. | Alarm not activated; alarm volume too low; incorrect alarm time set. | Press the "ALARM SET" button to ensure the alarm icon is displayed. Adjust "ALARM VOLUME" to a higher setting. Verify the alarm time is correctly set (AM/PM). |
| Time/Alarm settings are lost after power disconnection. | No AAA batteries installed; dead AAA batteries. | Install two fresh AAA batteries into the battery compartment. Ensure correct polarity. |
| USB charging port not working. | Clock not powered; device cable faulty. | Ensure the clock is properly plugged into an AC outlet. Try a different USB cable or device to confirm the issue is not with the cable/device. |
Specifications
- Brand: TeoTeeo
- Model Number: KT034
- Colour: Black
- Product Dimensions: 6.99 x 3.81 x 9.91 cm (2.75 x 1.5 x 3.9 inches)
- Item Weight: 215 g (0.47 lbs)
- Material: Plastic
- Display Type: LED (Red Digits)
- Display Size: 6-inch large display, 1.4-inch digit height
- Power Source: AC Powered (Adapter included)
- Battery Backup: 2 x AAA batteries (not included) for memory function
- Special Features: Large Display, Stepless Dimming, 2-level Night Light, 9-minute Snooze, 2-level Volume (65-90dB), 8-minute Alarm, USB Charging Port, Memory Function, 12H Mode

Image: The alarm clock with its key dimensions highlighted, including overall size and digit height for clarity.
Warranty and Support
For warranty information and customer support, please refer to the documentation included with your purchase or contact the manufacturer, TeoTeeo, directly through their official website or the retailer where the product was purchased.
Please retain your proof of purchase for any warranty claims.