
Introduction
This manual provides detailed instructions for the setup, operation, and maintenance of your MAXLANDER Robot Lawn Mower (Model ML8B102). Please read this manual thoroughly before using the product to ensure safe and efficient operation. This robotic mower is designed to effortlessly maintain your lawn, covering areas up to 1/3 acre (1400 m²).

Image: The MAXLANDER Robot Lawn Mower, a black and orange robotic device designed for automated lawn care.
Package Contents
Verify that all items listed below are included in your package:
- 1 x MAXLANDER Robot Mower
- 1 x Charging Station
- 1 x Power Adapter
- 1 x Wire Connector
- 4 x Screws
- 6 x Fixing Screws
- 250 x Fixing Hooks
- 200m Boundary Wire
- 1 x User Manual
- 1 x App Manual
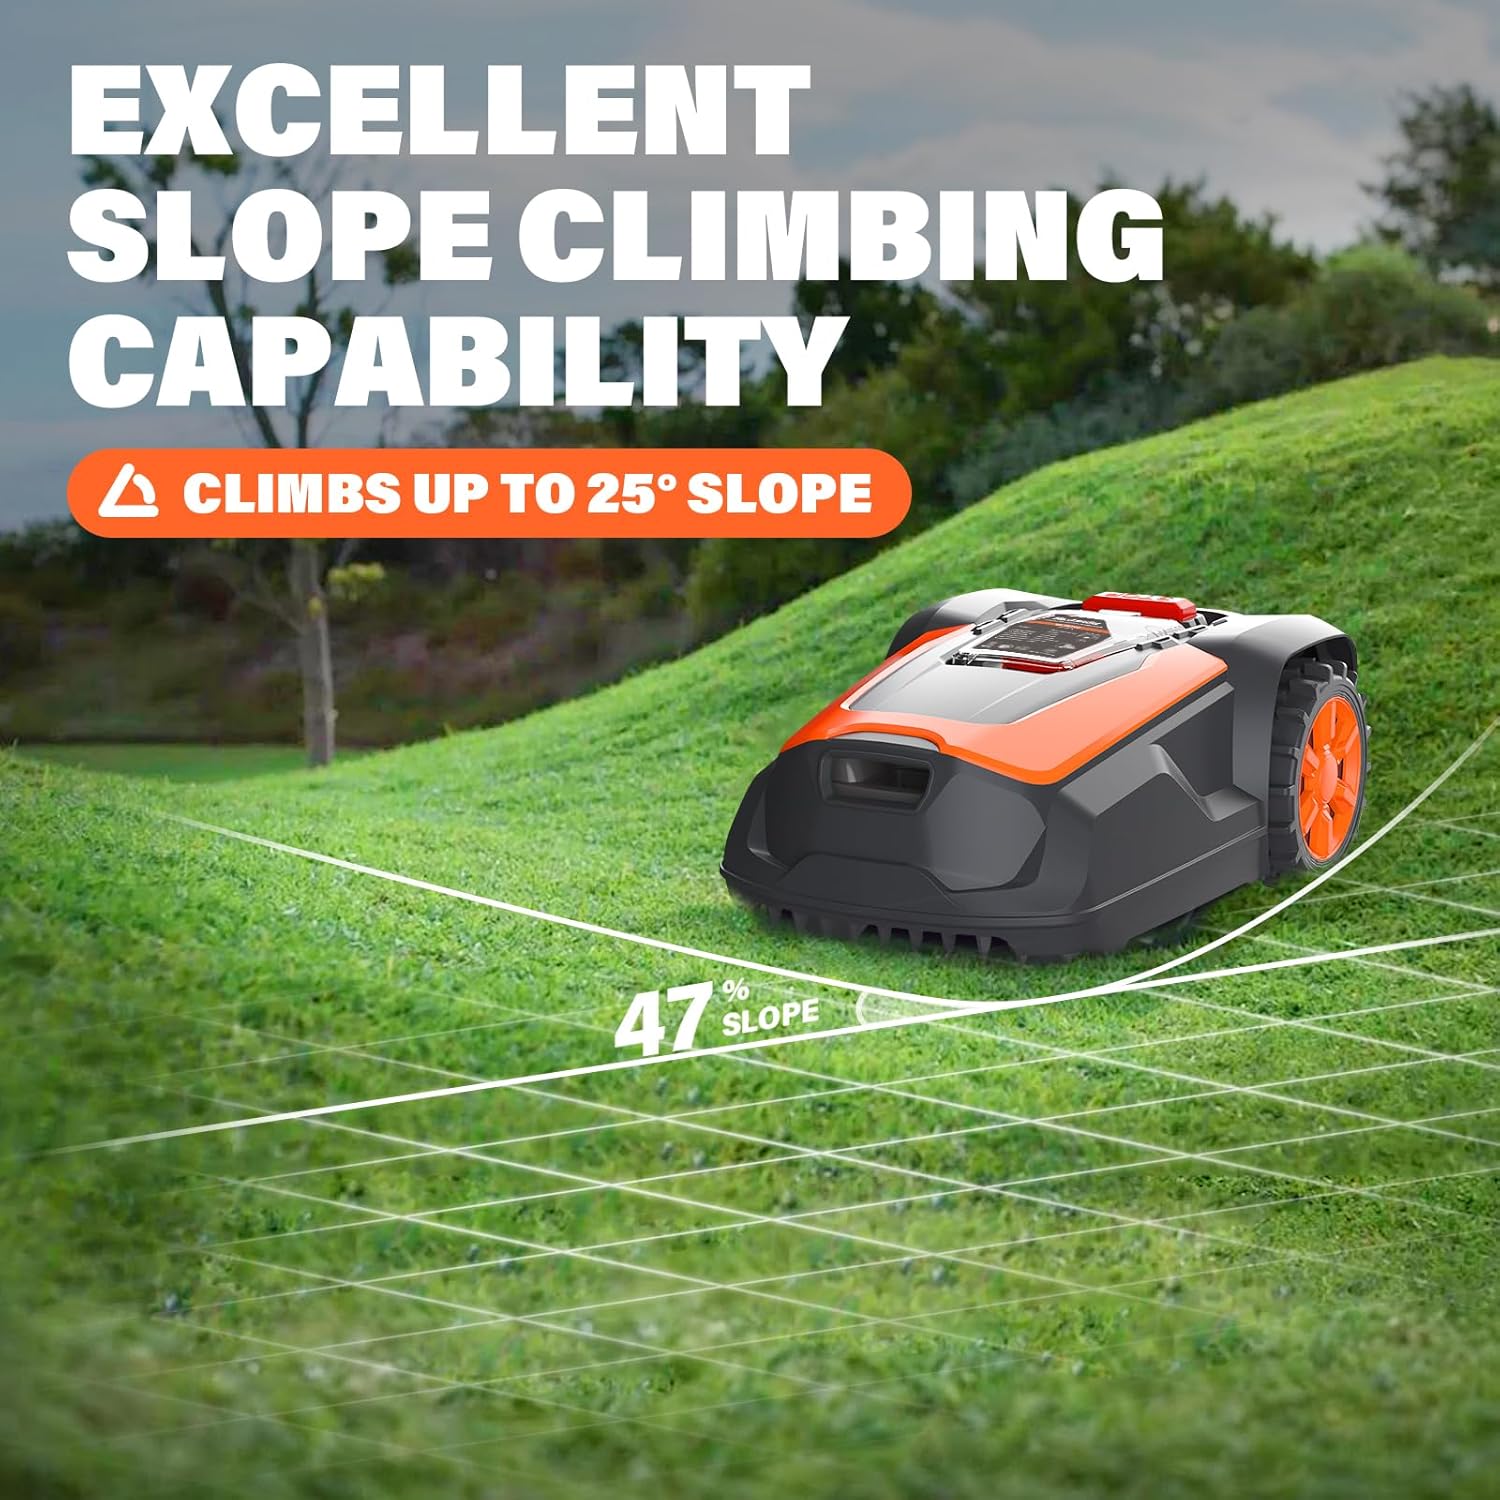
Image: All components included in the MAXLANDER Robot Lawn Mower package, laid out on a dark surface, including the mower, charging station, boundary wire, and various accessories.
Setup
1. Assembling the Base Station
Follow the instructions in the App Manual for detailed assembly of the charging station.
2. Laying the Boundary Wire
The boundary wire defines the mowing area. Ensure the wire starts at the base station (plugged into positive terminal), goes around the perimeter of the desired mowing area, and ends back at the base station (plugged into negative terminal), forming a complete closed loop.
For optimal performance, maintain a distance of 30cm from lawn borders and ensure fixing hooks are placed approximately every 100cm.

Image: Diagram illustrating the correct placement of the boundary wire, showing distances from lawn edges and between fixing hooks.
3. Creating No-Mow Zones
To protect plants, trees, or other obstacles, create no-mow zones using the boundary wire. The wire should loop around the obstacle, with the start and end points of the loop as close to each other as possible to ensure the mower recognizes it as a single boundary.

Image: An example of creating a no-mow zone around a flower bed using the boundary wire.
4. Power Connection
Plug the base station into an AC power outlet.
5. App Installation and Connection
Install the MAXLANDER app on your smartphone. Connect the mower to the app via Bluetooth or Wi-Fi. The app allows for programming, scheduling, and monitoring the mower's status.

Image: Screenshots of the MAXLANDER app interface, showing steps for adding a device and connecting to Wi-Fi.

Image: Further screenshots of the MAXLANDER app, demonstrating successful device addition and the main operation interface.
Operating Instructions
Smart App Control
The MAXLANDER Robot Lawn Mower can be controlled and monitored via its dedicated smartphone app. Connect using direct Bluetooth or home Wi-Fi. Through the app, you can:
- Customize mowing schedules.
- Adjust mowing modes.
- Check the robot's status and mowing progress.
- Define multiple starting points for multi-area lawns.

Image: A smartphone displaying the MAXLANDER app interface next to the robot mower, highlighting the app's control capabilities.

Image: An aerial view of a lawn with marked areas (A1, A2, A3) and a smartphone screen showing the app's interface for customizing multiple starting points.

Image: A diagram of a house and lawn with robot mowers, alongside a smartphone screen displaying the app's schedule customization options for each day of the week.
Automatic Charging and Rain Sensor
The robotic mower is equipped with smart charging capabilities and a rain sensor:
- Automatic Return to Base: When the battery level drops below 30% or rain is detected, the mower will automatically return to its charging station.
- Resumption of Mowing: After fully charging or when the rain stops, the mower will resume mowing from where it left off, ensuring continuous lawn coverage.
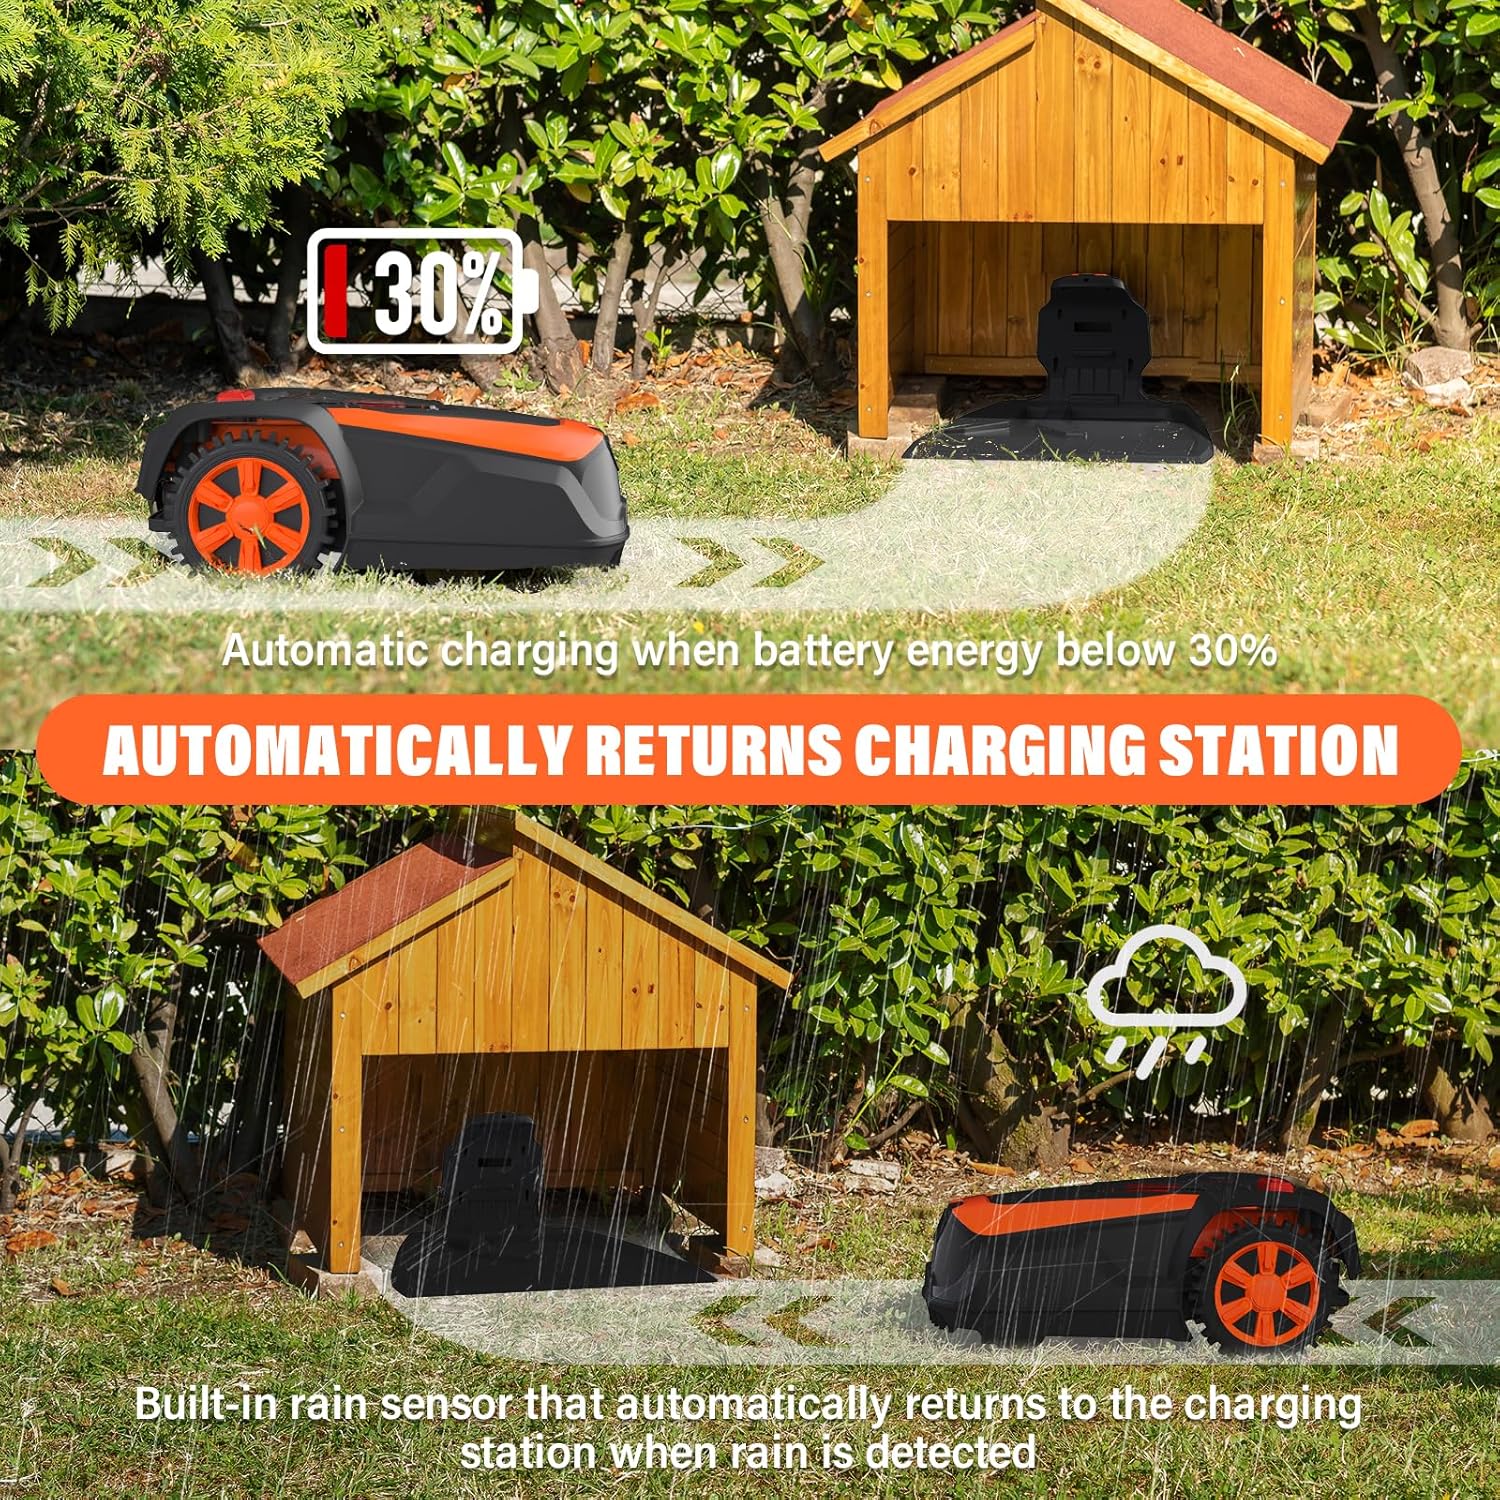
Image: Two scenarios showing the robot mower automatically returning to its charging station: one when the battery is low (30% indicated), and another during rainfall.

Image: The robot mower connecting to its charging station, illustrating the auto-return feature when battery is low or it's raining.
Adjustable Cutting Height and Width
The mower features a cutting disc with three rotatable blades. The cutting parameters are:
- Cutting Width: 8.7 inches
- Cutting Height: Adjustable from 1 inch to 2.5 inches using a large round dial on the top of the mower.
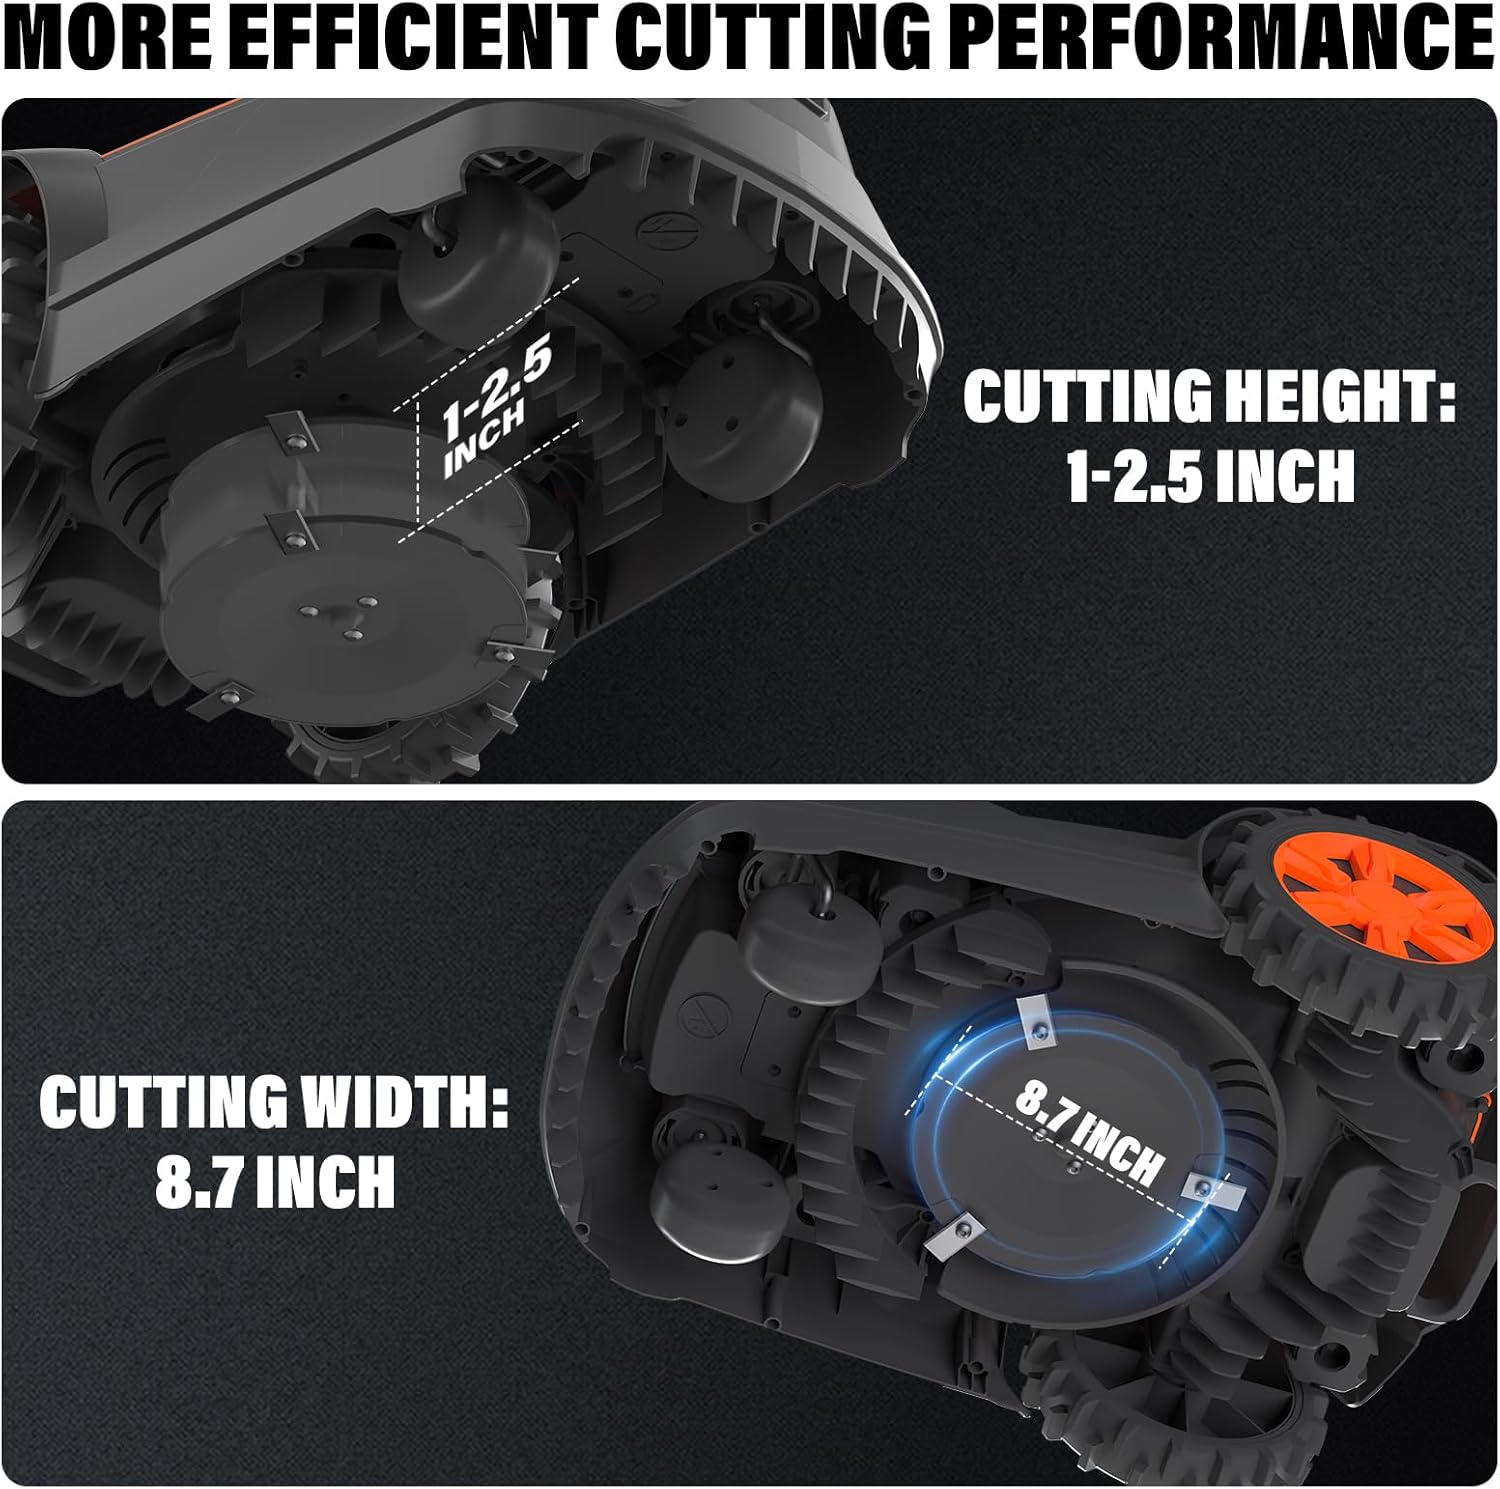
Image: Close-up views of the mower's underside, showing the cutting height adjustment mechanism (1-2.5 inches) and the 8.7-inch cutting width.

Image: A detailed view of the adjustable cutting height dial on the top of the robotic mower, showing settings from 1.0 to 2.5 inches.
Safety Features
- Obstacle Avoidance: The mower intelligently adjusts its direction to avoid collisions with obstacles.
- Lift Sensor: If the mower is lifted off the ground, the safety sensor immediately stops the blades.
- Emergency Stop Button: A red stop button is located on the mower for immediate manual shutdown.

Image: The robot mower navigating around obstacles like a picnic table and a guitar, demonstrating its auto obstacle avoidance feature.
Slope Climbing Capability
The mower is designed with heavy-duty anti-slip wheels, providing excellent climbing ability. It can climb slopes up to 25 degrees (47% slope), allowing it to mow a variety of lawn terrains.

Image: The robot mower positioned on a grassy slope, with an overlay indicating its ability to climb up to a 25-degree incline.

Image: The robot mower on a grassy hill, emphasizing its heavy-duty wheels and ability to climb slopes up to 47% (25 degrees).
Spot Cutting
The mower supports spot cutting for specific areas that may require extra attention.

Image: The robot mower in the center of a circular area on a lawn, indicating its spot cutting function.
Maintenance
Cleaning
The MAXLANDER Robot Lawn Mower has an IPX5 waterproof rating, allowing for easy cleaning. Simply rinse the underside with a tap to remove grass clippings and debris.

Image: Water being sprayed onto the underside of the robot mower, demonstrating its IPX5 waterproof rating for easy cleaning.
Blade Replacement
Regularly inspect the blades for wear and tear. Replace dull or damaged blades to ensure optimal cutting performance. Refer to the App Manual for detailed instructions on blade replacement.
Troubleshooting
If you encounter issues with your MAXLANDER Robot Lawn Mower, refer to the following common solutions:
- Mower not charging: Ensure the charging station is properly connected to power and the mower is correctly docked. Check for any obstructions around the charging contacts.
- Mower not starting: Verify the battery is charged. Check if the emergency stop button is pressed. Ensure the boundary wire is intact and forms a closed loop.
- Poor cutting performance: Inspect the blades for sharpness and replace if dull. Clean any accumulated grass or debris from the cutting deck.
- Mower getting stuck: Check for obstacles in the mowing area. Ensure no-mow zones are properly set up around sensitive areas.
- App connectivity issues: Ensure Bluetooth or Wi-Fi is enabled on your device and the mower. Restart the app and the mower if necessary.
For more detailed troubleshooting steps, consult the App Manual or contact customer support.
Specifications
| Feature | Specification |
|---|---|
| Brand | MAXLANDER |
| Model Number | ML8B102 |
| Power Source | Battery Powered (1 Lithium Ion battery included) |
| Material | Plastic |
| Color | Orange |
| Cutting Width | 8.7 Inches |
| Operation Mode | Automatic |
| Product Dimensions | 27.16"D x 20.87"W x 11.8"H |
| Adjustable Cutting Height | 1 - 2.5 Inches |
| Item Weight | 40.3 pounds |
| Max. Coverage Area | Up to 1/3 Acre (1400 m²) |
| Slope Climbing Capability | Up to 25 degrees (47% slope) |
| Waterproof Rating | IPX5 |
| Noise Level | Below 66 decibels |
Warranty and Support
For warranty information and customer support, please refer to the contact details provided in your product packaging or visit the official MAXLANDER website. The manufacturer aims to provide a solution within 24 hours for any questions or concerns.
