
1. Product Overview
The GETPARTS P1123335-041 Cutter Option is an accessory designed to integrate with Zebra ZT231, ZT211, and ZT111 series thermal label printers. This module provides an automatic cutting function, allowing labels to be cut immediately after printing, which streamlines workflow in various industrial and commercial environments.
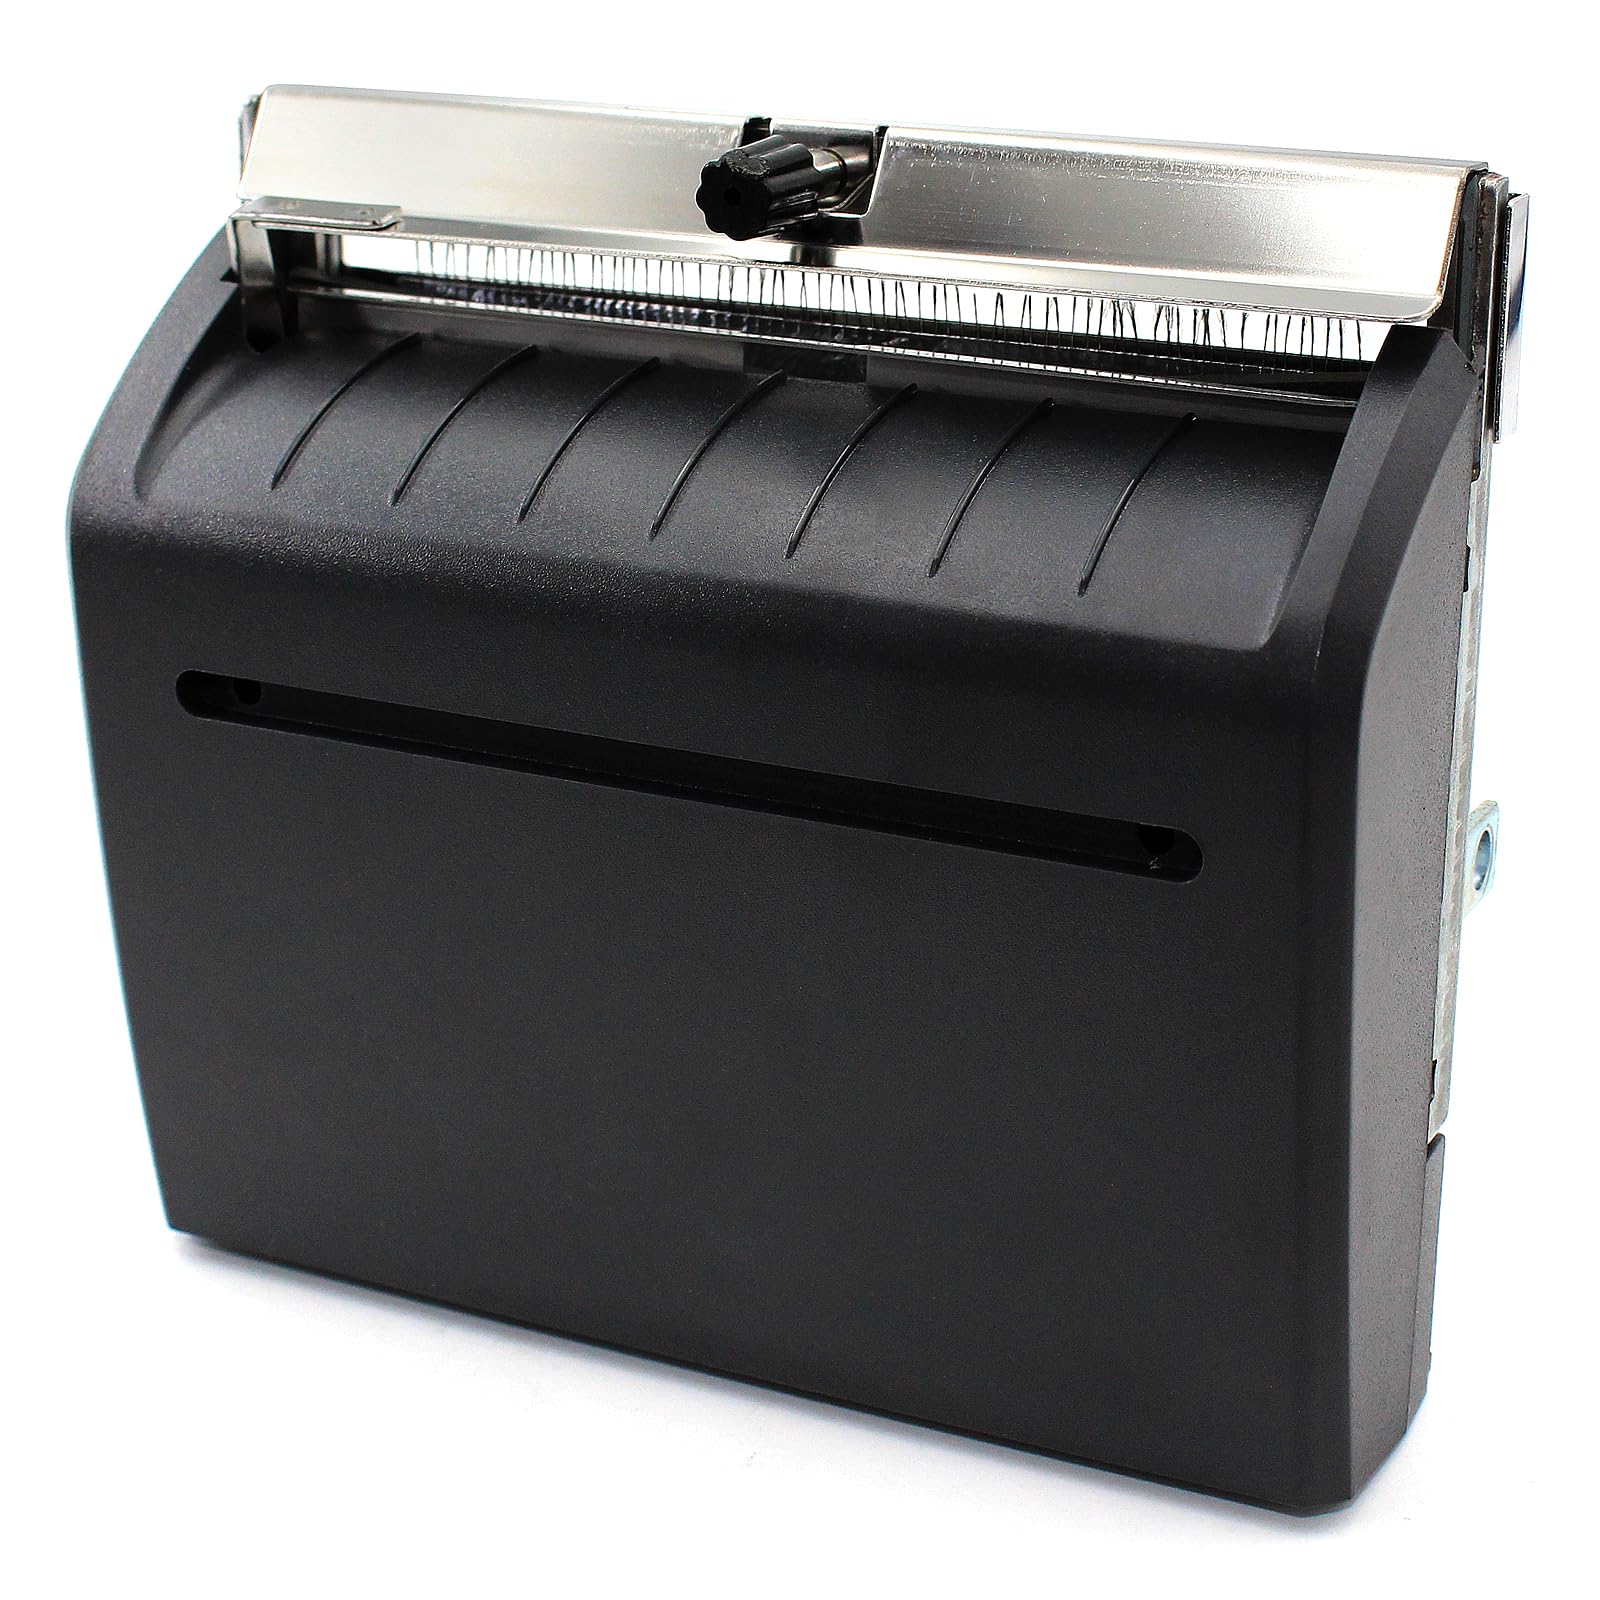
Image 1.1: The GETPARTS P1123335-041 Cutter Option unit, showing its motor, wiring, and blade mechanism.
2. Key Features
- Perfect Compatibility: Precision engineered for Zebra ZT231, ZT211, and ZT111 industrial label printers, ensuring a perfect match with original mounting positions and interfaces.
- Plug-and-Play Installation: Designed for direct installation and replacement without requiring extra modifications or complex setup.
- Automatic Efficient Cutting: Features an automatic cutting mechanism that cuts labels immediately after printing, eliminating the need for manual tearing.
- Enhanced Productivity: Synchronizes with the printer's high-speed operation to improve overall efficiency in label production.
- Durable Construction: Built with a sharp, robust blade for clean and consistent cuts.
3. Compatibility
This cutter option is compatible with the following Zebra thermal label printer models:
- Zebra ZT231 (203dpi, 300dpi)
- Zebra ZT211 (203dpi, 300dpi)
- Zebra ZT111 (203dpi, 300dpi)
Specifically fits models such as ZT23142-T01000FZ, ZT23143-T01000FZ, ZT23142-D01000FZ, and ZT23143-D01000FZ.
4. What's Included
The package includes:
- 1x GETPARTS P1123335-041 Kit Cutter Option Upgrade for ZT231 series printers.
- Necessary mounting hardware (e.g., screws, as indicated by packaging).

Image 4.1: The cutter option unit alongside a small bag containing mounting hardware, labeled with part number 22004-3.
5. Setup and Installation
Follow these general steps for installing the cutter option into your compatible Zebra printer. Refer to your printer's specific service manual for detailed instructions on accessing internal components.
- Power Off Printer: Ensure the printer is powered off and unplugged from the electrical outlet before beginning installation.
- Open Printer Cover: Open the printer's media cover and any internal access panels required to reach the cutter installation area.
- Locate Installation Position: Identify the designated mounting position for the cutter option within the printer chassis. This is typically near the media exit path.
- Mount the Cutter: Carefully align the P1123335-041 cutter option with the mounting points. Secure it using the provided screws or existing fasteners as per the printer's design.
- Connect Wiring: Connect the cutter's wiring harness to the corresponding port on the printer's main board. Ensure the connection is secure.
- Close Printer: Close all printer covers and access panels.
- Power On and Test: Plug in and power on the printer. Perform a test print to verify the cutter functionality.
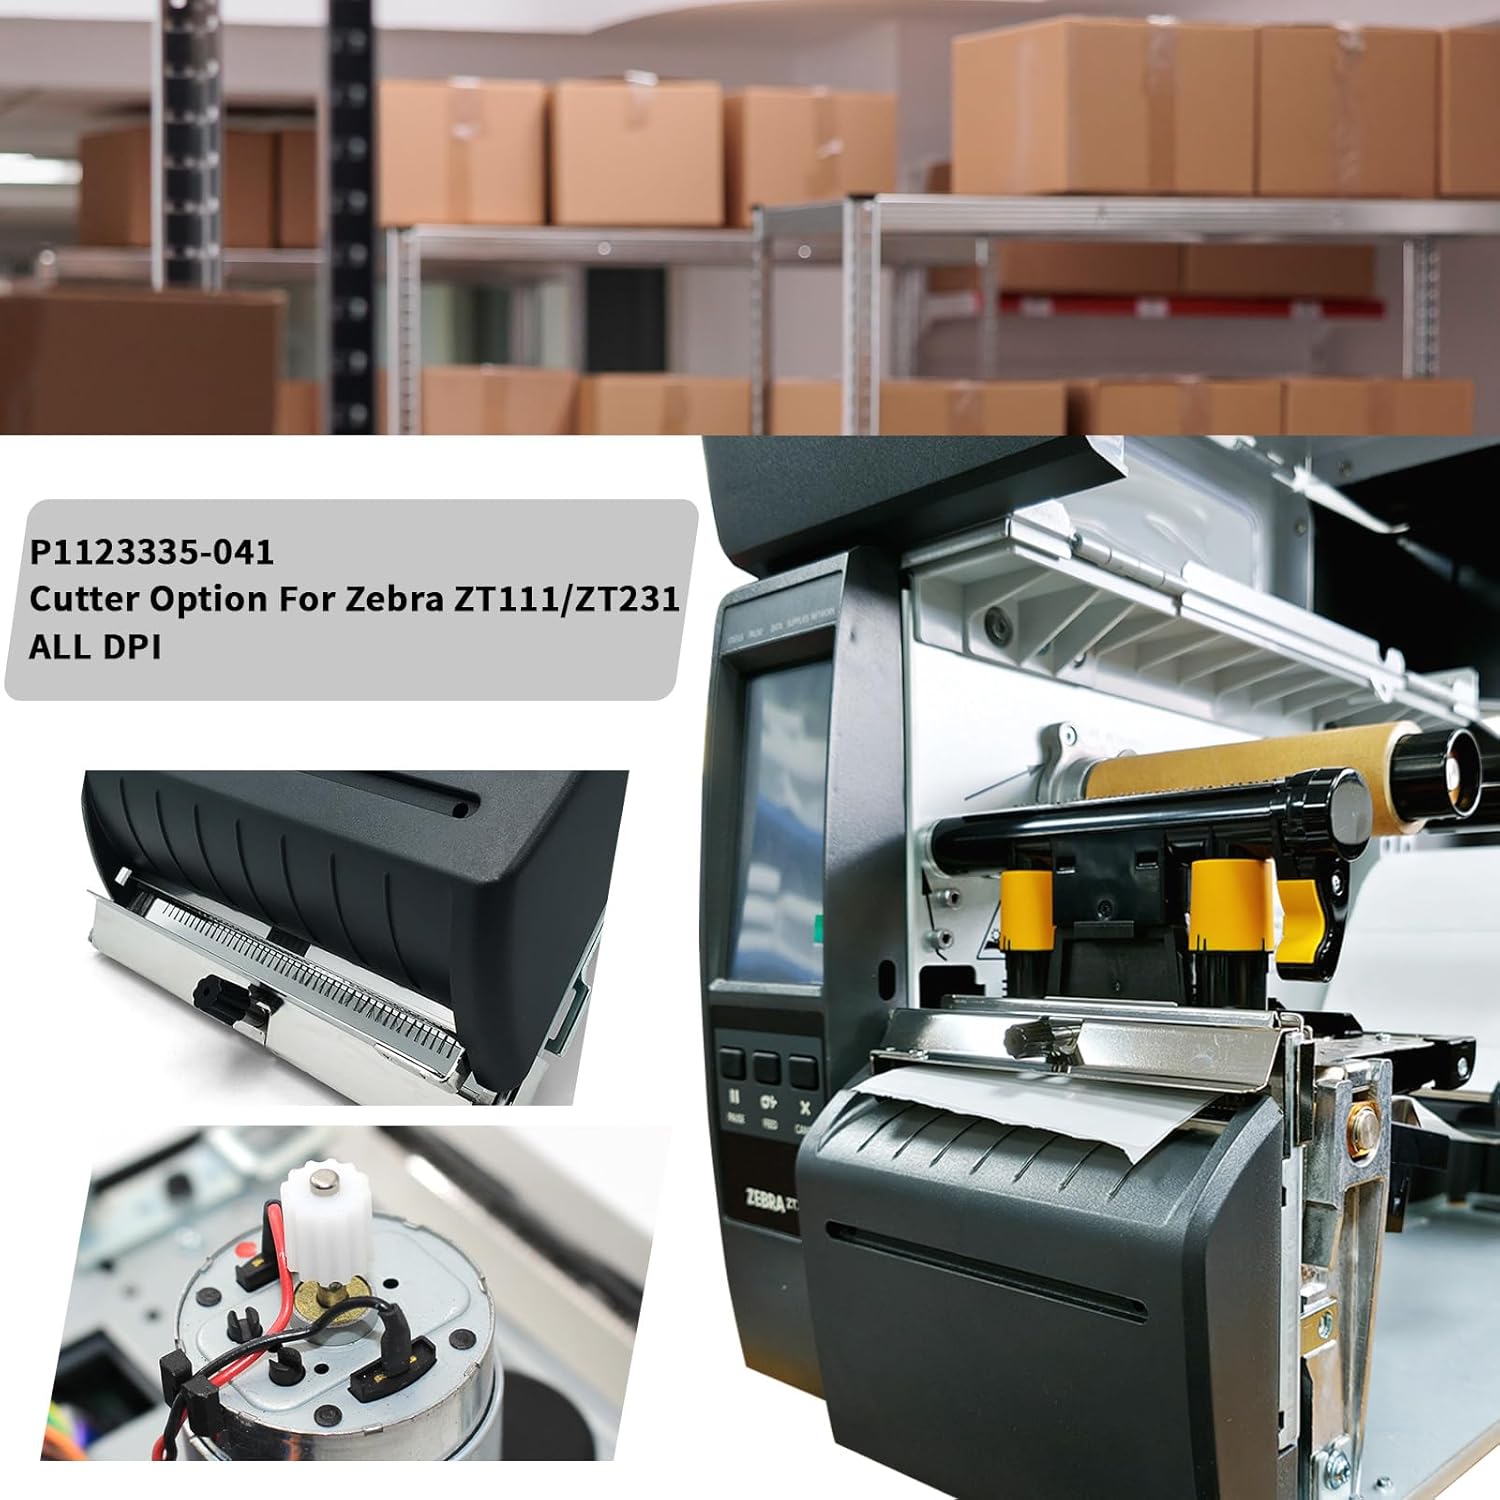
Image 5.1: The GETPARTS P1123335-041 Cutter Option shown installed within a Zebra ZT series thermal label printer, ready for operation.
6. Operation
Once installed, the P1123335-041 Cutter Option operates automatically. When a print job requiring a cut is sent to the printer, the cutter will activate to separate the label from the roll or continuous media.
- Automatic Cutting: The cutter is designed to perform a clean cut after each label or batch of labels, based on the printer's settings and print job commands.
- Clean Edges: The sharp blade ensures neat edges without burrs, contributing to professional-looking labels.
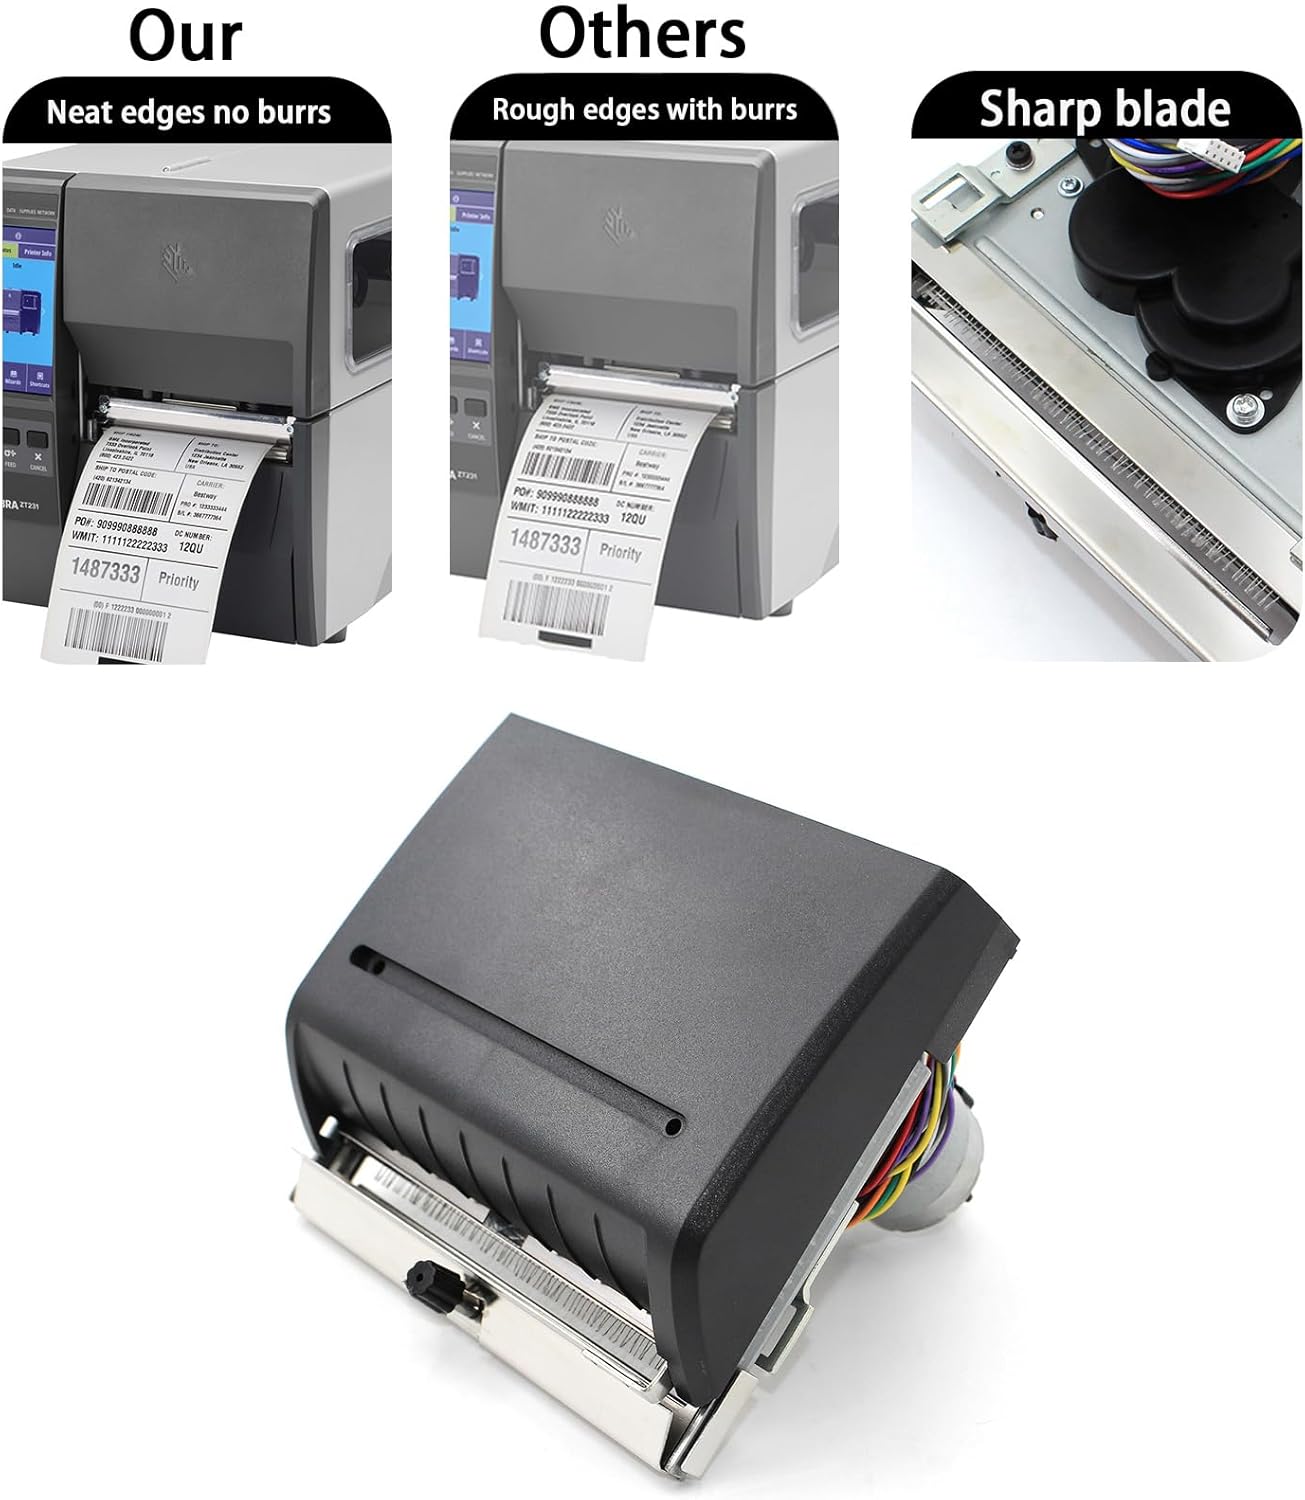
Image 6.1: A visual comparison demonstrating the clean, burr-free edges produced by the GETPARTS cutter compared to labels with rough edges.
7. Maintenance
To ensure optimal performance and longevity of your cutter option, regular maintenance is recommended:
- Cleaning: Periodically inspect the cutter blade and surrounding area for any adhesive residue, paper dust, or debris. Use a soft, lint-free cloth and isopropyl alcohol to gently clean the blade and cutting path. Ensure the printer is powered off and unplugged before cleaning.
- Inspection: Check the blade for any signs of wear or damage. A dull or damaged blade can lead to poor cut quality.
- Lubrication: Consult your printer's service manual for any specific lubrication requirements for moving parts within the cutter mechanism.
8. Troubleshooting
If you encounter issues with the cutter option, consider the following:
- Cutter Not Activating:
- Verify the cutter is correctly installed and its wiring harness is securely connected.
- Check printer settings to ensure the cutter option is enabled and configured for your media type.
- Ensure the print job includes commands for cutting.
- Poor Cut Quality (Ragged Edges, Incomplete Cuts):
- Clean the cutter blade and path as described in the Maintenance section.
- Inspect the blade for damage or excessive wear. A worn blade may require replacement.
- Ensure the media is loaded correctly and is compatible with the cutter.
- Paper Jams at Cutter:
- Clear any jammed media carefully, following your printer's instructions for jam removal.
- Check for debris or obstructions in the cutter path.
- Ensure the media is not curled or damaged before it reaches the cutter.
If problems persist, contact GETPARTS customer support or a qualified service technician.
9. Specifications
| Model Number | P1123335-041 |
| Compatible Printer Models | Zebra ZT231, ZT211, ZT111 |
| Function | Automatic Label Cutting |
| Item Weight | 4 Pounds (approx.) |
| Included Components | Kit Cutter Option |
10. Warranty and Support
This GETPARTS P1123335-041 Cutter Option comes with a 3-month limited warranty from the date of purchase. This warranty covers manufacturing defects under normal use.
For technical support, warranty claims, or any product-related inquiries, please contact GETPARTS customer service. Please have your product model number and purchase information available when contacting support.