
HelloBaby B0CNL9ZGRL
HelloBaby Kids Instant Print Camera User Manual
Model: B0CNL9ZGRL
1. Introduction
This manual provides comprehensive instructions for the safe and effective use of your HelloBaby Kids Instant Print Camera. Designed for children aged 3-12, this camera combines instant printing capabilities with high-definition digital photography and video recording. Please read this manual thoroughly before operating the device to ensure optimal performance and longevity.
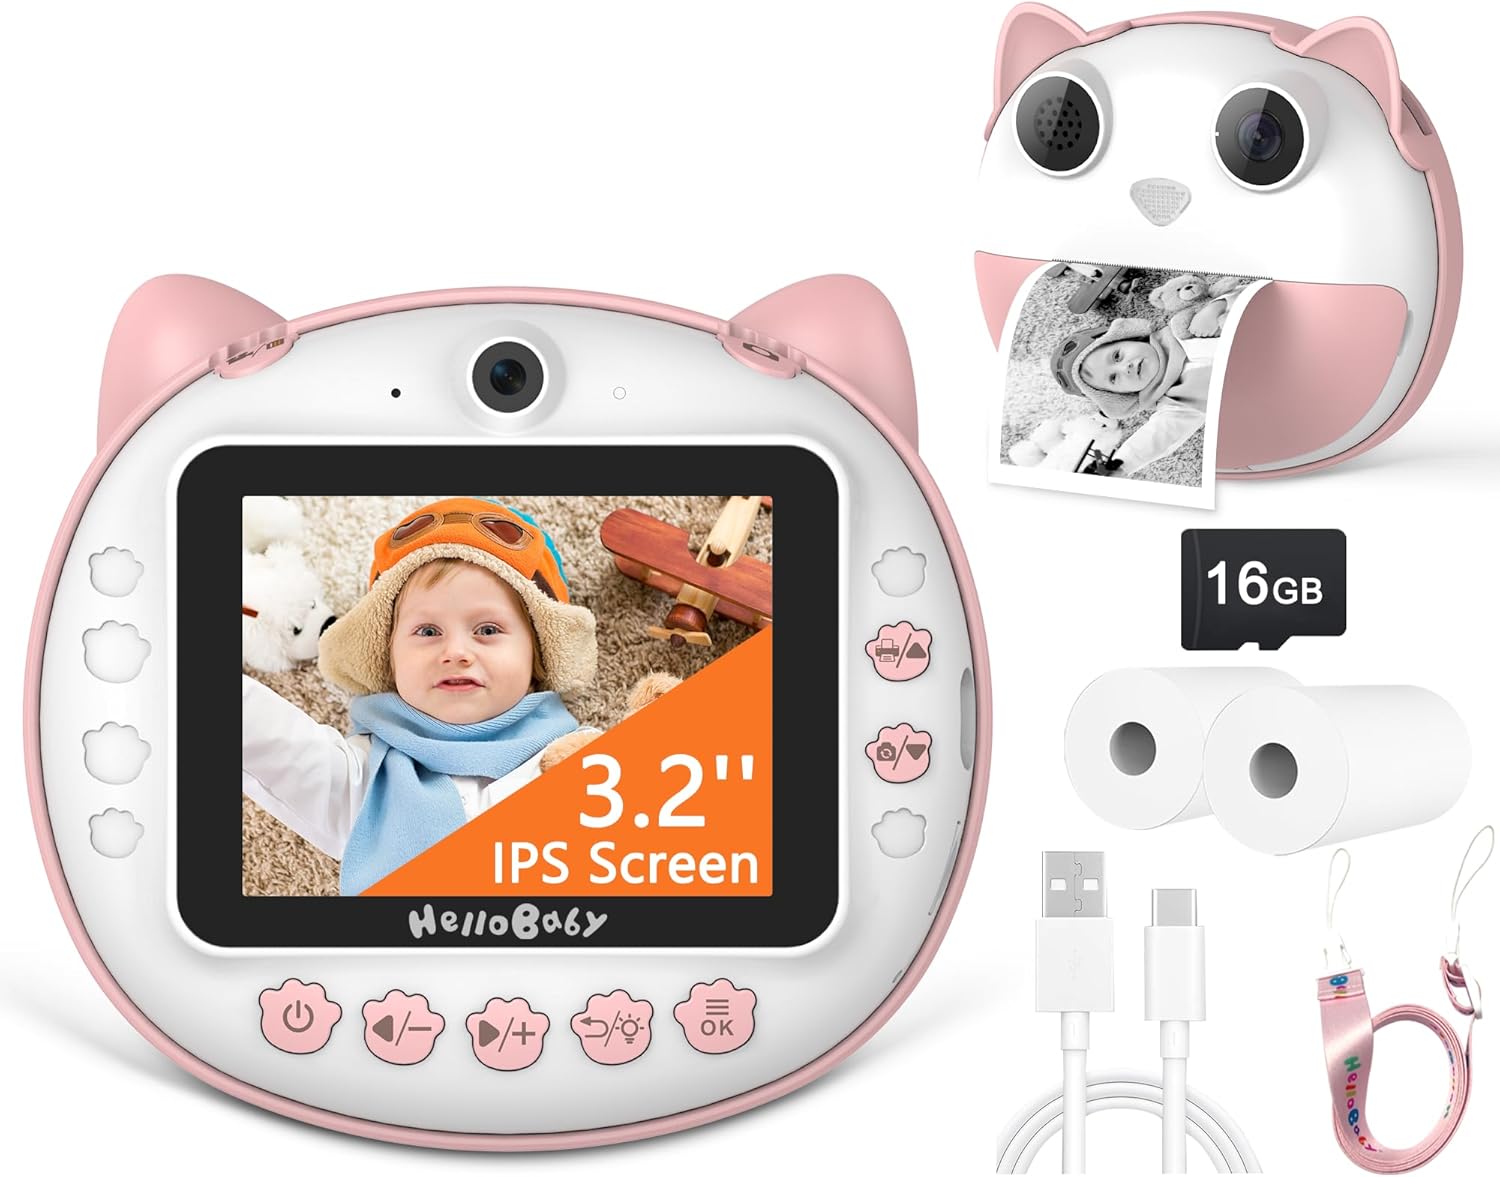
Image: The HelloBaby Kids Instant Print Camera, showcasing its design and included accessories.
2. Package Contents
Please verify that all items listed below are included in your package:
- HelloBaby Kids Instant Print Camera (Pink)
- 16GB SD Card
- 2 x Printing Paper Rolls
- Type-C Charging Cable
- Neck Strap

Image: Visual representation of the items included in the product package.
3. Safety Information
To ensure safe operation and prevent damage to the device or injury, please observe the following safety guidelines:
- Do not expose the camera to water or excessive moisture.
- Avoid dropping the camera or subjecting it to strong impacts.
- Use only the provided Type-C charging cable and a compatible power adapter.
- Keep small parts, such as the SD card and paper rolls, out of reach of very young children to prevent choking hazards.
- The thermal printing paper is non-toxic and odorless, but avoid direct contact with eyes or mouth.
- Do not attempt to disassemble or repair the camera yourself. Contact customer support for assistance.
4. Setup Guide
4.1. Charging the Camera
Before first use, fully charge the camera. A full charge typically takes approximately 2-3 hours.
- Locate the Type-C charging port on the side of the camera.
- Connect the provided Type-C charging cable to the camera and the other end to a USB power source (e.g., computer, wall adapter).
- The charging indicator light will illuminate during charging and turn off when fully charged.

Image: The camera connected for Type-C charging and data transfer.
4.2. Inserting the SD Card
The camera comes with a 16GB SD card for storing color photos and videos.
- Locate the SD card slot on the side of the camera, next to the charging port.
- Gently insert the 16GB SD card into the slot with the gold contacts facing down until it clicks into place.
- To remove, press the SD card gently inward until it pops out.
4.3. Installing Printing Paper
The camera uses thermal printing paper for instant black-and-white prints.
- Open the paper slot: Gently push the release button or tab to open the front cover of the camera where the paper roll is inserted.
- Install the printing paper: Place a new paper roll into the compartment. Ensure the paper feeds from the bottom of the roll and the leading edge is straight. Incorrect installation direction will result in blank photos.
- Close the camera: Close the front cover firmly until it clicks into place.

Image: Step-by-step guide for installing the thermal printing paper.
5. Operating Instructions
5.1. Power On/Off
Press and hold the power button (usually marked with a power symbol) for a few seconds to turn the camera on or off.
5.2. Basic Photography
To capture a photo:
- Turn on the camera.
- Frame your shot using the 3.2-inch IPS screen.
- Press the shutter button (usually a prominent button on top or front) to take a picture. The camera will instantly print a black-and-white version and save a color version to the SD card.

Image: The camera's display showing a 12MP photo capture.
5.3. Video Recording
To record a 1080P HD video:
- Switch to video mode using the mode button (refer to camera icons).
- Press the shutter button to start recording. Press again to stop.
- Videos are saved directly to the SD card.

Image: The camera's display indicating 1080P video recording mode.
5.4. Instant Printing
After taking a photo, the camera will automatically print a black-and-white version. You can also select a photo from the gallery and choose to print it.

Image: Illustrates the two modes: saving to SD card (color) and instant printing (black & white).
5.5. Digital Zoom
Use the zoom buttons (often marked with '+' and '-') to digitally zoom in or out up to 16x while in photo or video mode.

Image: Demonstrates the 16X digital zoom capability of the camera.
5.6. Continuous Shooting
This feature allows you to capture a series of photos in quick succession.
- Navigate to the continuous shooting setting in the camera menu.
- Activate the feature and press the shutter button to begin capturing multiple images.

Image: Illustration of the continuous shooting feature, capturing multiple moments.
5.7. Time-lapse Photography
Set a delay before the photo is taken, allowing the child to get into position.
- Access the time-lapse settings in the camera menu.
- Select a delay of 3 seconds, 5 seconds, or 10 seconds.
- Press the shutter button; the camera will count down before taking the picture.
5.8. Applying Filters and Frames
Enhance your photos with various fun filters and decorative frames.
- While in photo mode, press the dedicated button for filters/frames (refer to camera icons).
- Browse through the available options using the navigation buttons.
- Select your desired filter or frame before taking the photo.
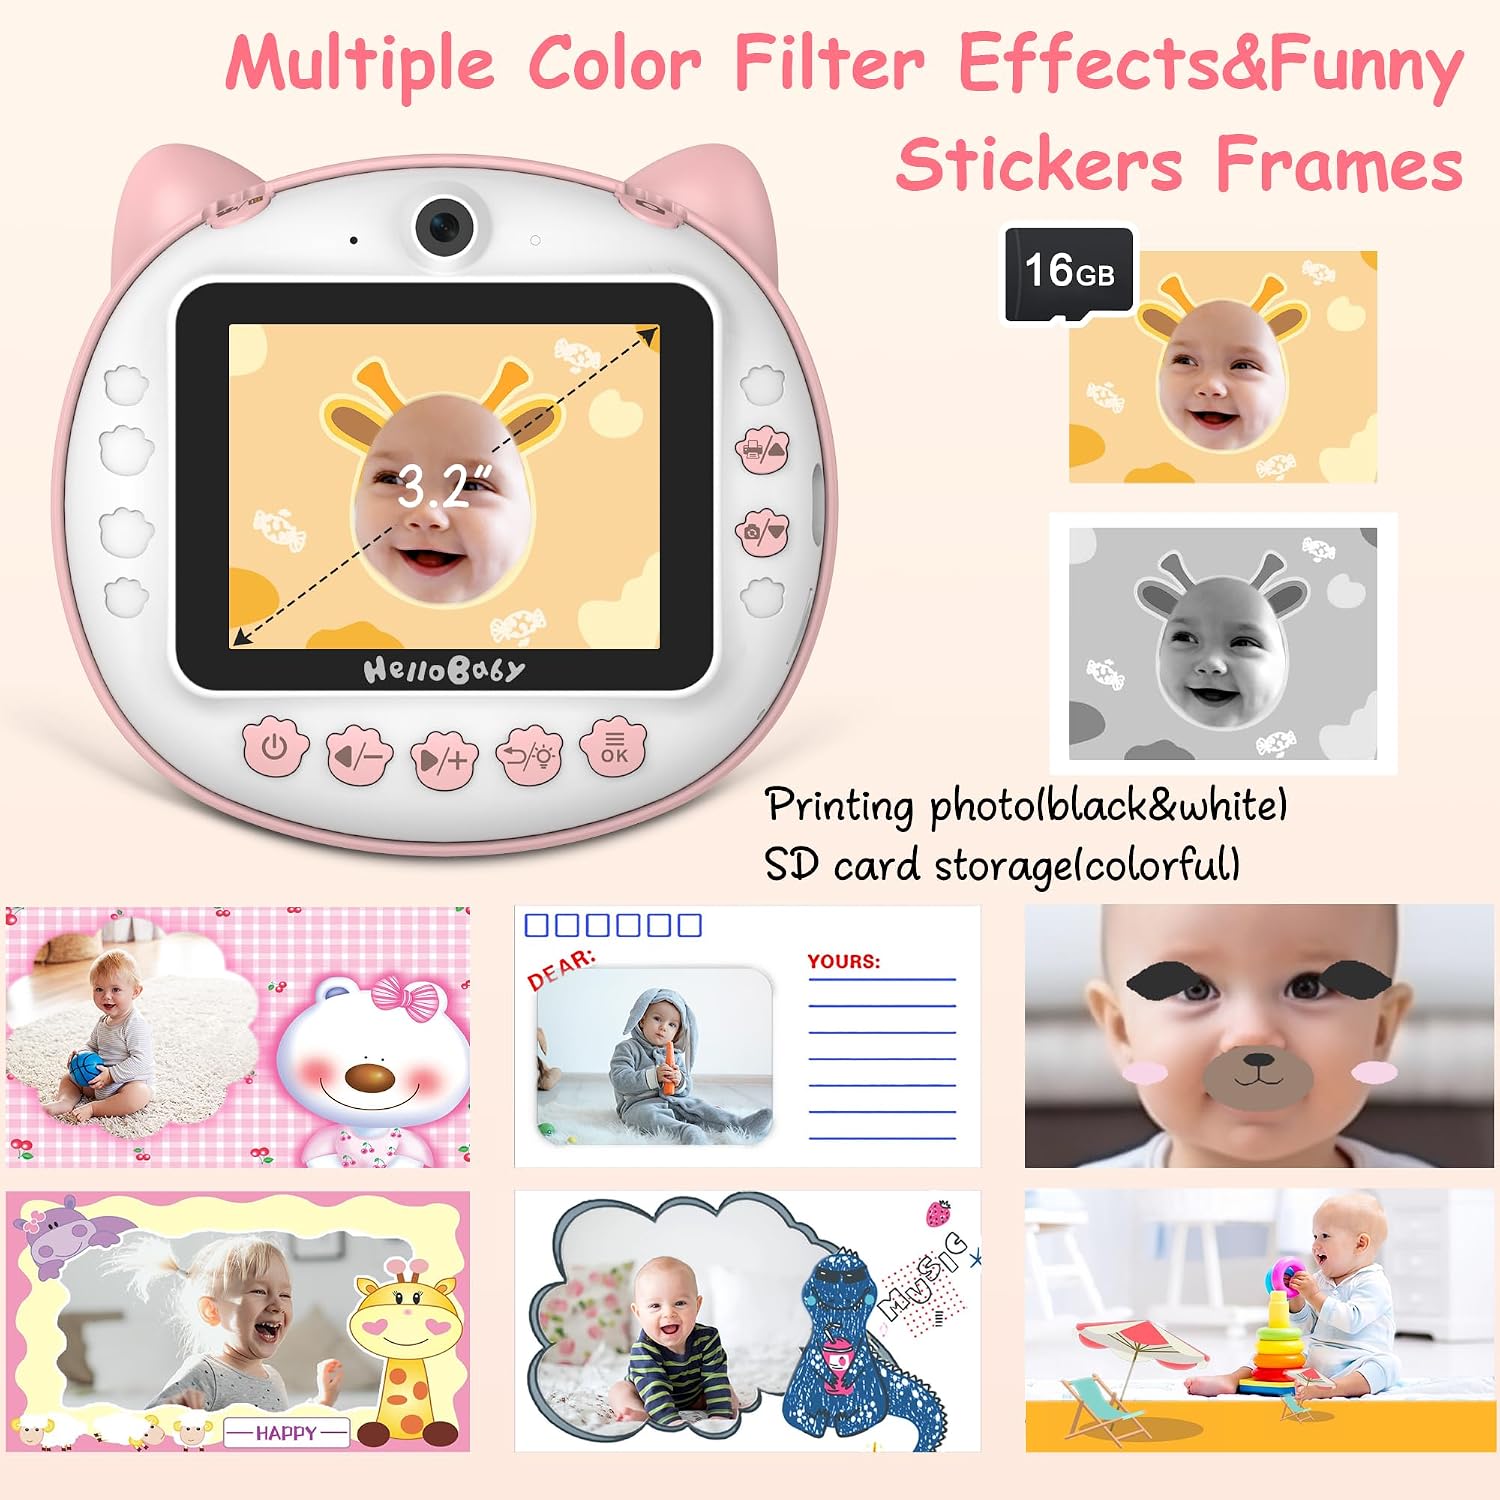
Image: Examples of multiple color filter effects and funny sticker frames available.
5.9. Playback and Review
View your captured photos and videos on the camera's screen.
- Press the playback button (usually an arrow icon).
- Use the navigation buttons to scroll through your media.
- Press the OK button to view a photo or play a video.

Image: Demonstrates the two storage options: black and white print and color SD card storage.
5.10. Games and MP3 Player
The camera includes built-in games and an MP3 player for entertainment.
- Access the games/MP3 player menu from the main interface.
- Select a game to play or browse your music files (if loaded onto the SD card).

Image: The camera's interface showing the selection of four games and MP3 player functionality.
6. Maintenance
6.1. Cleaning the Camera
Use a soft, dry cloth to clean the camera body and screen. Do not use liquid cleaners or abrasive materials.
6.2. Replacing Printing Paper
When the paper roll is depleted, follow the steps in Section 4.3 to install a new roll. Ensure you use compatible thermal printing paper.
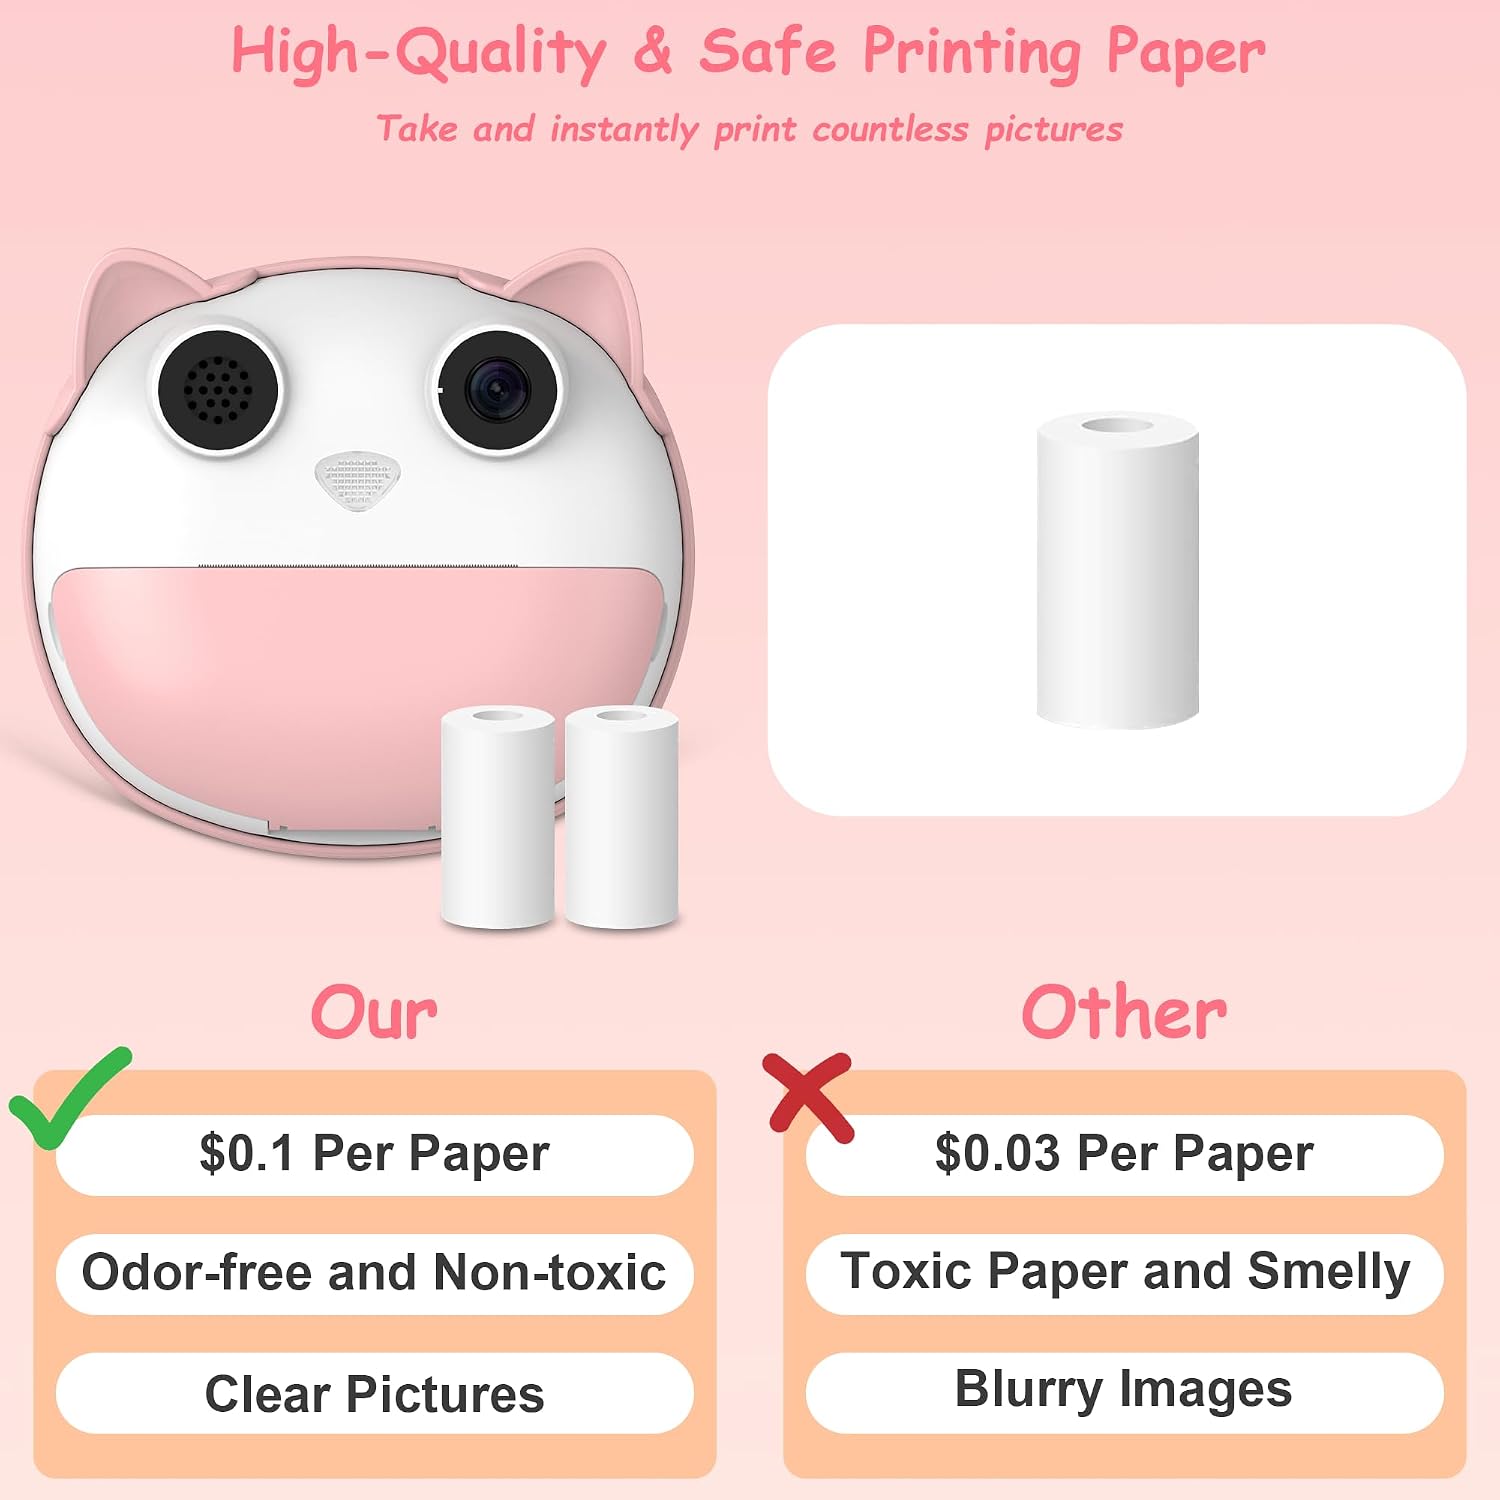
Image: Highlights the quality and safety of the recommended printing paper.
6.3. Storage
Store the camera in a cool, dry place away from direct sunlight and extreme temperatures when not in use. Remove the SD card if storing for extended periods.
7. Troubleshooting
| Problem | Possible Cause / Solution |
|---|---|
| Camera not turning on or charging. |
|
| Prints are blank or faded. |
|
| SD card error or not recognized. |
|
| Poor image or video quality. |
|
8. Specifications
| Feature | Detail |
|---|---|
| Model Number | B0CNL9ZGRL |
| Screen Size | 3.2-inch IPS Screen |
| Photo Resolution | 12 MP (Effective Still Resolution) |
| Video Resolution | 1080P HD |
| Digital Zoom | 16x |
| Storage | 16GB SD Card (included) |
| Printing Technology | Thermal Printing (Black & White) |
| Battery Capacity | 1200mAh |
| Charging Port | Type-C |
| Item Weight | 1.04 pounds |
| Package Dimensions | 5.83 x 5.24 x 2.52 inches |
| Manufacturer | HelloBaby |
9. Warranty and Support
The HelloBaby Kids Instant Print Camera comes with a 1-year warranty from the date of purchase. This warranty covers manufacturing defects and malfunctions under normal use. Please retain your proof of purchase for warranty claims.
For technical support, troubleshooting assistance, or warranty inquiries, please contact HelloBaby customer service through the retailer's platform or the official HelloBaby website. Provide your model number (B0CNL9ZGRL) and a detailed description of the issue for faster service.
For more information, visit the official HelloBaby Store on Amazon.
Ask a question about this manual
Ask about setup, troubleshooting, compatibility, parts, safety, or missing instructions. Manuals+ will review the question and use this page’s manual context to help answer it.