
1. Introduction
Thank you for purchasing the SKKTKT LED TV Stand with Charging Station. This manual provides detailed instructions for assembly, operation, maintenance, and troubleshooting to ensure safe and efficient use of your new entertainment center. Please read this manual thoroughly before assembly and retain it for future reference.
2. Safety Information
- Always follow assembly instructions carefully. Incorrect assembly can lead to instability and injury.
- Do not exceed the maximum weight capacity of 110 pounds for the TV stand.
- Ensure all screws and fasteners are securely tightened before use. Periodically check and retighten as necessary.
- Keep small parts and packaging materials away from children to prevent choking hazards.
- Place the TV stand on a flat, level, and stable surface to prevent tipping.
- Do not expose the charging station or LED lights to water or excessive moisture.
- Unplug the power cord from the charging station before cleaning or if not in use for extended periods.
- Avoid placing hot items directly on the surface without protection.
3. Package Contents
Before beginning assembly, verify that all components are present and undamaged. If any parts are missing or damaged, please contact customer service.
- All necessary hardware (screws, bolts, connectors)
- MDF board panels for top, shelves, and sides
- Metal frame components (including X-shaped supports)
- 5 metal feet with floor protectors
- LED light strip with body sensor and control panel
- Integrated charging station (Wireless, USB, Type-C ports)
- 2 removable fabric storage drawers
- Assembly instructions
4. Setup and Assembly Instructions
Assembly is designed to be straightforward. It is recommended to have two people for assembly. Please follow the included assembly instructions step-by-step.
4.1 Key Structural Components

Image 4.1: Key structural components and features.
- Stable X-shaped Construction: The two X-shaped reinforced structures on the sides provide enhanced stability. Ensure these are correctly installed and tightened.
- Floor Protectors: The 5 metal feet are equipped with floor protectors to prevent scratches on your flooring. Attach these to the bottom of the stand legs.
- High-Quality MDF Board: The main panels are made from durable MDF board. Handle with care during assembly to avoid damage.
4.2 Assembly Steps Overview
- Unpack all components and lay them out on a clean, soft surface to prevent scratches.
- Identify each part using the labels provided in the separate assembly guide.
- Begin by attaching the metal frame components according to the instructions.
- Secure the MDF board panels to the frame using the designated hardware.
- Install the X-shaped reinforced structures on both sides.
- Attach the 5 metal feet with floor protectors to the base of the stand.
- Integrate the LED light strip and charging station components as instructed.
- Insert the 2 removable fabric drawers into their designated compartments.
- Ensure all connections are tight and the stand is stable before placing a TV or other items on it.
5. Operating Instructions
5.1 LED Lighting System

Image 5.1: LED light color and brightness options.
- Power On/Off: Connect the LED light power adapter to a wall outlet. The lights can be controlled via the integrated control panel.
- Color Change: Short press the color change button on the control panel to cycle through White, Yellow, and Blue light options.
- Brightness Adjustment: Long press the brightness adjustment button on the control panel to increase or decrease the light intensity across 3 levels.
- Body Sensor Mode: The TV stand features an auto-sensing mode. Once activated, the LED lights will illuminate automatically when you approach the stand and turn off when you leave. This feature can be enabled/disabled via the control panel.

Image 5.2: Smart human body induction in action.
5.2 Charging Station

Image 5.3: Overview of the charging station features.
- Wireless Charging: Place your compatible device on the wireless charging pad located on the tabletop. Ensure the device is centered for optimal charging.
- USB Port: Connect your device's USB charging cable to the standard USB port for wired charging.
- Type-C Port: Connect your device's Type-C charging cable to the Type-C port for wired charging.
- Ensure the TV stand's power cord is plugged into a functional wall outlet for the charging station to operate.
6. Maintenance
- Cleaning: Wipe the surfaces with a soft, damp cloth. Avoid harsh chemicals or abrasive cleaners that may damage the finish.
- Dusting: Regularly dust the stand to prevent buildup, especially around the LED lights and charging ports.
- Drawer Care: The fabric drawers can be spot cleaned with a mild detergent and air-dried. Do not machine wash.
- Fastener Check: Periodically check all screws and fasteners to ensure they remain tight. Retighten if necessary to maintain stability.
- Electrical Components: Keep the charging station and LED light connections dry and free from debris.
7. Troubleshooting
| Problem | Possible Cause | Solution |
|---|---|---|
| LED lights do not turn on. | Power cord not plugged in; loose connection; faulty LED strip. | Ensure power cord is securely plugged into a working outlet. Check all connections to the LED strip. If problem persists, contact customer service. |
| Charging station not working. | Power cord not plugged in; device not compatible with wireless charging; loose connection. | Verify the TV stand's power cord is plugged in. For wireless charging, ensure your device supports Qi wireless charging and is correctly positioned. Check USB/Type-C cable connections. |
| Body sensor light not activating. | Sensor mode disabled; obstruction; sensor malfunction. | Ensure body sensor mode is enabled via the control panel. Clear any obstructions in front of the sensor. If issue continues, contact support. |
| Stand feels unstable. | Loose fasteners; uneven surface. | Check and tighten all screws and bolts. Ensure the TV stand is placed on a flat, level surface. |
8. Specifications
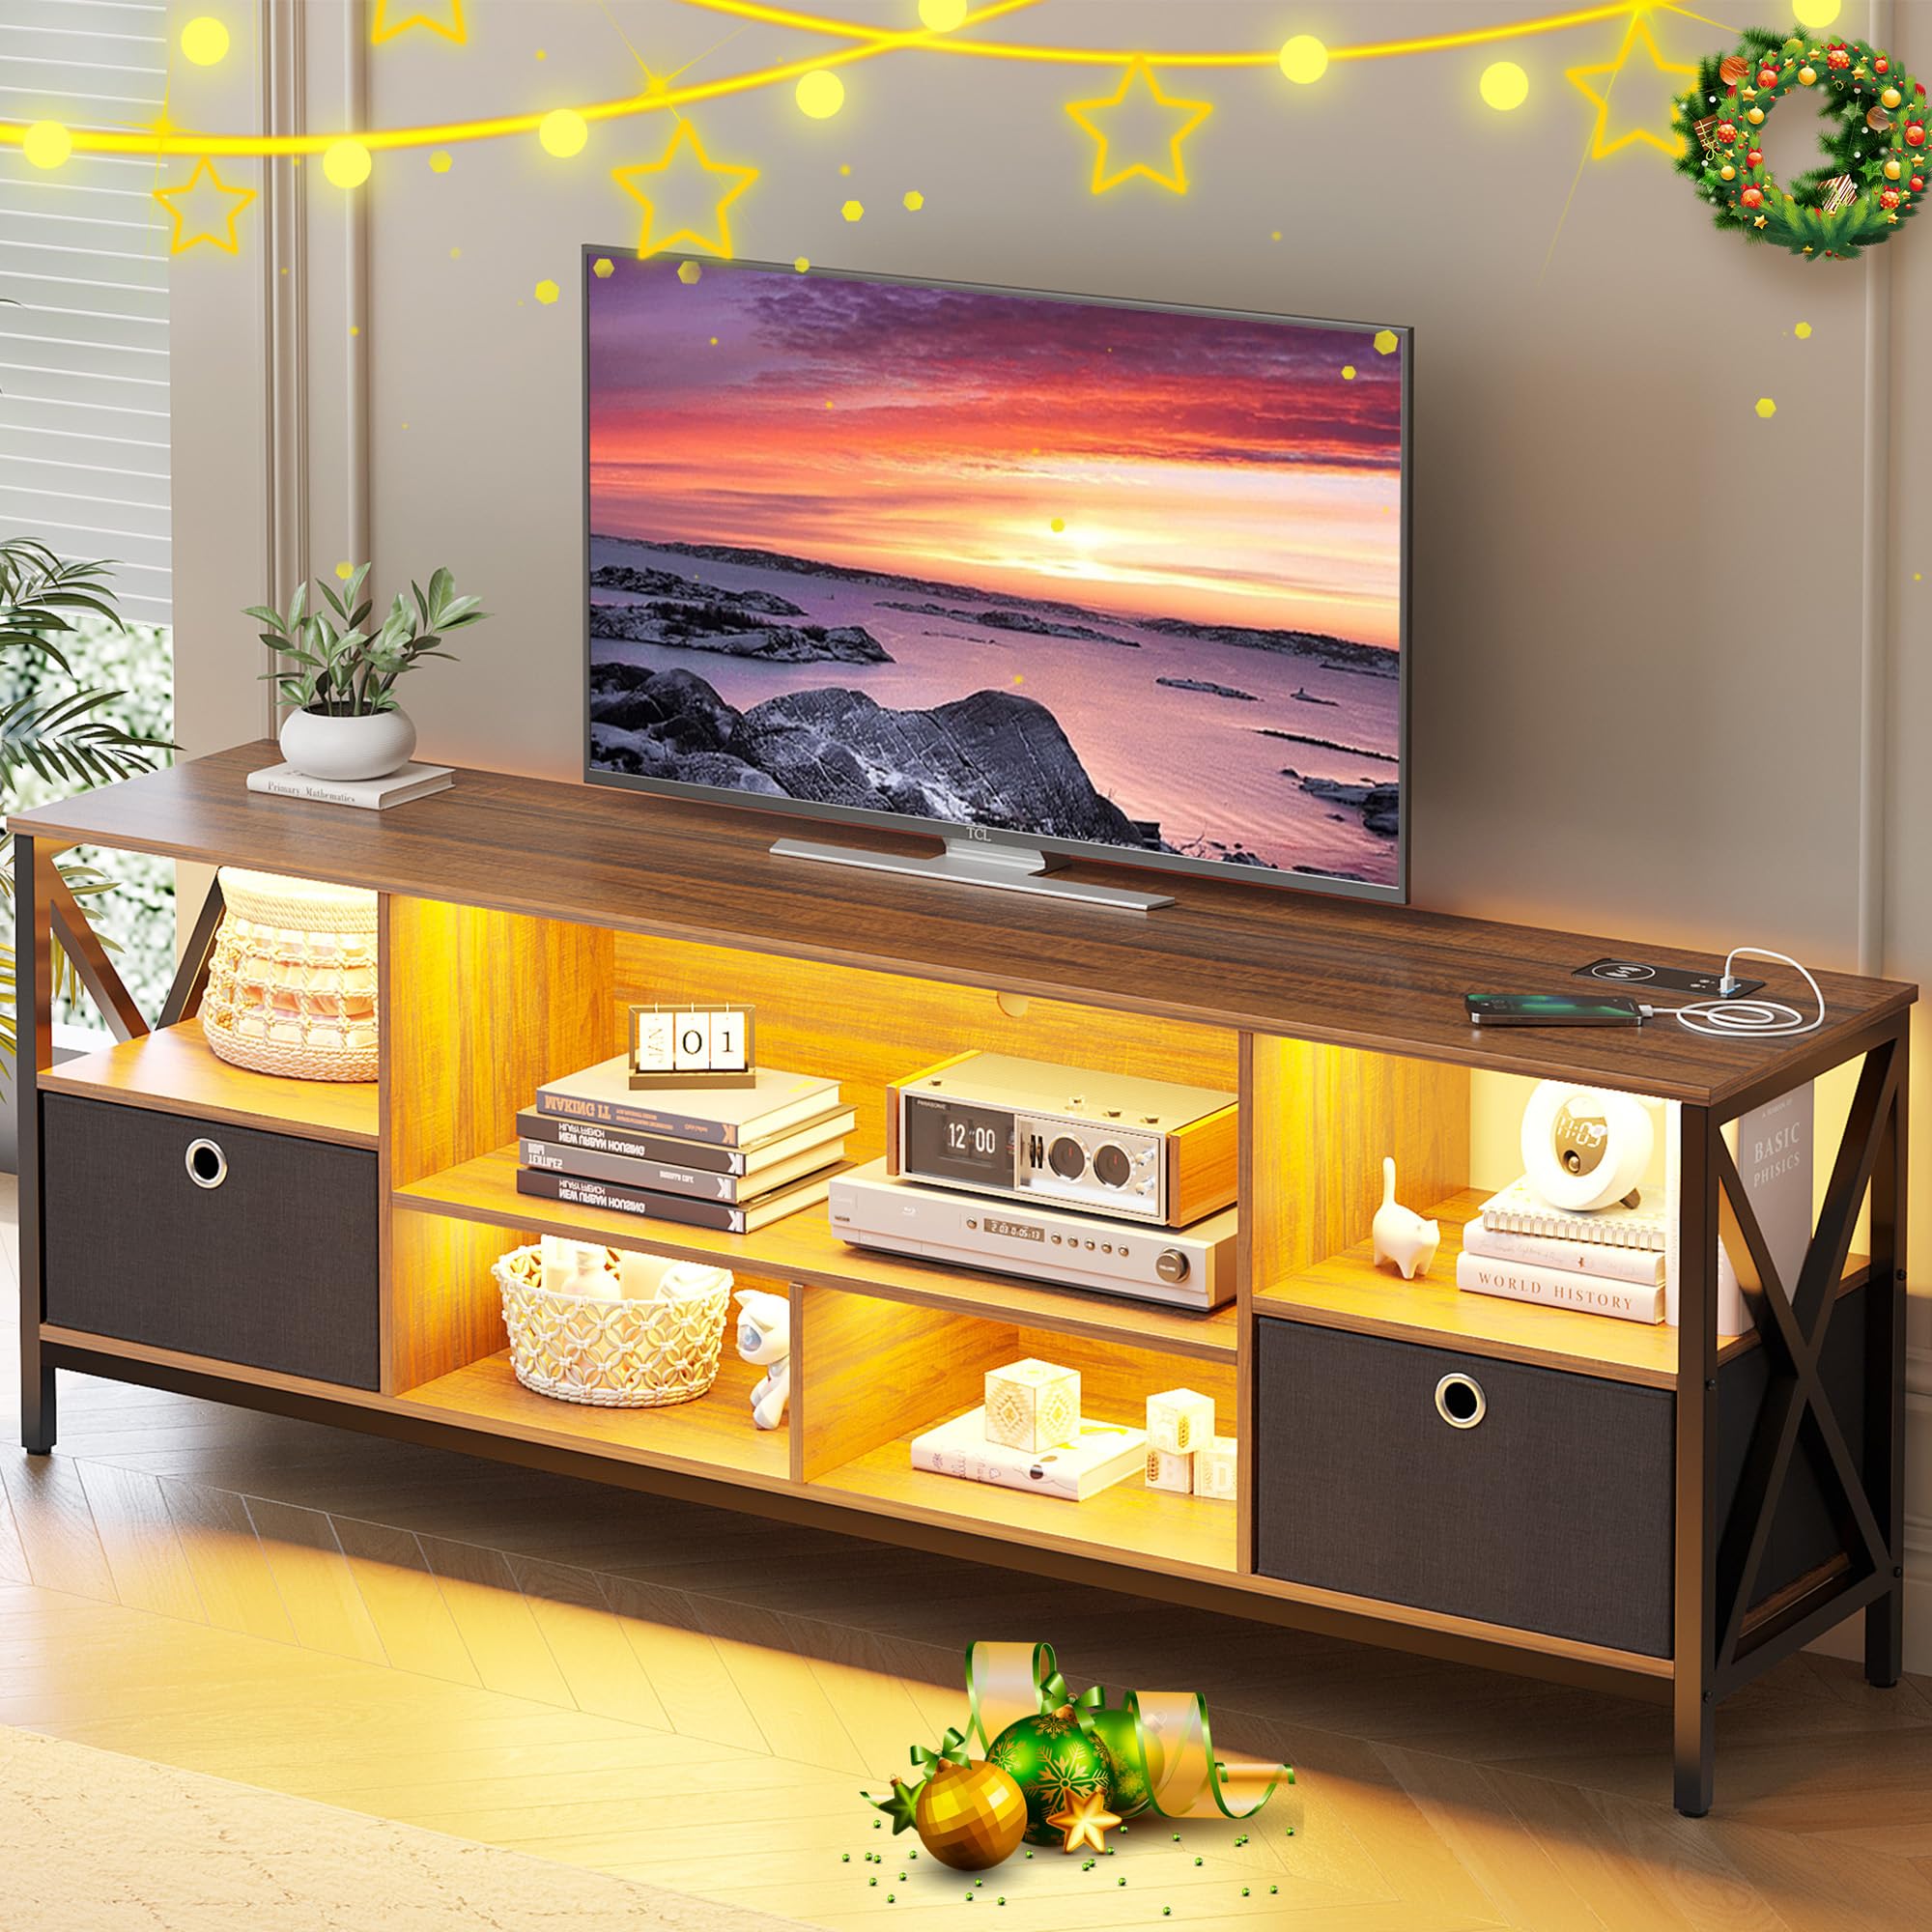
Image 8.1: Detailed product dimensions.
| Feature | Detail |
|---|---|
| Brand | SKKTKT |
| Model Number | B0CNK91YTC |
| Color | Brown |
| Material | Engineered Wood (MDF), Metal |
| Product Dimensions (D x W x H) | 15.7" x 70.9" x 24.2" |
| Item Weight | 77.6 pounds |
| Weight Capacity Maximum | 110 pounds |
| Number of Shelves | 7 (open compartments) |
| Number of Drawers | 2 (fabric storage drawers) |
| LED Lights | 3-color (White/Yellow/Blue), 3-level adjustable brightness, Auto Body Sensor |
| Charging Station | Wireless Charging, 1x USB Port, 1x Type-C Port |
| Style | Industrial |
| Finish Types | Scratch Resistant |
9. Product Video
Video 9.1: A display video showcasing the features and design of the SKKTKT LED TV Stand. This video demonstrates the LED lighting, charging station, and overall aesthetic of the product.
10. Warranty and Support
This product is designed for durability and performance. While specific warranty details are not provided in this manual, SKKTKT is committed to customer satisfaction.
If you have any questions, require assistance with assembly, or encounter any issues with your SKKTKT LED TV Stand, please contact us directly via Amazon. Our customer service team aims to provide the best solution for you within 24 hours.
For further information or to explore other products, please visit the SKKTKT Store on Amazon.