1. Introduction
The EPEVER MT11 is a remote meter designed to monitor and configure EPEVER MPPT DuoRacer solar charge controllers. It provides real-time data, allows parameter adjustments, and offers load control settings for optimal performance of your solar charging system, especially in dual battery setups common in RVs and boats.
What's in the Box:
- EPEVER MT11 Remote Meter
2. Product Overview
The MT11 remote meter features an LCD display and intuitive buttons for easy navigation and monitoring. It connects to your DuoRacer charge controller via an RS485 communication port.
2.1 Components and Display

Figure 2.1: EPEVER MT11 Remote Meter (Front View)
This image shows the front of the EPEVER MT11 remote meter, featuring its LCD screen and control buttons.
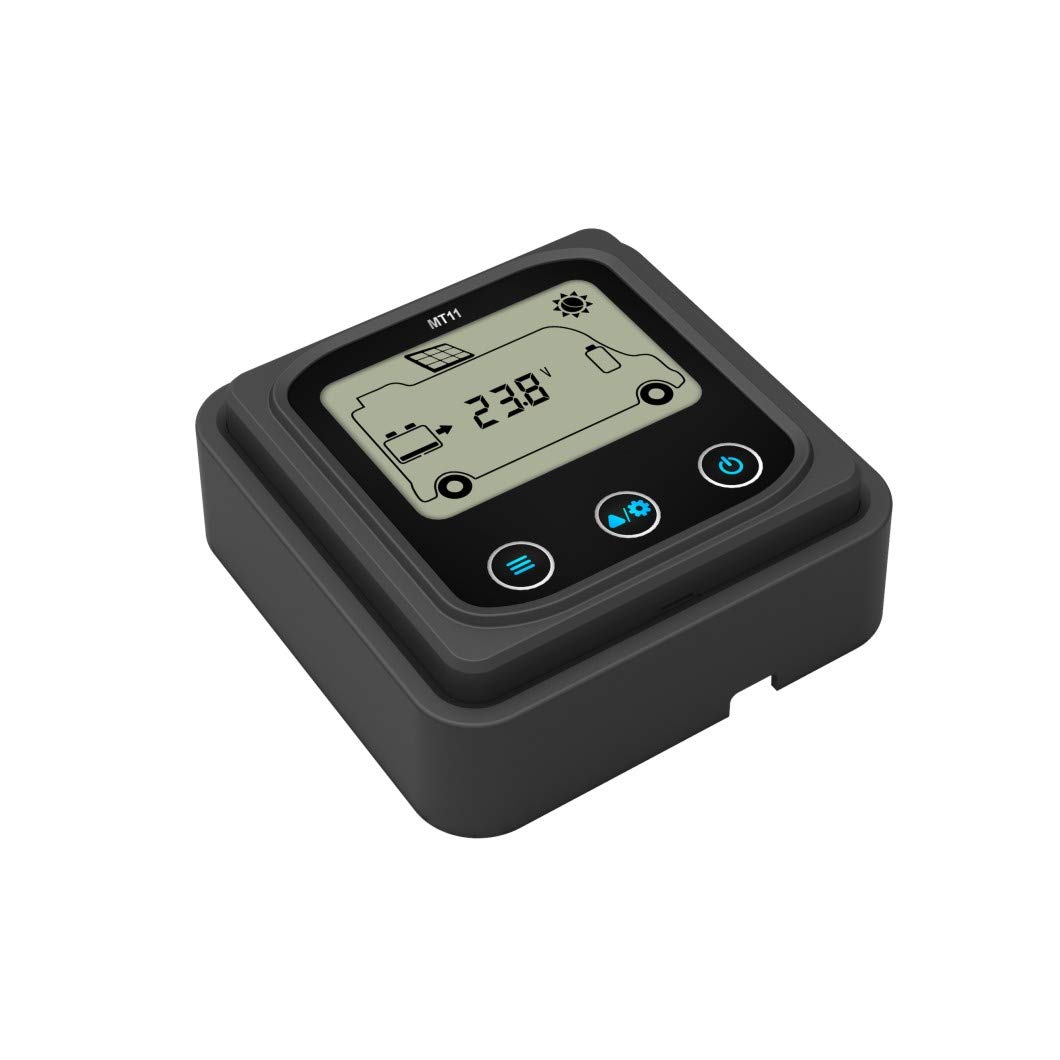
Figure 2.2: EPEVER MT11 Front Panel
A closer view of the MT11's front panel, highlighting the display and button layout.

Figure 2.3: EPEVER MT11 Back Panel
The rear view of the MT11, showing the RS485 communication port for connecting to the charge controller.

Figure 2.4: EPEVER MT11 Dimensions
This image illustrates the physical dimensions of the EPEVER MT11 remote meter.
2.2 Buttons and Indicators
- Warning Indicator: Lights up to indicate system warnings or errors.
- COM Indicator: Lights up when communication with the charge controller is active.
- ESC Button: Used to exit menus or cancel operations.
- Arrow Buttons (Up, Down, Left, Right): Used for navigation through menus and adjusting values.
- OK Button: Used to confirm selections or save settings.
For a visual guide on the MT50 remote meter's buttons and display, which shares similar functionality, please refer to the video below:
Video 2.1: Instructions for using the MT50 remote tool (Note: MT50 is a similar model, functionality may vary slightly).
This video demonstrates the unboxing, physical aspects, and parameter setting process for the EPEVER MT50 remote meter, which has similar controls and interface to the MT11.
3. Setup
The EPEVER MT11 remote meter is designed for easy plug-and-play installation with compatible DuoRacer charge controllers. Ensure your charge controller is properly installed and connected to your solar panels and batteries before connecting the MT11.
3.1 Connection to DuoRacer Charge Controller
- Locate the RS485 communication port on your EPEVER DuoRacer charge controller.
- Connect one end of the provided communication cable to the RS485 port on the DuoRacer controller.
- Connect the other end of the communication cable to the RS485 port on the back of the MT11 remote meter.
- Once connected, the MT11 will power on and establish communication with the controller. The COM indicator on the MT11 should light up.

Figure 3.1: Example Connection Sequence for DuoRacer System
This diagram illustrates the typical connection sequence for a solar charging system, including the charge controller and batteries. The MT11 connects to the controller's communication port.
3.2 Battery Type Compatibility
The DuoRacer charge controllers, monitored by the MT11, support various battery types:
- Battery 1 (Energy Storage): Sealed, Gel, Flooded, LiFePO4, and Li-NiCoMn batteries. The charge controller does NOT automatically detect the system voltage for these types.
- Battery 2 (Starting Battery): Only lead-acid batteries are supported (Sealed, Gel, Flooded). The charge controller automatically detects the system voltage for this type.
Attention: Both Battery 1 and Battery 2 must be at the same voltage level.
3.3 Important PV Voltage Warning
Attention: If the PV power does not exceed the rated charging power, but the maximum open-circuit voltage of the PV array is higher than 60V (for DR**06NDDS models) or 100V (for DR**10N-DDS models) at the lowest ambient temperature, the controller may be damaged. Always ensure your PV array voltage is within the controller's specified limits.
4. Operating Instructions
The MT11 allows you to monitor system status and adjust various parameters of your DuoRacer charge controller. Use the arrow buttons to navigate and the OK button to confirm.
4.1 Main Menu Navigation
Upon powering on, the MT11 typically displays monitoring data. Press the ESC button to access the main menu, which usually includes options such as:
- Monitoring: View real-time system data (PV voltage/current, battery voltage/current, load status).
- Device Info: View controller model, serial number, software version.
- Test Operation: Perform system tests (e.g., manual load control).
- Control Para: Adjust charging parameters (battery type, voltage settings).
- Load Set: Configure load control modes.
- Device PSW: Password settings (if applicable).
- Factory Reset: Reset controller settings to factory defaults.
- Failure Info: View historical error records.
- Meter Para: Adjust MT11 display settings.
4.2 Adjusting Parameters (Control Para)
To adjust charging parameters:
- Navigate to 'Control Para' in the main menu and press OK.
- Use the Up/Down arrows to select the parameter you wish to change (e.g., 'Batt. Type', 'Batt. AH', 'Boost Charge', 'Float Charge', 'Low Volt. Disc.').
- Press OK to enter edit mode for the selected parameter.
- Use the Up/Down arrows to change the value or select the desired option (e.g., 'Sealed', 'Gel', 'Flooded' for battery type).
- Press OK to confirm and save the new setting.
- Press ESC to exit the parameter settings.
4.3 Load Control Settings (Load Set)
The MT11 allows you to configure how the load output of the DuoRacer controller operates:
- Navigate to 'Load Set' in the main menu and press OK.
- You will typically find options such as:
- Manual Control: Manually turn the load ON or OFF.
- Light On/Off: Load turns ON at dusk and OFF at dawn based on PV voltage.
- Light On+Timer: Load turns ON at dusk and stays ON for a set duration.
- Time Control: Set specific ON/OFF times for the load.
- Select your desired load control mode using the arrow buttons and press OK to confirm.
- If selecting 'Light On+Timer' or 'Time Control', further settings for duration or specific times will be available for adjustment.
- Press OK to save your load control settings.
5. Maintenance
The EPEVER MT11 remote meter requires minimal maintenance to ensure reliable operation.
- Cleaning: Regularly wipe the display and casing with a soft, dry cloth. Avoid using abrasive cleaners or solvents.
- Connections: Periodically check the communication cable connection to ensure it is secure and free from damage.
- Environment: Ensure the MT11 is installed in a dry environment, away from direct sunlight, extreme temperatures, and corrosive gases.
6. Troubleshooting
If you encounter issues with your EPEVER MT11 remote meter, consider the following common troubleshooting steps:
- No Display/Power: Check the communication cable connection between the MT11 and the DuoRacer controller. Ensure the controller itself is powered on and functioning correctly.
- No Communication (COM indicator off): Verify the communication cable is securely connected at both ends. Ensure the DuoRacer controller is compatible with the MT11.
- Incorrect Readings: Confirm that the battery type and other parameters are correctly set in the 'Control Para' menu. Refer to your DuoRacer charge controller manual for specific parameter ranges.
- Warning Indicator On: Check the 'Failure Info' menu on the MT11 for specific error codes or messages. Consult the DuoRacer charge controller manual for detailed explanations of warning codes and their solutions.
- Settings Not Saving: Ensure you press the OK button to confirm and save any changes made in the settings menus.
If problems persist after following these steps, please contact EPEVER customer support or your local distributor for further assistance.
7. Specifications
| Feature | Specification |
|---|---|
| Model | MT11 |
| Brand | EPEVER |
| Display Type | LCD |
| Operating Voltage | 5 Volt (powered by controller) |
| Material | Plastic |
| Max Operating Temperature | 70 Degrees Celsius |
| Smart Home Compatibility | Not compatible |
8. Warranty and Support
For warranty information, please refer to the documentation provided with your EPEVER DuoRacer charge controller or visit the official EPEVER website. If you require technical support or have questions regarding the MT11 remote meter, please contact EPEVER customer service or your authorized dealer.
You can find more information and contact details on the EPEVER Store on Amazon.


