
1. Introduction
Thank you for choosing the COLBOR CL220R 220W RGB LED Video Light. This professional-grade COB light is designed for film and photography, offering versatile lighting solutions with its adjustable color temperature, RGB capabilities, and special effects. This manual provides essential information for the safe and effective operation of your device. Please read it thoroughly before use and retain it for future reference.
2. Safety Information
To prevent damage to the product or injury to yourself or others, please read all safety precautions completely before using this product. Keep these safety instructions where all who use the product will read them.
- Electrical Safety: Always ensure the power supply matches the voltage requirements of the CL220R. Do not operate the light with wet hands or in wet conditions. Disconnect power before cleaning or maintenance.
- Heat Management: The light generates heat during operation. Ensure adequate ventilation and do not block the cooling vents. Avoid touching the COB LED directly when hot.
- Eye Protection: Do not look directly into the light source when it is operating, as it can cause eye strain or damage.
- Mounting: Securely mount the light on a stable stand or support. Ensure all locking mechanisms are tightened to prevent accidental falls.
- Children: Keep the device out of reach of children.
- Modifications: Do not attempt to disassemble or modify the light. Unauthorized modifications will void the warranty and may cause damage or injury.
3. Package Contents
Verify that all items listed below are included in your package. If any items are missing or damaged, please contact your retailer.
- COLBOR CL220R LED Video Light Unit
- Standard Reflector
- AC Power Adapter
- Power Cable
- Carrying Bag

4. Product Overview
Key Features
- High Output: 220W COB LED light source delivering up to 31400 lux at 1 meter with the included reflector.
- Variable Color Temperature: Adjustable from 2700K to 6500K for diverse lighting scenarios.
- Accurate Color Rendering: CRI rating of 97+ ensures precise and natural color reproduction.
- RGB Functionality: Full RGB color control for creative lighting effects.
- Durable Construction: Lightweight yet robust aluminum alloy body (1.57kg) with surface oxidation treatment.
- Versatile Mounting: Features a standard Bowens mount for compatibility with a wide range of light modifiers and NATO-standard grooves for additional accessories.
- Flexible Power Options: Supports AC power and V-mount batteries (single V-mount for half power, dual V-mount solution for full power, sold separately). Utilizes Neutrik REAN connectors for reliable power.
- Built-in Effects: 13 special lighting effects with 61 realistic scene variations.
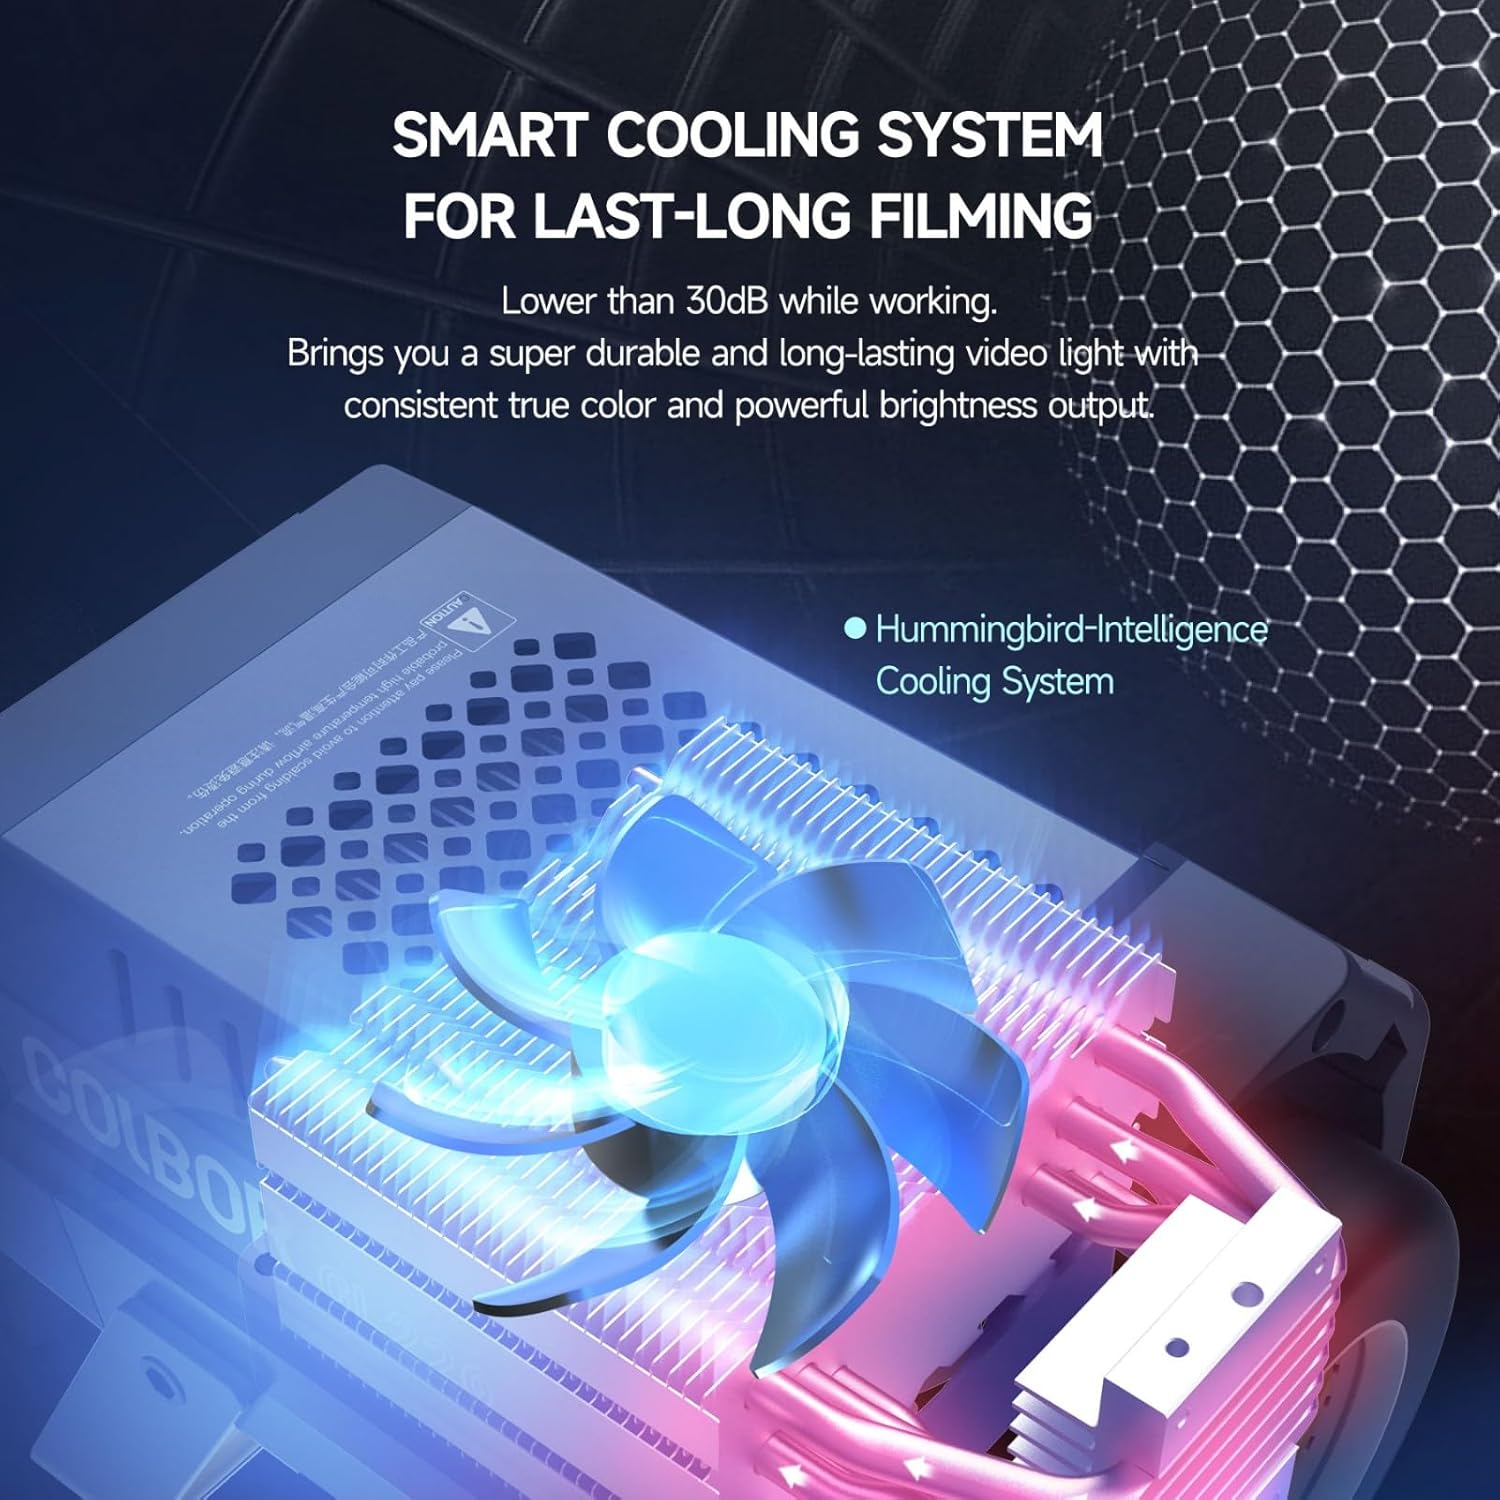
- Smart Cooling System: Efficient cooling system operates below 30dB for quiet performance.
- Control Options: Manual control via onboard display and dials, or wireless control via the COLBOR Studio app.
Components and Controls

The rear panel of the CL220R features an LCD display, two rotary dials for parameter adjustment, and several buttons for mode selection and effect activation. The power input port is also located on the rear.

5. Setup
5.1 Mounting the Light
- Attach the CL220R to a sturdy light stand using the integrated mounting bracket.
- Tighten the locking knob on the mounting bracket to secure the light in position.
- Adjust the tilt angle of the light as needed and tighten the tilt locking knob.
5.2 Attaching Accessories
The CL220R features a Bowens mount for attaching light modifiers.
- Align the accessory (e.g., reflector, softbox) with the Bowens mount on the front of the light.
- Insert the accessory and rotate it clockwise until it clicks into place, indicating it is securely locked.
- To remove, press the release button on the Bowens mount and rotate the accessory counter-clockwise.

5.3 Power Connection
- AC Power: Connect the AC power adapter to the power input port on the CL220R, then plug the power cable into a suitable wall outlet.
- V-Mount Battery (Optional): Attach a compatible V-mount battery to the V-mount plate on the side of the light. Note that a single V-mount battery will provide half of the maximum power output. For full power, a dual V-mount solution (sold separately) is required.
6. Operating Instructions
6.1 Powering On/Off
Press the power button located on the rear panel to turn the light on or off.
6.2 Adjusting Color Temperature (CCT Mode)
- Ensure the light is in CCT mode (indicated on the display). If not, press the 'MODE' button to cycle through modes until CCT is selected.
- Use the left rotary dial to adjust the color temperature between 2700K and 6500K.
- Use the right rotary dial to adjust the brightness intensity from 0% to 100%.
6.3 Adjusting RGB (HSI Mode)
- Press the 'MODE' button to select HSI mode.
- Use the dials to adjust Hue (H), Saturation (S), and Intensity (I) to achieve your desired color. The display will show the current HSI values.

6.4 Using Special Effects
- Press the 'EFF' (Effects) button to enter the special effects mode.
- Use the dials to browse through the 13 built-in effects and their 61 variations.
- Adjust parameters such as intensity and rate for each effect using the dials.
6.5 App Control (COLBOR Studio)
The COLBOR CL220R can be controlled wirelessly via the COLBOR Studio app, available for smartphones. This allows for convenient remote adjustment of all light parameters.
- Download and install the 'COLBOR Studio' app from your device's app store.
- Ensure Bluetooth is enabled on your smartphone.
- Open the app and follow the on-screen instructions to connect to your CL220R light.
- Once connected, you can adjust color temperature, RGB values, brightness, and activate special effects directly from the app. The app also supports controlling multiple COLBOR lights simultaneously.

7. Maintenance
- Cleaning: Use a soft, dry cloth to clean the light's exterior. For stubborn dirt, a slightly damp cloth can be used, followed by a dry cloth. Do not use harsh chemicals or abrasive cleaners.
- Lens Care: Keep the COB LED lens clean. Use a lens cleaning cloth and solution if necessary, avoiding direct contact with the COB chip.
- Storage: When not in use, store the CL220R in its carrying bag in a cool, dry place, away from direct sunlight and moisture.
- Ventilation: Regularly check that the cooling vents are free from dust and debris to ensure optimal airflow.
8. Troubleshooting
| Problem | Possible Cause | Solution |
|---|---|---|
| Light does not power on. | No power supply; loose cable; faulty power adapter/battery. | Check power cable connection; ensure power outlet is functional; test with a different power source (AC or V-mount battery). |
| Light output is dim. | Brightness set too low; single V-mount battery in use; power saving mode. | Increase brightness setting; use AC power or dual V-mount batteries for full output; check for any active power saving modes. |
| App cannot connect to the light. | Bluetooth off; light not in pairing mode; app issue. | Ensure Bluetooth is enabled on your device; restart the light and the app; try re-pairing the device in the app settings. |
| Light overheats or fan is loud. | Blocked vents; prolonged high power use in hot environment. | Ensure vents are clear; reduce power output; operate in a cooler environment. If fan noise is excessive and persistent, contact support. |
9. Specifications
| Feature | Specification |
|---|---|
| Model | CL220R |
| Power Output | 220W |
| Color Temperature Range | 2700K-6500K |
| CRI Rating | 97+ |
| Illumination (with reflector) | Up to 31400 lux at 1m |
| RGB Control | Yes (HSI mode) |
| Special Effects | 13 built-in effects (61 scenes) |
| Mount Type | Bowens Mount |
| Connectivity | Bluetooth (COLBOR Studio App) |
| Power Input | AC Power, V-Mount Battery |
| Item Weight | 1.57 kg (3.46 lbs) |
| Package Dimensions | 17.99 x 12.68 x 8.39 inches |
| Manufacturer | Colbor |
10. Warranty and Support
The COLBOR CL220R comes with a standard manufacturer's warranty. Please refer to the warranty card included in your package or visit the official COLBOR website for detailed warranty terms and conditions.
For technical support, troubleshooting assistance, or warranty claims, please contact COLBOR customer service through their official website or the contact information provided with your purchase. When contacting support, please have your product model (CL220R) and purchase details ready.


