
Severin KG2395
SEVERIN Sevini Pro KG 2395 Contact Grill User Manual
Model: KG2395
Introduction
The SEVERIN Sevini Pro KG 2395 Contact Grill is a versatile kitchen appliance designed for healthy, low-fat grilling. It functions as both a contact grill and a table grill, featuring removable non-stick plates, 7 automatic programs, and a manual cooking mode. An integrated sensor detects food thickness to ensure optimal cooking results, and a fat drip tray simplifies cleanup. This manual provides essential information for the safe and efficient operation and maintenance of your grill.

Image: The SEVERIN Sevini Pro KG 2395 Contact Grill in its closed position, showcasing its sleek silver and black design.

Image: A comprehensive diagram summarizing the grill's main features: 7 automatic programs for diverse cooking, a sensor for achieving ideal steak doneness, the ability to fold out into a larger grilling surface, and an integrated oil drip tray for low-fat cooking.
Important Safety Instructions
- Read all instructions carefully before using the appliance.
- Do not touch hot surfaces. Use handles or knobs.
- To protect against electrical shock, do not immerse cord, plugs, or the appliance in water or other liquid.
- Close supervision is necessary when any appliance is used by or near children.
- Unplug from outlet when not in use and before cleaning. Allow to cool before putting on or taking off parts, and before cleaning the appliance.
- Do not operate any appliance with a damaged cord or plug or after the appliance malfunctions or has been damaged in any manner.
- The use of accessory attachments not recommended by the appliance manufacturer may cause injuries.
- Do not use outdoors.
- Do not let cord hang over edge of table or counter, or touch hot surfaces.
- Do not place on or near a hot gas or electric burner, or in a heated oven.
- Extreme caution must be used when moving an appliance containing hot oil or other hot liquids.
- Always attach plug to appliance first, then plug cord into the wall outlet. To disconnect, turn any control to "off", then remove plug from wall outlet.
- Do not use appliance for other than intended use.
Setup and First Use
- Unpacking: Carefully remove the grill and all accessories from the packaging. Retain packaging for future storage or transport.
- Initial Cleaning: Before first use, wipe the exterior of the grill with a damp cloth. Remove the grilling plates and the fat drip tray, and wash them with warm, soapy water. Rinse thoroughly and dry completely. Reinsert the clean plates and drip tray.
- Placement: Place the grill on a stable, heat-resistant, and level surface, away from walls and flammable materials. Ensure adequate ventilation around the appliance.
- Power Connection: Ensure the power cord is fully extended and plug the grill into a grounded electrical outlet.
- First Operation (Burn-off): For the first use, preheat the grill in manual mode with the lid closed until it beeps. This helps to burn off any manufacturing residues. A slight odor or smoke may occur, which is normal. Ensure the area is well-ventilated.

Image: The grill with its lid open, revealing the empty non-stick grilling plates, ready for initial cleaning or use.

Image: A close-up view of the integrated fat drip tray, designed to collect excess grease during cooking, being slid into its position at the back of the grill.
Operating Instructions
Control Panel Overview

Image: A detailed view of the grill's control panel, showing the power button, program selection icons (e.g., steak, fish, poultry, panini), and the 'OK' button, with indicator lights illuminated in red, typically indicating pre-heating or selection mode.

Image: The control panel displaying blue indicator lights and text labels for cooking stages: 'PRE-HEATING', 'START TO COOK', 'RARE', 'MEDIUM', and 'WELL DONE', providing clear visual feedback on the cooking progress.

Image: This diagram illustrates the core functionalities of the grill, including its seven automatic cooking programs, a manual program, a sensor for detecting food thickness to achieve desired doneness for items like steak, and the integrated heating elements within the grill plates for efficient heat transfer.

Image: This image visually emphasizes the grill's capability for precise steak cooking and the convenience of its integrated oil drip tray for healthier, cleaner grilling.
Grilling Modes
- Contact Grill Mode: Use with the lid closed for even cooking on both sides, ideal for sandwiches, panini, and thinner cuts of meat.
- Table Grill Mode: The grill can be fully opened to create a larger, flat grilling surface, suitable for cooking various items simultaneously, similar to a traditional barbecue.
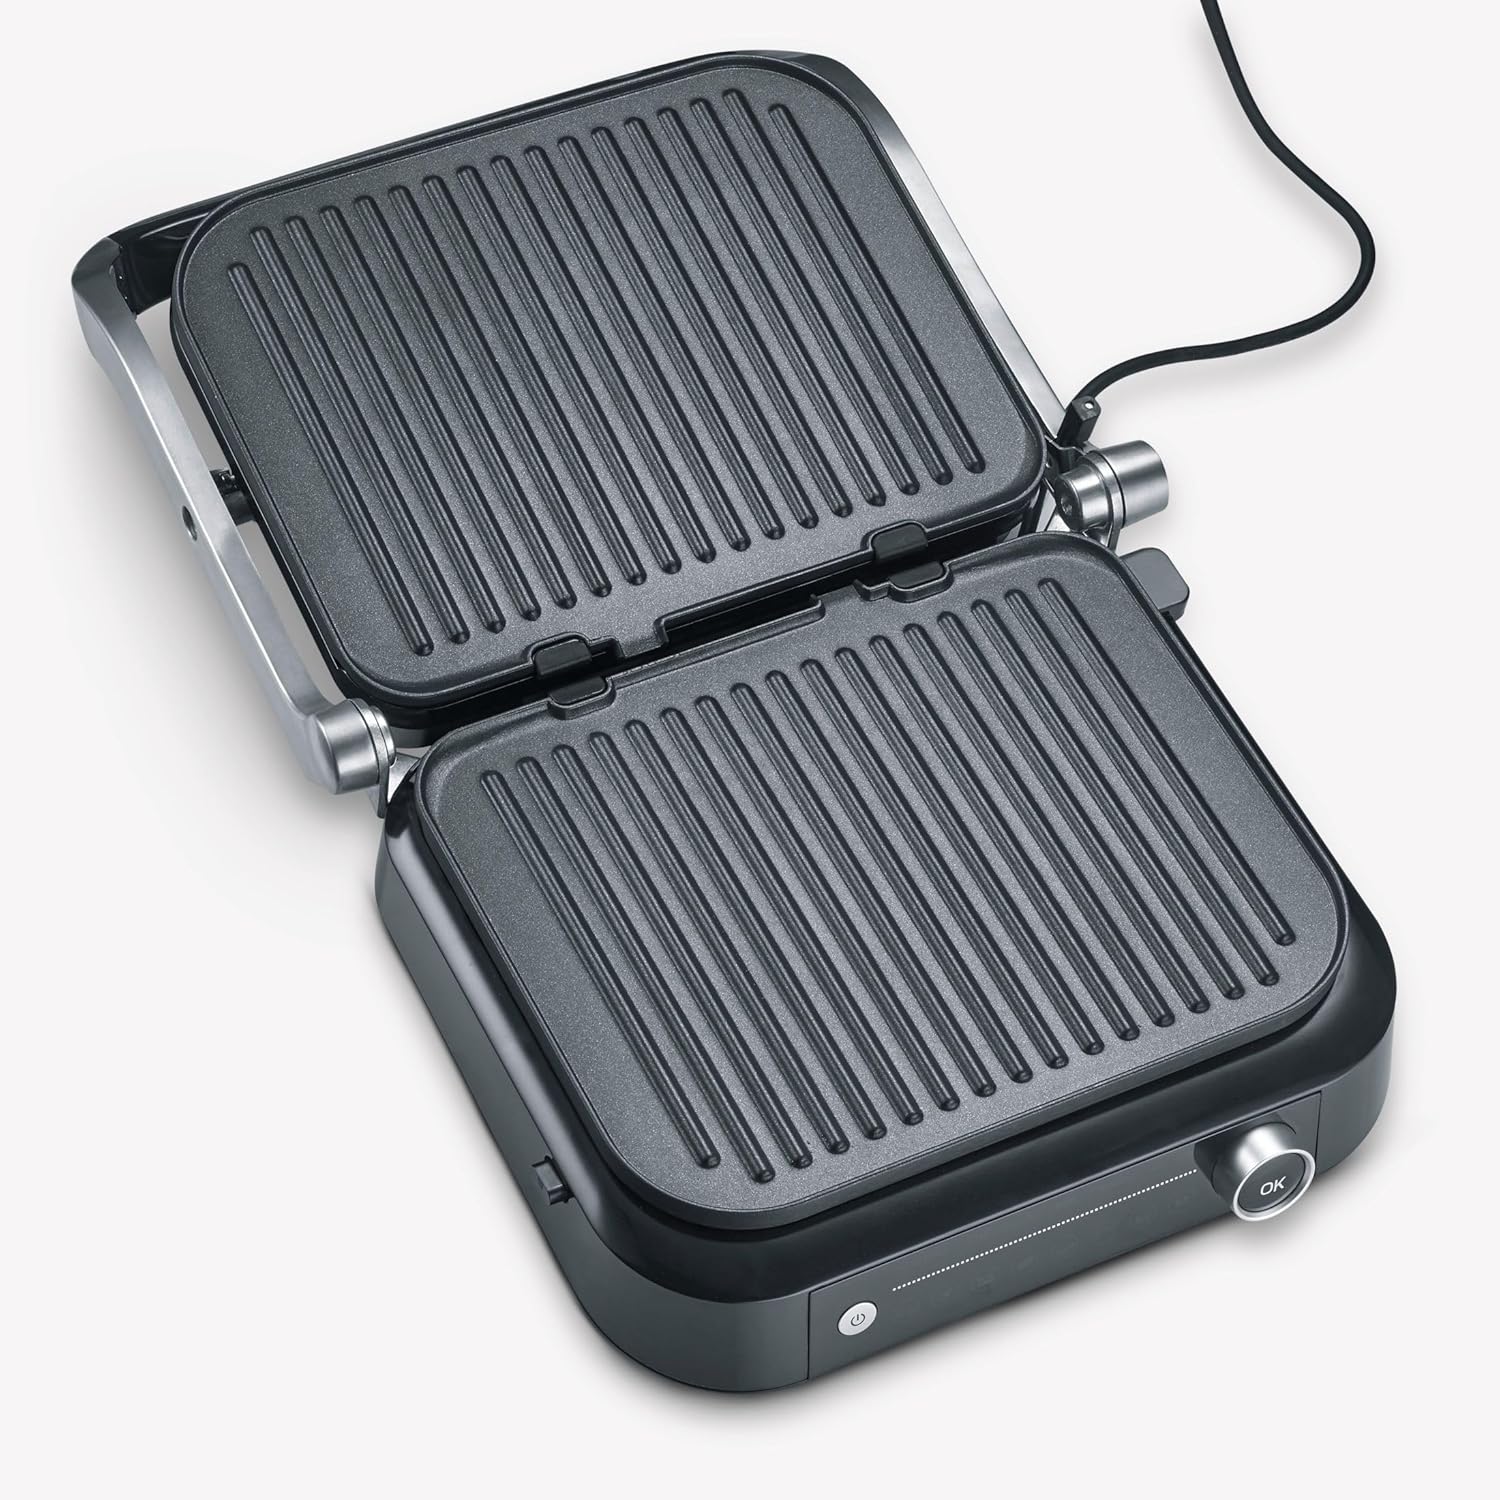
Image: The contact grill fully opened, demonstrating its capability to transform into a flat table grill, providing a larger cooking area.
Using Automatic Programs
- Power On: Press the power button. The indicator lights will illuminate.
- Select Program: Use the program selection buttons to choose one of the 7 automatic programs (e.g., for steak, fish, poultry, sandwiches). The selected program icon will light up.
- Confirm Selection: Press the 'OK' button to confirm your program choice.
- Preheating: Close the grill lid. The grill will begin preheating. The 'PRE-HEATING' indicator will be active. Wait until the grill beeps and the 'START TO COOK' indicator lights up.
- Place Food: Open the grill and carefully place your food on the lower grilling plate. Close the lid.
- Automatic Cooking: The grill's sensor will detect the food thickness and automatically adjust cooking time. Indicators for 'RARE', 'MEDIUM', and 'WELL DONE' will light up sequentially, accompanied by beeps, as the food reaches each stage.
- Remove Food: Once your desired cooking level is reached, open the grill and carefully remove the food using heat-resistant utensils.

Image: The grill in operation, cooking two burger patties with cheese and two burger buns, demonstrating its use for sandwiches and burgers.

Image: The grill cooking a steak and green peppers, illustrating its capability for grilling various types of food.

Image: The grill fully opened and in use as a table grill, cooking a steak and a variety of vegetables, highlighting its versatility.
Using Manual Program
For custom grilling, select the manual program (usually indicated by an 'M' icon). In this mode, you control the cooking time and temperature visually. The grill will preheat, and you can place your food once the 'START TO COOK' indicator is active. Monitor your food and remove it when done to your preference.
Care and Maintenance
- Always Unplug: Before cleaning, always unplug the grill from the power outlet and allow it to cool completely.
- Cleaning Grilling Plates: The grilling plates are removable for easy cleaning. Press the release buttons (if present) and carefully detach the plates. Wash them by hand with warm, soapy water and a non-abrasive sponge. For stubborn residue, soak the plates in warm water before cleaning. Rinse thoroughly and dry completely before reattaching.
- Cleaning Fat Drip Tray: Remove the fat drip tray from the back of the grill. Empty any collected fat and wash the tray with warm, soapy water. Rinse and dry thoroughly before reinserting.
- Cleaning Exterior: Wipe the exterior surfaces of the grill with a soft, damp cloth. Do not use abrasive cleaners or scouring pads, as these can damage the finish. Never immerse the main unit in water or any other liquid.
- Storage: Ensure the grill is clean and dry before storing. Store it in a cool, dry place.
Troubleshooting
| Problem | Possible Cause | Solution |
|---|---|---|
| Grill does not turn on. | Not plugged in; power outlet malfunction; appliance fault. | Check power cord connection. Test outlet with another appliance. If problem persists, contact customer support. |
| Automatic programs are not selectable or do not start. | Grill not properly preheated; lid open during preheating. | Ensure the grill is preheated in manual mode with the lid closed until it beeps and indicates 'START TO COOK'. This often releases the automatic programs. |
| Food sticks to the grilling plates. | Plates not clean; insufficient preheating; food not properly prepared. | Ensure plates are thoroughly clean. Always preheat the grill completely. Lightly brush food with oil if necessary. |
| Excessive smoke during cooking. | Fat/oil residue on plates; very fatty food; drip tray full. | Clean plates thoroughly before use. Ensure drip tray is empty. Trim excess fat from food. |
Product Specifications
- Brand: Severin
- Model Number: KG2395
- Color: Silver/Black
- Power: 1800 Watts
- Material: Stainless Steel, Plastic
- Product Dimensions (D x W x H): 38.2 cm x 21.8 cm x 42.3 cm
- Cooking Surface: 31.3 cm x 24.5 cm
- Item Weight: 5.22 Kilograms
- Special Features: Temperature Control, Non-stick Coating, 7 Automatic Programs, Manual Program, Foldable Cooking Surface, Integrated Fat Drip Tray, Removable Cooking Plates
- Included Components: Contact Grill
Warranty Information
Specific warranty details for the SEVERIN Sevini Pro KG 2395 Contact Grill are typically provided with the product packaging or can be found on the official Severin website. Please refer to the documentation included with your purchase for the most accurate and up-to-date warranty terms and conditions.
Customer Support
For further assistance, technical support, or to inquire about spare parts, please visit the official Severin website or contact their customer service department.
You can also visit the Severin Brand Store on Amazon for more product information.
Related documentsKG2395


Ask a question about this manual
Ask about setup, troubleshooting, compatibility, parts, safety, or missing instructions. Manuals+ will review the question and use this page’s manual context to help answer it.