
1. Introduction
This manual provides detailed instructions for the assembly, installation, operation, and maintenance of your Vente-unique Zevara Bathroom Vanity Unit. Please read all instructions carefully before beginning assembly and retain this manual for future reference.
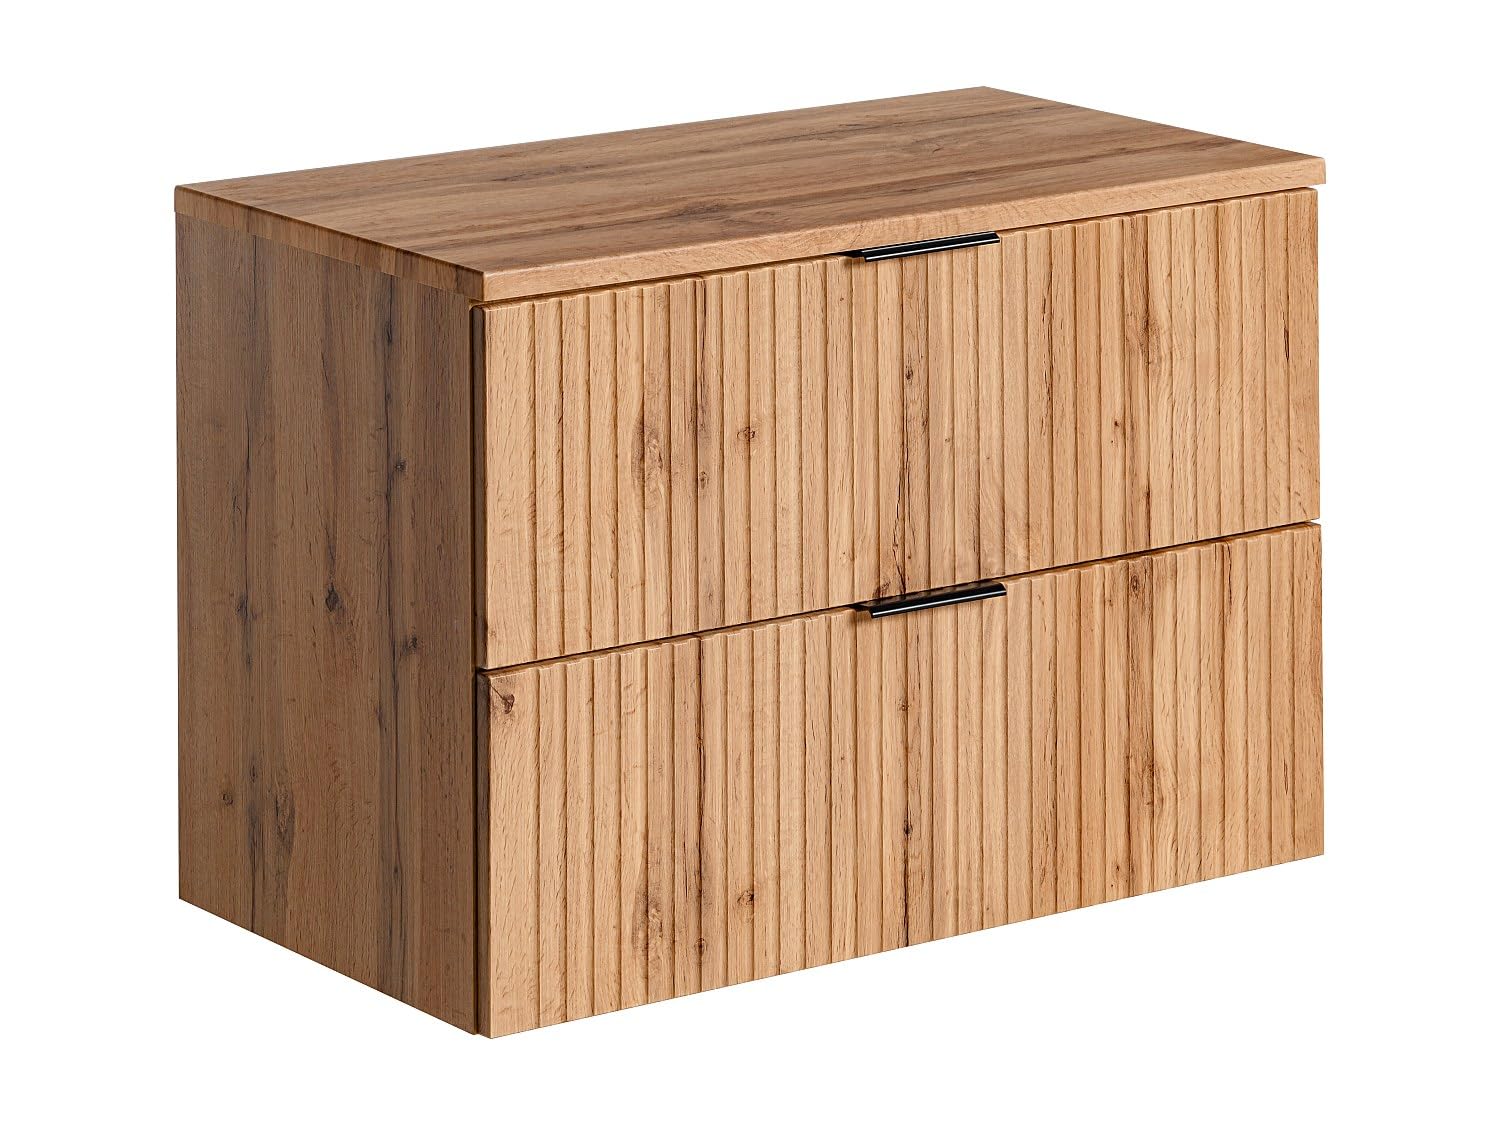
Image 1.1: The Zevara bathroom vanity unit installed in a modern bathroom, featuring a natural light wood finish, two drawers, and a white basin. A round mirror and a plant are also visible.
2. Safety Information
- Always follow local building and plumbing codes during installation.
- Ensure all parts are present before assembly. Do not proceed if parts are missing or damaged.
- Use appropriate tools and safety equipment (e.g., gloves, eye protection).
- This unit is designed for wall mounting. Ensure the wall structure can support the weight of the unit and its contents.
- Keep small parts away from children during assembly.
3. Package Contents
Your Zevara Bathroom Vanity Unit is delivered in two packages. Please verify that all components are present and undamaged upon receipt.
- Vanity Unit Components (MDF and wood-derived panels)
- 2 Soft-Close Drawers
- Mounting Hardware
- 3 Sets of Handles (Matte Black, Glossy Chrome, Gold)
- Assembly Instructions
Package 1: Length 93 cm, Width 51 cm, Height 4 cm, Weight 11 kg
Package 2: Length 92 cm, Width 48 cm, Height 13 cm, Weight 28 kg

Image 3.1: Included handle options: matte black, glossy chrome, and gold, allowing for customization.
4. Setup and Assembly
This vanity unit requires self-assembly and wall mounting. It is recommended to have two people for assembly and installation.
4.1 Tools Required (Not Included)
- Screwdriver (Phillips and Flathead)
- Drill
- Level
- Measuring Tape
- Pencil
- Safety Glasses
- Gloves
4.2 Assembly Steps
- Unpack Components: Carefully remove all parts from the packaging and lay them out on a clean, soft surface to prevent scratches. Verify all parts against the included parts list.
- Assemble Cabinet Frame: Follow the detailed diagrams in the separate assembly guide (if provided) to connect the side panels, back panel, and bottom panel. Ensure all connections are secure.
- Install Drawer Slides: Attach the drawer slides to the cabinet interior according to the instructions. Ensure they are level and properly aligned for smooth operation.
- Assemble Drawers: Construct the two drawers, ensuring the soft-close mechanisms are correctly integrated.
- Attach Handles: Choose your preferred handle color (matte black, glossy chrome, or gold) and attach them to the drawer fronts.
- Insert Drawers: Carefully slide the assembled drawers into the cabinet frame, ensuring the soft-close function operates correctly.

Image 4.1: The assembled Zevara vanity unit, showcasing its natural light wood finish and fluted drawer fronts.

Image 4.2: The vanity unit with its two soft-close drawers fully extended, showing the internal storage capacity.
4.3 Wall Mounting
- Determine Mounting Height: Mark the desired height for the top of the vanity unit on the wall.
- Locate Studs: Use a stud finder to locate wall studs for secure mounting. If studs are not available, use appropriate heavy-duty wall anchors suitable for your wall type and the unit's weight.
- Mark Drilling Points: Using a level and measuring tape, mark the drilling points for the mounting brackets on the wall.
- Drill Pilot Holes: Drill pilot holes at the marked points.
- Attach Mounting Brackets: Securely attach the mounting brackets to the wall using the provided hardware or appropriate anchors.
- Mount Vanity Unit: With assistance, lift the vanity unit and carefully align it with the wall mounting brackets. Secure the unit to the brackets.
- Install Plumbing: Connect the water supply and drain lines. Important: A shallow-depth siphon is recommended to ensure compatibility and proper fit within the vanity unit.
- Install Basin (Not Included): Place your chosen basin on top of the vanity unit and seal it according to the basin manufacturer's instructions.
5. Operating Instructions
The Vente-unique Zevara Bathroom Vanity Unit is designed for straightforward use.
- Drawer Operation: The unit features two soft-close drawers. To open, gently pull the handle. To close, push the drawer gently until the soft-close mechanism engages, allowing it to close smoothly and silently.
- Storage: Utilize the two spacious drawers for organizing bathroom essentials.

Image 5.1: Detail of the fluted design on the drawer fronts, highlighting the texture and craftsmanship.

Image 5.2: An example of a soft-close drawer mechanism, ensuring quiet and gentle drawer closure.
6. Care and Maintenance
- Cleaning: Wipe surfaces with a soft, damp cloth. Avoid abrasive cleaners, harsh chemicals, or solvents, as these can damage the finish.
- Spills: Immediately wipe up any water spills or splashes to prevent moisture damage to the wood-derived panels.
- Drawer Slides: Periodically check drawer slides for smooth operation. If necessary, clean any dust or debris and apply a silicone-based lubricant.
- Hardware: Periodically check all screws and fasteners to ensure they remain tight. Retighten if necessary.
- Avoid Overloading: Do not overload the drawers, as this can strain the slides and potentially damage the unit.
7. Troubleshooting
| Problem | Possible Cause | Solution |
|---|---|---|
| Drawers do not close smoothly or soft-close mechanism fails. |
|
|
| Vanity unit feels unstable after wall mounting. |
|
|
| Water leakage from plumbing connections. |
|
|
8. Specifications
| Model | Zevara |
| Brand | Vente-unique |
| Dimensions (L x W x H) | 80 cm x 46 cm x 57 cm |
| Weight | Approximately 39 kg |
| Color | Natural Light Wood |
| Material | MDF and Wood-derived Panels |
| Number of Drawers | 2 (Soft-close) |
| Mounting Type | Wall Mounted |
| Assembly Required | Yes |
| Included Accessories | 3 sets of handles (Matte Black, Glossy Chrome, Gold) |
| Faucet/Basin | Not included |
9. Warranty Information
For warranty details, please refer to the specific warranty documentation provided with your purchase or visit the official Vente-unique website. Keep your proof of purchase for any warranty claims.
10. Customer Support
If you encounter any issues or have questions regarding your Vente-unique Zevara Bathroom Vanity Unit, please contact Vente-unique customer support. Contact information can typically be found on the brand's official website or your purchase documentation.
You can visit the Vente-unique store on Amazon: Vente-unique Amazon Store


