
Introduction
This manual provides comprehensive instructions for the installation, operation, and maintenance of your ZYWUOY Programmable Smart Thermostat, Model 2296866548. This device is designed to control gas boiler heating systems, offering precise temperature management and weekly programming capabilities to enhance comfort and energy efficiency in your home. Please read this manual thoroughly before installation and use to ensure proper function and safety.
Safety Information
- Always disconnect power to the heating system before installing or servicing the thermostat to prevent electrical shock.
- Installation should be performed by a qualified electrician or heating technician if you are unsure about the wiring process.
- Do not expose the thermostat to water or excessive humidity.
- Use only the specified battery type (2 x 1.5V AA batteries).
- Keep the device out of reach of children to prevent accidental operation or damage.
Package Contents
Verify that all items are present in the package:
- 1 x ZYWUOY Programmable Smart Thermostat (Batteries not included)
- 2 x Mounting Screws
- 1 x English User Manual
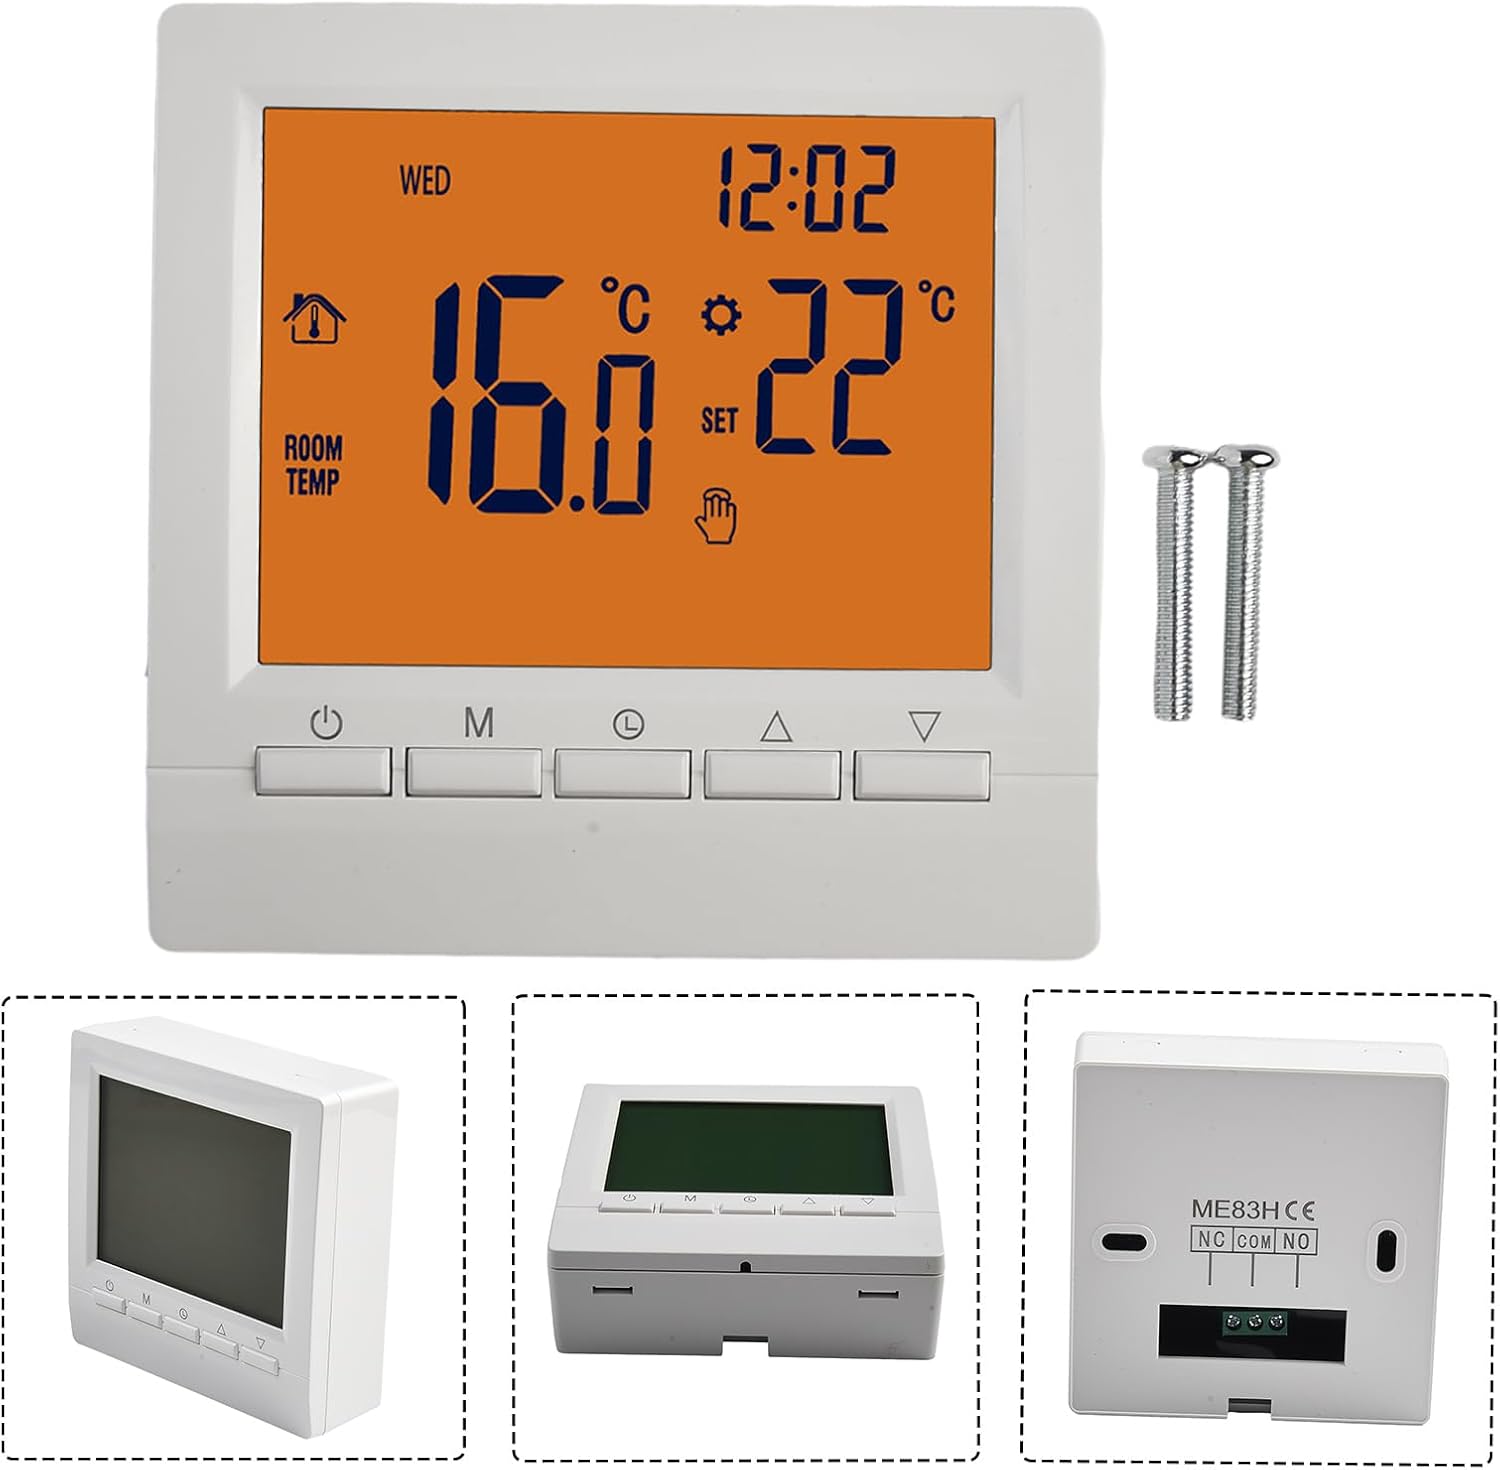
Image: The thermostat unit, two mounting screws, and the included user manual.
Product Overview
Dimensions
The thermostat unit measures 86mm x 86mm x 28mm, designed for standard wall mounting.

Image: A technical drawing illustrating the thermostat's front and side dimensions (86mm x 86mm x 28mm).
Display and Controls
The thermostat features a large LCD display that shows current room temperature, set temperature, time, day of the week, and operating mode. Control buttons are located below the display for easy interaction.

Image: A close-up of the thermostat's LCD display, indicating accurate temperature readings and settings.
Image: The thermostat's display with annotations pointing to various indicators and buttons, including setting temperature, locking key, heating status, manual/automatic mode, period indicator, and control keys.
Setup
Wall Mounting
The thermostat is designed for wall mounting. Choose a suitable location away from direct sunlight, drafts, or heat sources that could affect temperature readings. Use the provided mounting screws to secure the backplate to the wall, then attach the thermostat unit.
Wiring Diagram
Before wiring, ensure the power supply to your gas boiler is turned off. Connect the thermostat to your gas boiler system according to the diagram below. For general gas boilers, connect to the NO (Normally Open) and COM (Common) terminals. The NC (Normally Closed) terminal is for specific gas boiler types.
Image: A detailed wiring diagram illustrating how to connect the thermostat to a gas boiler using the NO and COM terminals. The internal components and battery placement are also shown.

Image: A visual representation of the smart heating thermostat connected to a gas boiler, highlighting the wiring path.
Battery Installation
The thermostat requires 2 x 1.5V AA batteries (not included). Open the battery compartment on the back of the unit and insert the batteries, ensuring correct polarity. Close the compartment securely.
Operating Instructions
Basic Temperature Setting
In manual mode, press the Up or Down arrow buttons to adjust the desired temperature. The thermostat will maintain this set temperature until changed or until a programmed schedule takes over.
Weekly Programming (6-Event Time and Temperature)
The thermostat supports weekly programming with up to 6 different temperature settings per day (modes). You can set different schedules for weekdays (5-2 days) or for all seven days (1/7 days).
- From the shutdown state, press and hold the "M" (Mode) key and the Clock key simultaneously for 5 seconds to enter programming mode.
- Use the "M" key to switch between parameters (e.g., time, temperature for each event).
- Use the Up or Down arrow buttons to adjust the hour, then press "M" to adjust the minute.
- Press "M" again to adjust the temperature for the current event.
- Repeat for all 6 events (Wake-up, Leave, Return(am), Leave(pm), Return(pm), Sleep) for weekdays and weekend.

Image: The thermostat display highlighting the one-week cycle programming feature, allowing for flexible scheduling options.

Image: A detailed programming table showing the 6 daily events (Wake-up, Leave, Return AM, Leave PM, Return PM, Sleep) with default time and temperature settings for both weekdays and weekends.
Child Lock Function
The child lock feature prevents accidental key presses. To activate or deactivate the child lock, refer to the specific instructions in the full user manual or press and hold the designated lock button (if available) for a few seconds.

Image: The thermostat display showing the child lock icon, indicating the feature is active to prevent unintended adjustments.
Maintenance
Cleaning
Wipe the thermostat's exterior with a soft, damp cloth. Do not use abrasive cleaners or solvents. Ensure no liquid enters the device.
Battery Replacement
When the battery indicator appears on the display, replace the 2 x 1.5V AA batteries promptly. Turn off the heating system power before replacing batteries. Dispose of old batteries responsibly.
Troubleshooting
- No Display: Check battery installation and ensure batteries are fresh.
- Heating Not Activating: Verify wiring connections to the boiler. Ensure the thermostat is in heating mode and the set temperature is above the current room temperature. Check boiler power supply.
- Incorrect Temperature Reading: Ensure the thermostat is not exposed to direct sunlight, drafts, or heat sources.
- Programming Issues: Review the programming steps carefully. Ensure the correct day and time are set.
Specifications
| Product Name | Wall-mounted Non-WiFi Temperature Controller with Orange Backlight |
| Model Number | 2296866548 |
| Material | Flame-retardant PC + ABS |
| Dimensions (L x W x H) | 86 x 86 x 28 mm |
| Color | Orange Backlight |
| Operating Voltage | 2 x 1.5V AA Batteries |
| Weight | 100 g |
| Special Feature | Programmable |
| Controller Type | Push Button |
| Specific Uses | Gas Boiler Heating Control |
Warranty and Support
This product comes with a standard manufacturer's warranty. For specific warranty details, please refer to the documentation provided at the time of purchase or contact your retailer. For technical support or inquiries, please reach out to the product manufacturer or your point of purchase.