
1. Introduction
This manual provides essential information for the setup, operation, maintenance, and troubleshooting of your JVC IPS Display Ultra Thin Monitor, Model B0CM6W2CHB. Please read this manual thoroughly before using the product to ensure proper and safe operation.
The JVC IPS Display Ultra Thin Monitor features a 23.8-inch IPS panel with a 1920 x 1080 resolution, offering clear and vibrant images. Its ultra-thin design and wide 178-degree viewing angle enhance the visual experience. Key features include an energy-efficient LED backlight, blue light filter, and flicker-free technology designed to reduce eye strain.
2. Package Contents
Verify that all items are present in the package:
- JVC IPS Display Ultra Thin Monitor (23.8-Inch)
- Monitor Stand (Base and Neck)
- Power Adapter
- HDMI Cable
- User Manual (this document)
3. Setup Instructions
3.1 Assembling the Monitor Stand
- Carefully remove the monitor and stand components from the packaging.
- Attach the stand neck to the monitor panel. Ensure it clicks securely into place or is fastened with screws if provided.
- Connect the stand base to the stand neck. Tighten any screws to secure the assembly.
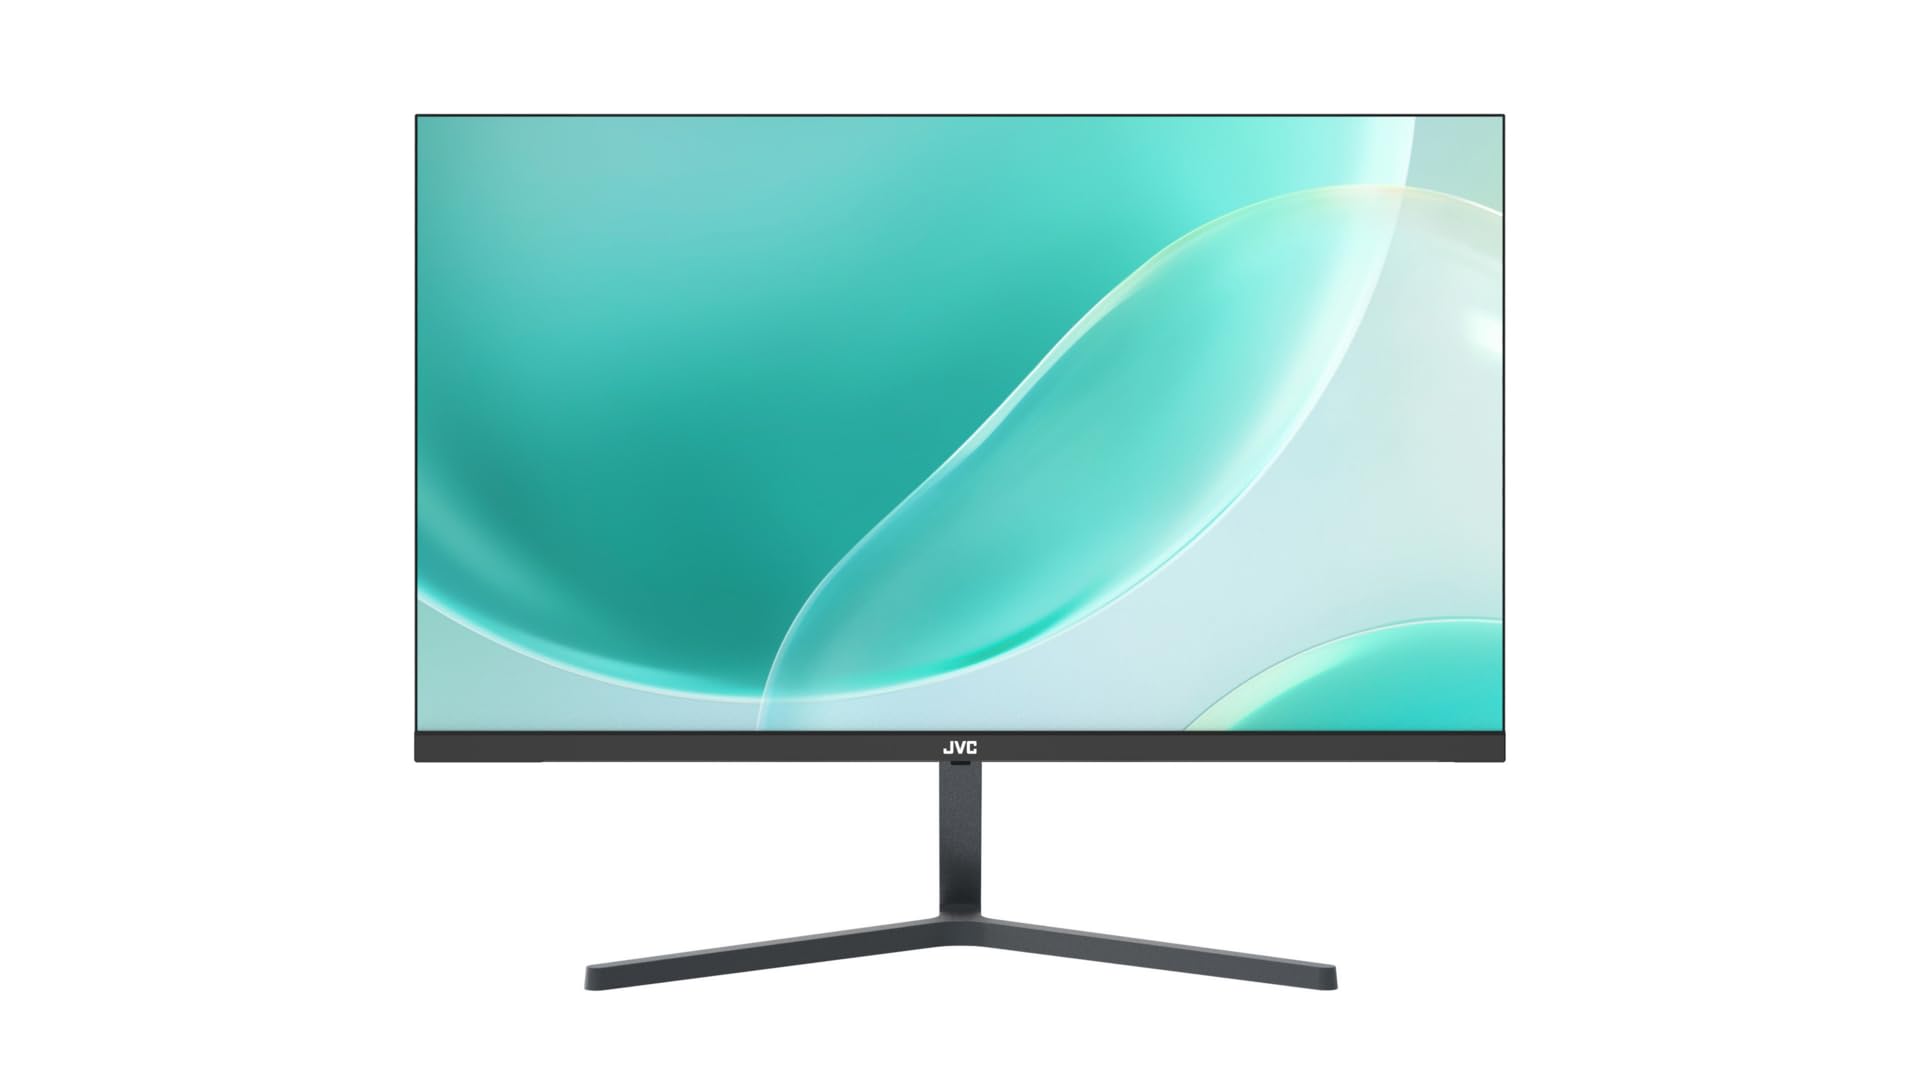
Figure 3.1: Front view of the JVC monitor with its stand assembled, showcasing its ultra-thin profile.
3.2 Connecting Cables
Locate the input ports on the rear of the monitor.
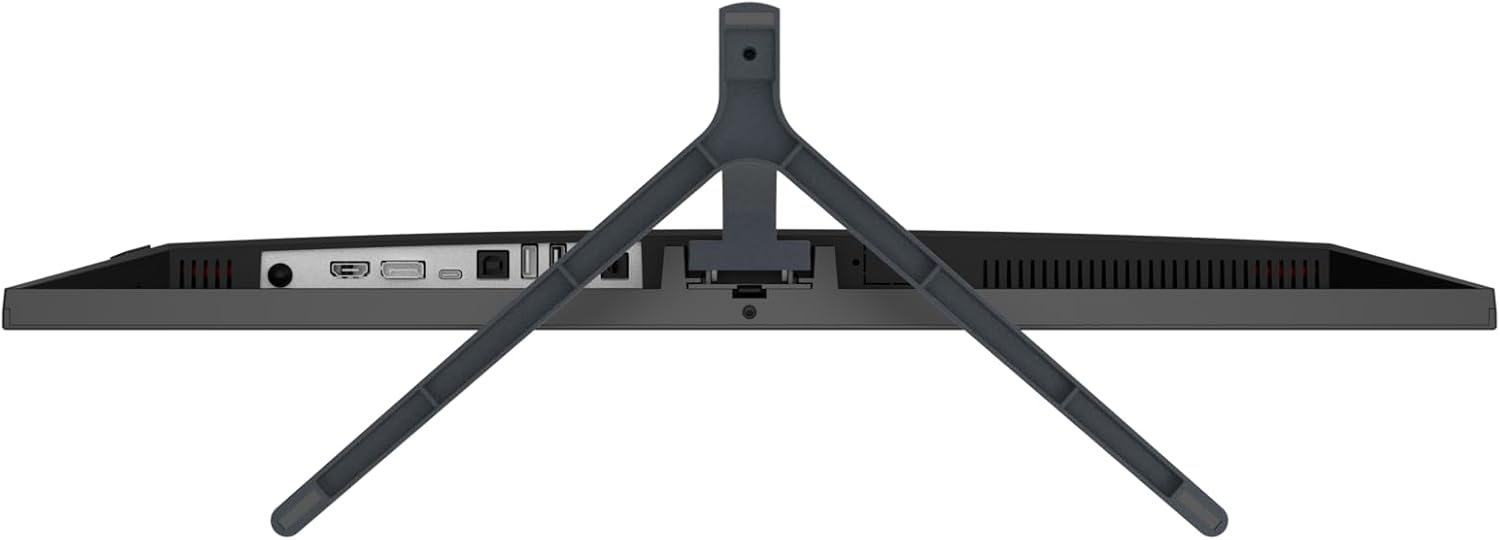
Figure 3.2: Rear view of the JVC monitor, highlighting the HDMI, DisplayPort, and power input ports.
- Power Connection: Connect the power adapter to the monitor's power input port, then plug the adapter into a power outlet.
- Video Connection: Connect one end of the HDMI cable to the HDMI port on your computer or video source, and the other end to the HDMI port on the monitor. The monitor also supports DisplayPort connectivity.
3.3 Initial Power On
Press the power button, typically located on the rear or bottom edge of the monitor, to turn it on. The monitor will automatically detect the active input source.
4. Operating the Monitor
4.1 Power On/Off
Press the power button to turn the monitor on or off. A power indicator light will typically illuminate when the monitor is active.
4.2 On-Screen Display (OSD) Menu
The OSD menu allows you to adjust various monitor settings. Access the OSD menu by pressing the designated OSD button (refer to the physical buttons on your monitor). Navigate through the menu using the directional buttons and confirm selections with the enter button.
4.3 Adjusting Settings
Common adjustable settings include:
- Brightness/Contrast: Adjust the overall luminance and contrast levels.
- Color Settings: Modify color temperature, hue, and saturation.
- Input Source: Manually select between HDMI or DisplayPort inputs if auto-detection fails.
- Blue Light Filter: Activate this feature to reduce blue light emissions, which can help minimize eye strain during prolonged use.
- Flicker-Free Technology: This monitor is designed with flicker-free technology to provide a more comfortable viewing experience by eliminating screen flickering.
- Aspect Ratio: Adjust the display aspect ratio (e.g., 16:9).
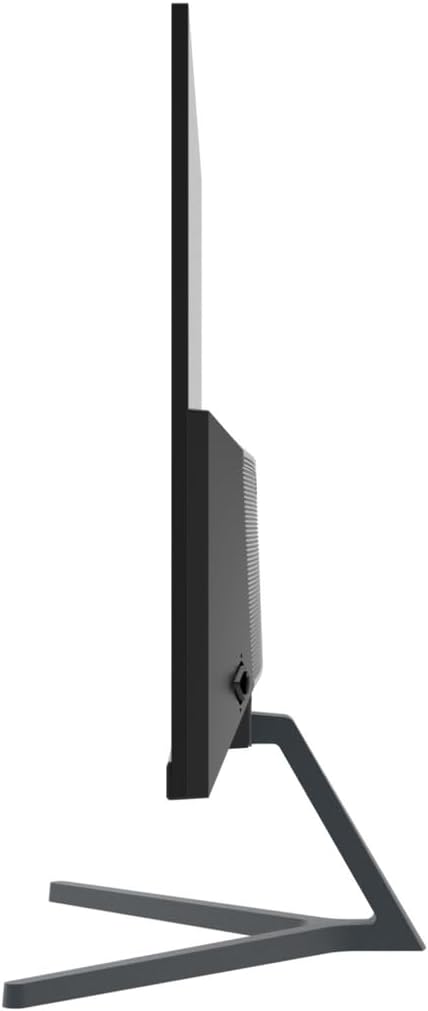
Figure 4.1: Side profile of the JVC monitor, demonstrating its ultra-thin design.
5. Maintenance
5.1 Cleaning the Monitor
- Always turn off the monitor and unplug the power cord before cleaning.
- Use a soft, lint-free cloth lightly dampened with water or a specialized screen cleaner.
- Do not spray cleaner directly onto the screen.
- Avoid using abrasive cleaners, waxes, or solvents.
5.2 General Care
- Avoid placing the monitor in direct sunlight or near heat sources.
- Ensure adequate ventilation around the monitor.
- Do not block ventilation openings.
6. Troubleshooting
If you encounter issues with your monitor, refer to the following common troubleshooting steps:
- No Power: Ensure the power cable is securely connected to both the monitor and the power outlet. Verify the power outlet is functional.
- No Signal: Check that the video cable (HDMI or DisplayPort) is firmly connected to both the monitor and your computer. Ensure the correct input source is selected in the OSD menu. Try restarting your computer.
- Flickering Screen: Verify that the video cable is properly connected. Adjust the refresh rate in your computer's display settings. The monitor features flicker-free technology, so persistent flickering may indicate an external issue.
- Image Distortion/Poor Quality: Ensure the monitor's resolution is set to its native 1920 x 1080. Adjust brightness, contrast, and color settings via the OSD menu.
- Buttons Not Responding: Unplug the monitor's power cable, wait 30 seconds, then plug it back in and try again.
7. Specifications
| Feature | Specification |
|---|---|
| Brand | JVC |
| Model Number | B0CM6W2CHB |
| Screen Size | 23.8 Inches |
| Display Type | IPS |
| Resolution | FHD 1080p (1920 x 1080) |
| Aspect Ratio | 16:9 |
| Refresh Rate | 60 Hz |
| Image Contrast Ratio | 1000:1 |
| Viewing Angle | 178 Degrees |
| Screen Surface Description | Glossy |
| Connectivity Technology | HDMI, DisplayPort |
| Special Features | Blue light filter, Flicker-free, Wide viewing angle |
| Manufacturer | JVC |
| Country of Origin | China |
8. Warranty and Support
8.1 Warranty Information
This JVC monitor comes with a 1 Year Warranty from the date of purchase. This warranty covers manufacturing defects and workmanship under normal use. It does not cover damage caused by misuse, accidents, unauthorized modifications, or external factors.
8.2 Customer Support
For technical assistance, warranty claims, or further inquiries, please contact JVC customer support through their official website or the contact information provided with your purchase documentation. Please have your model number (B0CM6W2CHB) and proof of purchase ready when contacting support.