
HOLACA DF-1113+DF-1138
HOLACA Baby Monitor Mount User Manual
Model: DF-1113+DF-1138
1. Product Overview
The HOLACA Baby Monitor Mount is designed to securely hold your baby monitor, providing optimal viewing angles without the need for drilling. This clip-on mount is compatible with various HelloBaby, Blemil, JUAN, and VTimes baby monitors, as well as any camera with a 1/4-inch screw thread. Its flexible design allows for easy adjustment and stable positioning.

Image 1: The HOLACA Baby Monitor Mount securely attached to a crib railing, holding a baby monitor camera. This illustrates the product's primary use case.
2. Compatibility
This mount is specifically designed for a range of baby monitors and is versatile enough for any camera with a standard 1/4-inch screw. Please refer to the list and image below to confirm compatibility with your device.
- HelloBaby: HB40, HB65, HB66, HB6339, HB6336, HB6351, HB6550, HB6558, HB248
- Blemil Baby Monitor: BL9046, BL9052, BL9064
- JUAN Baby Monitor: JUAN 2215
- VTimes Baby Monitor: VT3302
- Any other camera with a 1/4-inch screw thread.

Image 2: A visual guide displaying several HelloBaby, Blemil, JUAN, and VTimes baby monitor models, confirming their compatibility with the HOLACA mount.
3. Setup and Installation
The HOLACA Baby Monitor Mount is designed for easy, tool-free installation. Follow these steps to set up your monitor securely.
-
Align and Connect the Bracket: Align the bottom bracket of the mount with the 1/4-inch screw hole located at the bottom of your baby monitor camera.

Image 3: Close-up view of aligning the mount's bottom bracket with the screw hole on the base of a baby monitor.
-
Twist to Secure: Twist the bottom bracket to firmly connect it to the baby monitor. Ensure it is snug but do not overtighten.

Image 4: Illustrates the twisting motion required to secure the mount bracket to the baby monitor, showing the connection point.
-
Attach to Surface: Open the clip and attach the mount to a suitable surface, such as a crib railing, shelf, or table edge. The maximum diameter for the clip is 1.96 inches (approximately 5 cm).

Image 5: The mount's clip is shown attached to a table edge, demonstrating how the baby monitor can be positioned on various surfaces.
-
Final Docking: Once the baby camera and bottom bracket are successfully docked, the mount is ready for positioning.
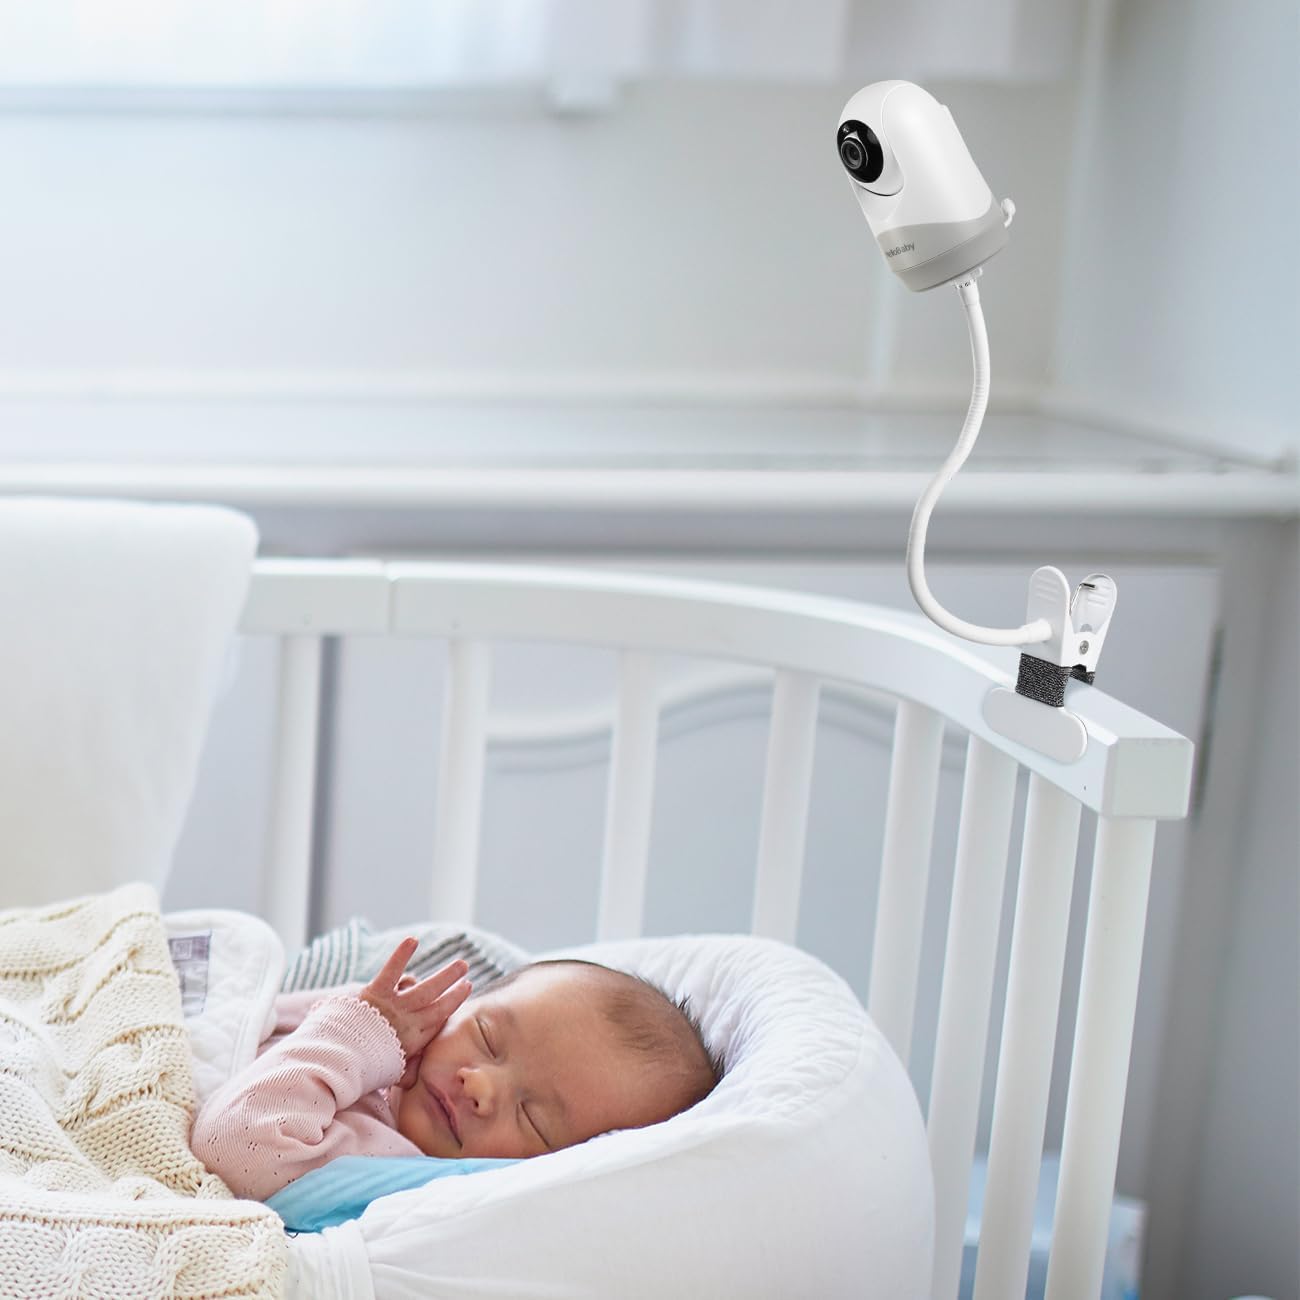
Image 6: A view of the baby monitor fully attached to the mount, ready for flexible positioning.
4. Operating Instructions
After installation, the flexible arm of the HOLACA mount allows for easy adjustment of your baby monitor's viewing angle.
- Adjusting the Angle: Gently bend and twist the flexible arm to achieve the desired viewing angle for your baby monitor. The improved version of the mount is designed to be easier to twist while maintaining stability.
- Repositioning: To reposition the mount, simply unclip it from its current location and re-attach it to a new suitable surface. No tools are required for removal or re-installation.
5. Maintenance
To ensure the longevity and proper function of your HOLACA Baby Monitor Mount, follow these simple maintenance guidelines:
- Cleaning: Wipe the mount with a soft, damp cloth. Avoid using abrasive cleaners or solvents, as these may damage the silicone and metal surfaces.
- Inspection: Periodically check the mount for any signs of wear or damage, especially around the clip mechanism and the screw connection point.
- Storage: If storing the mount for an extended period, keep it in a clean, dry place away from extreme temperatures.
6. Troubleshooting
If you encounter any issues with your HOLACA Baby Monitor Mount, please refer to the following common solutions:
| Problem | Possible Cause | Solution |
|---|---|---|
| Mount is not stable or sags. | Not securely clipped or arm not bent correctly. | Ensure the clip is firmly attached to a stable surface. Re-adjust the flexible arm to create a more stable support structure for the monitor. |
| Baby monitor does not fit the mount. | Incompatible monitor model or incorrect screw size. | Verify your baby monitor has a standard 1/4-inch screw thread. Refer to the "Compatibility" section (Section 2) to check if your model is listed. |
| Clip does not fit on desired surface. | Surface is too thick for the clip. | The maximum clip diameter is 1.96 inches (5 cm). Choose a surface that fits within this limit. |
7. Specifications
Key technical specifications for the HOLACA Baby Monitor Mount:
| Feature | Detail |
|---|---|
| Brand | HOLACA |
| Model Number | DF-1113+DF-1138 |
| Main Material | Metal, Silicone |
| Mounting Type | Crib Mount (Clip-on) |
| Recommended Use | Baby Monitoring |
| Indoor/Outdoor Use | Indoor |
| Package Dimensions | 11.8 x 9.4 x 9.4 cm |
| Item Weight | 270 grams |
| Max Clip Diameter | 1.96 inches (approx. 5 cm) |

Image 7: A detailed diagram illustrating the dimensions of the mount's components, including the flexible arm length and clip size.
8. Warranty and Support
HOLACA is committed to customer satisfaction. We offer comprehensive support for our products.
- Warranty: We promise a 6-month replacement service or a full refund in case of any quality issues with the product.
- Customer Support: If you have any questions or encounter problems, please do not hesitate to contact us. Our professional support team will patiently resolve your issue within 24 hours.
Ask a question about this manual
Ask about setup, troubleshooting, compatibility, parts, safety, or missing instructions. Manuals+ will review the question and use this page’s manual context to help answer it.