
TAB Fairy 10
TAB Fairy10 Robot Vacuum and Mop Combo User Manual
Model: Fairy 10
1. Introduction
Thank you for choosing the TAB Fairy10 Robot Vacuum and Mop Combo. This advanced cleaning device is designed to provide a comprehensive and hands-free cleaning experience for your home. Featuring powerful suction, intelligent navigation, and a multifunctional docking station, the Fairy10 simplifies floor maintenance. This manual provides essential information for setup, operation, and maintenance to ensure optimal performance and longevity of your device.
2. Safety Information
Please read all safety instructions carefully before using the device. Keep this manual for future reference.
- Do not allow children or pets to operate the robot.
- Ensure the power cord is not damaged and is properly connected.
- Do not use the robot in wet environments or near flammable materials.
- Remove any loose cables, small objects, or fragile items from the floor before cleaning to prevent entanglement or damage.
- Do not use the robot to pick up large debris, sharp objects, or liquids.
- Only use accessories and replacement parts specified by the manufacturer.
3. Package Contents
Verify that all components are present in the package:
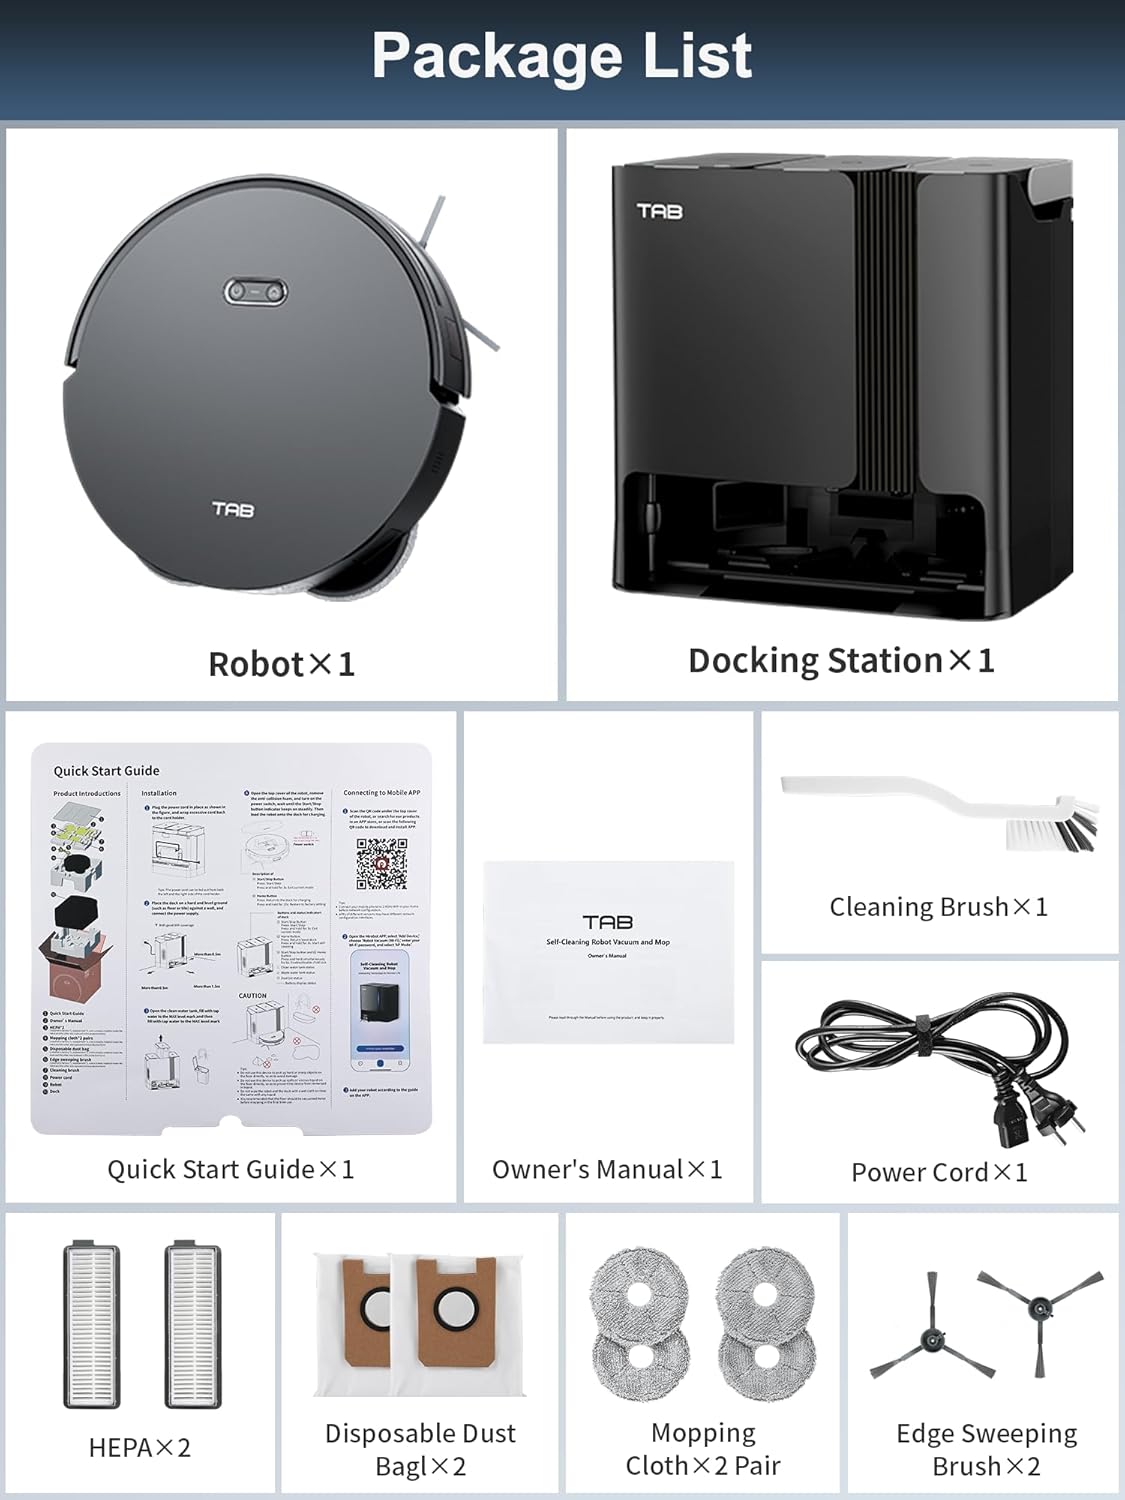
Image: All components included in the TAB Fairy10 package, neatly laid out.
- Robot Vacuum ×1
- Charging Base ×1
- Adapter ×1
- HEPA Filters ×2
- Cleaning Brush ×1
- Side Brush ×2 Pair
- Mop Cloth ×2 Pair
- Disposable Dust Bag ×2
- Quick Start Guide ×1
- Owner's Manual ×1
4. Product Overview
The TAB Fairy10 consists of the robot vacuum and a multifunctional docking station.

Image: The TAB Fairy10 robot vacuum positioned in front of its docking station, with a smartphone showing the companion app.
4.1 Robot Vacuum
The robot features a compact design with hidden LiDAR navigation, allowing it to access tighter spaces. It is equipped with a multi-directional floating brush and dual rotary mops for effective cleaning.
4.2 Multifunctional Docking Station
The docking station serves as an all-in-one hub for the robot, providing self-draining, self-washing, self-drying, self-cleaning, and self-refilling capabilities.

Image: A visual representation of the docking station's capabilities, including self-mop cleaning, self-dust emptying, self-mop drying, and self-refilling.
5. Setup
5.1 Unpacking
Carefully remove all components from the packaging. Retain packaging materials for future transport or storage.
5.2 Docking Station Placement
Place the docking station on a hard, level surface against a wall. Ensure there is at least 0.5 meters (1.6 feet) of clear space on both sides and 1.5 meters (4.9 feet) in front of the station for the robot to dock properly. Connect the power adapter to the docking station and plug it into a wall outlet.
5.3 Robot Preparation
Install the side brushes by pressing them into their slots until they click. Ensure the mop pads are securely attached to the mop module.
5.4 Initial Charging
Place the robot onto the docking station. Ensure the charging contacts align. The robot will begin charging automatically. For first use, fully charge the robot before operation.
5.5 App Installation and Connection
Download the official TAB app from your smartphone's app store. Follow the in-app instructions to connect your Fairy10 robot. This typically involves creating an account, adding the device, and connecting it to your home Wi-Fi network.
5.6 Mapping
Once connected, initiate a mapping run through the app. The hidden LiDAR navigation system will efficiently scan and map your home, creating a detailed floor plan for optimized cleaning routes.

Image: The robot vacuum actively mapping a room using its LiDAR system, with a visual representation of the map being created on a smartphone screen.
6. Operating Instructions
6.1 Starting/Stopping Cleaning
You can start or stop a cleaning cycle using the button on the robot or through the TAB app. The robot will automatically return to the docking station upon completion or when its battery is low.
6.2 Cleaning Modes
The Fairy10 offers versatile cleaning modes to suit your needs:

Image: Visual examples of the four available cleaning modes: sweep only, mop only, sweep then mop, and mop while sweeping.
- Only Sweep: For dry debris collection with 6000 Pa suction.
- Only Mop: For wet cleaning with dual rotating mops.
- Sweep Then Mop: Completes a full vacuuming cycle before initiating mopping.
- Mop While Sweep: Simultaneous vacuuming and mopping for combined cleaning.

Image: The robot vacuum demonstrating its powerful 6000Pa suction on a carpeted surface.

Image: The robot vacuum actively mopping a hard floor, showcasing its dual rotating mops and key specifications like rotation speed, lift, and pressure.
6.3 Scheduled Cleaning
Set specific cleaning times via the app to automate your cleaning routine. The robot will start and return to the dock as scheduled.

Image: The robot vacuum returning to its base, indicating a successful scheduled cleaning setup.
6.4 Targeted Cleaning Zones
Use the app to define specific areas for cleaning, such as the kitchen, living room, or bedroom, allowing for customized cleaning preferences.

Image: The app interface displaying targeted cleaning zones, with corresponding images of the robot cleaning different rooms.
6.5 No-Go Zones
Set virtual boundaries or no-go zones in the app to prevent the robot from entering specific areas, protecting delicate items or preventing access to certain rooms.

Image: The robot vacuum avoiding a designated 'No-Go Zone' in a home environment.
6.6 Child Lock
Activate the child lock feature in the app to prevent unintended operation by children or pets, ensuring safety.

Image: The robot vacuum with a child lock icon, illustrating its safety feature when children or pets are present.
6.7 Lidar Navigation and Obstacle Avoidance
The hidden LiDAR navigation system allows the robot to create precise maps and navigate efficiently, even in tight spaces. AI 3.0 Obstacle Avoidance helps the robot detect and avoid objects on the floor, reducing the need for pre-cleaning.

Image: The robot vacuum demonstrating its hidden LiDAR navigation by cleaning under a sofa, highlighting its ability to access tight spaces.
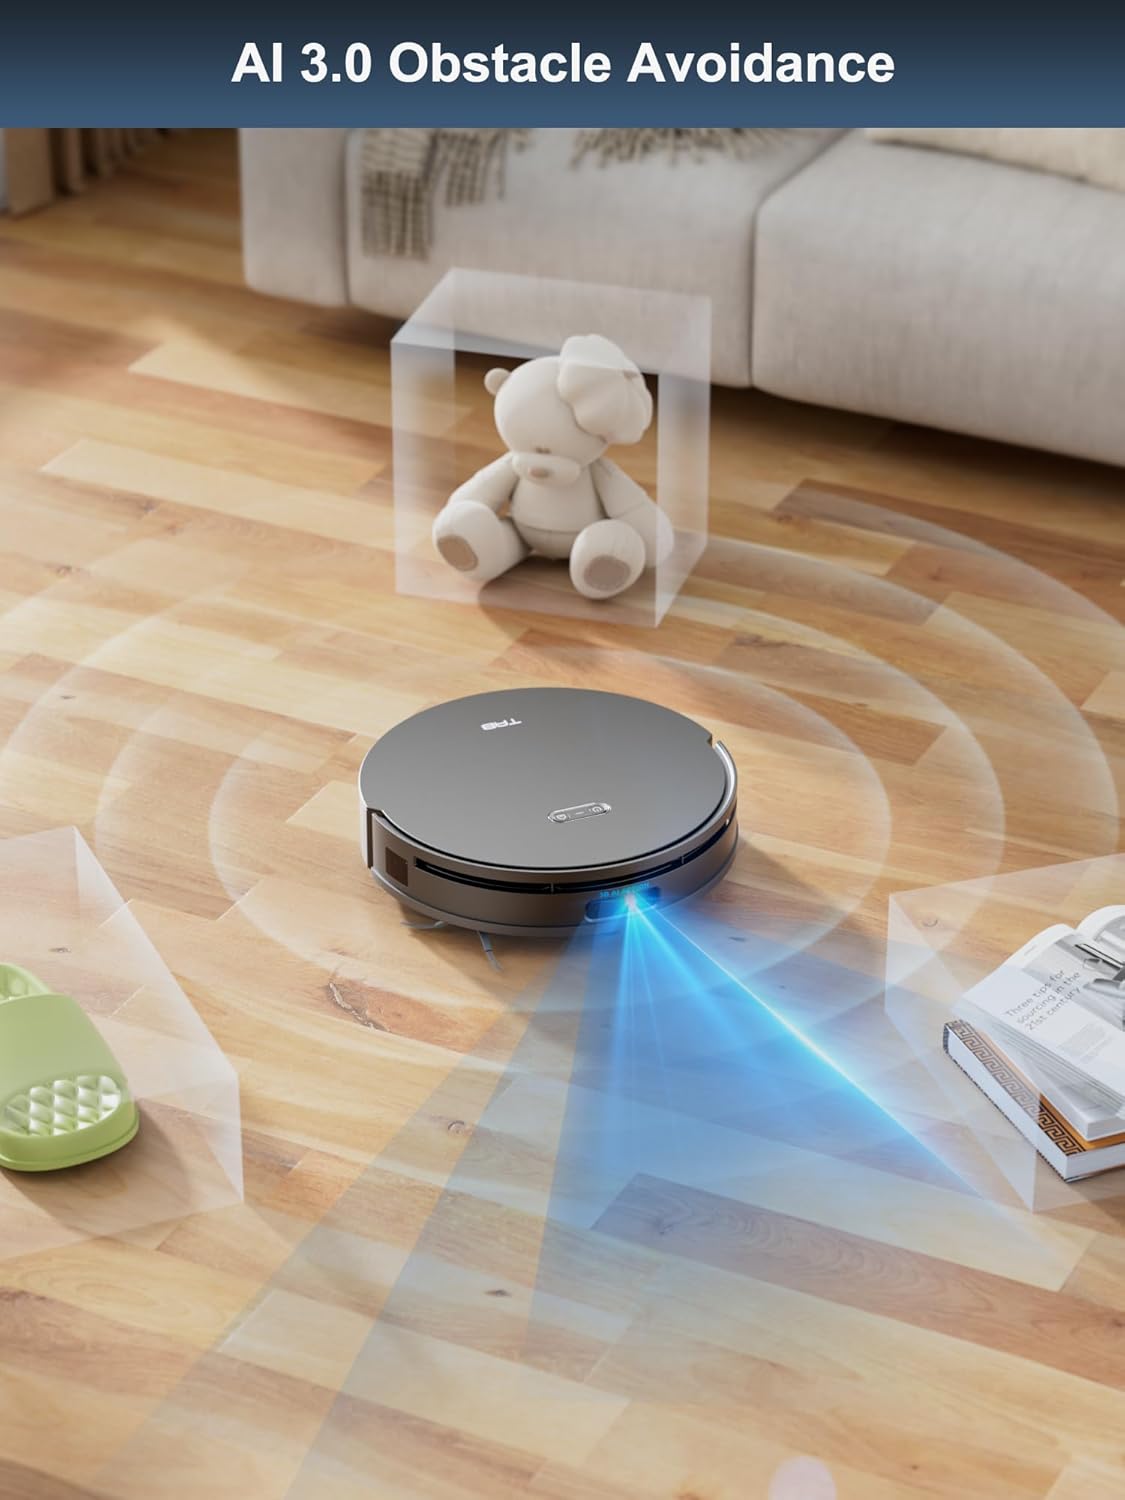
Image: The robot vacuum employing AI 3.0 obstacle avoidance to detect and navigate around various items on the floor.
6.8 Auto Mop Lifting
The robot automatically lifts its mops by 15mm when it detects carpets, preventing them from getting wet during vacuuming cycles.
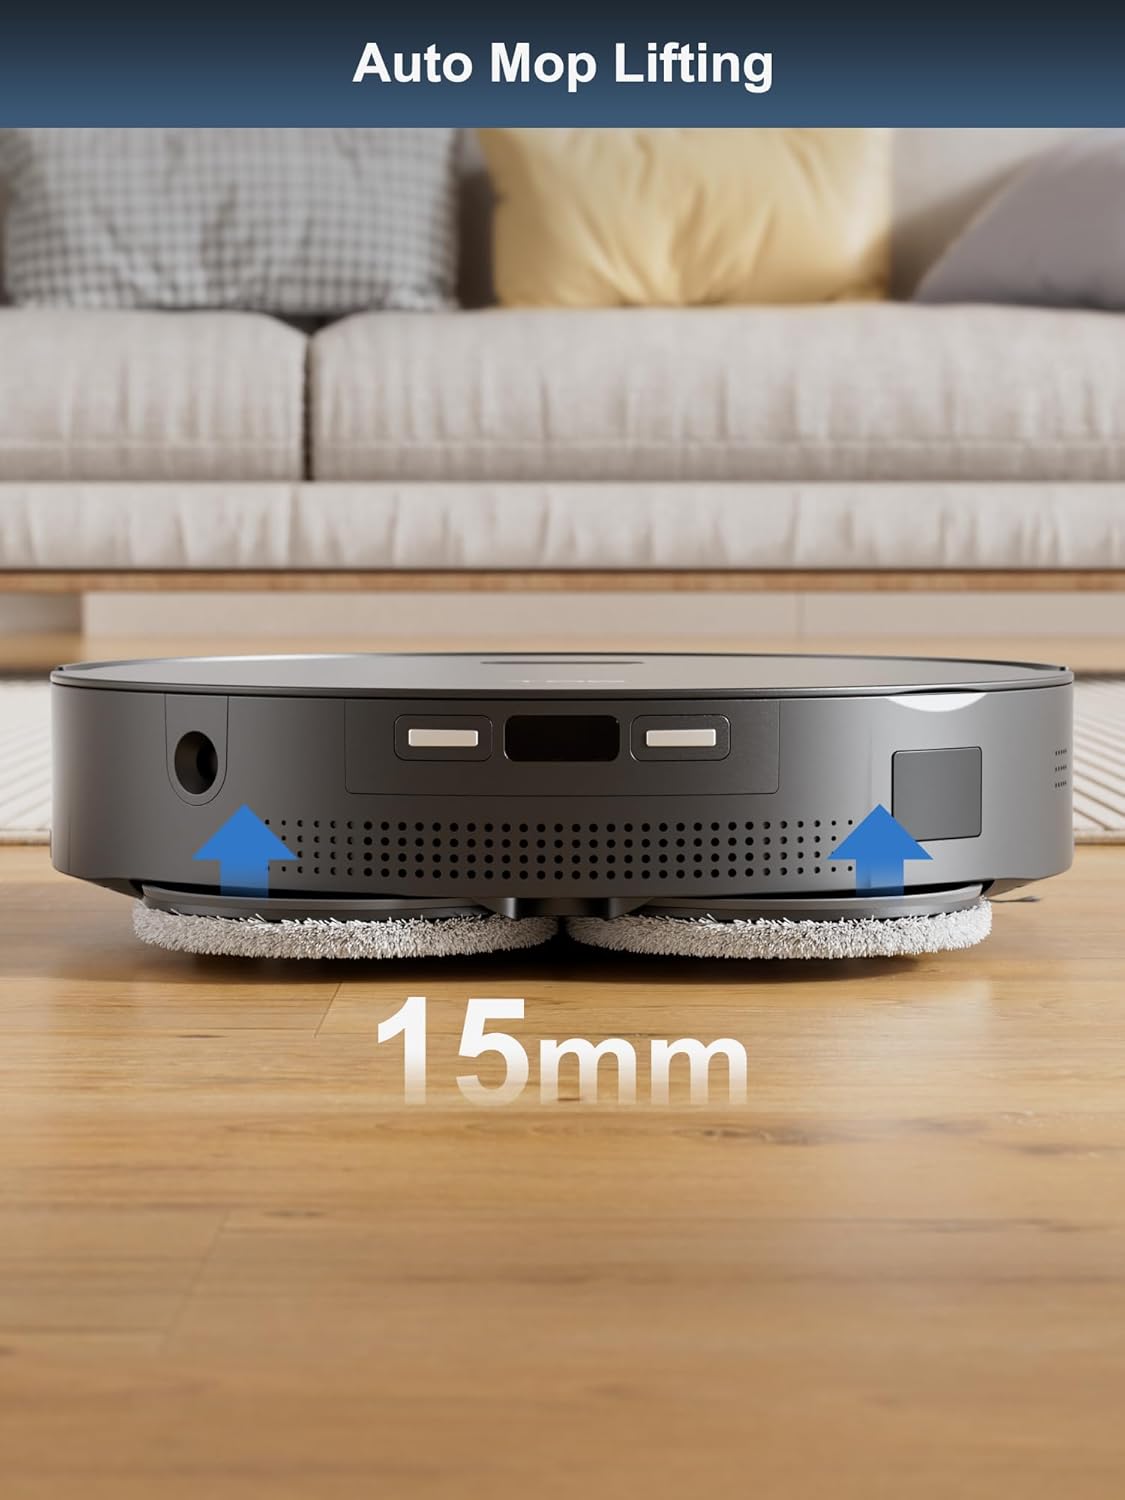
Image: The robot vacuum demonstrating its auto mop lifting feature, raising its mops by 15mm as it approaches a carpet.
7. Maintenance
Regular maintenance ensures the optimal performance and longevity of your TAB Fairy10.
7.1 Self-Cleaning Features
The docking station automates several maintenance tasks:
- Auto-Emptying: The robot's dustbin is automatically emptied into a disposable dust bag in the docking station.
- Mop Washing: The mop pads are automatically washed at the docking station to remove dirt and debris.
- Mop Drying: After washing, the mop pads are dried with hot air to prevent odors and mildew.
- Self-Refilling: The robot's water tank is automatically refilled from the clean water tank in the docking station.

Image: The self-cleaning and hot air drying processes for the mop pads within the docking station.

Image: A transparent view of the docking station illustrating the automatic dust emptying process.
7.2 Cleaning the Robot
- Main Brush: Regularly remove hair and debris from the main brush. Use the cleaning tool provided.
- Side Brushes: Check for tangled hair or debris and clean as needed. Replace if worn.
- Sensors: Wipe all sensors (cliff sensors, wall sensors, charging contacts) with a clean, dry cloth.
- Wheels: Clean any debris from the drive wheels and caster wheel.
7.3 Cleaning the Docking Station
- Dust Bag: Replace the disposable dust bag when full.
- Clean/Dirty Water Tanks: Empty the dirty water tank and refill the clean water tank as needed. Clean both tanks regularly to prevent buildup.
- Mop Washing Tray: Clean the mop washing tray to remove any residue.
7.4 Replacing Consumables
Replace consumables according to usage or as indicated by the app:
- HEPA Filters: Replace every 3-6 months.
- Disposable Dust Bags: Replace when full.
- Mop Cloths: Replace every 1-3 months depending on usage.
- Side Brushes: Replace every 3-6 months.
8. Troubleshooting
If you encounter issues with your TAB Fairy10, refer to the following common solutions:
| Problem | Possible Cause | Solution |
|---|---|---|
| Robot does not turn on | Low battery; Power switch off | Charge the robot; Ensure power switch is on |
| Robot cannot dock | Docking station obstructed; Incorrect placement | Clear obstacles around the dock; Ensure proper placement as per setup instructions |
| Poor cleaning performance | Full dustbin; Clogged brushes/filters; Worn mop pads | Empty dustbin/replace dust bag; Clean brushes/filters; Replace mop pads |
| App connectivity issues | Incorrect Wi-Fi password; Robot too far from router; App outdated | Verify Wi-Fi credentials; Move robot closer to router; Update app to latest version |
| Mops not drying | Air vents blocked; Drying cycle not initiated | Check for obstructions in air vents; Ensure drying function is enabled in app |
For further assistance, please refer to the support section of the TAB app or visit the official TAB website.
9. Specifications
| Feature | Specification |
|---|---|
| Brand | TAB |
| Model Name | Fairy 10 |
| Special Feature | Auto Mop Washing, Auto-Docking, Automatic Dust Collection |
| Color | Black |
| Product Dimensions | 18.8"L x 18.8"W x 19.2"H |
| Filter Type | Cartridge |
| Battery Life | 120 minutes |
| Power Source | Battery Powered |
| Control Method | App |
| Compatible Devices | Smartphones |
| Item Weight | 42.1 pounds |
10. Warranty and Support
For warranty information and customer support, please refer to the official TAB website or contact their customer service directly. Details can typically be found in the TAB app under the 'Support' or 'About Us' sections.
Online Resources:
- Visit the Official TAB Store on Amazon for product updates and support.
Related documentsFairy 10

Ask a question about this manual
Ask about setup, troubleshooting, compatibility, parts, safety, or missing instructions. Manuals+ will review the question and use this page’s manual context to help answer it.