
1. Safety Warnings
Please read and understand all instructions before assembly and use. Failure to follow these instructions may result in injury or damage to the product.
- Assembly: Assemble the desk carefully according to the provided instructions. Ensure all connections are secure and stable before use.
- Stability: Place the desk on a flat, stable surface. Avoid placing heavy objects unevenly on the desk or shelves to prevent tipping.
- Cables: Secure all cables to prevent tripping hazards.
- Weight Capacity: Do not exceed the recommended weight capacity for the desktop and shelves. Refer to the Specifications section for details.
- Children: Keep small parts and packaging materials away from children during assembly.
2. Package Contents
Before beginning assembly, verify that all parts listed below are present and undamaged. If any parts are missing or damaged, please contact customer support.
- Desktop Panel
- Monitor Stand Panel
- Side Storage Shelves (2)
- Metal Frame Components (Legs, Support Bars)
- Headphone Hook
- Cup Holder
- Assembly Hardware (Screws, Bolts, Allen Wrench)
- Instruction Manual
Note: A detailed list of specific hardware and components will be found in the included assembly diagram.
3. Assembly Instructions
Assembly typically takes approximately 20 minutes. It is recommended to have a second person for assistance, though it can be assembled by one person.
- Prepare Workspace: Clear a spacious area and lay out all components and hardware. Keep the instruction manual and assembly diagram handy.
- Assemble Frame: Attach the metal legs to the main desktop panel using the provided screws and Allen wrench. Ensure all connections are finger-tight before fully tightening.
- Install Monitor Stand: Secure the monitor stand panel to the designated support points on the desktop.
- Attach Storage Shelves: The two storage shelves can be installed on either the left or right side of the desk, based on your preference. Attach the shelf supports to the frame and then secure the shelves. The middle shelf is removable for larger items like a computer tower.
- Add Accessories: Attach the headphone hook and cup holder to the desired locations on the desk frame. These are reversible and can be placed on either side.
- Final Tightening: Once all components are in place, carefully tighten all screws and bolts. Do not overtighten.
- Leveling: Ensure the desk is level. Adjust the foot pads if necessary to prevent wobbling.
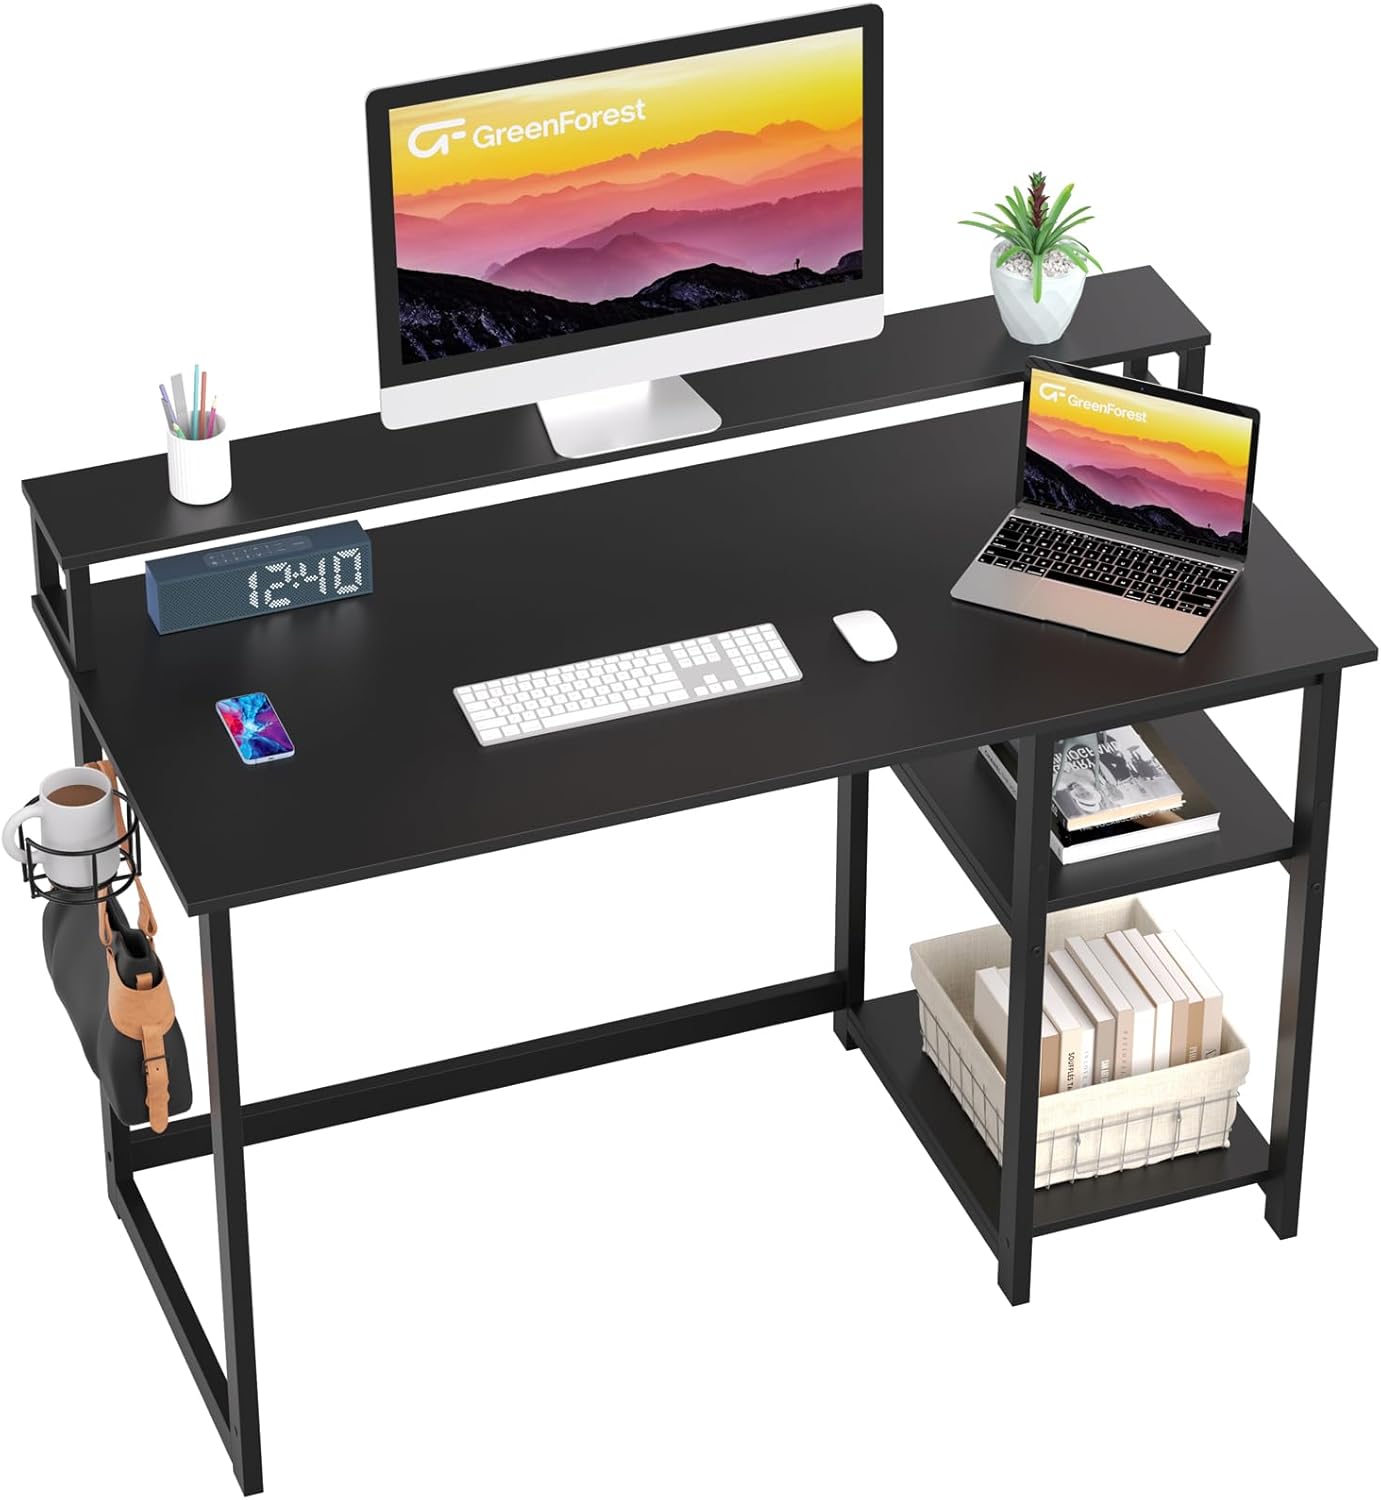
Figure 3.1: Fully assembled GreenForest Computer Desk.
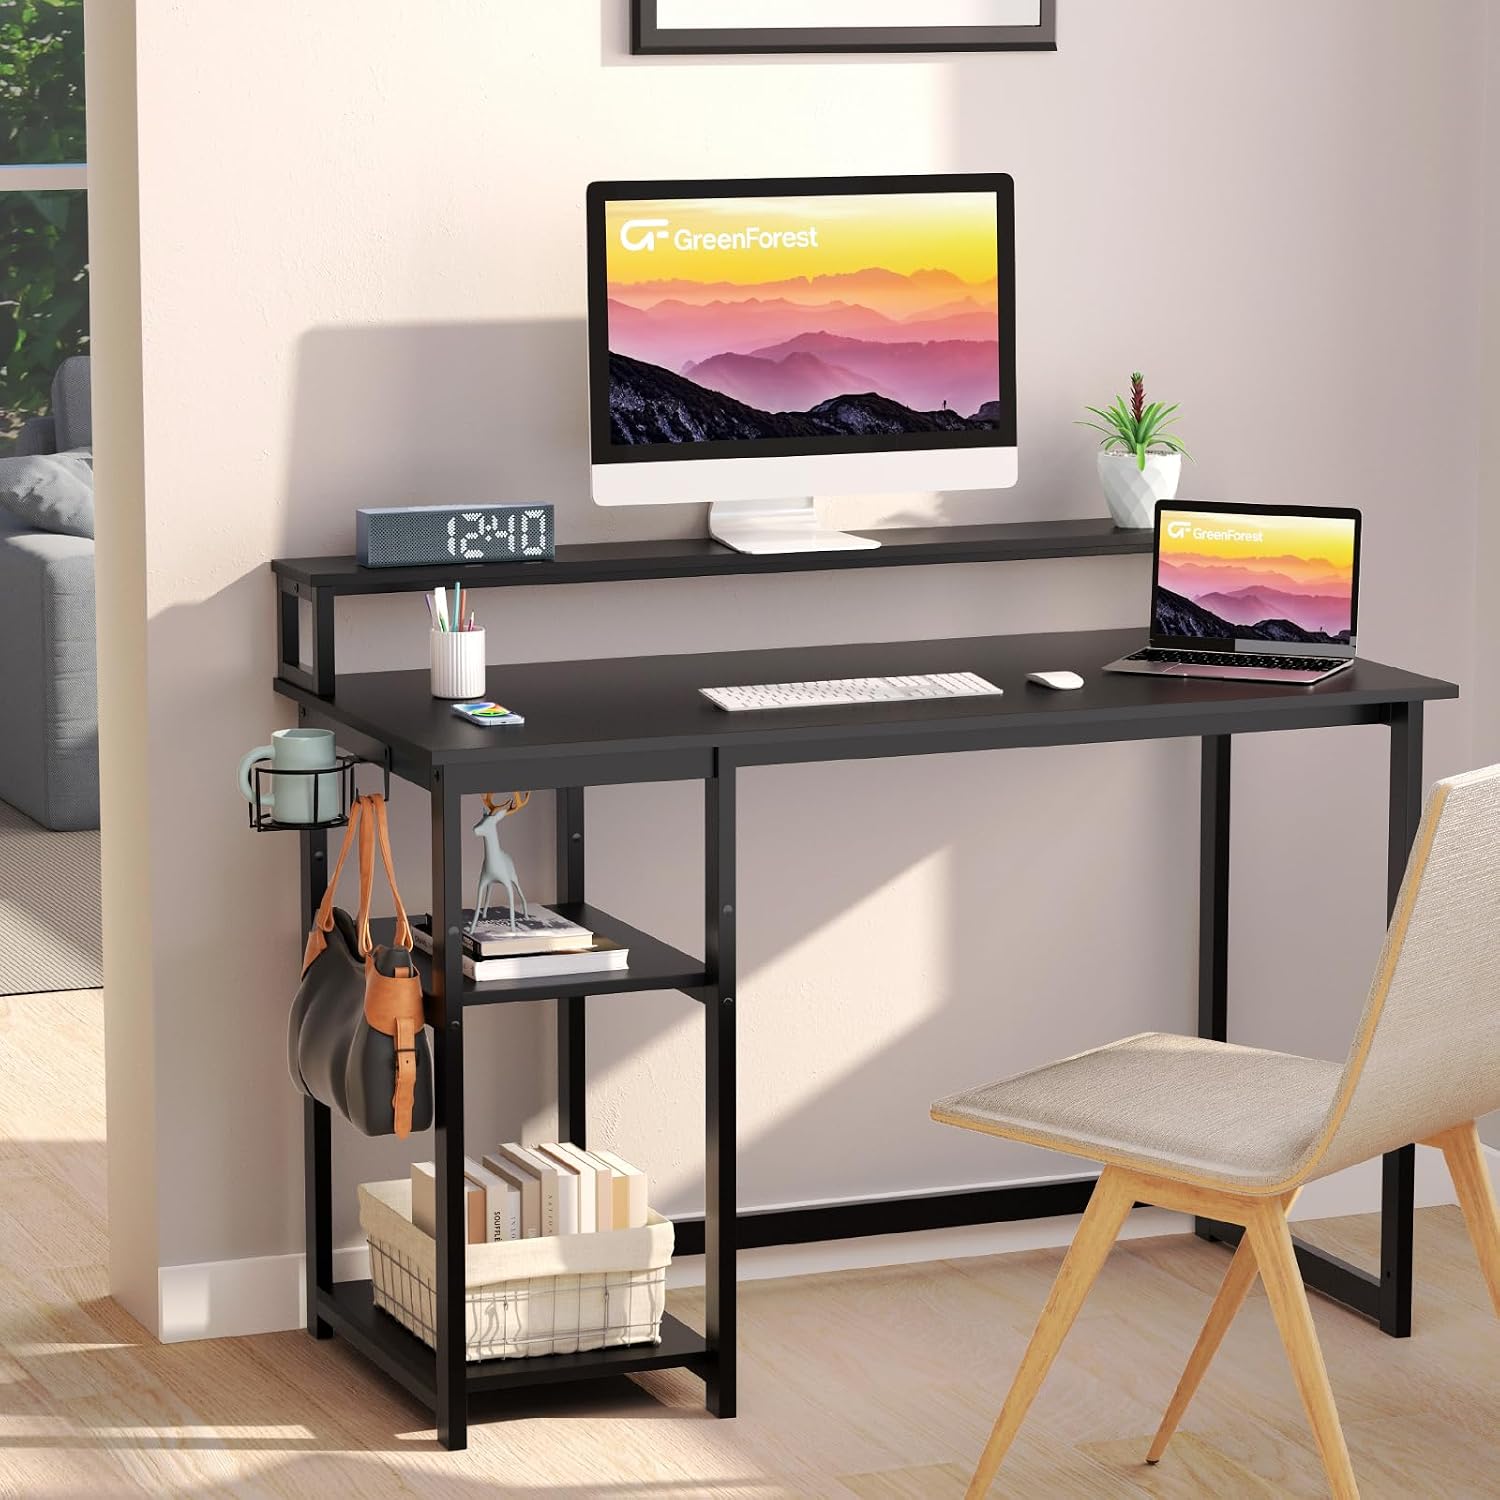
Figure 3.2: The desk integrated into a room, showcasing its design.
4. Features Overview
The GreenForest Computer Desk is designed for functionality and organization, offering several key features:
- Integrated Monitor Stand: This full-length stand extends across the entire desk, providing elevated space for multiple monitors. It helps to free up desktop space for other items like books and keyboards, and promotes ergonomic viewing by raising screen height.

Figure 4.1: The built-in monitor stand helps improve posture and save workspace.
- Reversible Storage Shelves: The two open storage shelves can be installed on either the left or right side to suit your preference and room layout. These shelves are ideal for storing books, storage boxes, and other office supplies. The central shelf is removable, allowing for increased space to accommodate a large computer tower.

Figure 4.2: The storage shelves offer flexible configuration and space for a CPU.
- Headphone Hook and Cup Holder: For added convenience, the desk comes with a dedicated headphone hook and a cup holder. These accessories can be attached to any part of the desk frame, allowing for personalized placement to save desktop space and keep essentials within reach.

Figure 4.3: The cup holder and headphone hook can be installed on either side.
5. Operating Instructions
Using your GreenForest Computer Desk effectively involves understanding its features and maintaining proper setup.
5.1 Utilizing the Monitor Stand
Place your monitor(s) directly on the integrated monitor stand. This elevates your screen to a more comfortable viewing height, reducing neck and eye strain. The space beneath the stand can be used for storing keyboards, mice, or other small items when not in use, maximizing your main desktop area.
5.2 Arranging Storage Shelves
The two storage shelves provide convenient access to your office supplies. You can adjust the height of the shelves by repositioning them in the pre-drilled holes on the frame. To accommodate a large computer tower, simply remove the middle shelf. Ensure items are placed evenly on the shelves to maintain stability.
5.3 Using Accessories
Attach the headphone hook and cup holder to the side of the desk that best suits your workflow. The headphone hook keeps your headphones easily accessible and off the desk surface, while the cup holder prevents spills and keeps your beverage secure.
6. Maintenance
Regular maintenance will help prolong the life and appearance of your GreenForest Computer Desk.
- Cleaning: Wipe the desk surfaces with a soft, damp cloth. Avoid harsh chemicals or abrasive cleaners, as these can damage the finish.
- Spills: Clean up spills immediately to prevent staining or damage to the wood-engineered top.
- Hardware: Periodically check all screws and bolts to ensure they remain tight. Retighten if necessary, but do not overtighten.
- Avoid Extreme Conditions: Do not expose the desk to extreme temperatures or humidity, as this can cause warping or damage.
7. Troubleshooting
If you encounter any issues with your desk, refer to the following common problems and solutions:
| Problem | Possible Cause | Solution |
|---|---|---|
| Desk is wobbly/unstable. | Uneven floor; loose hardware. | Adjust the leveling foot pads. Check and tighten all assembly screws. |
| Parts are missing or damaged. | Packaging error; shipping damage. | Do not proceed with assembly. Contact GreenForest customer support immediately for replacement parts. |
| Difficulty assembling. | Incorrect step order; misaligned parts. | Review the assembly instructions carefully. Ensure parts are oriented correctly before tightening. Seek assistance if needed. |
| Monitor stand or shelves not fitting. | Incorrect orientation; wrong parts. | Double-check the part numbers and ensure they are facing the correct direction as per the diagram. |
8. Specifications
| Attribute | Detail |
|---|---|
| Brand | GreenForest |
| Model Number | VICTOR-M-SH-1BK |
| Color | Black |
| Product Dimensions (L x W x H) | 120 x 55 x 75 cm (47.24 x 21.65 x 29.52 inches) |
| Material | Engineered Wood (Top), Metal (Frame) |
| Item Weight | 18.59 kg (40.98 lbs) |
| Special Features | Integrated Monitor Stand, Reversible Storage Shelves, Headphone Hook, Cup Holder |

Figure 8.1: Detailed dimensions of the desk components.
9. Warranty & Support
GreenForest products are manufactured with quality and customer satisfaction in mind. While specific warranty details may vary by region and retailer, we are committed to providing support for our products.
If you have any questions, require assistance with assembly, or need to report missing/damaged parts, please contact GreenForest customer support through your purchase platform or the official GreenForest website. Please have your model number (VICTOR-M-SH-1BK) and proof of purchase ready when contacting support.
For the latest information and contact details, please visit the official GreenForest website or refer to the contact information provided by your retailer.


