
NALsa NALsa
User Manual
NALsa AX181 A0075421318 Ambient Air Temperature Sensor
Outside Exterior Sensor
1. Introduction and Overview
This manual provides essential information for the NALsa AX181 A0075421318 Ambient Air Temperature Sensor. This sensor is designed to accurately measure the outside air temperature, which is crucial for your vehicle's climate control system and other related functions. Proper installation and understanding of its function will ensure optimal performance.
2. Product Description
The NALsa AX181 A0075421318 is a high-quality replacement ambient air temperature sensor. It is an auto temp control sensor, vital for providing accurate temperature readings to your vehicle's onboard computer. This sensor is constructed from durable plastic, ensuring longevity and reliable performance in various environmental conditions.

Front view of the NALsa AX181 Ambient Air Temperature Sensor, showing its conical tip and main body.
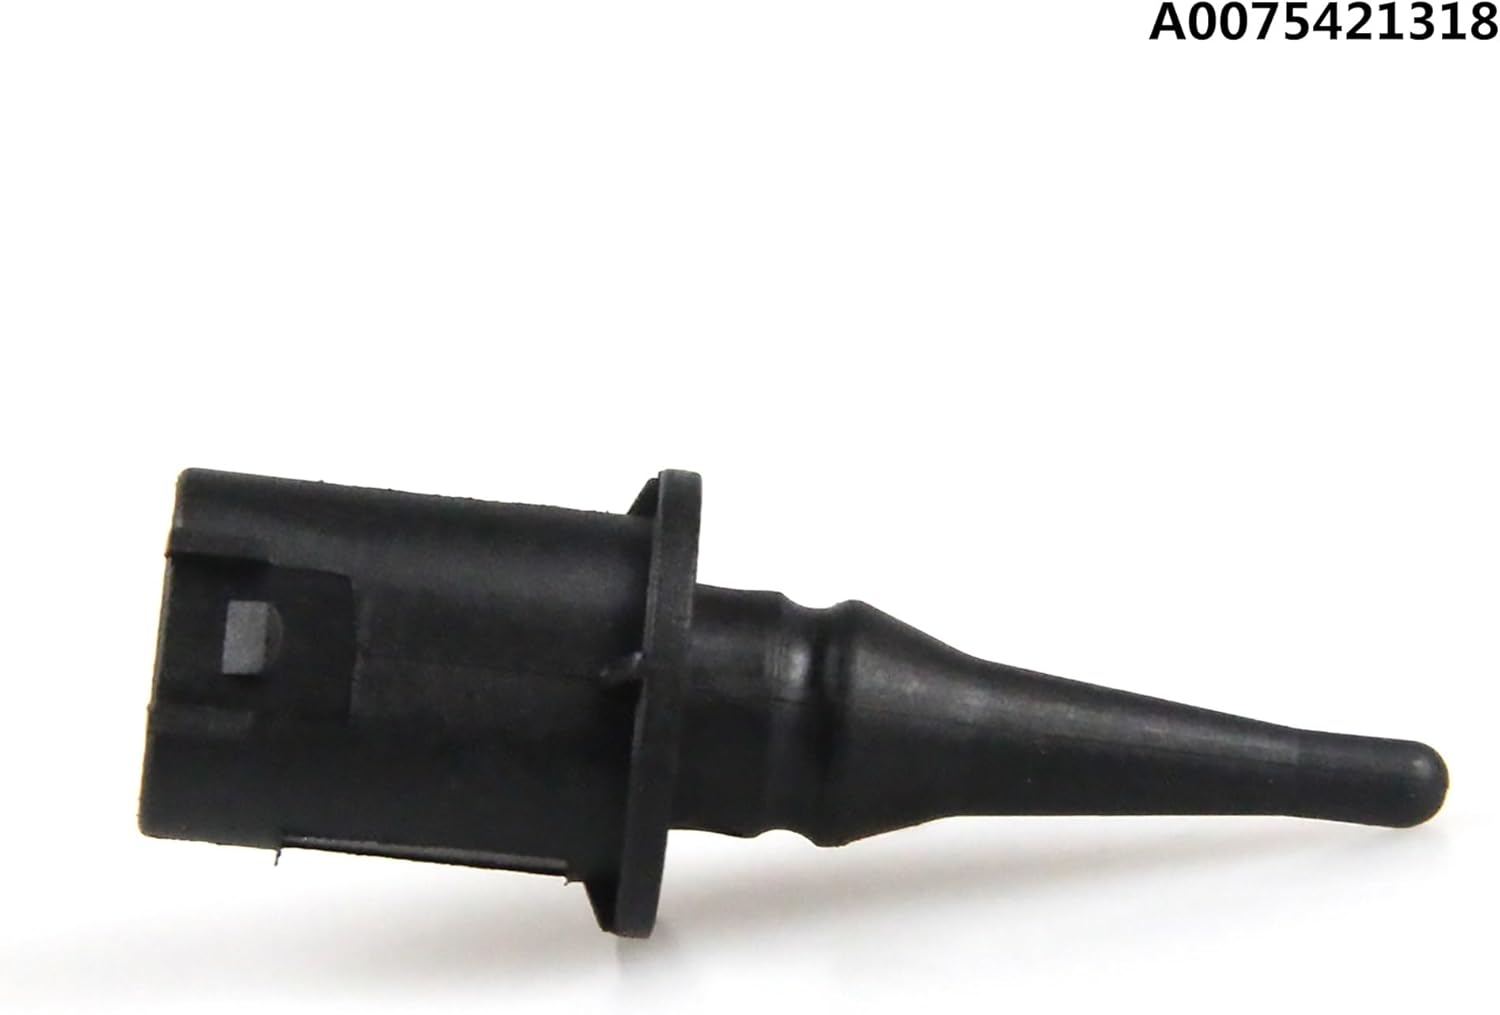
Side profile of the sensor, highlighting the part number A0075421318 printed on the body.

Close-up view of the sensor's electrical connector, showing the internal pins for connection to the vehicle's wiring harness.
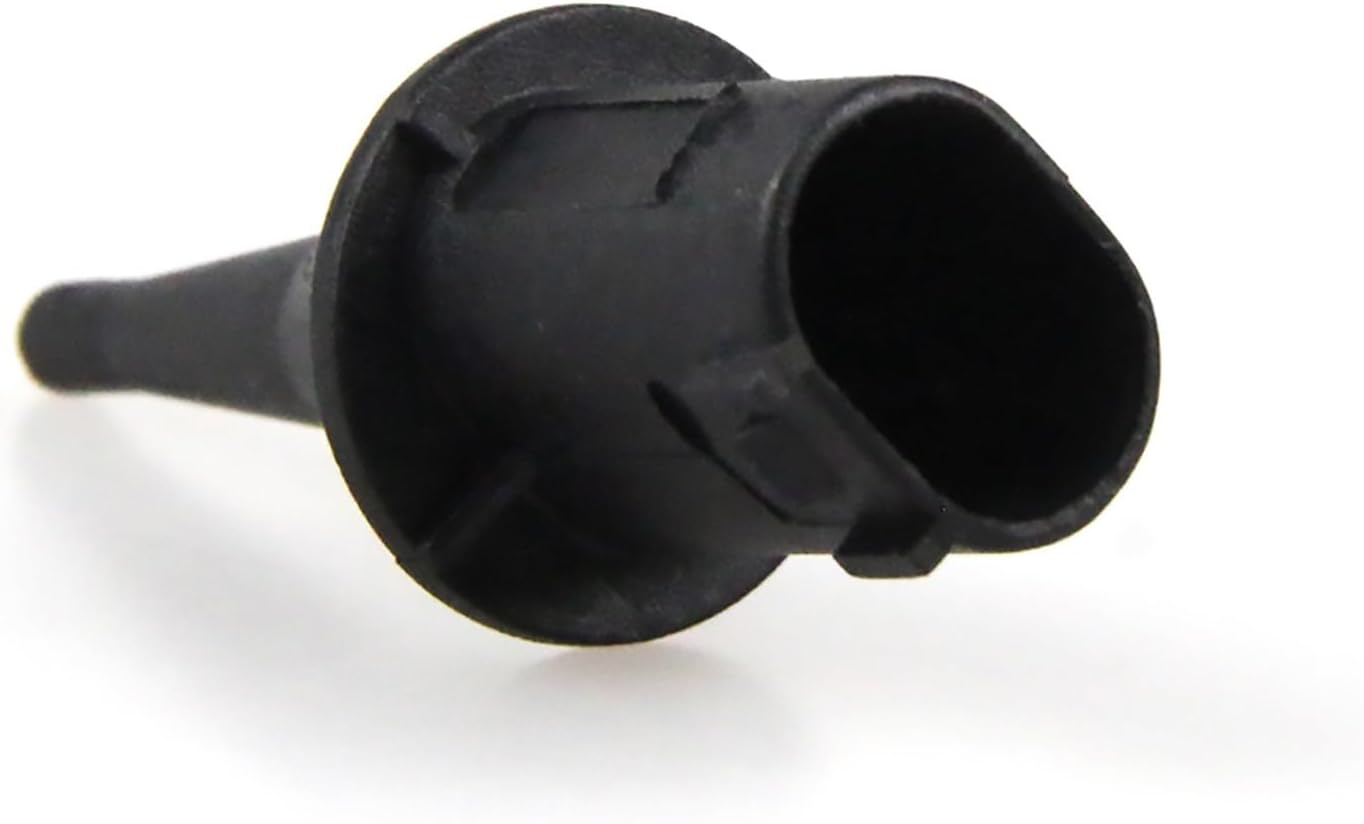
An angled view of the sensor's connector end, illustrating its shape and connection mechanism.

Top-down perspective of the sensor, providing a full view of its overall shape and design.
3. Setup and Installation
Important Note: Before purchasing and installing this sensor, it is critical to compare the part number (A0075421318) with your vehicle's original part. They must be identical to ensure correct fitment and functionality. Incorrect part numbers may lead to improper operation or incompatibility with your vehicle's systems.
Installation of automotive sensors can be complex and may require specialized tools or knowledge. It is highly recommended that installation be performed by a qualified automotive technician. If you choose to install it yourself, please follow these general guidelines:
- Safety First: Always disconnect the vehicle's battery before beginning any electrical work to prevent short circuits or damage.
- Locate the Old Sensor: Refer to your vehicle's service manual to locate the existing ambient air temperature sensor. Its location can vary by vehicle model (e.g., behind the front bumper, near the radiator, or in the side mirror).
- Remove Old Sensor: Carefully disconnect the electrical connector and unmount the old sensor. Be gentle to avoid damaging surrounding components or wiring.
- Install New Sensor: Mount the NALsa AX181 A0075421318 sensor in the same location and orientation as the old one. Ensure it is securely fastened.
- Connect Electrical Harness: Reconnect the electrical connector firmly.
- Reconnect Battery: Reconnect the vehicle's battery.
- Test Functionality: Start the vehicle and check if the ambient temperature reading on your dashboard or climate control system is accurate.
4. Operating
Once installed, the NALsa AX181 A0075421318 sensor operates automatically. It continuously measures the ambient air temperature outside your vehicle and sends this data to the vehicle's Engine Control Unit (ECU) or Body Control Module (BCM). This information is then used for various functions, including:
- Displaying the outside temperature on the dashboard.
- Regulating the automatic climate control system (e.g., air conditioning and heating).
- Assisting other vehicle systems that rely on external temperature data.
The sensor requires no user interaction after installation.
5. Maintenance
The NALsa AX181 A0075421318 Ambient Air Temperature Sensor is designed to be maintenance-free. However, periodic inspection can help ensure its longevity:
- Visual Inspection: Occasionally check the sensor's physical condition for any signs of damage, corrosion, or loose connections.
- Cleanliness: Ensure the sensor's tip is free from dirt, debris, or ice buildup, which could affect its accuracy. Use a soft, damp cloth for cleaning if necessary.
- Wiring: Verify that the wiring harness connected to the sensor is intact and not frayed or damaged.
Avoid using harsh chemicals or abrasive materials on the sensor.
6. Troubleshooting
If you experience issues with your vehicle's ambient air temperature readings, consider the following troubleshooting steps:
- Incorrect Temperature Readings: If the displayed temperature is consistently inaccurate, first ensure the sensor is clean and free of obstructions. Verify the electrical connection is secure.
- No Temperature Display: Check the electrical connection to the sensor. A blown fuse related to the climate control system or instrument cluster could also be a cause.
- Climate Control Malfunction: If your automatic climate control system is not functioning correctly, an inaccurate or faulty ambient temperature sensor could be a contributing factor.
Important: Always re-verify that the installed sensor's part number (A0075421318) matches your vehicle's original part. An incompatible sensor will not function correctly.
For persistent issues, it is recommended to consult a professional automotive technician. They can perform diagnostic scans to identify specific fault codes related to the sensor or other vehicle systems.
7. Specifications
| Feature | Specification |
|---|---|
| Brand | NALsa |
| Model Number | AX181 A0075421318 |
| Part Number | A0075421318 |
| Material | Plastic |
| Item Weight | 1.76 ounces (50 Grams) |
| Country of Origin | China |
8. Warranty and Support
For information regarding warranty coverage or technical support for your NALsa AX181 A0075421318 Ambient Air Temperature Sensor, please refer to the product listing on the platform where it was purchased or contact the seller directly. Keep your proof of purchase for any warranty claims.
Ask a question about this manual
Ask about setup, troubleshooting, compatibility, parts, safety, or missing instructions. Manuals+ will review the question and use this page’s manual context to help answer it.