
1. Safety Information
Please read and understand this entire manual before attempting to assemble, operate, or install the product. Failure to do so could lead to electric shock, fire, or other injuries that could be fatal or cause serious damage.
- WARNING: To reduce the risk of electric shock, ensure electricity has been turned off at the circuit breaker or fuse box before beginning installation.
- WARNING: All wiring must be in accordance with national and local electrical codes. If you are unfamiliar with wiring, consult a qualified electrician.
- WARNING: To reduce the risk of personal injury, mount the fan directly to the building structure and not to an outlet box.
- WARNING: Do not use the fan with a solid-state speed control device.
- CAUTION: Ensure the installation location allows the fan blades to rotate without obstruction.
- CAUTION: Do not bend the blade holders during installation, balancing, or cleaning.
- CAUTION: This product is designed for indoor use only.
2. Package Contents
Carefully unpack the fan and check for any damage. Ensure all components listed below are present before discarding packaging materials.

Image: Overview of included parts for the ceiling fan.
- Ceiling Fan Unit (with integrated LED light)
- Remote Control
- Remote Controller Wall Plate
- "S" Safety Hook
- Washers (4 pcs)
- Expansion Screws (4 pcs)
- Expansion Tubes (4 pcs)
- Junction Box Screws (4 pcs)
- Self-tapping Screws (4 pcs)
- Wire Connectors (4 pcs)
- User Manual
3. Installation Instructions
This ceiling fan features a simplified installation process with most components pre-assembled. Follow these steps carefully for proper installation.
3.1 Before You Begin
- Turn off power at the circuit breaker or fuse box.
- Ensure the mounting surface is structurally sound and can support the fan's weight (approximately 5.69 pounds).
- Gather necessary tools: screwdriver, wire strippers, electrical tape, ladder.
3.2 Mounting the Bracket
- Attach the mounting bracket to the ceiling junction box using the provided junction box screws. Ensure the bracket is securely fastened.
- If mounting directly to the building structure, use the expansion screws and tubes as appropriate.
3.3 Wiring the Fan
- Connect the household supply wires to the fan wires according to local electrical codes. Typically:
- Black (Live) to Black (Fan)
- White (Neutral) to White (Fan)
- Green or Bare Copper (Ground) to Green or Bare Copper (Fan)
- Secure all wire connections with the provided wire connectors and electrical tape.
- Carefully tuck all wires into the junction box.
3.4 Attaching the Fan Unit
- Lift the fan unit and align it with the mounting bracket.
- Secure the fan unit to the mounting bracket using the appropriate screws. Ensure it is firmly attached and flush with the ceiling.
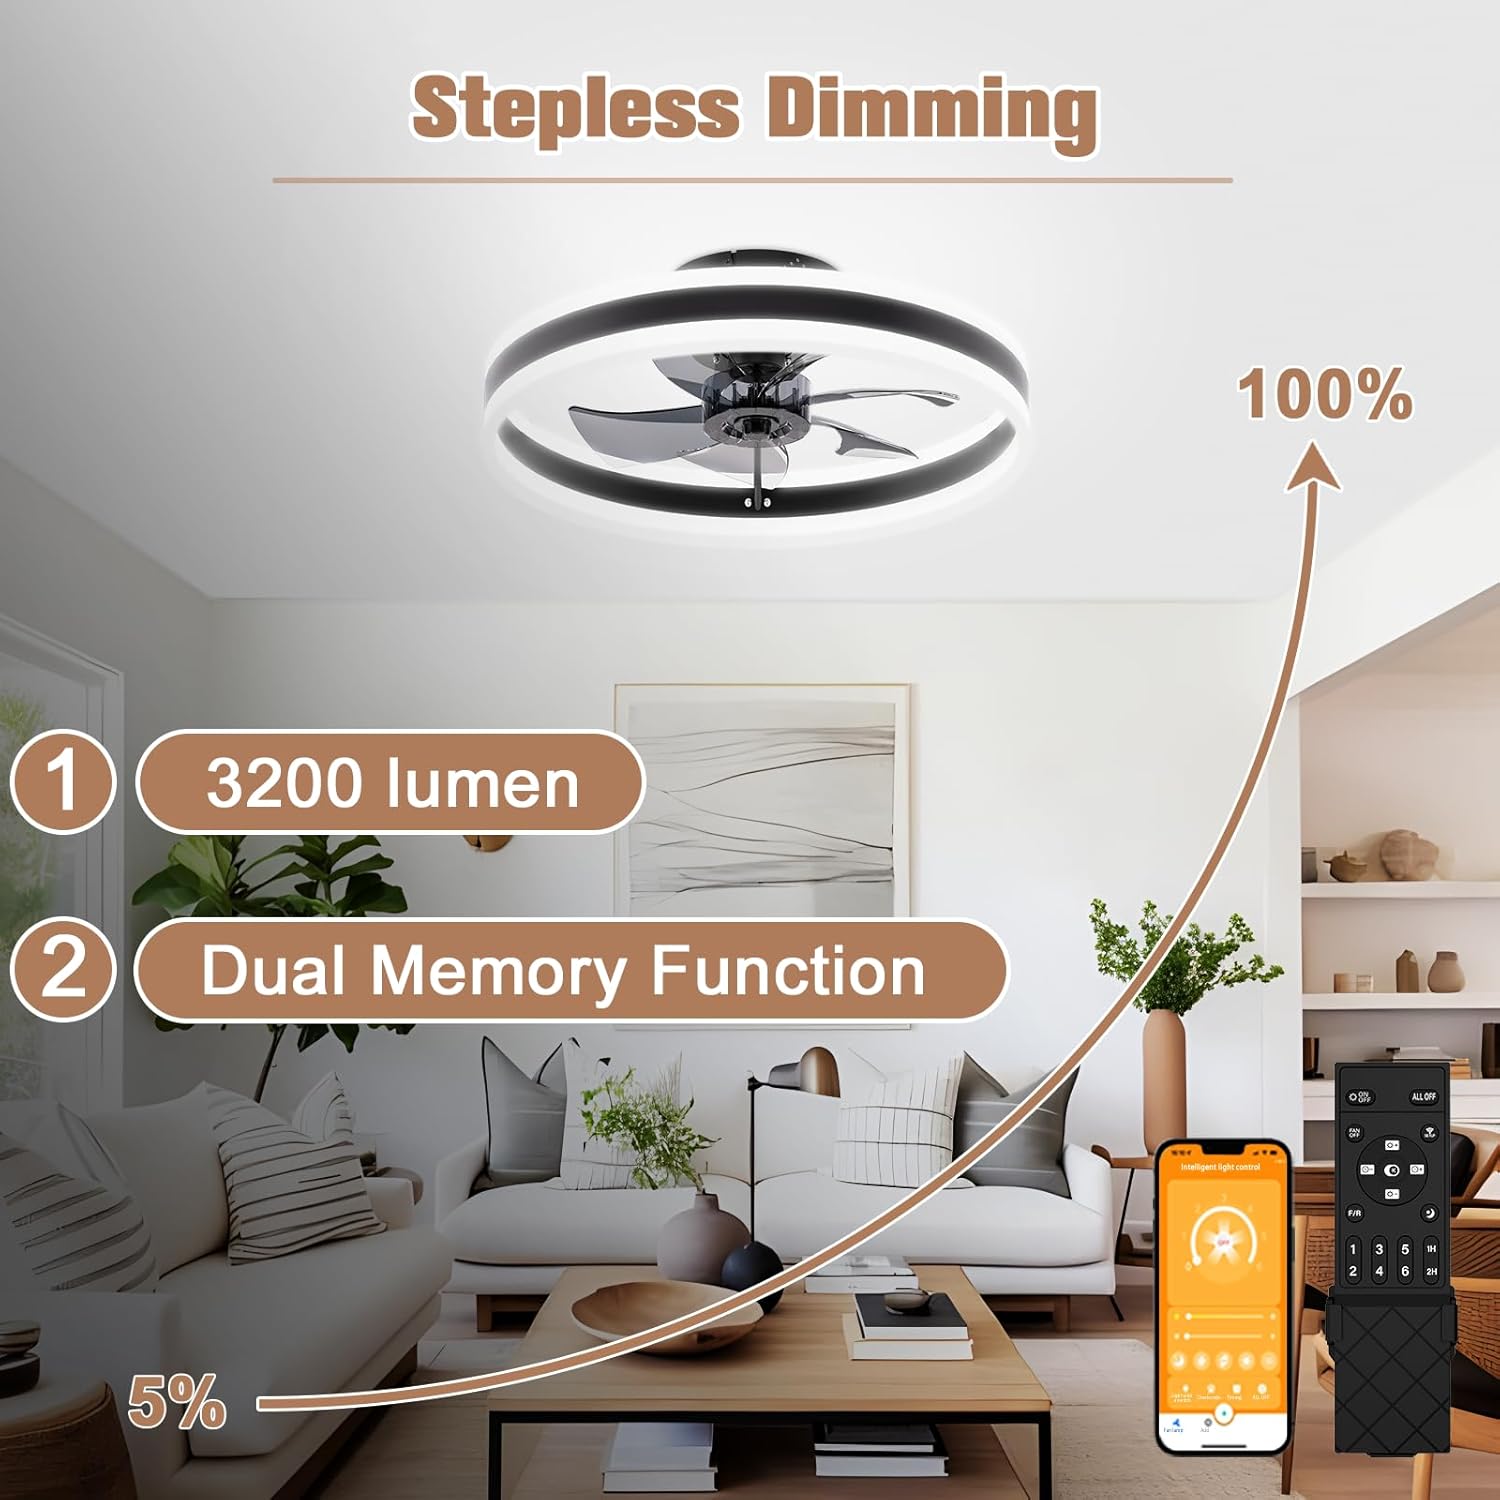
Image: The VOLISUN Fandelier installed, showcasing its flush mount design.
4. Operation
Your VOLISUN Fandelier can be controlled via the included remote control, a wall switch, or a compatible mobile application.
4.1 Remote Control Functions
The remote control allows full command over the fan and light features.

Image: Remote control for operating the fan and light.
- Fan On/Off: Press the fan button to turn the fan on or off.
- Fan Speed: Adjust between 6 wind speeds using the speed control buttons.
- Light On/Off: Press the light button to turn the light on or off.
- Light Color Temperature: Cycle through 3000K (Warm White), 4000K (Cool White), and 6500K (Clear White) settings.
- Light Dimming: Adjust brightness from 5% to 100%.
- Timer Function: Set the fan to turn off after 1 or 2 hours.
- Forward/Reverse Mode: Switch fan direction for summer (downward airflow) or winter (upward airflow to circulate warm air).
4.2 Light Features
The integrated LED light offers versatile illumination options.

Image: Customizable light settings for color temperature and brightness.
- Dimmable: Adjust brightness from 5% to 100% (3200 Lumens maximum output).
- Color Temperature: Select between 3000K, 4000K, and 6500K to suit your ambiance.
- Dual Memory Function: The fan remembers your last light settings (brightness and color temperature) when turned off and on, whether using the remote or a wall switch.
4.3 Fan Features
The fan provides efficient airflow with quiet operation.

Image: Fan operating quietly with timing options.
- 6 Wind Speeds: Choose from a gentle breeze to a stronger airflow.
- Quiet Operation: Designed for minimal noise disturbance.
- Forward/Reverse Function: Optimizes air circulation for both cooling in summer and warming in winter.
Video: Demonstration of the VOLISUN Fandelier's features and operation.
5. Maintenance
Regular maintenance ensures optimal performance and longevity of your ceiling fan.
- Cleaning: To clean the fan, wipe with a soft, damp cloth. Do not use abrasive cleaners or solvents. Ensure power is off before cleaning.
- Blade Cleaning: The clear acrylic fan blades can be gently wiped with a soft cloth to remove dust.
- Tightening Screws: Periodically check all screws on the fan and mounting bracket to ensure they are tight.
- Light Source: The LED light source is integrated and not user-replaceable. If the light fails, contact customer support.
6. Troubleshooting
If you experience issues with your VOLISUN Fandelier, refer to the following common problems and solutions.
| Problem | Possible Cause | Solution |
|---|---|---|
| Fan does not start. | No power to the fan; Loose wire connections; Remote control battery low. | Check circuit breaker/fuse; Ensure all wires are securely connected; Replace remote control batteries. |
| Light does not turn on. | No power to the light; Loose wire connections; LED driver issue. | Check power supply; Verify wire connections; Contact customer support if LED driver is suspected. |
| Remote control not working. | Low battery; Remote not paired; Obstruction between remote and receiver. | Replace batteries; Refer to remote pairing instructions (if applicable, not detailed in JSON); Ensure clear line of sight. |
| Fan makes excessive noise. | Loose screws; Unbalanced blades; Motor issue. | Tighten all mounting screws; Ensure blades are clean and free of debris; Contact customer support. |
| Fan wobbles. | Loose mounting bracket; Unbalanced blades. | Ensure mounting bracket is securely fastened; Check for any bent blades or debris. |
7. Specifications
| Feature | Detail |
|---|---|
| Brand | VOLISUN |
| Model Number | 21249ZM |
| Product Dimensions | 15.7"L x 15.7"W x 5.3"H |
| Item Weight | 5.69 pounds |
| Color | Black |
| Material | Acrylic, Acrylonitrile Butadiene Styrene, Aluminum |
| Power Source | Corded Electric |
| Voltage | 110 Volts |
| Wattage | 26 watts |
| Light Source Type | LED |
| Brightness | 3200 Lumens |
| Color Temperature | 3000K-6500K Dimmable |
| Control Method | App, Remote, Wall Switch |
| Special Features | 6 wind speed, Dimmable, Dual Memory Function, Quiet Operation |
| Installation Type | Flush Mount |
| Indoor/Outdoor Usage | Indoor |
| Recommended Room Size | 10-20 m² |
8. Warranty and Support
VOLISUN provides a 3-year service warranty for this product, covering defects and malfunctions. For any inquiries or support needs, please contact VOLISUN customer service.
- Warranty Period: 3 years from the date of purchase.
- Coverage: Covers manufacturing defects and operational failures under normal use.
- Customer Service: For assistance, please refer to the contact information provided with your purchase or visit the official VOLISUN website.

Image: VOLISUN's commitment to 3-year warranty and 24/7 customer support.